Is your morning shower leaving you scalded or chilled? Do family members complain about unstable water temperatures? A shower mixing valve controls hot and cold flow to deliver your ideal temp. But seasons change, pipes age, and settings need adjustment. Don’t endure inappropriate temperatures – learn to tweak your shower valve with this handy guide.
We’ll explore mixing valve parts, temperature measurement, and step-by-step instructions for DIY adjustment. Read on to achieve shower bliss, no matter the season.
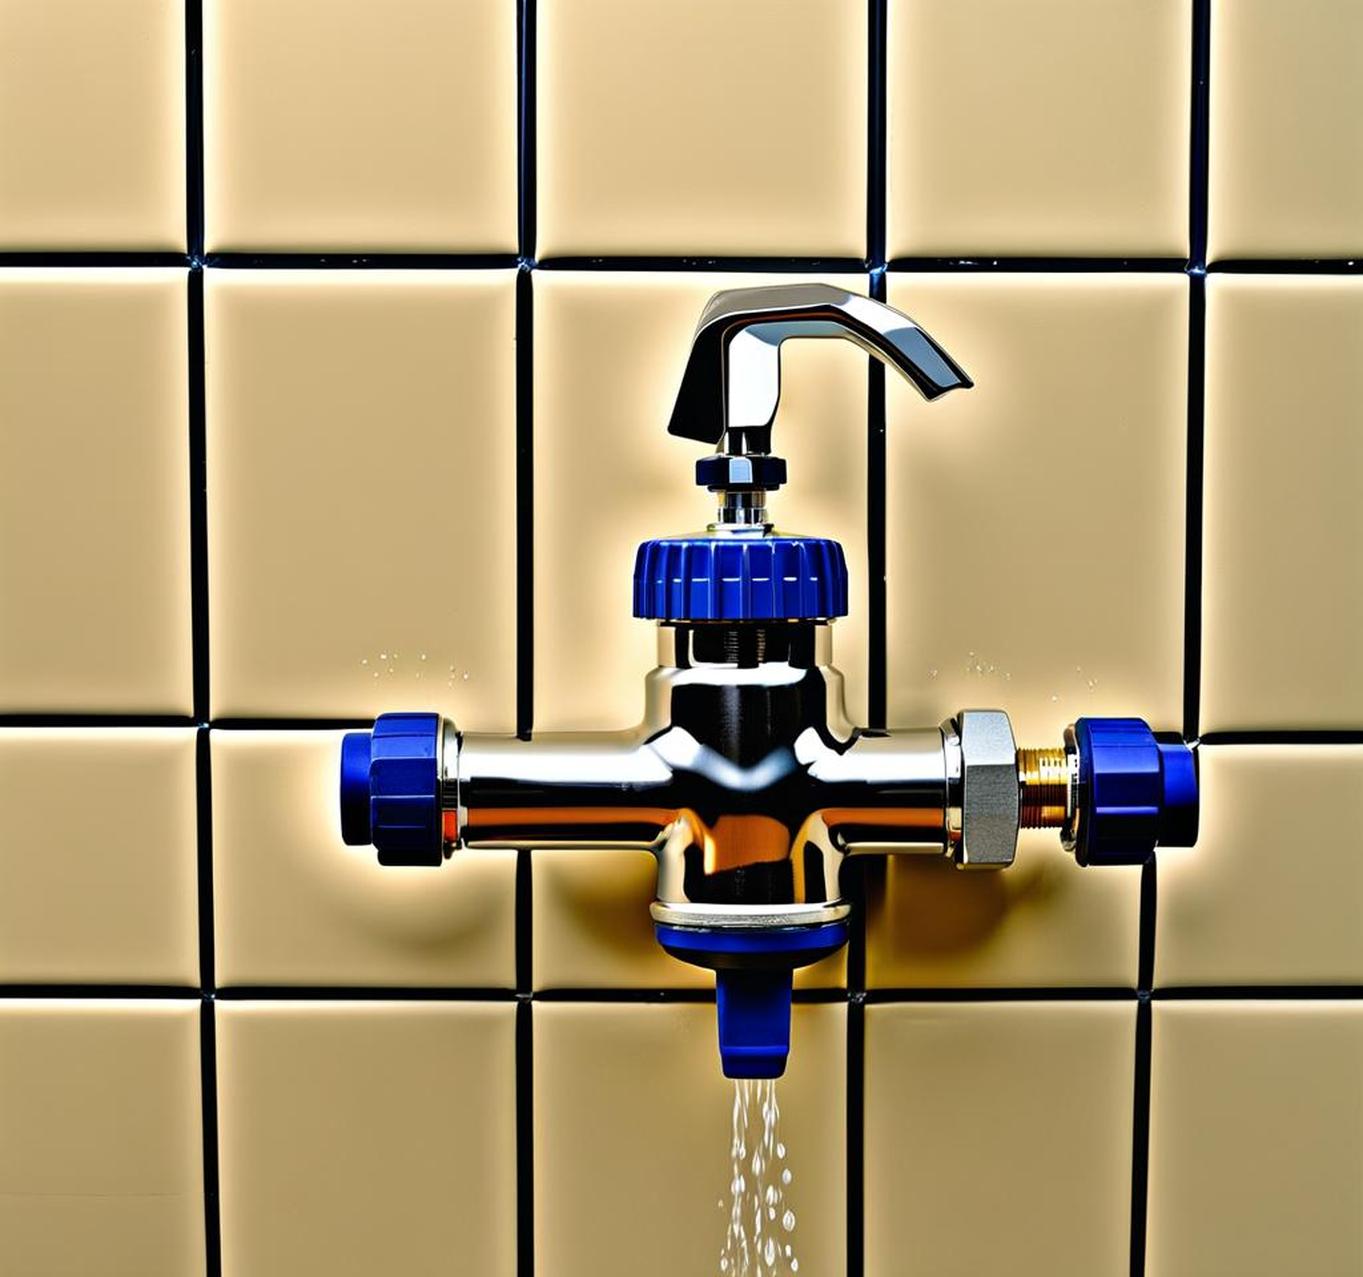
What is a Shower Mixing Valve?
A shower mixing valve combines hot and cold water from your home’s supply lines. By controlling the blend, it modulates the temperature out to the showerhead.
These valves come in two main types:
- Pressure balance valves automatically adjust to maintain temperature if hot or cold water pressure changes suddenly.
- Thermostatic valves allow you to manually set an exact, consistent temperature.
Both valve types include adjustable parts to set your maximum temp. Let’s explore how to access and tweak those mixing valve components.
Before Adjusting Your Mixing Valve
Changing valve settings requires removing hardware like handles and limit stops. Before diving in:
- Turn off the water supply lines and test to ensure they’re off.
- Have tools ready – typically screwdrivers, wrenches, and pliers.
- Locate the valve. It’s usually behind the shower wall or under the tub.
- Take proper safety precautions. Wear eye protection and have towels ready.
Adjusting the valve is simple if you’re methodical. Now let’s remove that handle.
Accessing the Valve: Removing the Handle
The valve adjustment dial sits behind the exterior handle controls. Start by:
- Prying off the decorative handle cap with a flathead screwdriver.
- Unscrewing the handle screw with an Allen wrench.
- Wiggling the handle assembly free from the valve body.
Be careful not to lose any small handle pieces during this process! Set them aside together.
Alternative Handle Removal Methods
If prying off that cap proves difficult, try these options:
- Insert a thick rubber band between the cap and handle for grip.
- Tap the cap gently with a hammer and flathead to break the seal.
- Spray lubricant like WD-40 into the crevice between cap and handle.
Stubborn screws may require this approach:
- Clamp the handle tightly in locking pliers.
- Turn the pliers counterclockwise to break the screw free.
With the handle removed, let’s modify that limit stop.
Adjust the Limit Stop
The limit stop dial controls your mixing valve’s maximum temperature. To adjust:
- Locate the limit stop. It’s typically behind the valve under the handle.
- Turn the dial counterclockwise to lower the max temperature.
- Rotate it clockwise to increase the hottest possible water temp.
Adjust incrementally and check your new setting before fully reassembling. We’ll cover temperature measurement shortly.
If the Limit Stop Is Hidden
Some models conceal the limit stop under a plastic cover. Pop this off with a small flathead screwdriver. If the dial requires a special tool, it may be hidden behind the valve cover plate. Fully remove this plate to access the limit stop.
Replace the Cartridge
Beyond the limit stop, replacing the cartridge itself modifies temperature range. Do this when simple limit adjustments aren’t sufficient. To swap the cartridge:
- Shut off water and remove handle as outlined above.
- Take out the old cartridge with pliers.
- Install the new cartridge, ensuring proper alignment.
- Reinstall handles and test before completing assembly.
Choose a cartridge designed for your desired temp range. Now let’s verify temperatures.
Check Water Temperature
After adjusting the mixing valve, carefully check your new shower temperature:
- Turn water back on. Shower valves reset when water flow stops.
- Hold a thermometer under the spray to measure the temp.
- Adjust limit stop based on your measurement and comfort level.
Aim for 100-120degF – hot enough to enjoy without scalding. For households with children or seniors, keep temperatures under 110degF.
Addressing Temperature Fluctuations
If temperatures swing wildly even after valve adjustment, try these tips:
- Upgrade to a thermostatic valve for more precision.
- Insulate pipes to moderate cold water supply temps.
- Install individual hot water supply lines for stable pressure.
Assuming you’ve reached an ideal temperature, let’s button up the hardware.
Reinstalling the Mixing Valve Hardware
Once temperatures are set, finish by:
- Reattaching the handle and tightening the screw.
- Testing handle function before finishing.
- Replacing the decorative cap on the handle.
Take care not to overtighten the handle, as this can damage the valve. Give the handle a few test turns and make final tweaks if needed.
Troubleshooting Mixing Valve Issues
Beyond temperature adjustment, certain problems warrant valve servicing:
- Leaks: Seal with plumber’s putty or replace worn O-rings.
- No hot water: Check your water heater and supply lines for obstructions.
- Low pressure: Clear mineral buildup in valves and showerhead.
For major leaks or persistent problems, contact a plumber to inspect the valve.
Pressure Balance vs. Thermostatic Valves
Let’s compare the two main mixing valve types:
| Pressure Balance Valve | Thermostatic Valve |
|---|---|
| Automatically adjusts to maintain temperature if hot or cold water pressure changes suddenly. | Allows you to precisely set and maintain an exact temperature. |
| Prevents scalding if someone flushes a toilet or runs the washing machine. | Provides more personalized and consistent temperature control. |
| Less expensive and easier to install. | Pricier but preferred for sensitive skin. |
You can convert a pressure balance to thermostatic valve if desired. Contact a professional for installation.
Maintaining Safe Shower Temperatures
Proper shower temperature helps prevent:
- Scalding
- Hypothermia
- Legionella bacteria growth
Keep household members safe with these tips:
- Install anti-scald valves to limit temperatures.
- Choose pressure balance valves to minimize sudden temperature spikes.
- Set hot water tanks below 120degF.
- Check shower temps regularly with a thermometer.
Ideal Temperature by Household
- Adults: 100-110degF
- Kids: 90-100degF
- Seniors and disabled: < 90degF
Adjust your mixing valve accordingly and protect your family.
When to Call a Professional
While DIY adjustment is straightforward, some mixing valve issues require a pro:
- Complete valve replacement due to age or damage.
- Accessing hard-to-reach valves behind walls or under tubs.
- Rerouting complex pipes to access the valve.
- Installing digital or smart shower technology.
For major remodeling or tricky installations, hire a licensed plumber. They have the expertise to address tricky shower mixing valves safely.
Don’t settle for scalding or chilling showers. With some simple mechanical adjustments, you can modify that mixing valve for blissful temperatures. Review your valve type, access the limit stop or cartridge, and make incremental tweaks. Measure carefully with a thermometer and maintain safe but comfortable settings.
Need to convert your pressure balance to a thermostatic mixing valve? Or troubleshoot sudden temperature jumps? Contact a professional plumber. Investing in the right shower valve technology ensures your ideal comfort and safety for years of enjoyable bathing.
