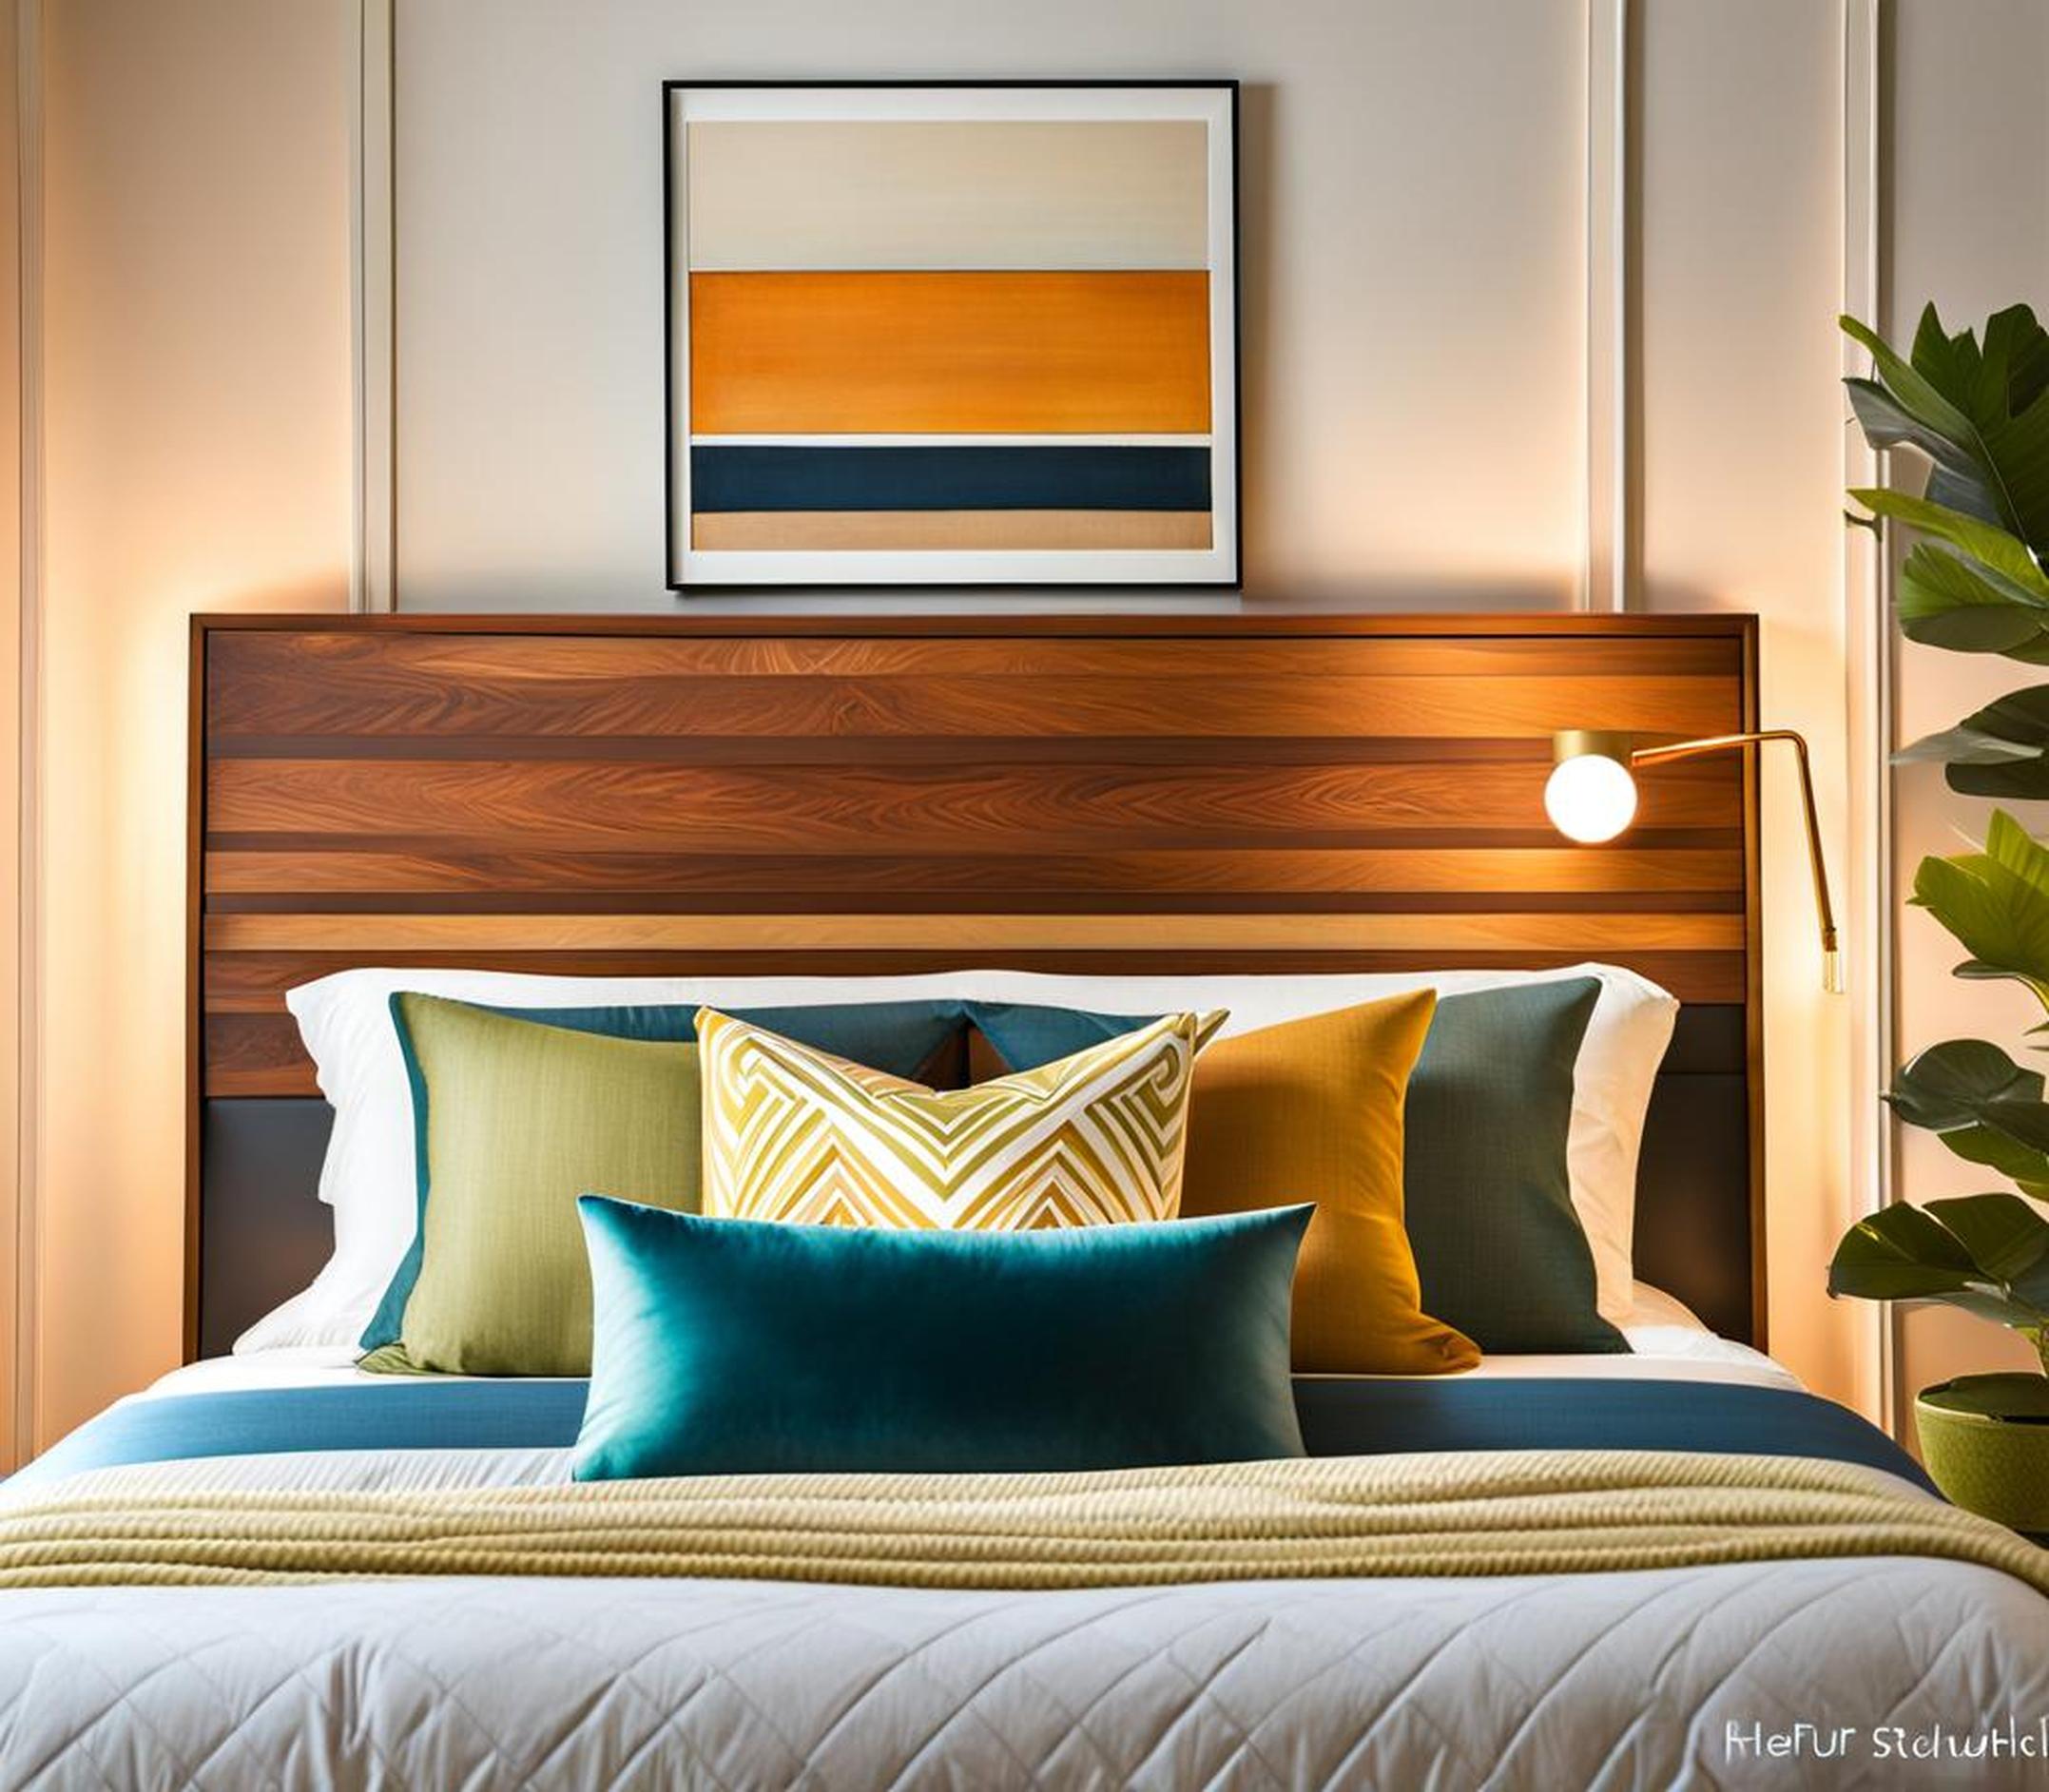
The mid century modern design movement of the 1950s and 60s featured sleek, minimalist furniture with an emphasis on functionality. Today, mid century modern decor has seen a major revival in popularity. The clean lines and casual sophistication make it an alluring style for contemporary homes. One way to incorporate this aesthetic into your bedroom is by building your own mid century modern inspired headboard.
In this DIY tutorial, we’ll show you how to create a custom headboard using a mix of materials like wood, fabric, carpet tiles, and more. The result is an easy beginner woodworking project that looks professionally designed. Read on as we detail everything you need to plan, build, and finish this stylish statement piece!
Materials Needed
The foundation of the headboard will be made from plywood cut to the dimensions you need to fit your bed frame. Poplar wood is an affordable option for the frame that can be stained or painted. For decorative accents up front, grab materials like:
- Wood shims
- Carpet tiles
- Canvas fabric
- Paint and wood stain
You’ll also need hardware such as wood glue, nails, staples, sandpaper, and any power tools or hand tools for cutting, drilling, and attaching the pieces together.
Tools You’ll Need
While advanced carpentry skills are not necessary for this DIY headboard, there are some basic tools that will be very helpful to have on hand:
- Circular saw – for cutting plywood and wood boards
- Jigsaw – to cut curved shapes and details
- Power drill with drill bits
- Hammer
- Staple gun
- Sandpaper – various grits for smoothing
- Measuring tape
If you plan to woodburn a custom pattern, add a woodburning tool to this list. Safety gear like gloves and eye protection is also a smart idea when working on DIY projects using power tools.
Design & Planning
Before starting construction, think about the key mid century modern elements you want to integrate into your headboard. This era of design focused on minimal embellishments, mixes of materials, and functional shapes.
As you plan the layout, consider adding:
- Contrasting textures – woodgrain, fabric, tile
- Layered materials in different heights and depths
- Asymmetrical or geometric patterns
- Simple, straight lines that feel sleek yet casual
Sketch your ideas first to visualize the finished product. This will help ensure your headboard dimensions fit perfectly on your bed frame. Measure the mattress width and height to size the headboard correctly. Standard queen and king headboards are often 60-66 inches wide.
Customization Options
The wonderful thing about DIY projects is tailoring them exactly to your personal taste. Some customization ideas for your mid century modern headboard include:
- Mixing up wood tones – try natural, black stained, white washed
- Incorporating meaningful text or imagery through woodburning
- Adding pops of color with painted wood or patterned fabric
- Arranging mosaic tile pieces or carpet squares
Structural Considerations
Since the headboard anchors to the bedframe, be sure to construct the internal structure with stability in mind. Use thick, sturdy wood and plenty of nails, screws, and wood glue to reinforce joints.
If attaching to a metal bedframe with slats, ensure the anchor points on the headboard frame align with slat locations. Heavy duty L-brackets also help provide ample support once installed.
Building the Frame
With your measurements and design locked in, it’s time to start constructing the base of the headboard frame from plywood or poplar boards. Cut the wood to size using a circular saw. Create notches if including decorative cut outs or angles.
Assemble the pieces by screwing or nailing into place. Use wood glue at connecting joints for enhanced hold. Clamp pieces together as the glue dries for best adhesion results.
Attach a center support beam vertically on the inside of the frame using L brackets. This prevents sagging or buckling under the weight of pillows and bed occupants over time.
Sand any rough edges and corners smooth in preparation for installing decorative elements on the outer front side in the next steps.
Adding Front Design Details
Now for the fun part – decking out the front of the headboard! Refer back to your initial sketch for how to arrange any wood pieces, shims, fabric, or carpet tiles to form your personalized pattern.
Some ideas include:
- Creating contrast by alternating different height wood blocks
- Forming geometric or zigzag designs with wood shims
- Layering canvas and coordinating carpet squares
Use painters tape to map out placements first if desired. Be creative with materials and don’t be afraid to work in an abstract layout.
Attach all decorative elements with staples, nails, adhesives or screws. Ensure any thicker protruding pieces are very secure, not just glued on the ends. Fill gaps between wood blocks with wood putty as needed so the surface feels flush.
Mid Century Modern Inspiration
If you need some motivation for layout designs, browse interior design sites and blogs showcasing mid century modern style for inspiration. Notice how they artfully blend textures and shapes to create dimension and interest.
Incorporate special details like:
- Circular wood or ceramic knobs
- Triangles or starburst cutouts
- Retro fabric prints like atomic or bohemian
Even painting stripes or color blocking certain sections can achieve that modern, playful vibe.
Finishing Touches
Once your materials are affixed to the base and you are happy with the design, add some finishing touches to complete the project.
Lightly sand any wood pieces to smooth rough areas. Apply wood conditioner before choosing a stain or paint color that complements your room.
Consider sparingly using accents like gold spray paint on chosen geometric shapes. This nod to mid century modern style subtly enhances the headboard without overdoing it.
Seal and protect all wood surfaces with a clear polyurethane coat. For fabric elements like canvas, you could add brushed gold nailheads around the perimeter for a luxe detail.
Now the exciting part – hang your personalized mid century modern headboard creation onto your bed frame to enjoy for years to come! Step back and admire the showstopping focal point you designed from scratch.
Customizing Your Headboard
The modular nature of this DIY headboard makes it simple to swap out materials if you ever want to change up the style. Consider seasonal refreshes by altering smaller details like:
- Rotate carpet tiles or fabric panels to vary the arrangement
- Touch up paint colors for a fresh color palette
- Add or remove sculptural adornments like circles and starbursts
Reupholstering just a section or two of the headboard is also an easy option. That way, you can change the feeling from retro boho to modern graphic with some new bold print fabric and strategic placement.
Don’t be afraid to modify elements to suit your evolving tastes! The wonderful thing about DIY projects is you retain creative control.
1. Reupholstering a Mid Century Modern Headboard: While many Mid Century Modern headboards feature sleek, minimalist designs, you can also add a cozy touch by reupholstering the headboard. This can be a great DIY project that allows you to choose your own fabric and create a one-of-a-kind look. Some tips for reupholstering a Mid Century Modern headboard include: – Choose a fabric that complements the style of the headboard and the overall aesthetic of the room. For Mid Century Modern designs, consider using a solid color or a bold geometric pattern. – Measure the headboard carefully and cut the fabric to size, allowing for extra material to wrap around the back and staple into place. – Use a staple gun to attach the fabric to the back of the headboard, starting at the center and working your way outwards. – Add cushioned padding to the headboard for extra comfort. 2. Adding Mid Century Modern Accents: To truly embrace the Mid Century Modern style, consider adding accents to the headboard that pay homage to the era. For example, you could add a row of circular buttons along one edge, geometric starburst cutouts, or tapered wooden legs in a warm tone. Incorporating metal hardware like hairpin legs or gold spray painted Details adds nice contrast against the wood.
Tips for Success
Like any DIY, having the right game plan and techniques will help your project go smoothly. Keep these tips in mind:
- Use extra long wood screws and secure anchor points in studs for robust framework
- Glue then nail joints together in quick succession before glue dries
- Apply painter’s tape to carpet tile edges to prevent glue seepage
Be patient during the design process and creative with how you blend and arrange materials. Not only will you end up with a headboard perfect for your space, but also the confidence to tackle more DIY carpentry projects in the future!
Part of the fun of DIY projects is showing off your hard work and new skills when complete. After installing your headboard, be sure to:
- Post photos of the finished piece on social media and interior design forums to motivate others.
- Tag any brands of stain, tools or unique materials used so others can source the products.
- Tell the story of the challenges and surprises you encountered during the building process.
Seeing someone’s custom headboard design come to life could spark creativity in fellow DIYers to construct their own! It also feels rewarding to showcase dried glue-covered hands transformed into this gorgeous focal point your room was missing.
