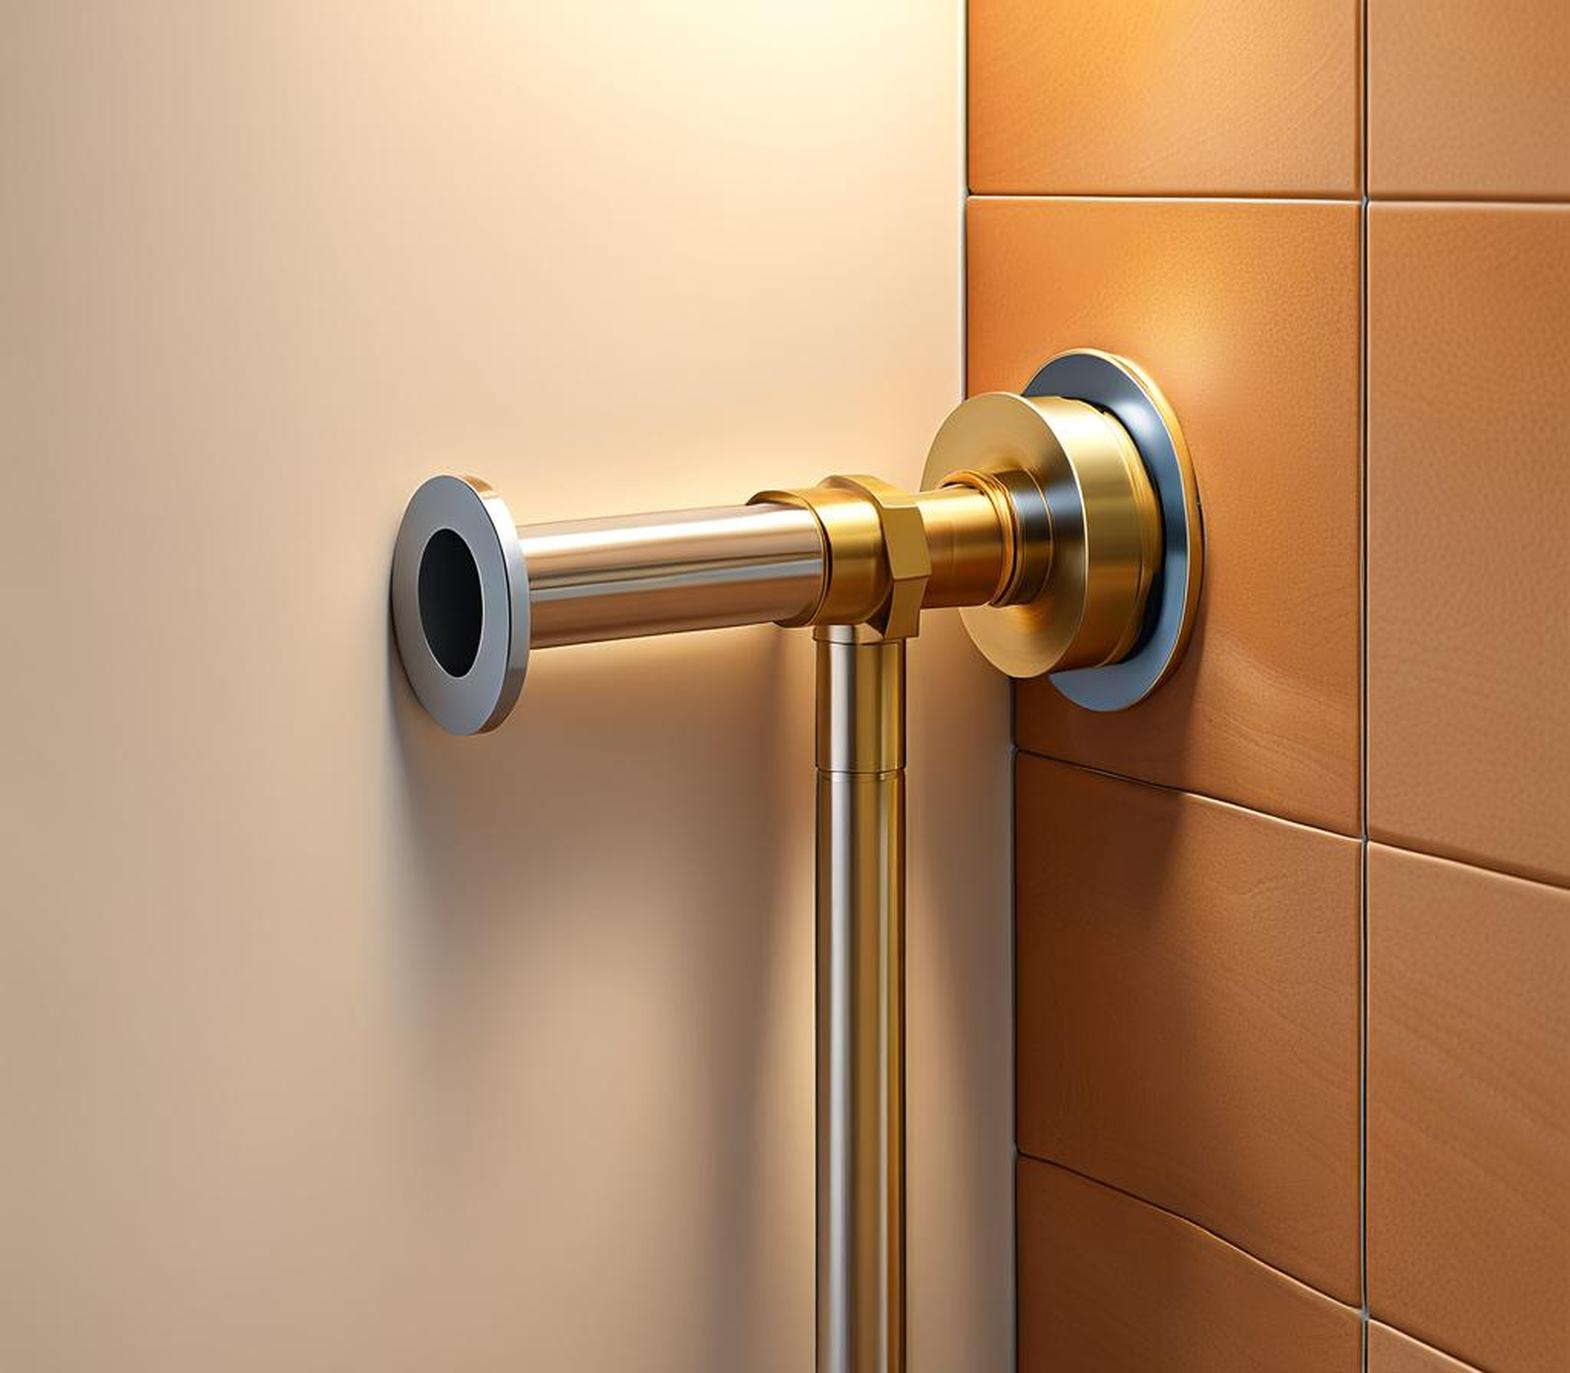
Installing the plumbing for a new sink or replacing an old drain can seem intimidating. But with the right tools and materials, connecting sink drain pipes to the wall outlet is an achievable DIY project for most homeowners.
Overview of Connecting Sink Drains
Attaching a sink’s drainage directly to the wall stub-out involves assembling the drain parts beneath your sink basin and linking them to the plumbing infrastructure behind the wall. Key benefits of DIYing this project include:
- Cost savings versus hiring a plumber
- Customizing your drainage setup
- Learning useful plumbing skills
Before starting, gather essential tools like slip-joint pliers, adjustable wrench , hacksaw, and plumber’s putty . You’ll also need drain parts like the P-trap, tailpiece, tubes , and couplings . We’ll provide an overview of these components later.
Preparing the Sink and Drainage
Choosing Compatible Drain Parts
Most sink drain kits contain a strainer, gasket, tailpiece, and mounting hardware. Select components designed specifically for your type of sink. For example, enamel steel sinks require rubber gaskets to prevent scratching. Carefully read manufacturer instructions so pieces align properly.
Disassembling Existing Drain
If replacing your sink drain, first detach old parts like the strainer, locknut , and tailpiece . You may need to saw off an old P-trap to disconnect it. Remove any putty residue from the sink basin and clear debris from the drain outlet .

Connecting Drainage at the Wall
Attaching Drain Pipe
The drain stub-out poking from the wall accepts wastewater from the sink drain pipe system. After cutting your new pipe to the measured length, connect it by hand-tightening a rubber beveled washer and coupling nut .
Installing the P-Trap
The U-shaped P-trap holds water to block sewer gases from entering living spaces. Slip joint pliers help secure the trap’s bend and arm into couplings at the stub-out and tailpiece . Adjust as needed until seated firmly.
Completing the Sink Drain Assembly
Sealing the Sink
Before inserting the drain flange into the sink hole, lay a ring of plumber’s putty around the rim. This seals the joint between sink and strainer. Press the flange securely into the putty, then fasten with the gasket, friction washer, and locknut below.
Attaching Water Supply Tubes
Connect braided metal tubes from the hot and cold faucet tailpieces to angle stops on the water supply lines. Hand-tighten the coupling nuts , then finish tightening gently with a wrench. Turn on water and check for leaks.
Testing & Troubleshooting
After installation, confirm proper drainage by plugging the sink and filling it with water. Inspect closely for any drips or seal breaks. If leaks occur, tighten joints or redo putty. Adjust slip nuts as needed to eliminate odors coming from the newly routed drain pipe.
To keep sink drains working smoothly, refrain from pouring fats or harsh chemicals down the fixture. Over time, debris accumulates inside pipes and causes nasty clogs. But with routine care, your newly connected drainage system should operate reliably for years.
