If you’re like most homeowners, you’re probably familiar with the constant struggle for storage space. No matter how big your home may be, there never seems to be enough room to neatly organize all of your belongings. This is especially true in the living room, which tends to accumulate remote controls, video game consoles, DVDs, books, and other household items that leave clutter in their wake.
But what if we told you there was a way to maximize your living room storage without taking up any additional floor space? By building a fireplace mantel with concealed storage compartments, you can instantly create extra space to neatly tuck away all your cord clutter and media equipment. Not only will this keep your living room looking tidy, but it adds a beautiful focal point to your space as well!
Benefits of Hidden Mantel Storage
Constructing a fireplace mantel with built-in storage offers a variety of advantages:
- Extra storage space to organize remotes, controllers, DVDs, books, and more
- Prevents cord clutter around TV stand and media consoles
- Out of sight storage keeps living room looking clean
- Easy access to items when needed
- Maximizes unused space above fireplace
- Anchor and focal point for living room design
- DIY project can be customized to your space
Whether you’re working with a standard fireplace or just a blank wall, a mantel with concealed compartments can transform wasted space into functional storage. The result is a living room that feels more spacious, organized, and aesthetically pleasing.
Materials and Tools Needed
To start this DIY mantel project, you’ll need the following materials:
- Wood boards (we recommend pine for an easy, inexpensive option)
- Pocket hole screws
- Kreg jig pocket hole tool
- Hinges
- Soft-close hinges for front panel
- 2x4s for wall braces
- Wood glue
- Wood filler
- Sandpaper
- Primer and paint
For tools, you’ll need:
- Miter saw or circular saw
- Drill
- Pocket hole drill bit
- Stud finder
- Level
With these supplies gathered, you’ll be ready to start constructing your concealed mantel storage!
Taking Accurate Measurements
The first step is taking precise measurements of the wall area above your fireplace or where you want to install the mantel. Measure the width left to right, as well as the height from the floor to where you want the bottom of the mantel to sit. It’s crucial to capture exact dimensions so your mantel will fit perfectly.
Use a stud finder to mark where the wall studs are located. You’ll need to secure the mantel brackets directly into the studs for the strongest support possible. Measure and mark where the outer edges of the mantel will go so you know where to install the brackets.
Prepping the Wood Boards
We recommend using simple pine boards for this project, as pine is affordable, versatile, and easy to work with. Use your measurements to cut the boards to size with a miter or circular saw. You’ll need two equal length boards for the sides, a wider board for the bottom shelf, and a shorter board for the top. The measurements will vary depending on your space.
Once cut, use sandpaper to smooth any rough edges on the boards. This will give them a nicer finished look.
Creating Pocket Holes
Pocket holes allow you to securely join wooden boards together without screws or nails showing. This is done using a Kreg jig, which is a helpful woodworking tool that guides the angle for optimal pocket hole placement.
Using the Kreg jig, drill pocket holes along one edge of each side board and on both ends of the bottom shelf board. The jig will automatically space the holes properly apart. Make sure to set the drill bit depth to the thickness of your boards.
Assembling the Hidden Mantel
Now it’s time for assembly! First, apply wood glue to the ends of the bottom shelf board. Attach this securely to the side boards using pocket hole screws driven into the pre-drilled holes. Make sure the shelf is flush to the bottom.
Next, install hinges to the bottom edge of the shelf board, centering them for even spacing. These allow the front panel to open downwards. Attach the front panel to the hinges using screws. For a smooth motion, we recommend soft-close hinges which prevent slamming.
You can also add optional dividers to create storage compartments inside the mantel. These help add structural integrity too. Simply cut boards to size and secure them with screws into cross drilled pilot holes.
Installing the Mantel
Now it’s time to mount the mantel to the wall. Have a helper hold it in place while you secure triangular brackets into the studs, anchored below where the shelf sits. Make sure the unit is centered and level.
For maximum strength, we recommend also installing 2×4 boards into the studs above the mantel. This extra bracing will prevent sagging when storage items are added.
With the mantel securely installed into studs and braced, it’s ready for the finishing touches.
Finishing Touches
First, fill any visible screw holes with wood filler, let dry, and sand smooth. Then apply primer followed by your choice of paint or stain to get the desired look.
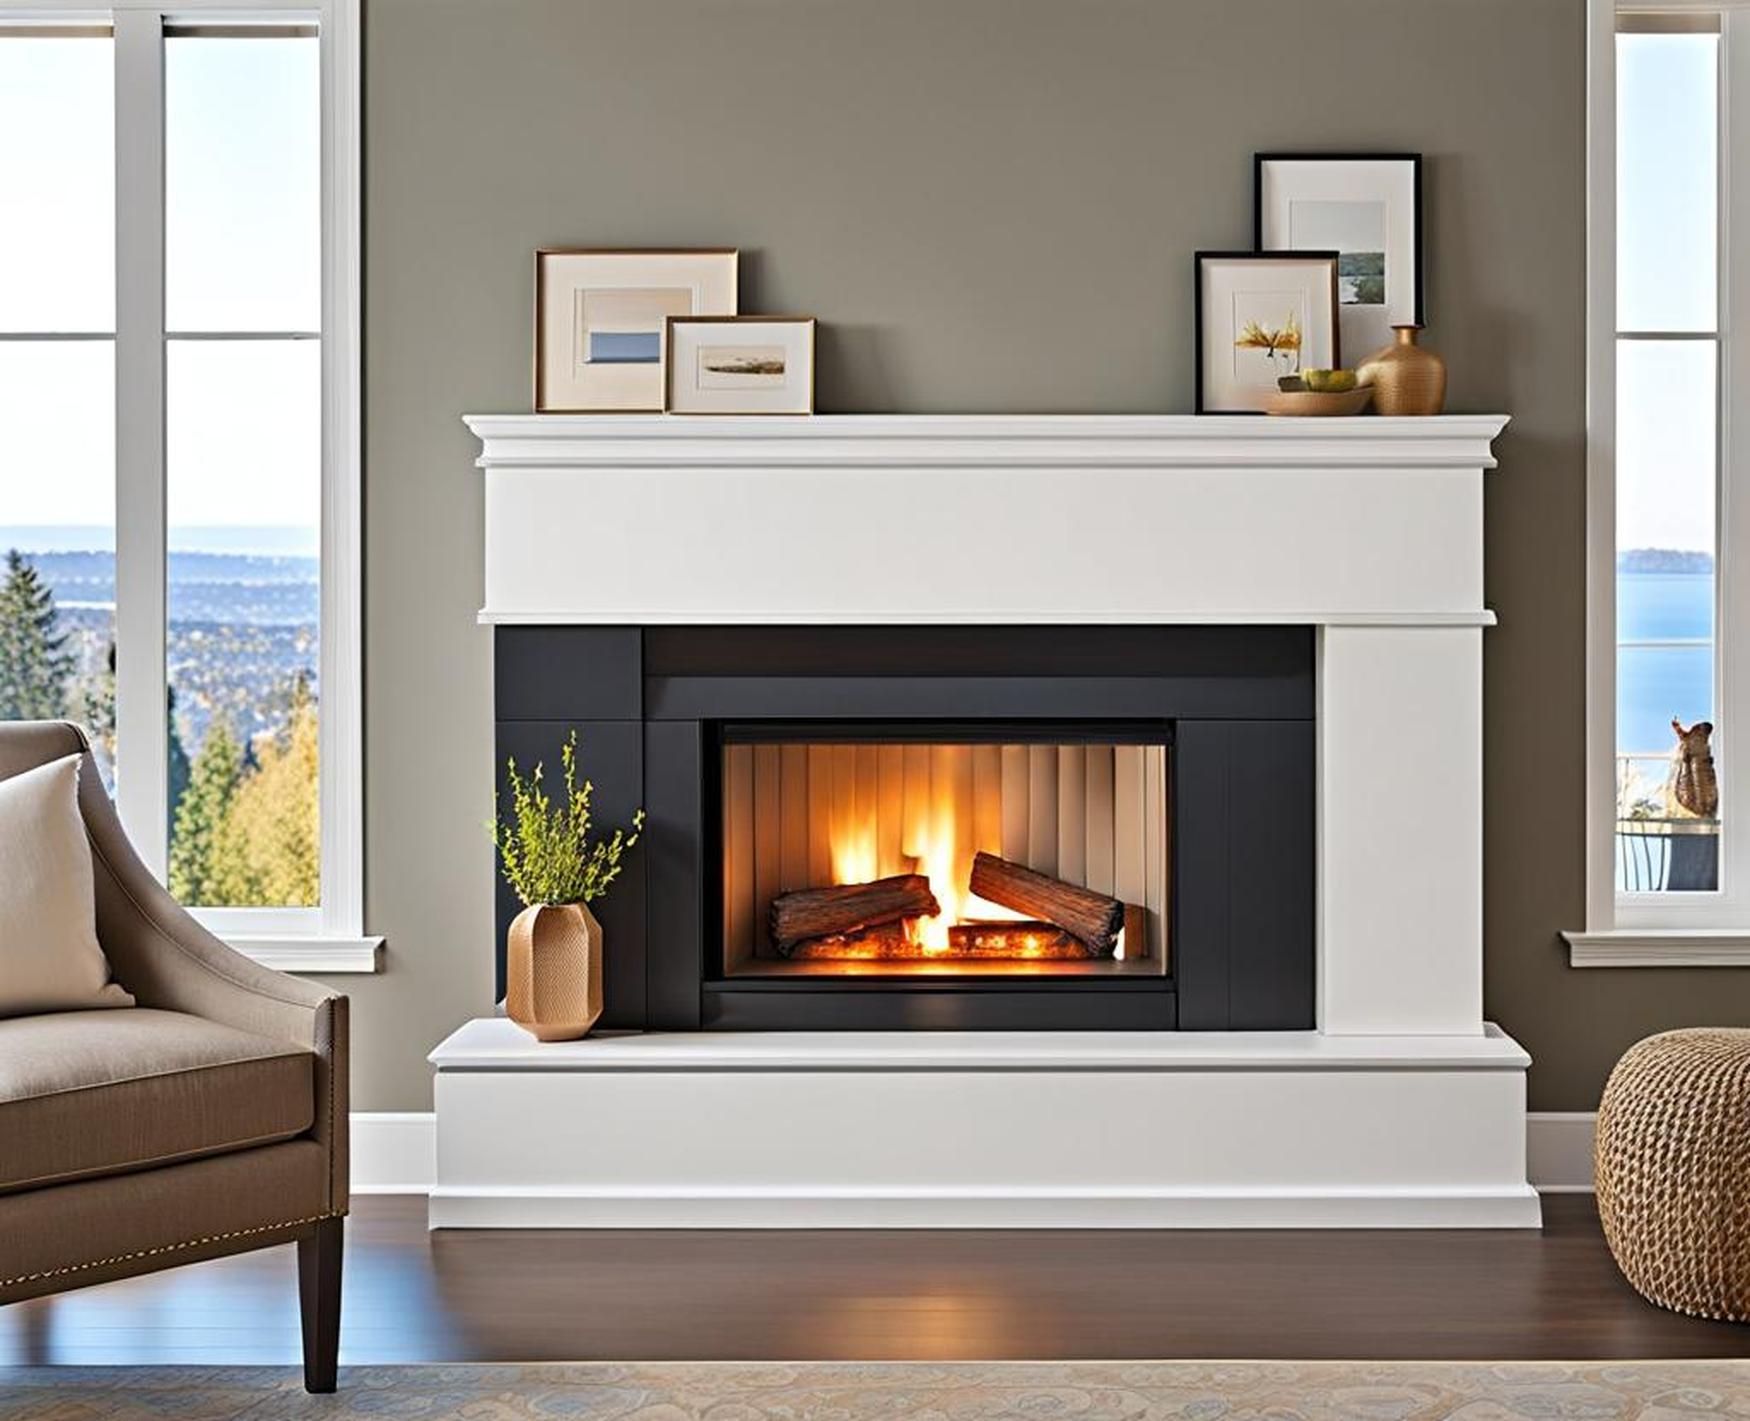
Decorate the mantel top shelf by adding framed photos, candles, greenery, a vase, or whatever fits your style. This helps draw attention upwards and disguise the hidden storage!
Finally, cut a piece of trim or molding to conceal the opening’s edge for a seamless, built-in look. Add soft-close hinges to allow the front panel to open slowly and quietly.
Your new fireplace mantel with concealed storage is now complete! Enjoy having quick access to media items while keeping clutter neatly tucked away.
Maximizing Your Hidden Storage
Creative Ways to Use the Storage
The storage compartments in your DIY fireplace mantel are perfect for tucking away items like:
- Remote controls
- Video game consoles and controllers
- DVDs and video game discs
- Books, magazines, catalogs
- Board games
- Craft supplies
- Chargers and power cords
- Extra batteries
- Media players
- Rolls of gift wrap
Get creative with ways to organize your mantel storage! For example, use bins or baskets to corral like items. Install hooks to neatly hang remotes or controllers. Or, add shelves at different heights to store items of various sizes.
Customizing the Compartments
One of the great things about building your own mantel is the ability to customize the storage design to your needs. Here are some ideas to make the compartments even more functional:
- Add adjustable shelves to accommodate different item heights.
- Install pull-out drawers for easy access.
- Include a drop-down desk for a workspace.
- Incorporate cubbies or slots for media storage.
- Use a combination of open and enclosed areas.
With some creative thinking, you can build a mantel tailored to store everything your living room needs!
Our Experience Building This Project
When we decided to undertake this DIY mantel project, we were starting with a completely blank wall. We wanted to create a whole faux fireplace design while maximizing storage. Here are some lessons we learned along the way:
- Take time to precisely measure the wall area so your custom mantel fits perfectly.
- Be sure to anchor securely into studs to support weight.
- Build an overall “box” structure for strength before adding dividers.
- Soft-close hinges are worth the investment for smooth, quiet operation.
- Prime and paint all surfaces for a built-in, finished look.
- Add extra support braces if needed for heavy storage items.
While challenging at times, we love how our DIY fireplace mantel turned out. The concealed storage is not only stylish but also keeps our living room free of clutter. We learned a lot in the process, gained confidence in our DIY skills, and now get to enjoy this custom focal point every day!
Additional Resources
Looking for more details on this project? Be sure to check out the additional resources below:
- Complete tutorial with measurements
- Recommended materials and tools shopping list
- Video guide walking through the build process
- More photos of our finished mantel for inspiration
- Sign up for our DIY newsletter
With the right guidance and materials, you can totally tackle building your own fireplace mantel with concealed storage. Learn from our experience, gather what you need, and get ready to enjoy a clutter-free living room!
If you’re seeking a living room storage solution that maximizes space while maintaining a streamlined, aesthetic look, a DIY fireplace mantel with hidden storage compartments is a fantastic option. Not only does it allow you to neatly tuck away cord clutter and media equipment, but it also becomes a beautiful focal point in your living room design.
With the right materials, tools, and measurements, this beginner-friendly project is absolutely achievable for the motivated DIYer. Follow each step carefully from constructing the “box” frame to adding customized compartments, braces for support, and finally sleek finishings. Before you know it, you’ll have a fully functioning and gorgeously concealed storage mantel that makes your living room both stylish and incredibly functional.
Bring this inspiring project to life! Turn that empty wall or outdated fireplace into a secret storage haven that you’ll be proud to show off. Ready for a clutter-free, optimized living space? It’s time to unlock the potential of your mantel!
