Installing a wood stove pipe properly is essential for safety and efficiency. Improper installation can lead to dangerous wood stove pipe and chimney fires or fatal carbon monoxide poisoning. By following some basic guidelines, you can master wood stove piping in just 7 simple steps.
With a little care and these tips, you’ll have your wood stove piping setup perfectly in no time.
Step 1: Choose the Right Stove Pipe
The first step in any wood stove pipe installation is selecting the right stove pipe. You’ll need to decide between single wall stove pipe or triple wall stove pipe. Here’s an overview of the key differences:
Selecting Single Wall Stove Pipe
Single wall stove pipe, sometimes called black stove pipe, is the most common and affordable option. It’s lightweight and easy to install. However, single wall pipe provides less insulation and requires greater clearances to combustibles. It’s also more prone to corrosion and leaks.
Single wall pipe works best for short, straight pipe runs. You’ll want to use joints, elbows, and adapters specifically designed for single wall stove pipe. Avoid using single wall pipe to pass through ceilings, walls, or combustible surfaces.
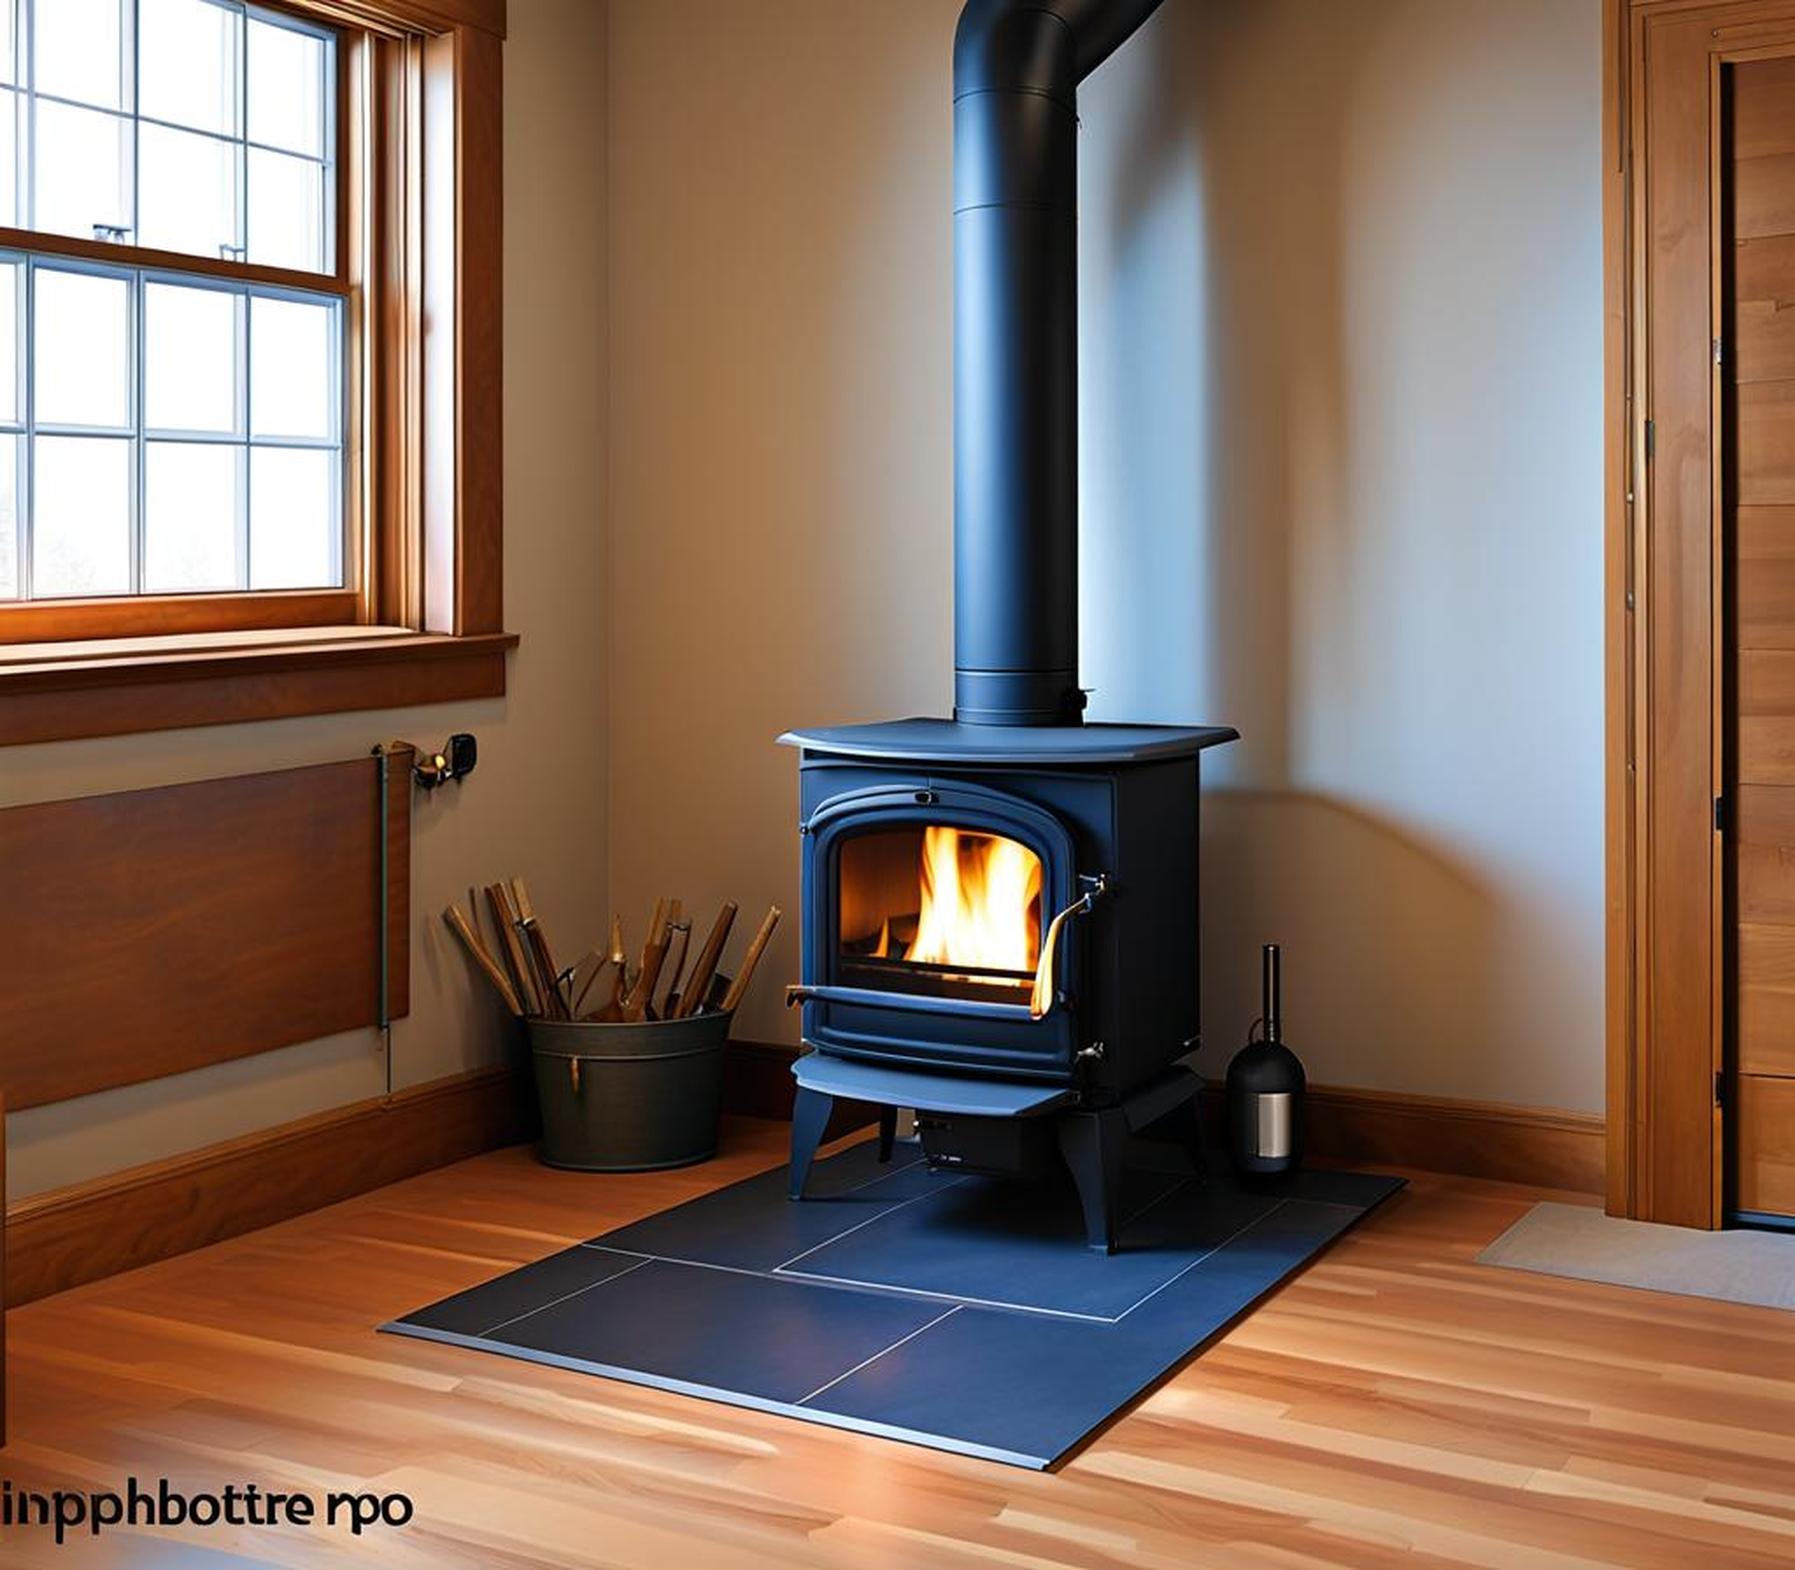
Selecting Triple Wall Stove Pipe
Triple wall stove pipe has increased durability, safety, and efficiency compared to single wall pipe. The layered construction better insulates exhaust gases, reducing the risk of igniting nearby combustibles.
With triple wall pipe, you can have tighter clearances to walls, ceilings, and floors. It withstands corrosion and resists leaks better than single wall. Triple wall pipe is recommended for longer runs, elbows, and passing through combustible surfaces.
There are a few varieties of triple wall pipe to choose from. Common options include chimney connectors, telescoping pipes, and adjustable length sections. Components are certified by UL or CSA for safety.
No matter which type you select, matching the diameter to your stove’s flue collar size is important. Refer to the manufacturer’s specifications to ensure a proper fit.
Step 2: Maintain Proper Clearances
One key aspect of wood stove pipe installation is maintaining proper clearance (the required distances) to combustible surfaces. Combustibles include structural framing, walls, floors, furniture, and decorations.
The necessary clearances depend on whether you’ve used single wall or triple wall pipe:
- Single wall pipe: 18 inches minimum from pipe to combustibles
- Triple wall pipe: Typically 6 inches minimum to combustibles
These are standard clearances, but some triple wall pipe may allow even tighter clearances. Refer to the product specifications and local building code.
Clearances should be maintained on all sides of the stove pipe, including ceilings, walls, and floors:
- Ceiling clearance: 18 inches (single wall) or 6 inches (triple wall) from pipe
- Wall clearance: Same 18 inch or 6 inch minimums
- Floor clearance: Stove pipe should be at least 16-18 inches above any combustible flooring
If space is tight, you may be able to reduce clearances by installing heat shields or guards between the pipe and combustibles. But the shields must comply with manufacturers’ instructions and local codes.
Step 3: Install With a Proper Slope
Running your wood stove pipe sections at a proper upward slope is critical for performance and safety. This slope allows smoke, gases, and moisture to properly vent outside.
The ideal slope range is between 1/4 inch per foot of pipe run up to 3/8 inch per foot. This allows gravity to pull condensation back down toward the stove and prevent pooling or leaks in the pipe.
You’ll need to maintain this consistent slope along the entire length of pipe. Use a builder’s level to check that each section maintains the slope as you assemble them.
For vertical runs, simply start with the stove outlet higher than the bottom of the chimney to create a sloped effect. On horizontal runs, use slightly longer pipe sections toward the chimney to achieve the needed slope.
Step 4: Secure Pipe Sections Properly
Securing the individual stove pipe sections properly is important for safety and performance. This involves using either support brackets, tension bands and screws, or adjustable hanging straps depending on the installation.
Support brackets should be placed every 4-5 feet along both vertical and horizontal pipe runs. They cradle the pipe sections to provide stability and prevent sagging, disconnects, or collapse.
Screws can be used to connect stove pipe segments at the seams. This helps seal joints and prevents accidental disconnection or movement. Just don’t penetrate the interior wall when screwing sections together.
Adjustable hanging straps are useful for getting pipes to the proper slope. The straps connect to ceiling or wall studs and can be tightened to achieve the optimal 1/4″ to 3/8″ per foot incline.
The type and spacing of supports depends on the pipe’s diameter and whether single or triple wall is used. Always follow the manufacturer’s recommendations.
Step 5: Connect Sections With Proper Joints
Creating secure, airtight joints between stove pipe sections is vital to prevent smoke, gas, and moisture leaks. Use the joining method recommended for your specific pipe type:
Single wall stove pipe is typically connected by crimping the male end into the female end. Seal the joints using approved stove gasket cement, applying it around the crimped connection.
Triple wall stove pipe often uses twist-lock connections. The ends slide together and twist to lock in place. Integrated gaskets provide the seal between sections.
For added protection, cover all joints and seams with high temperature silicone or aluminum foil tape rated at least 350 F. This seals any tiny gaps and prevents creosote drips.
Step 6: Add Pass-Through Components
When your stove pipe installation requires passing through ceilings, walls, or the roof, special pass-through components are essential. These include:
- Thimbles: Thimbles are metal sleeves that pipe sections slide through when traversing walls or ceilings. They prevent contact with combustibles.
- Roof flashings: Flashings seal the roof penetration point and prevent leaks around the pipe.
- Chimney connectors: These adapters attach stove pipe to an existing masonry chimney.
Proper thimble installation involves cutting an opening, inserting the thimble, and securing it according to clearance requirements and local codes. For roof penetrations, install an appropriate roof flashing system per the manufacturer’s specifications.
Chimney connectors should ONLY be used if the chimney has proper draft for a wood stove, at least .05 inches of water column. Have a professional confirm draft and structural soundness prior to connecting stove pipe to a chimney.
Step 7: Complete Safety Checks
The final step is performing several safety checks before firing up your wood stove:
- Confirm clearances from the pipe meet manufacturers guidelines and local code
- Use a manometer to test draft – Should be at least .05 wc
- Visually inspect all joints and connections for leaks or gaps
- Scan pipe sections for damage or imperfections
- Check ceiling and wall penetration points for proper thimble/flashing installation
It’s also wise to do an initial test burn on a mild day. Monitor the outside vent for any smoke leaks. Use a combustion analyzer to check carbon monoxide levels inside the home.
Assuming initial testing goes smoothly, your wood stove pipe is ready for action! Just remember to have it cleaned and inspected at least annually by an experienced professional.
Installing wood stove pipe properly involves carefully selecting materials, maintaining clearance distances, installing with an upward slope, securing pipe sections, sealing joints, adding pass-through components, and safety testing.
By following these 7 key steps, you can master wood stove pipe installation. Taking the time to do it right will provide years of safe, efficient heating and avoid potential chimney fires or other hazards.
As always, be sure to consult your stove and pipe manufacturers’ specifications. And check with local building codes for any additional requirements. With attention to detail and proper materials, you’ll have pro-quality wood stove pipe installation in no time.
