Installing a shower drain is an important part of any bathroom remodel or new construction project. A properly installed drain ensures water flows away from the shower area effectively, preventing leaks and other problems down the road. Oatey shower drains provide quality and reliable performance when installed correctly.
We will cover all the tools and materials needed, how to prepare the substrate, make connections, apply waterproofing, and finally secure the drain. With these instructions, you can master shower drain installation and enjoy a fully functional, leak-free shower for years to come.
Tools and Materials Needed
Before starting any new project, it’s important to gather all the necessary tools and materials. Installing a shower drain requires the following:
- Oatey shower drain kit
- Hacksaw or jigsaw
- Adjustable wrench
- Cement applicator
- Flat trowel
- Solvent cement
- Pea gravel
- Cement mortar
- Cement-based floor leveler (if needed)
- Waterproofing membrane
Ensure you have all these items on hand before starting the drain installation process. This will prevent any delays once you begin cutting into the substrate.
Preparing the Substrate
The substrate is the surface below where your shower drain will be installed. This is commonly a wood or concrete floor or subfloor. Proper substrate preparation is crucial for proper drainage and preventing leaks.
Check that your substrate is completely level. Use a cement floor leveler to fill in any low spots if needed. The floor should slope precisely 1/4 inch per foot towards the drain location. This ensures adequate downward pitch for water flow.
Additionally, apply a waterproofing membrane layer to the entire substrate before drain installation. This provides a moisture barrier should any water get past the drain. Liquid roll-on membranes are easiest to apply. Cover the entire substrate area uniformly.
Connecting the Drain
With your substrate prepped, it’s time to connect the Oatey shower drain to the existing drain pipe below the floor. First, position the drain base centered exactly over the drain pipe.
Use an adjustable wrench to tighten the drain base collar nut over the drain pipe, securing the two together. Apply solvent cement around the connection and allow to fully cure, preventing any leaks.
Be sure the top of the drain base is level with the surface of the substrate. Adjust as needed to ensure it is flush.
Cutting the Substrate Hole
Now you’re ready to cut the hole in the substrate where your drain will fit. Use a jigsaw or hacksaw, centering it precisely over the drainpipe and drain base.
Cut a hole about 2 inches wider than your drain flange diameter. This allows space to install and seal the drain. Go slowly to ensure the hole is cut to the proper size.
File down any rough edges around the cut so your drain can sit flush with the substrate surface.
Applying the Cement
With the substrate hole cut, it’s time to apply cement around the drain area.
Use a cement applicator to apply an even 1/4 inch layer of cement completely covering the substrate. Be sure the cement slopes precisely 1/4 inch per foot towards the drain opening.
Allow the cement to fully cure for at least 24 hours before continuing with the drain installation.
Installing the Drain Collar
Many Oatey shower drains include a plastic collar that helps prevent leaks between the drain and substrate. If your drain has this, it should be installed now.
Set the drain collar around the drainpipe protruding from the substrate. The tapered end should face down into the drain base. Press the collar in place and secure by tightening the screws or clamps.
Installing the Pan Liner
Now you can install the shower pan liner. This is a waterproof membrane that catches all water and directs it to the drain.
Cut a hole in the liner directly over the drain opening. Make it about 1 inch smaller than the drain flange. Then position the liner over the cement, centering it around the drain.
Press the liner into the still-pliable cement to bond them together. Use nails or staples around the perimeter to further secure the liner edges.
Preparing the Drain Area
With the pan liner installed, you need to prepare the specific drain area for finishing.
Make relief cuts from the drain hole to the edges of the liner. This allows the liner to lie flat when you install the clamping ring.
Pull the liner up exposing the drain base. Install the drain clamping ring and bolts according to the manufacturer’s instructions.
Filling Weep Holes
Most shower drain bases have small weep holes around the drainpipe. These prevent water from collecting under the drain.
Fill each weep hole with pea gravel. This allows any accumulated water to drain while blocking cement from clogging the holes.
Applying the Mortar
Now you’re ready to install the mortar bed that finishes the shower floor.
Mix mortar cement to a thick, workable consistency. Trowel it onto the pan liner, starting at the drain edge and working outwards. Maintain a 1/4 inch per foot slope towards the drain.
Go slowly and press firmly to pack the mortar into the drain weep holes and liner channels. This bonds everything together when dry.
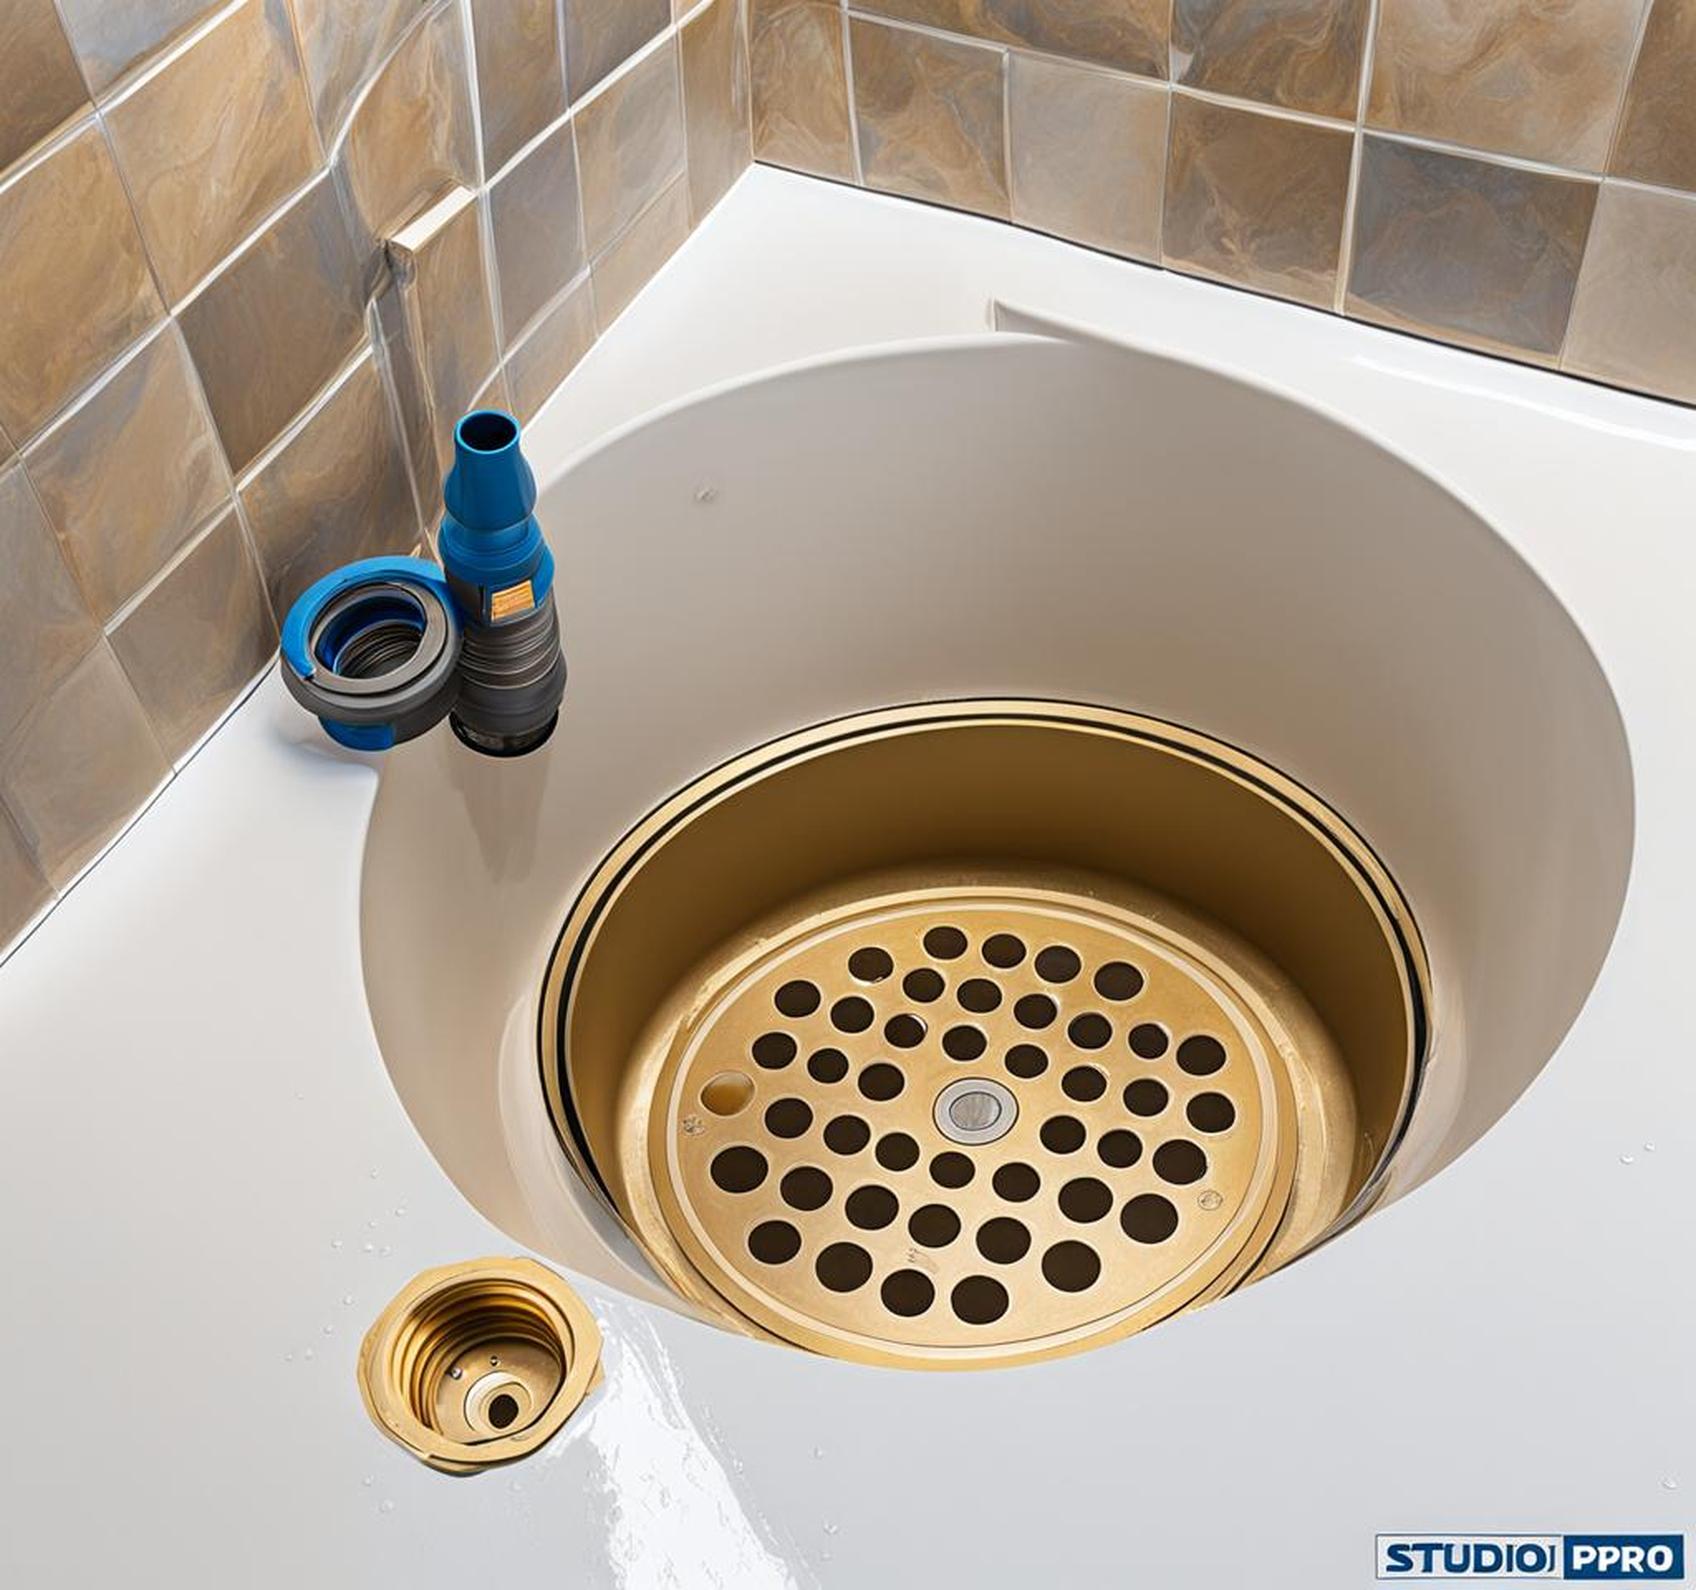
Installing the Drain
The last step is to install the drain barrel and cover.
Thread the drain barrel into the clamping collar. Adjust to the proper height based on your tile thickness. Attach the drain strainer on top.
Run water into the finished drain and check carefully for leaks. The drain should function perfectly if all steps were followed correctly.
We hope this guide provides all the steps needed to properly install an Oatey shower drain. Taking the time to prepare the substrate, slope floors, apply waterproofing, and securely install the drain will ensure optimal performance.
The key is following instructions precisely, allowing proper cure times, and testing for leaks. A shower drain seems simple but requires attention to detail. Now you can install your Oatey drain with total confidence for years of leak-free showering.
