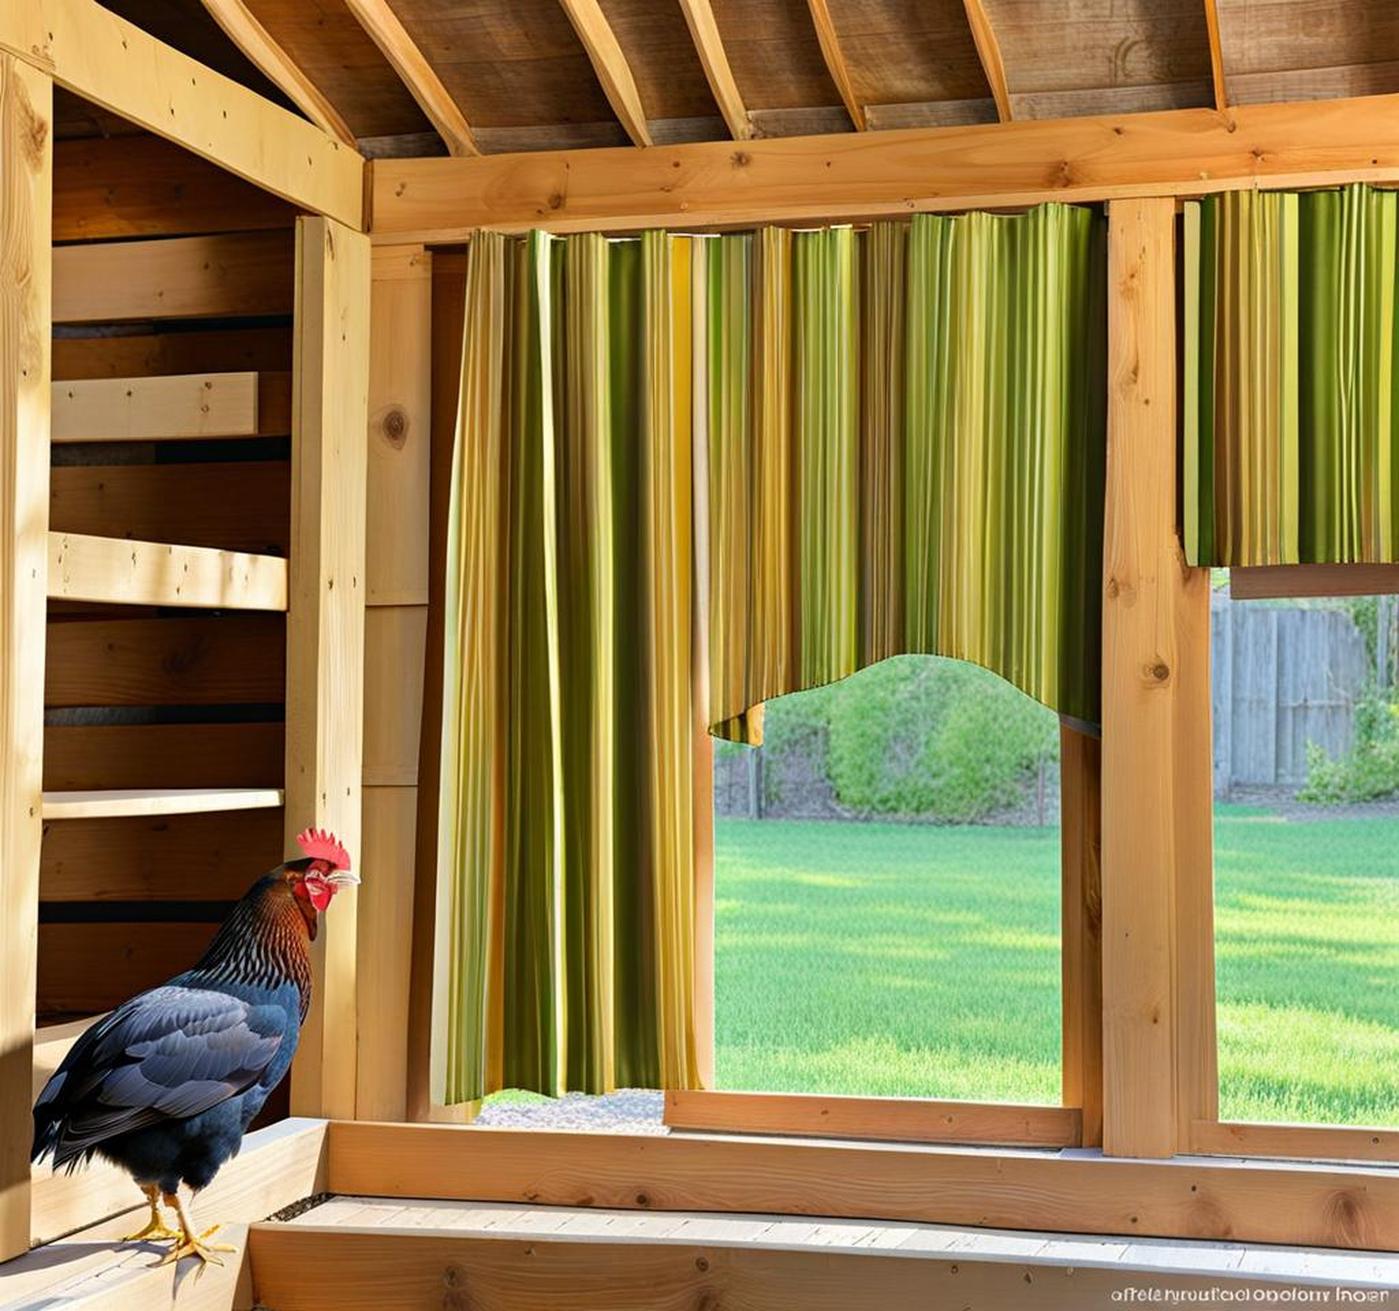
Do your chickens need a bit more privacy in their nesting boxes? Curtains can create a cozy, secluded space that chickens love for comfortable egg laying. Not only do curtains provide a practical solution for issues like preventing egg eating and deterring vent pecking , they are an easy DIY coop upgrade you can sew yourself.
In this post, we’ll walk through everything you need to make custom nest box curtains that are durable, breathable, and provide just the right amount of darkness for your flock. So grab some fabric and your sewing machine, because transforming your basic nest boxes into a spa-like oasis for your chickens is simpler than you think!
Getting Started with Nest Box Curtains
The first step is choosing the right curtain material. You’ll want a fabric that blocks light but still allows air circulation. This stops moisture buildup while creating an enclosed, private space hens feel safe laying eggs inside.
Choose a Breathable Natural Fabric
Cotton works wonderfully. It’s a lightweight fabric that feels cool against chickens’ skin while still providing opacity. Other breathable options include muslin, flannel, or linen. You can easily find these materials at your local fabric store. Consider using prewashed, second-hand fabrics too. Repurposed bedsheets or curtains make thrifty nest box coverings.
Avoid plastic sheeting or coated vinyl fabrics. They don’t allow enough airflow. Also dodge very thick, heavy materials. You want something comfortable and cool against chickens’ skin, especially in hot weather.
Measure Your Nesting Boxes
Grab your measuring tape and carefully measure the dimensions of your nest box openings. Record the length across the opening, height from roof to floor, and depth. Account for any built-in perches or protruding hardware too.
Add several inches to the length and height. Having excess allows for gathering and pleating the fabric so it hangs nicely. Getting precise measurements of your coop’s nesting boxes ensures your homemade curtains fit properly.
Calculate the Yardage You Need
Having your nest box’s exact dimensions lets you calculate how much material to purchase. Curtain height and width vary depending on box size and your coop setup. Still, plan for finished curtains around 30 inches wide by 18-24 inches long as a general guideline. Purchase extra yardage too – it’s better to have too much versus not enough fabric to work with.
Sewing Your Nest Box Curtains
Now comes the fun part – sewing! Carefully cut your fabric pieces to size following some simple recommendations. Then sew neat hems and a rod pocket before hanging everything up using removable hardware.
Cut Fabric Pieces to Size
Lay fabric out flat on a clean work surface. Measure and mark your calculated dimensions using a fabric marker or chalk. Cut along the lengthwise grain of the fabric for minimal fraying.
Remember to cut the panels larger than you need. Adding even just an extra inch on all sides gives you wiggle room for adjustments. Fabric can shift during sewing too, so having a margin of error prevents headaches.
Sew Side Hems
With your fabric cut to size, it’s time to create tidy side hems. This gives curtains a polished look while preventing the edges from fraying over time. For lighter cottons, double folded 1/2 inch hems work wonderfully. Reinforce stitching using polyester thread and strong straight or zigzag stitch.
Add a Rod Pocket Along the Top
Creating a rod pocket across the top edge lets you slide a tension rod or pole through for hanging. Leave a 1-2 inch opening in the middle so you can easily insert hardware. Consider adding thick header tape too for extra reinforcement.
Sew the Bottom Hem
A wider 5 inch hem along the bottom gives the curtains nice drape and weight. Having that bottom edge prevents lighter fabrics from blowing around in any drafts inside your coop too. Again, reinforce stitching for durability.
Hanging Your Finished Nest Box Curtains
You did it – your nesting box curtains are sewn and ready for hanging! Now comes the fun part of seeing your girls enjoy their new private oases. Here’s how to install your curtains and polish off your DIY coop upgrade.
Install Tension Rods or Hardware
Tension curtain rods are perfect for fitting inside wooden nest box frames. Their spring-loaded ends press against each inner side for secure hanging. Stapling or nailing up eye hooks also works great. Grommets along the top hem let you easily clip curtains in place too.
Use whichever hanging method best fits your nest box design. The goal is keeping them securely fastened and easy to detach when cleaning the coop. Removable rods or hooks accomplish both while making curtains super simple to install.
Slide Rod Through and Hang Curtains
Carefully slide your rod through the top pocket or rings. Adjust length as needed so panels overlap box openings fully but don’t drag on the floor. Crisscrossing panels creates an enclosed space while allowing you to access eggs easily.
For a polished look, center curtains so edges align nicely with nest box walls too. Nesting boxes with built-in dividers are perfect for hanging individual panels between each compartment.
Add Final Touches
Check for any light peeking through cracks and openings in the corners. Use extra fabric remnants or scrap pieces to cover them completely. Your goal is creating a darkened, private place chickens want to lay their eggs in.
The final step is observing your chickens enjoying their new cozy nest box nooks! Watching hens voluntarily enter the enclosed spaces shows your DIY curtains are a success.
Installing custom curtains truly takes basic nest boxes from drab to fab. Following our simple sewing tutorial, you can create lightweight yet opaque panels perfect for any coop setup. Match your flock’s needs with the right fabric too – options like burlap make great pecking deterrents.
The privacy chickens crave combined with breathability for their sensitive skin checks all the boxes. Sewing your own nesting box curtains is a fun, budget project for both you and your feathered girls to enjoy!
Some key points to remember:
- Measure your nest boxes carefully before cutting fabric
- Reinforce top and bottom hems for durability over time
- Overlap panels fully to block light leakage
- Use spring tension rods for easy install and removal
Your chickens will happily reward you with more eggs to fill your cartons if you have cozy handmade curtains on their private oases. So grab your fabric scraps and sewing machine to create practical, cute DIY nest box upgrades your flock will love!
