Is your kitchen sink dripping or leaking water right from the top around the faucet? This annoying issue can quickly lead to water damage, mold growth, and even damage to your cabinets or floor below. But don’t panic – with some diligent diagnosis and a few repairs, you can stop faucet leaks in their tracks.
You’ll learn how to pinpoint the exact location of the leak and diagnose issues with worn washers, damaged O-rings, loose hardware, and more. With step-by-step directions, you’ll gain the knowledge to make repairs and prevent future leaks.
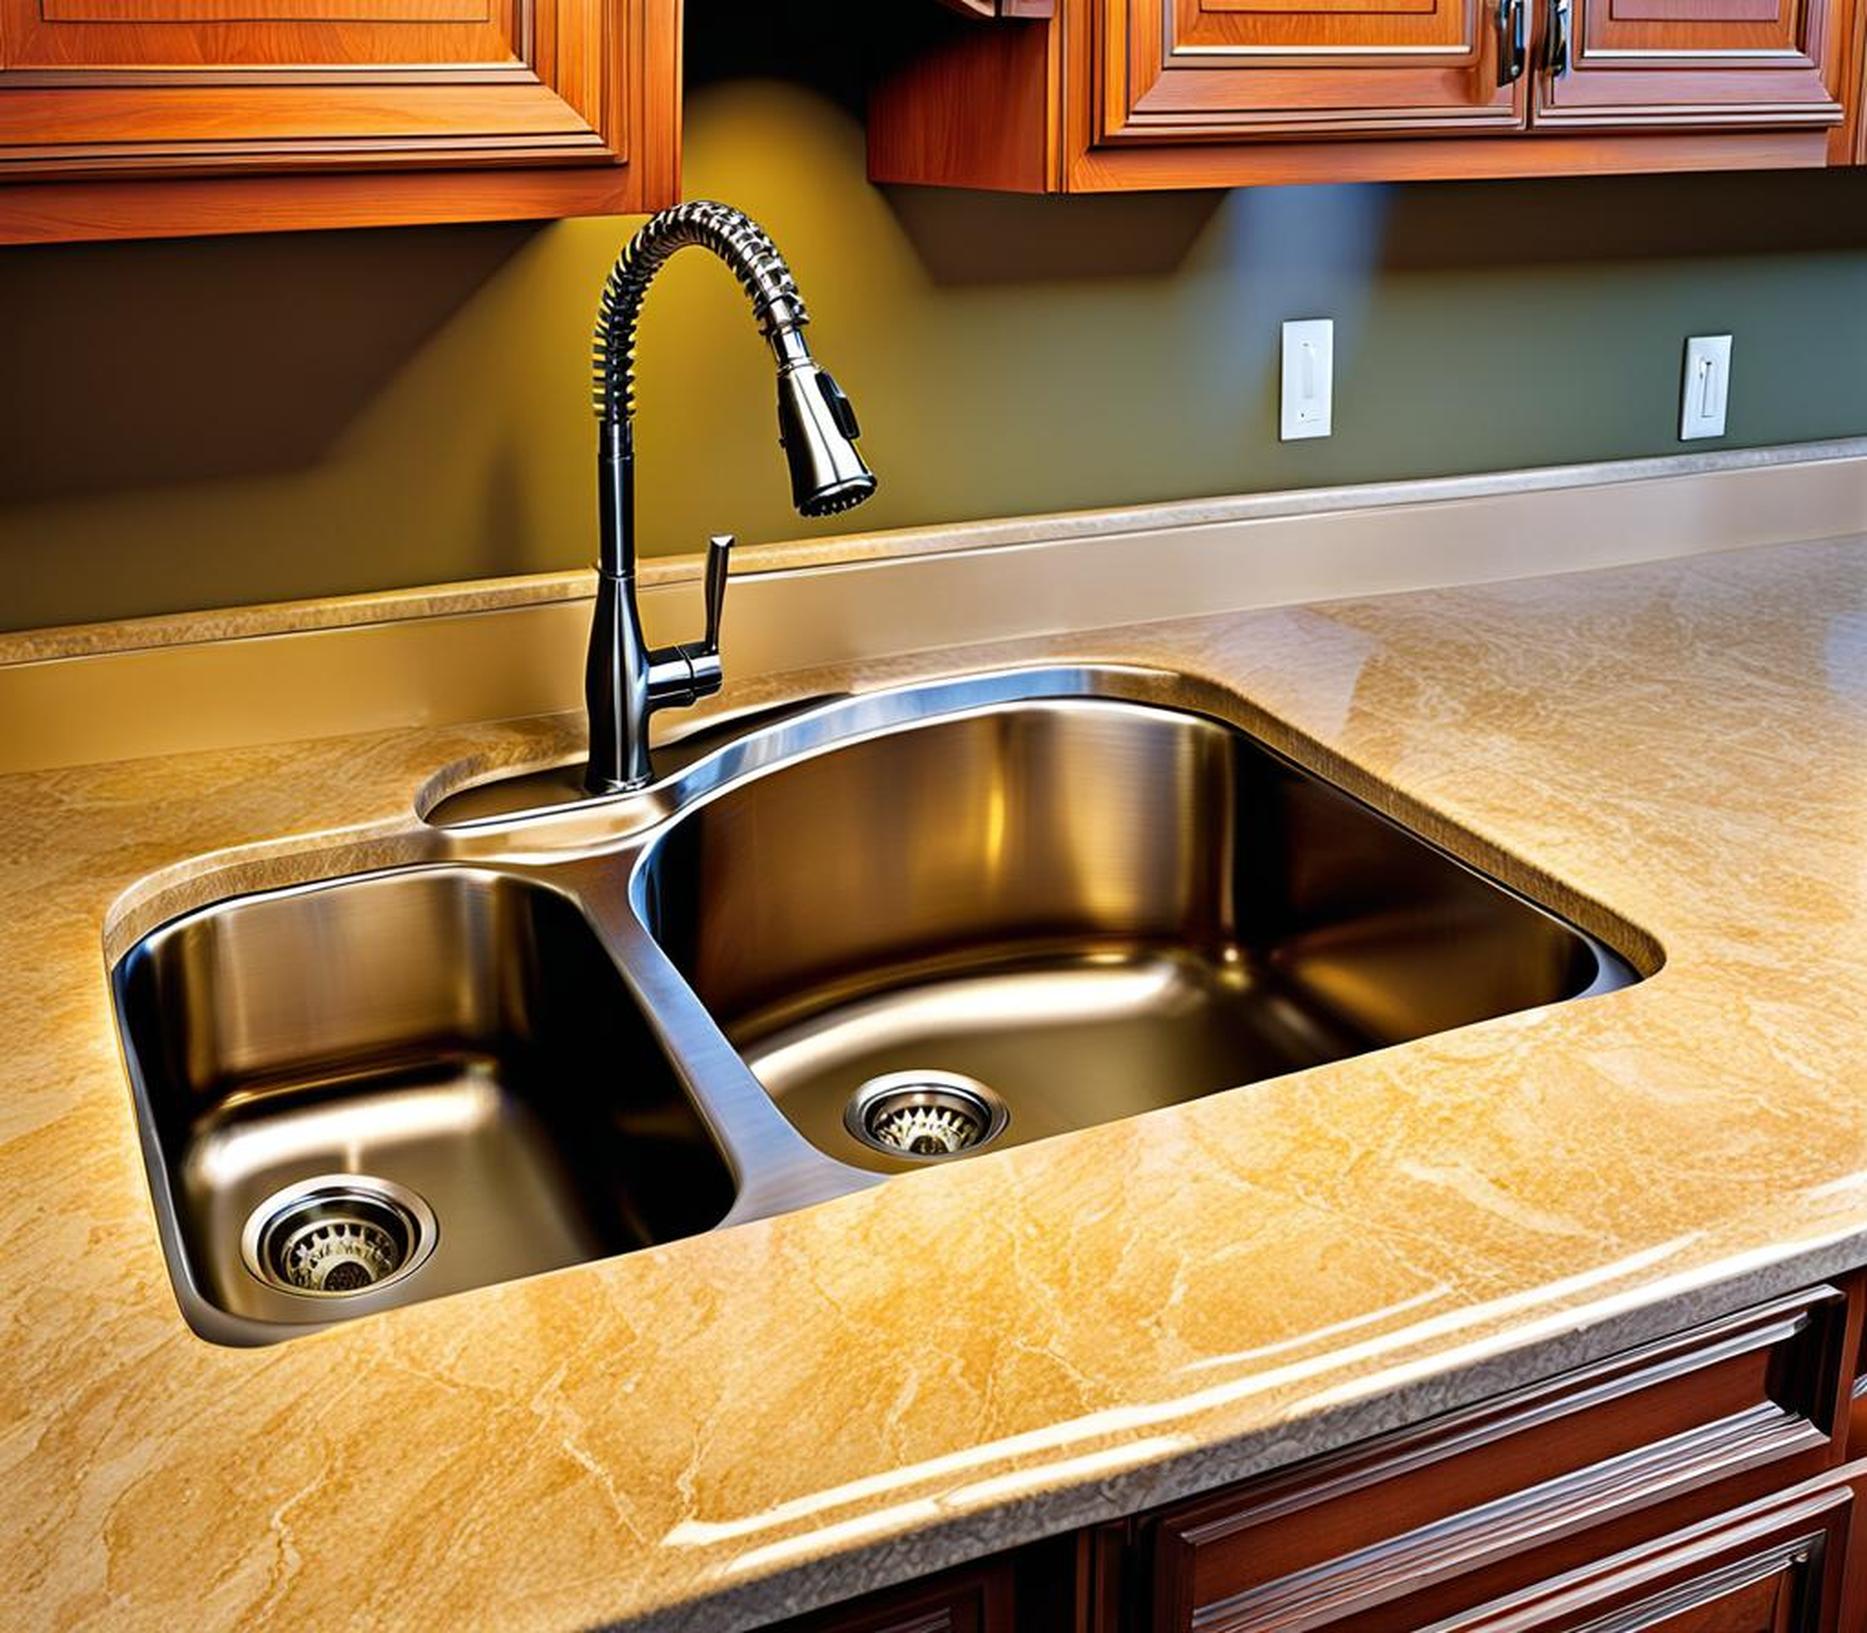
Signs of a Leaky Faucet Needing Attention
How can you tell if you have an issue with a leaky kitchen faucet? There are some clear signs to look for:
- Dripping or small leaks when the faucet is turned on
- Water accumulating around the base of the faucet or around handles
- Loss of water pressure
- Faucet handles feeling loose
- Difficulty fully closing faucet valves
If you notice any of these warning signs, it likely indicates worn faucet components that need replacement or repair. Catching minor leaks early is key to preventing water damage.
Detecting the Exact Source of the Leak
Before making repairs, it’s important to diagnose the precise location of the leak. Carefully inspect around the faucet handles, spout, and base when the water is turned on. Look for any dripping or accumulation of water to identify the source. Consider when during faucet use the leaking occurs:
- Leaks when turning water on point to worn washers or O-rings
- Drips during water flow may indicate loose mounts
- Leaks under handles suggest a damaged faucet seal
Also look under the sink to check for water dripping down into the cabinet, and turn on nearby appliances to rule out potential plumbing issues. Precise leak detection will ensure you can carry out the right repairs.
Replacing Old Faucet Washers and Gaskets
If your kitchen faucet leaks when first turned on, worn-out washers or gaskets are likely the culprit. Washers and gaskets serve as seals within the faucet to prevent water from leaking out around valves and fixtures. Over time, these components become flattened and cracked, causing drips and leaks.
Replacing old faucet washers and gaskets involves disassembling the faucet to access these parts. Consult your manufacturer instructions to identify washers and gaskets, and replace them with exact replacements.
Symptoms of worn washers/gaskets include:
- Leaks when water is initially turned on
- Loss of water pressure
- Faucet handles feeling loose
- Difficulty fully closing valves
When these seals are replaced, you should notice leaks resolve, along with improved water pressure and faucet performance.
Choosing the Right Replacement Washers and Gaskets
Using the right type and size of replacement washers and gaskets is key for a watertight seal. Check manufacturer specifications and bring the old parts to the hardware store for comparison. Options include:
- Rubber or neoprene gaskets
- Fibered washers
- Plastic or nylon seals
- Graphite-coated gaskets
High-quality materials designed for water use will provide the best durability and leak protection.
Diagnosing and Replacing a Faulty O-Ring
If your kitchen faucet is leaking from right under the handle, the likely culprit is a damaged or worn out O-ring. This small rubber ring fits around the faucet cartridge to prevent water from leaking out around the handle whenever it is turned on.
To locate the O-ring, remove the faucet handle following manufacturer instructions. The ring will be located around the cartridge or valve stem. Look for any cracks, wear, or damage. Even small imperfections can allow leaks.
Replacing the O-ring involves:
- Turning off water supply lines
- Removing handle and accessing old O-ring
- Selecting replacement O-ring of the right size and material
- Installing new O-ring in proper position
- Replacing any other worn washers or seals
- Reattaching faucet handle
- Turning water back on and testing for leaks
With the new O-ring securely in place, faucet leaks around the handle should be eliminated.
Dealing With a Leaky Faucet from Loose Mounts
If you notice water leaking from the top of the sink only during faucet use, the likely issue is loose faucet mounts. Properly secured mounts are essential to keep the faucet firmly in place and prevent water from splashing out around the fixtures.
Try pushing on the faucet to detect any looseness or play indiciating loose hardware. Inspect around the base of the faucet for gap openings or corrosion that could allow leaks.
To fix loose mountings:
- Turn off water supply
- Inspect condition of mounting nuts, washers, brackets
- Tighten any loose nuts and screws
- Seal any gaps with thread tape or sealant
- Turn water back on and test for improvement
Proper faucet installation is key to preventing annoying leaks while using your sink. Take time to ensure all connections are tight and secure.
Examining the Faucet Seal for Damage
Leaks originating from the base of the faucet may point to a damaged or worn out faucet seal. This important seal fits below the faucet between the sink countertop and the faucet base.
Its purpose is to prevent water from leaking down into the sink cabinet whenever the faucet is used. If this seal becomes cracked or deteriorated, water can drip through into the cabinet below.
Diagnosing a leaky faucet seal involves:
- Removing the faucet from the countertop
- Inspecting the seal for any cracks, gaps, or deterioration
- Replacing the seal with an exact replacement
- Ensuring the new seal is properly positioned before reinstalling the faucet
Taking the time to check this crucial seal and replace it if faulty will prevent those annoying leaks into your cabinet while in use.
Steps to Prevent Future Leaks
Once any repairs are made, there are key steps to take to prevent future faucet leaks:
- Inspect washers, O-rings, and seals periodically for early leak detection
- Always turn faucets off completely to avoid excess wear and tear
- Invest in replacement parts of high durable material
- Follow all manufacturer instructions for faucet maintenance
- Avoid banging, knocking, or placing excess strain on the faucet
- Call a plumber for help with any complex disassembly or installations
Proactive maintenance and care for your kitchen faucet will help extend its life and performance.
Ignoring a leaky kitchen faucet can lead to much larger headaches down the road. But armed with the right diagnosis process and repair knowledge, you can quickly stop those annoying drips in their tracks.
Pay attention to any signs of leaks, and be thorough in pinpointing the source. Issues like worn O-rings, faulty seals, and loose mounts have simple solutions. With proper replacement of any damaged parts, you can stop leaks at the source and prevent the hassle of water damage.
Don’t put up with the nuisance of a dripping kitchen sink – follow these guidelines to diagnose and repair faucet leaks quickly and easily. Taking action at the first sign of trouble will help keep your kitchen fixtures in great shape for years to come.
