A leaky kitchen faucet can be incredibly annoying. The constant drip-drip-drip makes a mess on your countertops and in your sink. But when you notice water pooling around the base of your faucet, it likely means you’ve got a leak in a hard-to-reach spot.
Faucet base leaks can go undetected for longer, causing water damage under your sink or to surrounding cabinetry. To stop the flooding and prevent thousands in repairs, you need to address that pesky base leak ASAP.
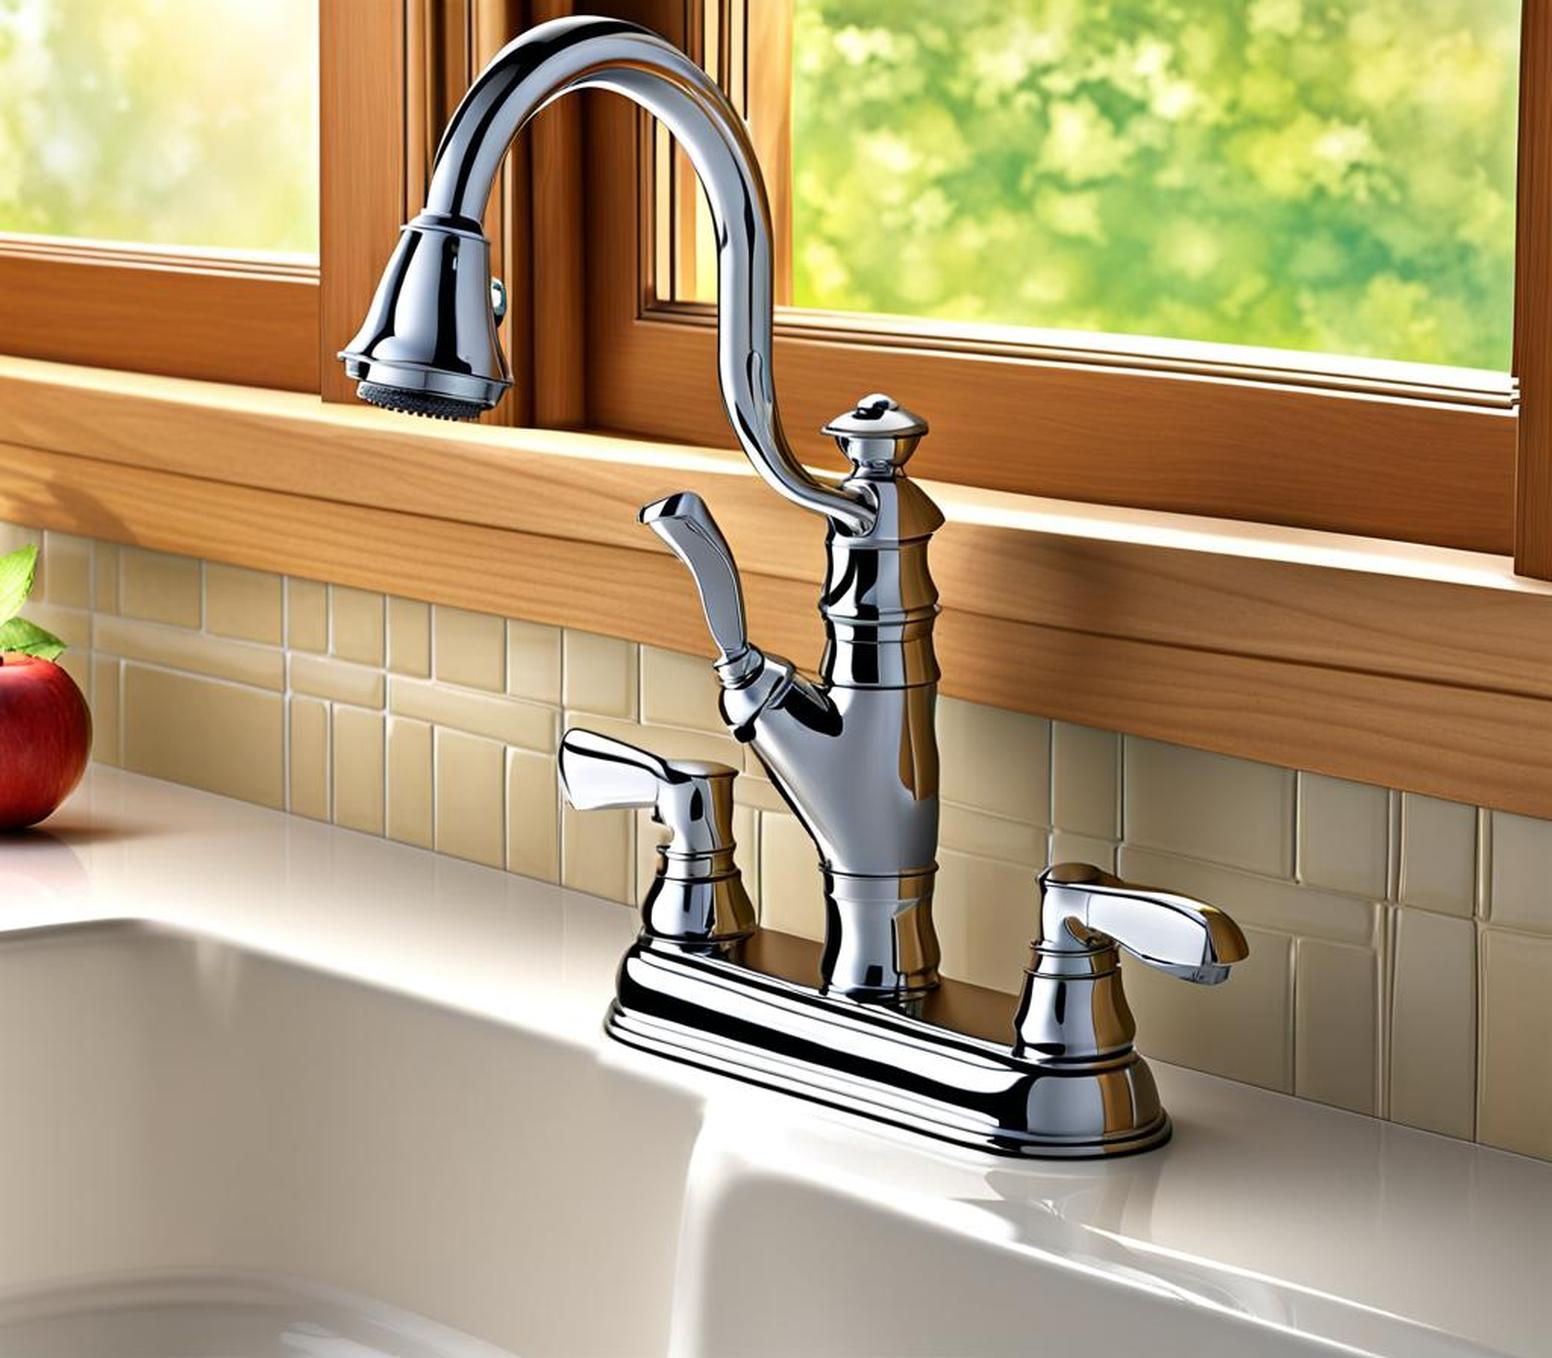
Confirming You Have a Leaky Faucet Base
Before taking any repairs into your own hands, confirm that the leak is actually coming from your faucet base rather than the spout or handles. Here’s how to test:
- Wipe the faucet and handles dry with a clean towel.
- Place a bowl or rag under and around the faucet base.
- Turn on the water for 30 seconds, then turn it off.
- Check if the bowl/rag under the base is wet while the rest of the faucet remains dry.
If there’s moisture present beneath the base but nowhere else, you can confirm you’re dealing with a leaky base. Time to roll up your sleeves!
Tools You’ll Need
Before diving into repairs, arm yourself with these must-have tools:
- Basin wrench – for tightening nuts and connections
- Replacement washers/gaskets
- Channel lock pliers
- Flashlight
Identifying and Fixing Based on Faucet Type
Faucet base repairs depend on what type of faucet you have installed. Let’s go through each scenario:
Single-Handle Faucets
With Side Sprayers
On single-handle models with a separate side sprayer, you’ll want to replace the sprayer diverter and O-rings:
- Turn off water supply lines and disconnect spray hose.
- Unscrew diverter and remove old O-rings.
- Install new O-rings and reattach diverter.
- Reconnect spray hose and turn water back on to test.
Without Side Sprayers
For single-handle faucets without a sprayer, swap out the worn out O-rings:
- Shut off water lines and remove handle.
- Unscrew holding nut and lift out cartridge.
- Replace old O-rings with new ones.
- Reassemble faucet and test water flow.
Two-Handle Faucets
On two-handle faucets, both hot and cold valves likely need new washers or O-rings:
- Turn off water and remove handles/caps.
- Unscrew nuts to access washers and O-rings.
- Swap out worn washers and O-rings.
- Reassemble handles and turn water back on to check for leaks.
Faucets with Pullout/Pulldown Wands
For movable pullout/pulldown sprayer wands, inspect connections and tighten:
- Check where spray wand meets flexible hose – tighten base nut.
- Confirm hose tight connection to faucet body.
- If still leaking, replace O-rings/washers as shown above.
Calling In a Plumber
While the above steps work for many DIYers, don’t hesitate to call a professional plumber if:
- You can’t determine the leak source.
- Shutting water lines off via valves proves difficult.
- Faucet interior components appear too complex.
- Leaking worsens despite attempted fixes.
Manufacturers like Moen also offer customer service hotlines to walk you through repairs or send replacement parts. Feel empowered to seek further assistance for tricky base leaks.
While it’s frustrating to deal with in the moment, a leaky faucet base serves as motivation to be proactive about maintenance:
- Periodically check all O-rings and washers for cracking or damage.
- Confirm spray wands/pullout hoses remain tightly secured.
- Consider preventatively replacing old kitchen faucets.
By investing a little time inspecting for leaks and replacing worn gaskets, you can avoid water-induced disasters down the road.
