For those seeking a minimalist, sustainable bed frame that also serves as a work of art, Japanese joinery is the perfect solution. Japanese joinery refers to the ancient woodworking technique of joining pieces of wood together using interlocking joints, without using nails, screws, or glue. The result is furniture with clean lines and seamless transitions, using the innate strength and beauty of the wood itself.
In this beginner’s guide, we’ll walk through everything you need to know to build your own Japanese joinery bed frame. From choosing the right plans, to techniques for cutting strong joinery joints, you’ll learn just how achievable and rewarding this project can be.
Choosing Joinery Bed Frame Plans
The first step is finding suitable Japanese joinery bed frame plans. While you can certainly design your own, beginners will benefit from starting with existing free plans found online. Look for diagrams showing how the joinery fits together, as well as a cut list for the lumber needed. Opt for a simple design you’re confident you have the skill to complete. Example plans may include:
- A basic rectangular bed frame with headboard and footboard
- A sloped platform bed frame without headboard
- A storage bed frame with built-in drawers
Make sure to choose plans with joinery you understand or are willing to learn, such as mortise and tenon or dovetail joints. The plans should also have clear instructions for the assembly process.
Joinery Techniques and Joints for Bed Frames
Now it’s time to familiarize yourself with common joinery techniques. The most beginner-friendly joint is the mortise and tenon. This involves cutting a square hole (mortise) in one piece and a corresponding tenon or “tongue” on the joining piece. Wedged together, this creates a strong 90-degree joint.
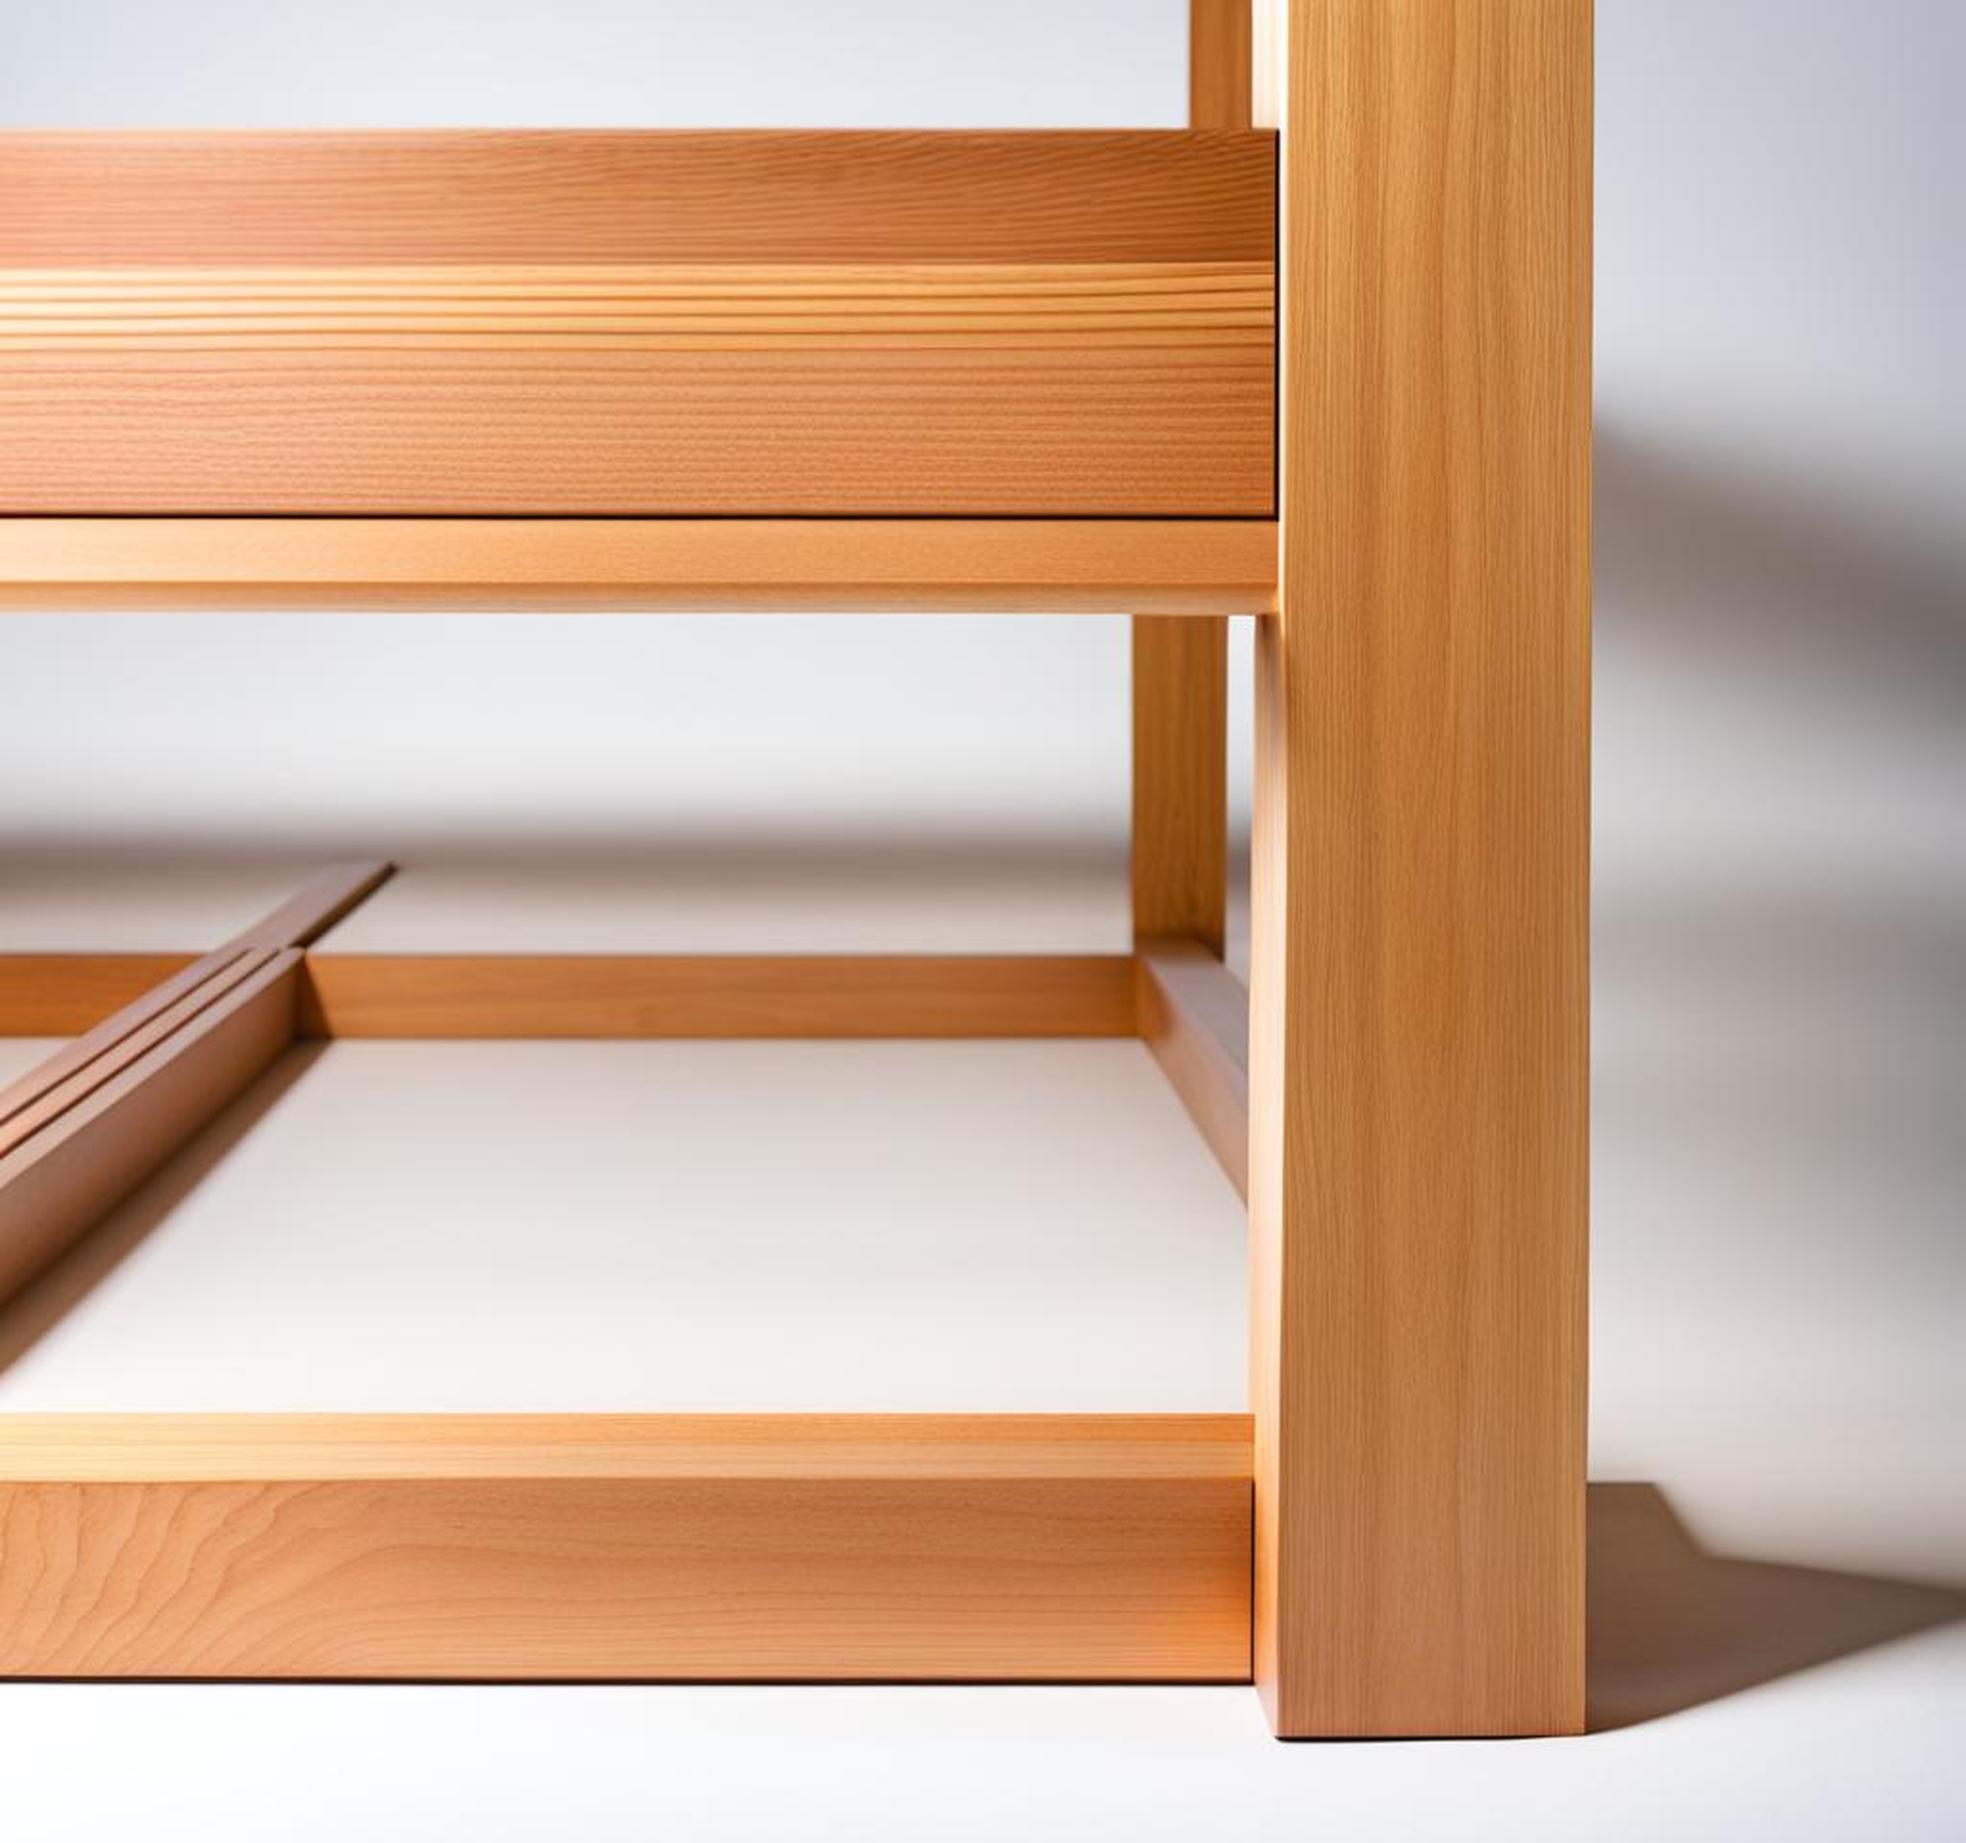
Other useful woodworking joints include dovetails (interlocking notched cuts), bridle joints (a tenon with two shoulders), and lap joints (joining two flat boards at right angles). Don’t be intimidated by the techniques–with practice, you’ll be cutting masterful joinery to assemble your bed frame.
Using Wooden Pegs and Wedges
In addition to precise joinery cuts, Japanese woodworking also relies on wooden pegs and wedges to reinforce joints. This aids with tightening joints over time as wood contracts and expands. Cut tapered pegs and wedges from a contrasting wood and gently tap them into pilot holes with a mallet. Not only functional, they elegantly accentuate the joinery.
Tools You’ll Need
Building a Japanese joinery bed doesn’t require expensive specialty tools. Here are the basics you’ll need:
- Hand tools: Backsaw, crosscut saw, chisels, mallet, drill, file, sandpaper
- Power tools: Compound miter saw, drill/impact driver, belt sander
- Clamps: Bar clamps, C-clamps, corner clamps
- Layout tools: Carpenter square, ruler, pencil
While hand tools align more closely with traditional Japanese woodworking, power tools like a miter saw help make quick, accurate crosscuts for joinery. Invest in quality hand tools, as precision is vital for tight-fitting joints.
Step-by-Step Building Instructions
Now we’re ready for the fun part–building your bed! Follow these steps:
- Prepare the lumber: Mill boards to uniform thickness, cut boards to length per plans, sand surfaces smooth.
- Cut joinery: Use combination or backsaws to cut precise mortises, tenons, dovetails. Check cuts fit snugly.
- Dry fit the bed: Assemble bed pieces without glue to test fit. Adjust joinery and sand as needed.
- Glue and clamp: When joinery is perfect, disassemble and glue joints. Clamp until dry.
- Add supporting slats: Install slats to support mattress. Space evenly leaving small gaps for ventilation.
- Sand and finish: Sand assembled bed smooth, finishing with penetrating wood oil to protect and accentuate grain.
Be patient, go slowly, and double check measurements at each stage. Good joinery rewards you with a bed frame that will last generations.
Finishing Touches
Once the main frame is assembled, add any final design details:
- Attach a headboard and footboard with mortise and tenon joints
- Embed wooden pegs into joints for decoration
- Add supporting slats, spaced 2-3 inches apart
- Apply protective finish like linseed oil or beeswax
With craftsmanship and care, you can create a stunning, heirloom-quality bed frame using classic Japanese woodworking techniques passed down through centuries.
Safety Tips
While rewarding, woodworking with both power and hand tools requires caution:
- Wear safety glasses to protect eyes from sawdust and flying debris.
- Use a dust mask and work in a well-ventilated area.
- Wear ear protection when using power tools.
- Keep fingers away from blade teeth and chisel edges.
- Secure workpiece with clamps to prevent slipping.
By working slowly with focus and proper hand placement, you can safely transform lumber into a masterful platform bed.
Customizing Your Bed Frame
The beauty of DIY joinery is that you can customize your bed in endless ways:
- Adjust size for twin, full, queen or king mattresses.
- Add or remove headboard and footboard.
- Mix wood species for unique grain patterns.
- Incorporate your own designs via carving or inlay.
- Stain or finish beds in any color imaginable.
Making it yourself means every detail reflects your unique style and space. Don’t be afraid to get creative with your joinery bed frame!
Incorporating Storage Solutions
For even more custom functionality, incorporate storage solutions right into the bed frame. With precise joinery skills, you can add drawers, cabinets, and shelving without compromising structural integrity. Not only practical for storing bed linens and clothes, it reduces bedroom clutter beautifully.
Maintaining Your Joinery Bed Frame
A joinery bed frame made well should last a lifetime and beyond. Simple maintenance is required:
- Periodically tighten joint wedges as wood contracts/expands
- Keep away from direct sunlight to prevent fading
- Use coasters and avoidplacing liquids directly on wood
- Dust with soft cloth and reapply finish annually
By keeping your bed frame out of moisture and cleaning spills promptly, the natural wood will beautifully patina over time.
Adapting to Changing Needs
Joinery’s simplicity also makes it adaptable. If needed down the road, the bed can be partially disassembled to remove sections or modify dimensions. The timeless design also pairs well with changing interior styles and mattresses.
Inspiration for Future Joinery Projects
Once you perfect your joinery skills on the bed frame, an entire world of woodworking possibilities opens up:
- Dining tables, chairs, benches
- Shelving units, display cases
- Desks, entertainment consoles
- Doors, window frames
- Outdoor patio furniture
Consider mixing joinery with modern wood screws and adhesives when appropriate for more complex projects. Just remember–patience and precision are key to mastering the art of Japanese joinery.
Creating a Japanese joinery bed frame from scratch may seem intimidating, but with the right plans, techniques, and tools, it is an incredibly rewarding woodworking project. By following this beginner’s guide, you’ll learn the basics of mortise and tenon joinery and be on your way to building a gorgeous minimalist bed.
The benefits of a DIY joinery bed are well worth the effort. Not only is it an eco-friendly, sustainable way to furnish your home, the clean lines and custom design will add beauty and meaning for generations. It’s both a functional piece of furniture and a work of art.
Have you been inspired to try your hand at Japanese joinery? We hope this guide gives you the confidence take the next step and turn locally sourced lumber into a one-of-a-kind bed frame. Your patience and dedication will be rewarded with a comfortable, sustainable sleep space you built with your own two hands.
