Giving your kitchen island a quick facelift doesn’t have to cost a fortune. With some creative problem solving and DIY elbow grease, you can transform your existing island on a budget. This way, you can refresh your space without taking on a full kitchen remodel.
From a simple coat of paint to custom storage solutions, these budget-friendly ideas will help you fall in love with your kitchen again.
Give It a Fresh Coat of Paint
One of the fastest and most affordable ways to give your kitchen island a new look is with a fresh coat of paint. If your existing island has a solid structure but feels dull or dated, painting it is an easy fix.
The preparation needed is minimal – just clean the surfaces, sand lightly, prime, and paint. Choose a bold, saturated color to make the island the focal point of your kitchen. Navy blue, forest green, and rich red tones work well. Or opt for a neutral shade like gray, beige, or white to seamlessly match the rest of your decor.
Depending on the size of your island, one or two quarts of quality paint is all you need to achieve full coverage. Satin or semi-gloss formulations are ideal for durability. Paint the base cabinets, sides, countertop edges, and any trim or molding for a cohesive look.
Painting Tips
- Lightly sand surfaces before priming for better adhesion
- Use painter’s tape to protect nearby walls and floors
- Choose paint formulated for kitchen cabinets and islands
- Apply two coats for best coverage and even color
With just a few tools, time, and some creativity, you can give your outdated kitchen island a budget-friendly makeover through the power of paint.
Add Storage Solutions
Many kitchen islands serve the dual purpose of providing extra seating and storage space. If your current island feels disorganized and cluttered, adding some storage solutions can help make it more functional.
There are many budget-friendly ways to maximize storage without replacing the entire island. For example, you can incorporate pull-out drawers for utensils and pantry items. Roll-out shelves are great for small appliances and lesser-used cookware. Spice racks , paper towel holders , and hooks can all find a home on an island too.
Another option is a freestanding storage cart or shelving unit placed next to the island. Opt for one with wheels so it can easily be moved around as needed. Repurposing an existing piece of furniture also works. An old dresser can become a makeshift island with storage space for kitchen essentials.
Storage Ideas
- Pull-out drawers for utensils
- Roll-out shelves for appliances
- Hooks for kitchen towels and pots
- Spice racks and paper towel holders
- Wheeled cart for additional storage
Getting creative with storage can help maximize the functionality of your kitchen island without overhauling the entire thing. A few affordable add-ons and organization tools can go a long way.
Use Repurposed Materials
Incorporating repurposed or upcycled materials is one of the most eco-friendly and budget-friendly ways to upgrade your kitchen island. Unique materials like reclaimed wood and reused pallets can give you that rustic, vintage look for less.
Search sites like Craigslist and Facebook Marketplace for people selling reclaimed building supplies. You can often find solid wood planks, corbels, trim pieces, and more that add instant charm. Local architectural salvage yards are another great source for materials.
Once you source items like reclaimed wood beams or an old pallet, you can repurpose them into a stylish new countertop or at least a focal backsplash piece. Sand and seal the wood for durability. If needed, use affordable concrete backerboard underneath for structural support.
Not only does using salvaged materials save money, but it prevents useful items from ending up in the landfill. Upcycling offers savings while also being kind to the environment.
Material Ideas
- Reclaimed wood or pallets for countertops
- Salvaged corbels and trim for detailing
- Vintage glass bottles to create a backsplash
- Repurposed tin tiles as an accent
- Recycled concrete pieces for an organic look
With some patience sourcing items and a bit of DIY spirit, you can build a completely unique, eco-friendly kitchen island on a tight budget.
Embrace Open Shelving
One way to instantly update your kitchen island without replacing it is to swap out some of the enclosed cabinetry for open shelving. Not only does this create a lighter, airier look, but it also saves on costs compared to installing all new cabinet doors and boxes.
Open shelving allows you to dedicate areas of your island for displaying go-to cooking items, serving ware, cookbooks, or decorative accents. For a budget-friendly option, use basic board shelves on a simple bracket system. Or opt for sleek glass shelves installed on metal rods for a more modern, floating effect.
If you need more structured support, industrial-style black pipe and fittings can be used to create adjustable shelving. Mix in some baskets or bins to keep the space organized. Just be sure to maintain the shelves regularly for an uncluttered look.
Open Shelf Tips
- Use for dishes, cookbooks, and decor
- Glass shelves create a lighter look
- Incorporate bins and baskets to stay organized
- Mount shelves securely into wall studs
Trading fully enclosed cabinetry for a combination of open shelving and closed storage gives you the best of both worlds – display space and hidden storage – in one budget-friendly island.
Update Hardware for a Facelift
Something as simple as swapping out the existing hardware can give your kitchen island a mini facelift. New knobs and pulls offer an easy upgrade that makes a noticeable difference in the overall look.
Popular finishes like matte black , brass , nickel , and bronze give a more modern, on-trend feel than traditional brass. Go for hardware with clean lines and geometric shapes for a contemporary vibe.
Make sure new hardware fits the scale of your cabinets and drawers. Oversized pulls make a statement, while smaller knobs keep the focus subtle. Mixing finishes, like pairing brass knobs with black pulls, helps each piece stand out too.
Hardware Tips
- Match size and placement to existing holes
- Look for quality materials like solid brass
- Install handles at least 1 inch from edges
- Group multiple drawers/doors under 1 long handle
Swapping cabinet hardware is a simple upgrade that packs a lot of punch for little cost. A few new knobs and handles can instantly elevate your kitchen island style.
Consider a Removable Island
For the ultimate in flexibility, you may want to replace your fixed kitchen island with a movable option. Also called rolling islands or portable islands , these allow you to reposition your island anytime.
To make an island mobile, it needs to be constructed out of lightweight materials first. Wood , metal , or even an old repurposed cart are common bases. Then install heavy-duty locking casters on the bottom so it can be wheeled around with ease.
When designing a rolling island, carefully consider the function. Will it mainly serve as extra seating , added countertop workspace , or a storage cart ? This will inform your layout.
Mobile Island Benefits
- Lets you reposition frequently
- Can be moved out of the way when not in use
- Takes up less permanent floor space
- Offers flexible seating and surfaces
A movable kitchen island maximizes your existing space. When you want to change up the flow or use of your kitchen, just roll the island wherever you need it.
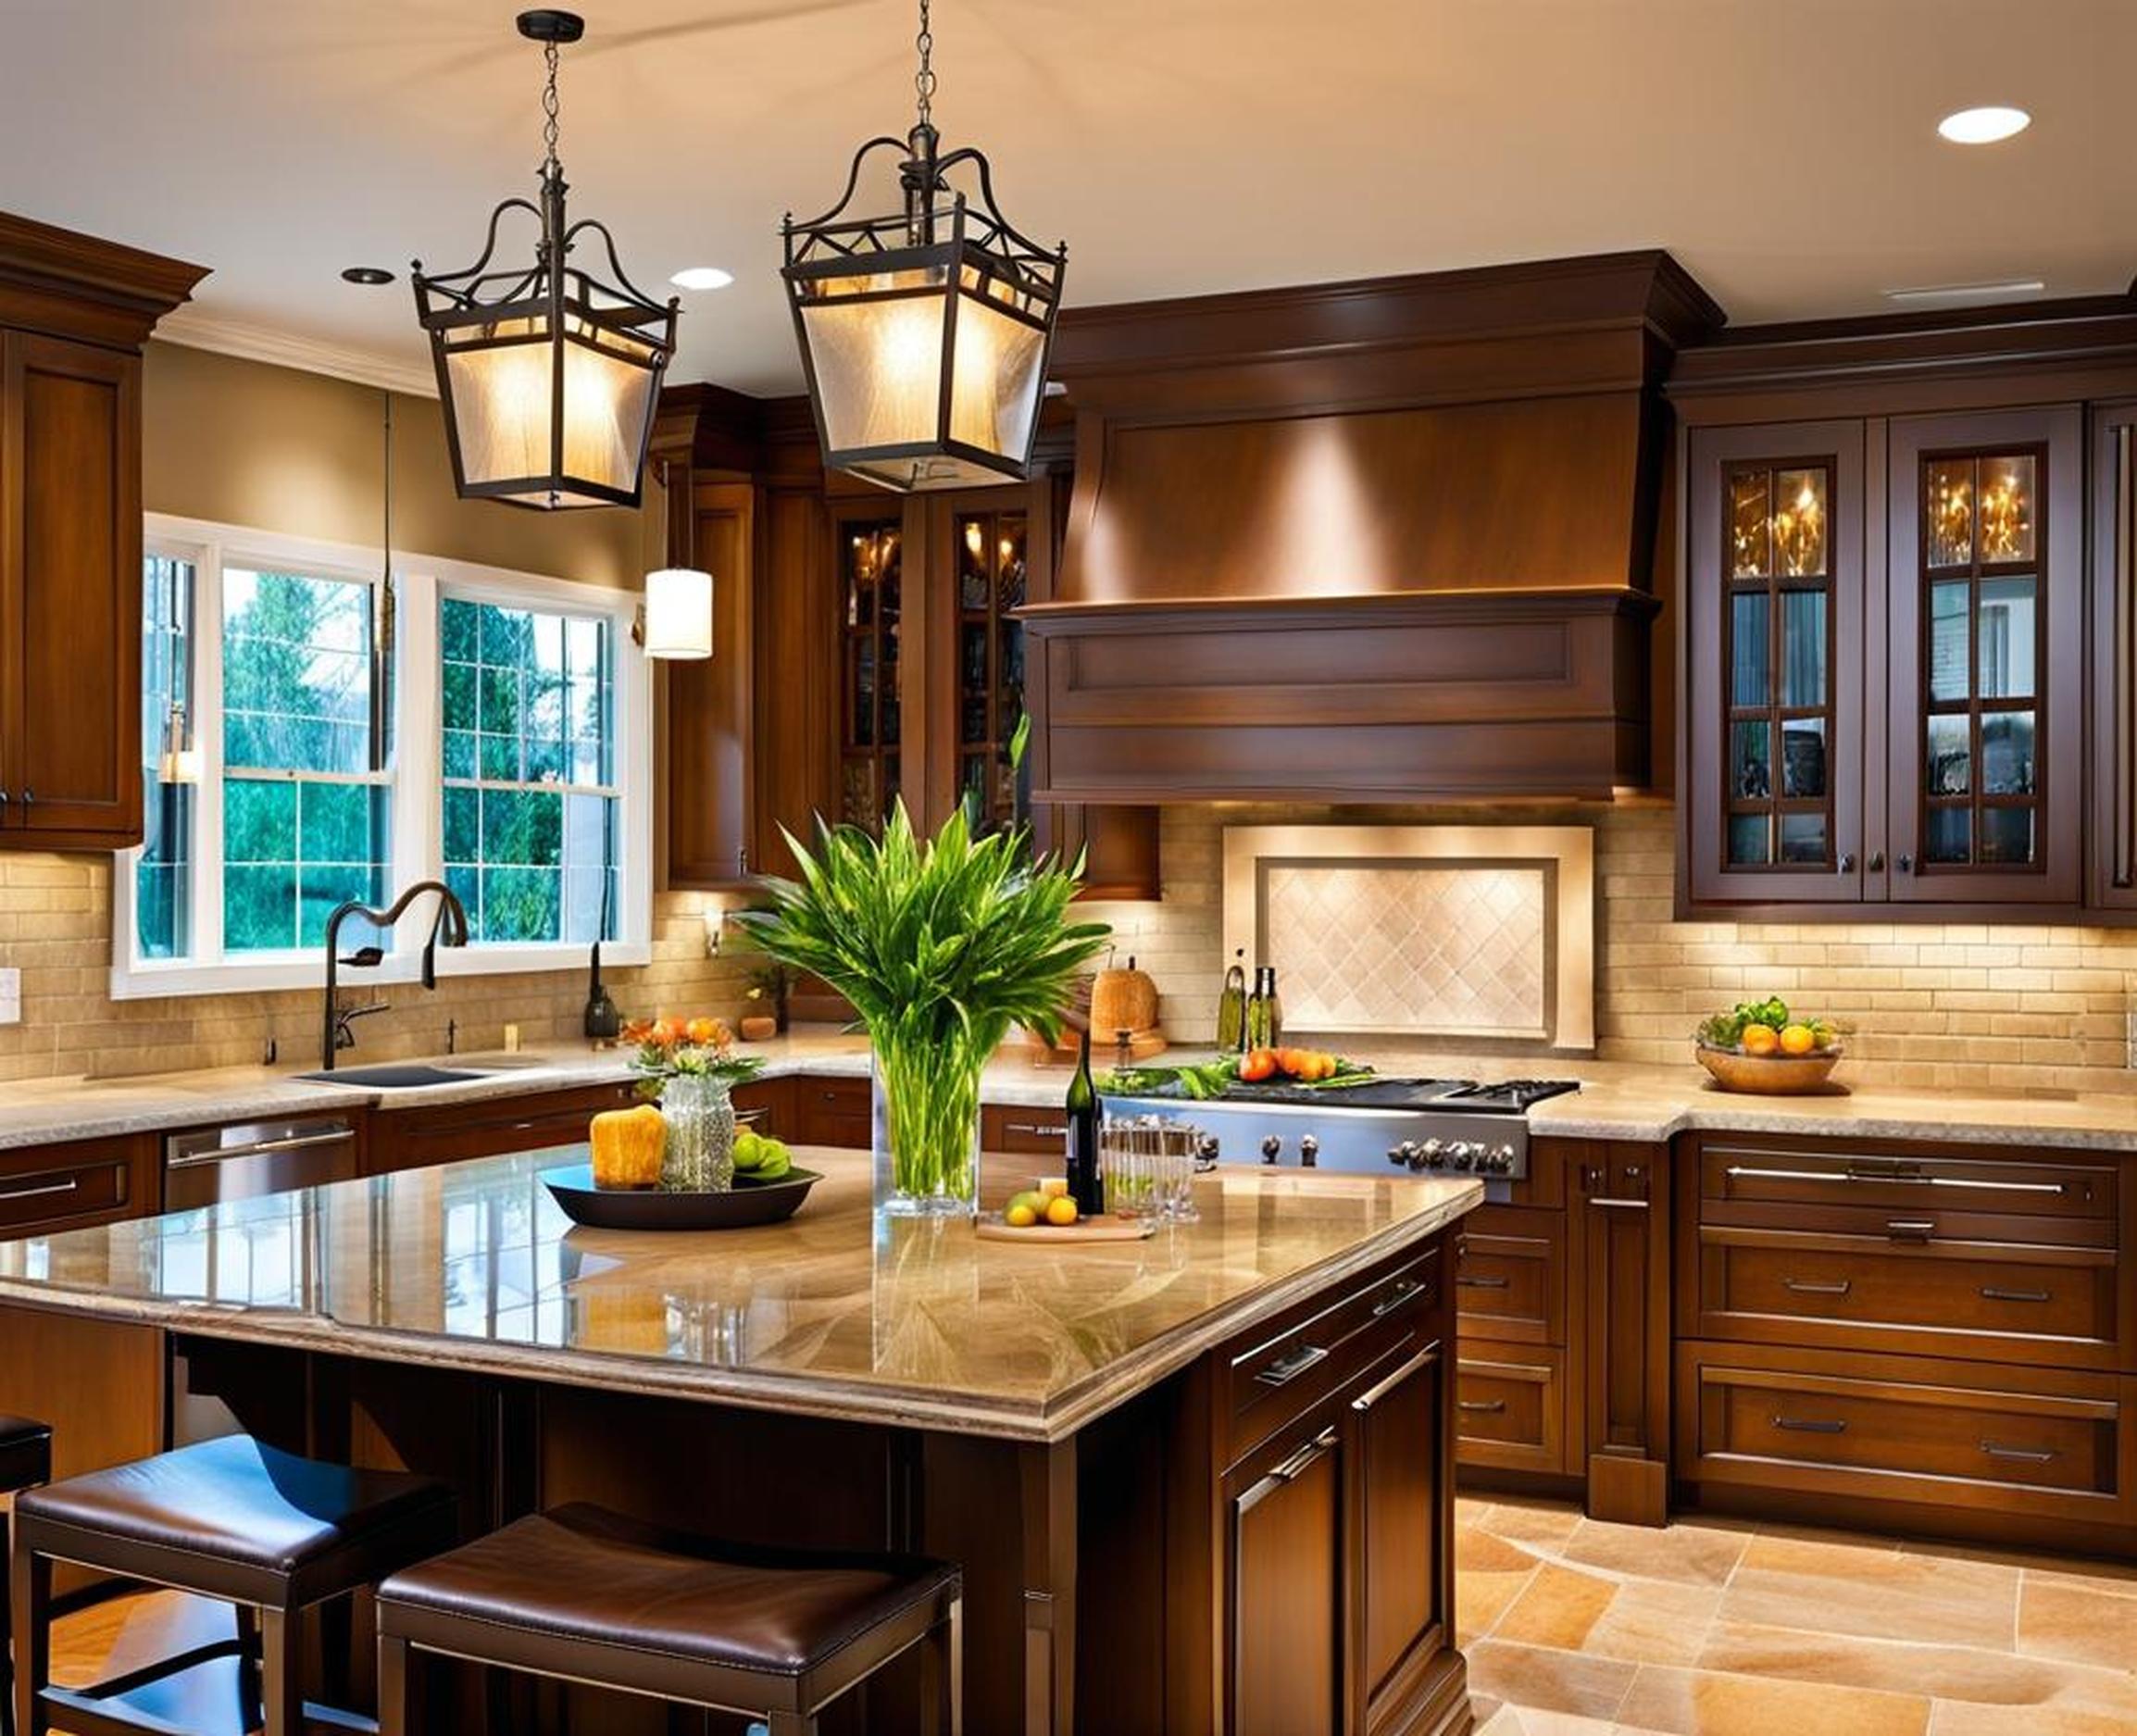
Freshen Up the Countertops
Replacing worn laminate or dated countertops with stylish new ones is a fantastic way to refresh your kitchen island. Luckily there are plenty of attractive, budget-friendly countertop options beyond basic laminate.
Materials like butcher block , wood composite , tile , and concrete offer durability and good looks at affordable prices. New faux stone laminates mimic the veining of natural materials very convincingly. Do some research to find the best value options.
Prepping your island properly is key for a smooth installation. Carefully measure and allow an overhang for seating space. Apply caulk along the seams and edges for water resistance. Add an apron-front for a finished look.
Countertop Tips
- Use liquid adhesive and seaming tape for DIY installs
- Choose laminate sheets over tiles for easiest application
- Seal natural stone and grout with waterproofing treatments
- Save money by refinishing vs. fully replacing countertops
The right countertop can transform the entire look and feel of your kitchen island. Invest in new material to take your island from worn out to wow-worthy.
Incorporate Bespoke Details
Adding unique accents and bespoke details is an affordable way to upgrade your island with custom flair. Little touches like hand-painted designs, monograms, and trimwork make a big impact.
If your island has an exposed end, consider adding hand-painted motifs for a cottage vibe. Display your family initials or names with custom metal lettering . Faux finish techniques like ragging, sponging, and distressing provide DIY-friendly texture.
For more classic appeal, incorporate architectural accents like corbels , trim , beadboard , and paneling . Check secondhand stores and online resellers to find unique pieces affordably. The character of salvaged materials adds instant charm.
Bespoke Detail Ideas
- Painted motifs and designs
- Custom metal monogram
- Unique knobs with initials
- Salvaged corbels and trim
- Faux painting techniques
Thoughtful handcrafted accents, even on a budget, can personalize your island and kitchen. Add special details for big style without big spending.
Style for Less with DIY
If you’re up for a hands-on adventure, constructing a DIY kitchen island yourself is a frugal option. DIY islands let you create exactly the features and look you want at a fraction of the cost. With the right plans and materials, you can build your dream island tailored to your space and needs.
Rather than hiring a carpenter, opt for user-friendly islands made mainly from plywood , 2x4s , and 2x2s . This construction lumber is inexpensive and easy to work with using basic tools. Watch tutorials to learn essentials like building a sturdy base, installing countertops, and adding functional storage.
Use design apps like SketchUp to map out the exact dimensions, overhangs, and storage options you want in your DIY island. Leave complicated elements like specialty cabinetry or stone surfaces to the professionals though.
DIY Island Tips
- Follow detailed plans suited for beginners
- Use design apps to visualize the layout
- Stick to basic carpentry techniques
- Hire a pro for tricky custom elements
While DIY projects require more sweat equity, they allow you to build a kitchen island just how you envision it. With the right approach, tools, and know-how, you can create a custom look on a tight budget.
Giving new life to an outdated kitchen island doesn’t require expensive replacements or a full remodel. With a mix of creative problem-solving, DIY spirit, and budget-friendly solutions, you can upgrade your existing island instantly.
A simple repaint or stains transforms the look. Smart storage additions maximize functionality. New countertops or hardware provide stylish updates. With so many affordable options, from repurposed materials to handmade details, you can customize your island to suit your needs and taste.
Revamping what you already have by repurposing, refreshing, and refinishing allows you to improve your kitchen island without expanding your budget. Use these makeover ideas as inspiration for your own easy, budget-friendly island upgrades.
