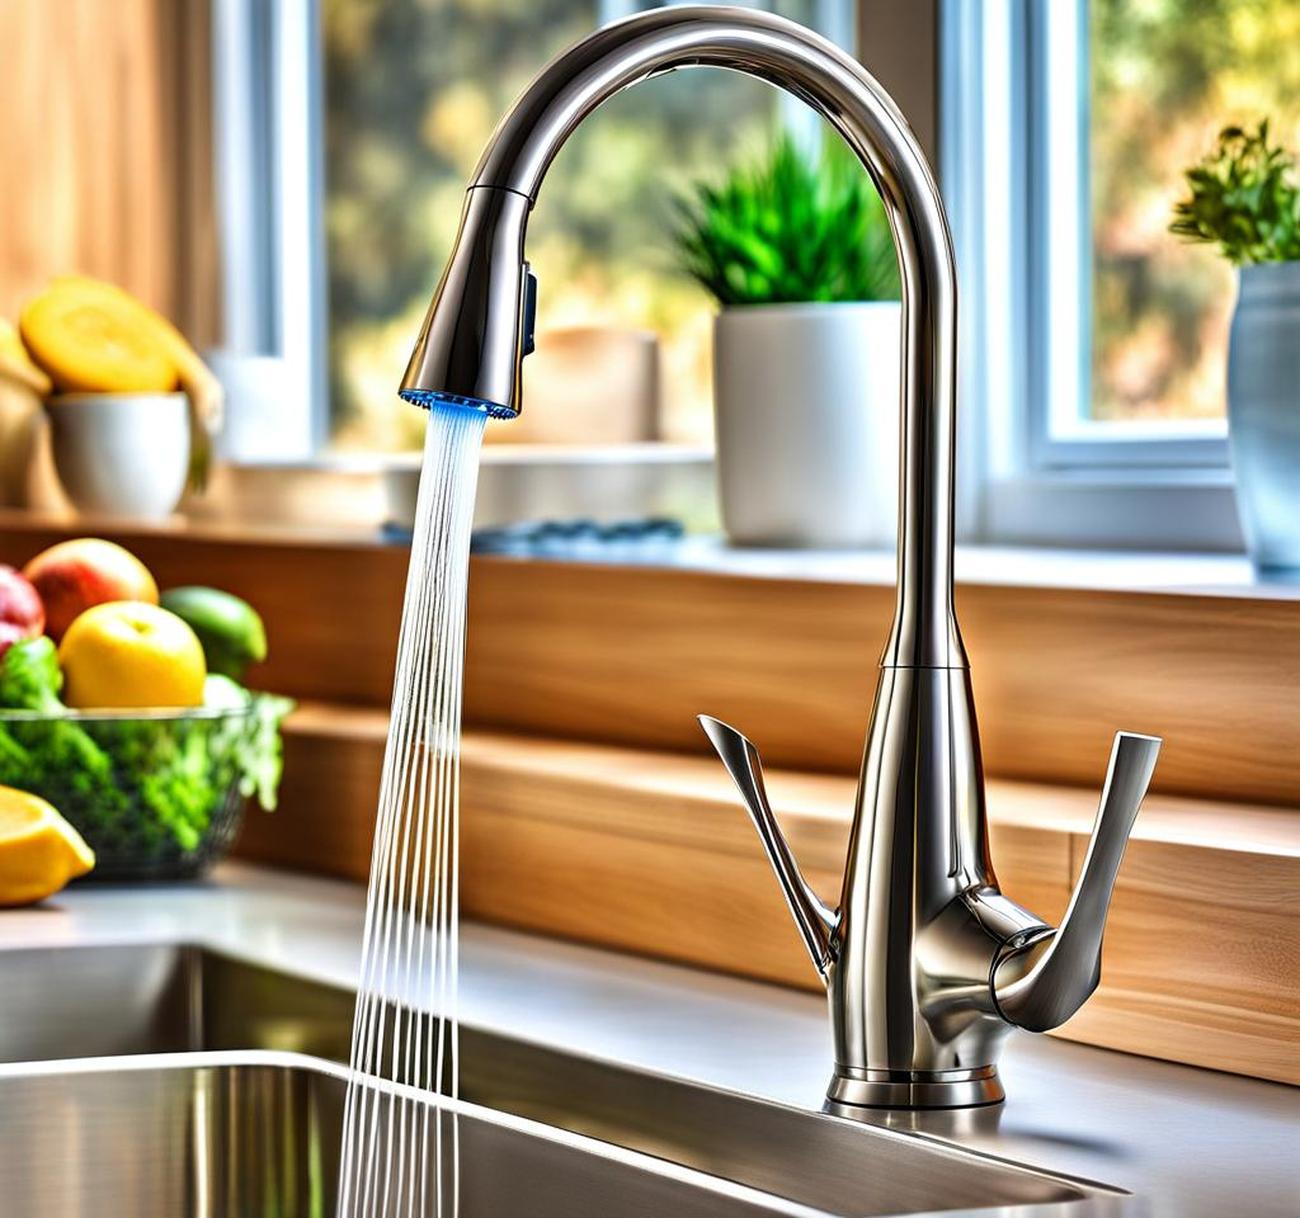
Having access to clean, contaminant-free drinking water is essential for good health. Installing an under sink water filter system with a faucet is an affordable and convenient way to filter your tap water right from the kitchen sink. We’ll walk through the complete process, from choosing the right filtration system to proper installation and maintenance.
Overview of Under Sink Water Filters
Under sink water filters are systems installed out of sight below the sink to improve water quality and taste by removing contaminants. As water passes through the filtration media, chemicals, particulates, microorganisms, and sediments are removed, resulting in healthier drinking water.
Compared to buying endless plastic bottles, under sink filtration systems are better for the environment and wallet. The filtered water faucet provides clean water on demand for cooking, drinking, or making coffee and tea.
Types of Filtration Systems
There are several types of filtration media used in under counter systems:

- Carbon block filters use dense carbon blocks to absorb water contaminants through adsorption.
- Reverse osmosis (RO) systems force tap water through a semi-permeable membrane to trap particles.
- Ultraviolet light sterilizes microorganisms and bacteria for safe drinking water.
Combination filters with multiple media are also common for comprehensive contaminant removal. The filtration method you choose depends on your water quality and specific needs.
Choosing the Right Under Sink Water Filter
With so many under sink filtration systems on the market, it’s important to assess your requirements to select the right model.
Determine Your Filtration Needs
Consider factors like:
- Whole house vs point of use system for filtered water
- Types of contaminants to remove from your water like lead, chlorine, microplastics
- Special features like pH balancing, mineral addition for taste
Understanding your water and priorities will guide your choice.
Select Mounting Style
While under sink installation is most common, you can also choose:
- Countertop filters
- Faucet mount systems
- Refrigerator water filters
- Plumbed-in options
Ensure your space can accommodate the filter system and any extra tubing or hardware needed before deciding.
Compare Brands and Models
When researching under counter filtration systems, compare:
- Filtration media and performance
- Cost of replacement cartridges or membranes
- Ease of installation and maintenance needs
- Independent certifications like NSF, WQA
- Warranties and customer service reputation
This helps narrow the options to find the best fit for your kitchen.
Installing an Under Sink Water Filter
Once you select an under sink filtration system, it’s time to tackle installation. Having the right tools and materials on hand will make the process easier.
Gather Necessary Tools and Materials
Typical items needed include:
- Water filter parts like tubing, adapters, mounting brackets
- Basic plumbing tools like wrenches, Teflon tape, bucket, and rags
- A flashlight to see tight spaces
- Extension cord to test the system
Ensure your plumbing is accessible under the sink before starting. Installation difficulty varies based on existing setup.
Shut Off Water Supply and Drain Lines
Before mounting the filtration system, shut off the cold water line valve supplying the kitchen faucet then open the faucet to drain remaining water. This prevents leaks and water damage during the process. Unscrew the drain pipe connections as well if needed to access supply lines.
Mount Filter Assembly
Check clearances before securing the filter assembly bracket to the cabinet frame. Most systems hang down vertically but may fit differently based on sink and cabinet configuration. Mount the filter according to manufacturer instructions using provided hardware.
Connect Water Supply Lines
Using the tubing, fittings and optional angle stop valve supplied with the starter kit, attach water lines between the filter inlet and faucet outlet to establish flow. Ensure airtight seals on all compression fittings by wrapping threaded connections with Teflon tape. Leaks can develop over time so check your work as the system pressurizes.
Maintaining an Under Sink Water Filter
Regular maintenance keeps your under sink filtration system working properly for the long run.
Change Filter Cartridges
Replace filter cartridges or RO membranes every 6-12 months depending on water usage and quality. Many systems have built-in change reminders that notify you when performance drops. Stick to the manufacturer’s recommendations for optimal contaminant reduction.
Sanitize System Regularly
To inhibit bacteria growth in places water accumulates, periodically sanitize the system using an approved cleaner like household bleach. This also flushes out particulate buildup that can impede flow.
Check for Leaks
It’s normal for fittings and tubing to shift slightly after installation. Periodically check questionable connections and tighten as needed to prevent leaks. Replace any worn gaskets or water seals annually.
Bypass Valves for Extended Non-Use
If leaving home for an extended period, use included bypass valves to isolate the filtration system from supply lines. This prevents stagnant water and also accommodates any major upstream plumbing work needed while you’re away.
Installing an under sink water filtration system with filtered water faucet takes a bit of effort upfront but pays off with convenient access to cleaner water every day. The right model removes nasty contaminants while retaining beneficial minerals for better taste and health compared to unfiltered tap.
Following the manufacturer’s instructions and maintaining the system properly keeps it working optimally for years. Investing in a quality filtration solution brings the luxuries of bottled water right to your kitchen faucet!
