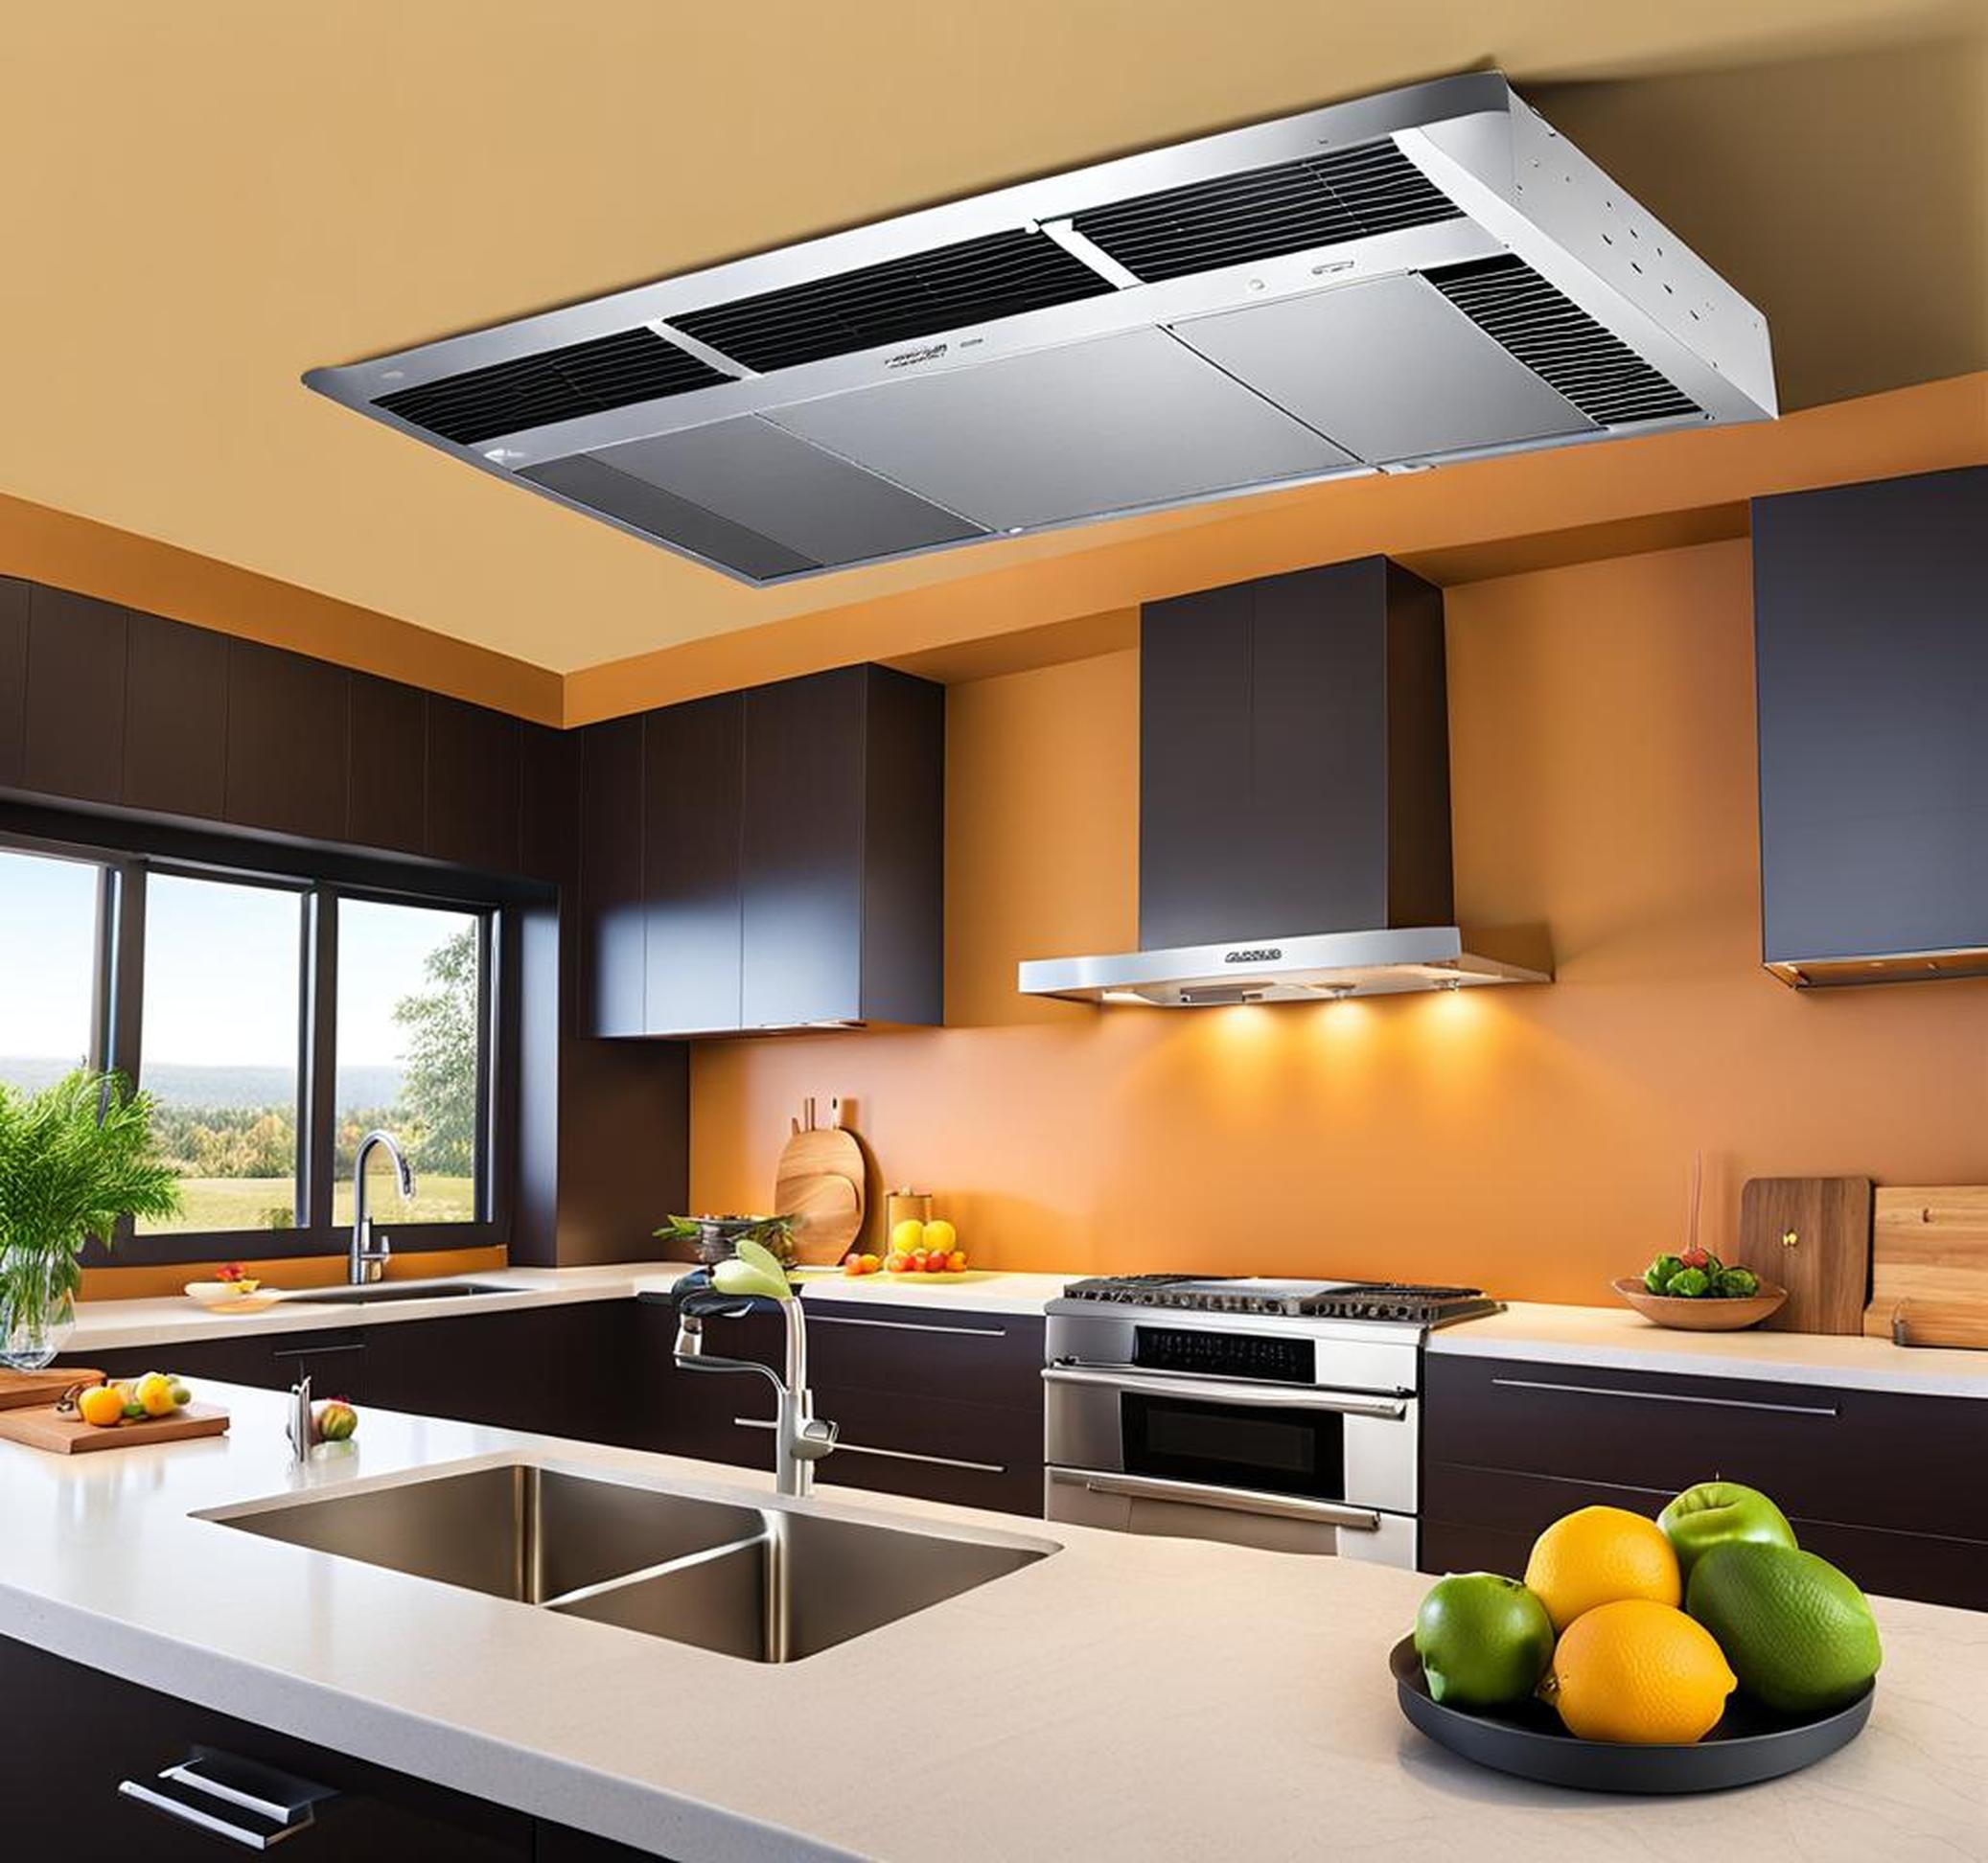
Having an effective kitchen exhaust system is crucial for eliminating cooking odors, grease, and smoke. Wall-mounted fans provide a space-saving option that can transform the air quality in your kitchen. With some planning and basic DIY skills, installing a wall-mount kitchen exhaust fan is a straightforward process that you can tackle in a few easy steps.
Step 1: Select The Right Exhaust Fan
Not all kitchen exhaust fans are created equal. The first step is choosing the right wall-mount model for your cooking equipment, kitchen size, and venting plans. Key factors to consider are:
- CFM rating based on kitchen dimensions and typical usage
- Ducting direction (vertical or horizontal)
- Features like lighting, remote controls, auto-shutoff timers
- Noise output measured in sones
- Budget
You’ll also want to decide between ducted or ductless fans and single or double motor blower models. Top-rated brands like CaptiveAire, Lora, and Broan offer quality wall-mount kitchen exhaust fans to meet varying needs and budgets.
Measure CFM Requirements
The CFM rating indicates the airflow capacity to properly ventilate your kitchen. For accurate sizing:
- Measure kitchen dimensions (length x width x height)
- Factor in stove fuel type (gas, electric, induction) and usage frequency
- Calculate recommended CFM using online CFM kitchen exhaust calculator
Pick Ducting Direction
Wall-mount fans can accommodate both vertical and horizontal ducting. Assess which direction works for:
- Shortest possible duct run
- Accessible venting location (roof, wall)
- Aesthetic and structural considerations
Step 2: Prepare the Installation Area
With the exhaust fan model selected, now prepare the installation area for a smooth mounting process. This involves:
Taking Precise Measurements
To determine the optimal mounting location:
- Measure from stove top to overhead cabinets per manufacturer’s guidelines
- Check distance to exterior venting location
This allows you to purchase the correct ducting lengths.
Planning Electrical and Ductwork
Consider the location of:
- Electrical source to power the unit
- Ducting direction (vertical or horizontal)
- Vent opening through roof or wall
This impacts fan wiring requirements and type of ducting to purchase.
| Duct Type | Key Factors |
| Aluminum | Lightweight, corrosion resistant ducting |
| Steel | Sturdy yet flexible option |
Step 3: Mount the Exhaust Fan
With careful measurement and planning, you’re ready for physical installation. Key steps include:
Securing the Mounting Bracket
Use the provided template and hardware to attach the sturdy mounting bracket by:
- Checking if wall surface requires additional reinforcement
- Drilling holes for provided screw anchors
- Confirming it can support fan weight
Attaching the Exhaust Fan
Then, take the exhaust fan unit out of its packaging and:
- Align it to pre-installed mounting bracket
- Insert mounting screws to securely fasten in place
Connecting Ductwork
Next, attach ducting by:
- Sliding over fan exhaust outlet
- Running through roof/wall cap
- Using metal tape to properly seal all ducting connections
Step 4: Complete the Installation
You’re in the home stretch! Finish off by:
Testing Exhaust Fan Functions
Turn power on and test features like:
- Fan speeds
- Operation sounds
- Any lighting
- Auto shut-off timers
Applying Finishing Touches
Final steps involve:
- Concealing any visible wiring
- Sealing gaps around mounting area with caulk
- Cleaning the fan surfaces
Once complete, your wall-mounted kitchen exhaust fan should blend seamlessly into your kitchen providing customized airflow for years to come.
To keep your wall-mount kitchen exhaust fan working optimally:
- Clean the blower wheel every 3-6 months
- Wash fan filters on a monthly basis
- Inspect ducting periodically for any leaks or blockages
- Tighten mounting hardware if vibrations develop
