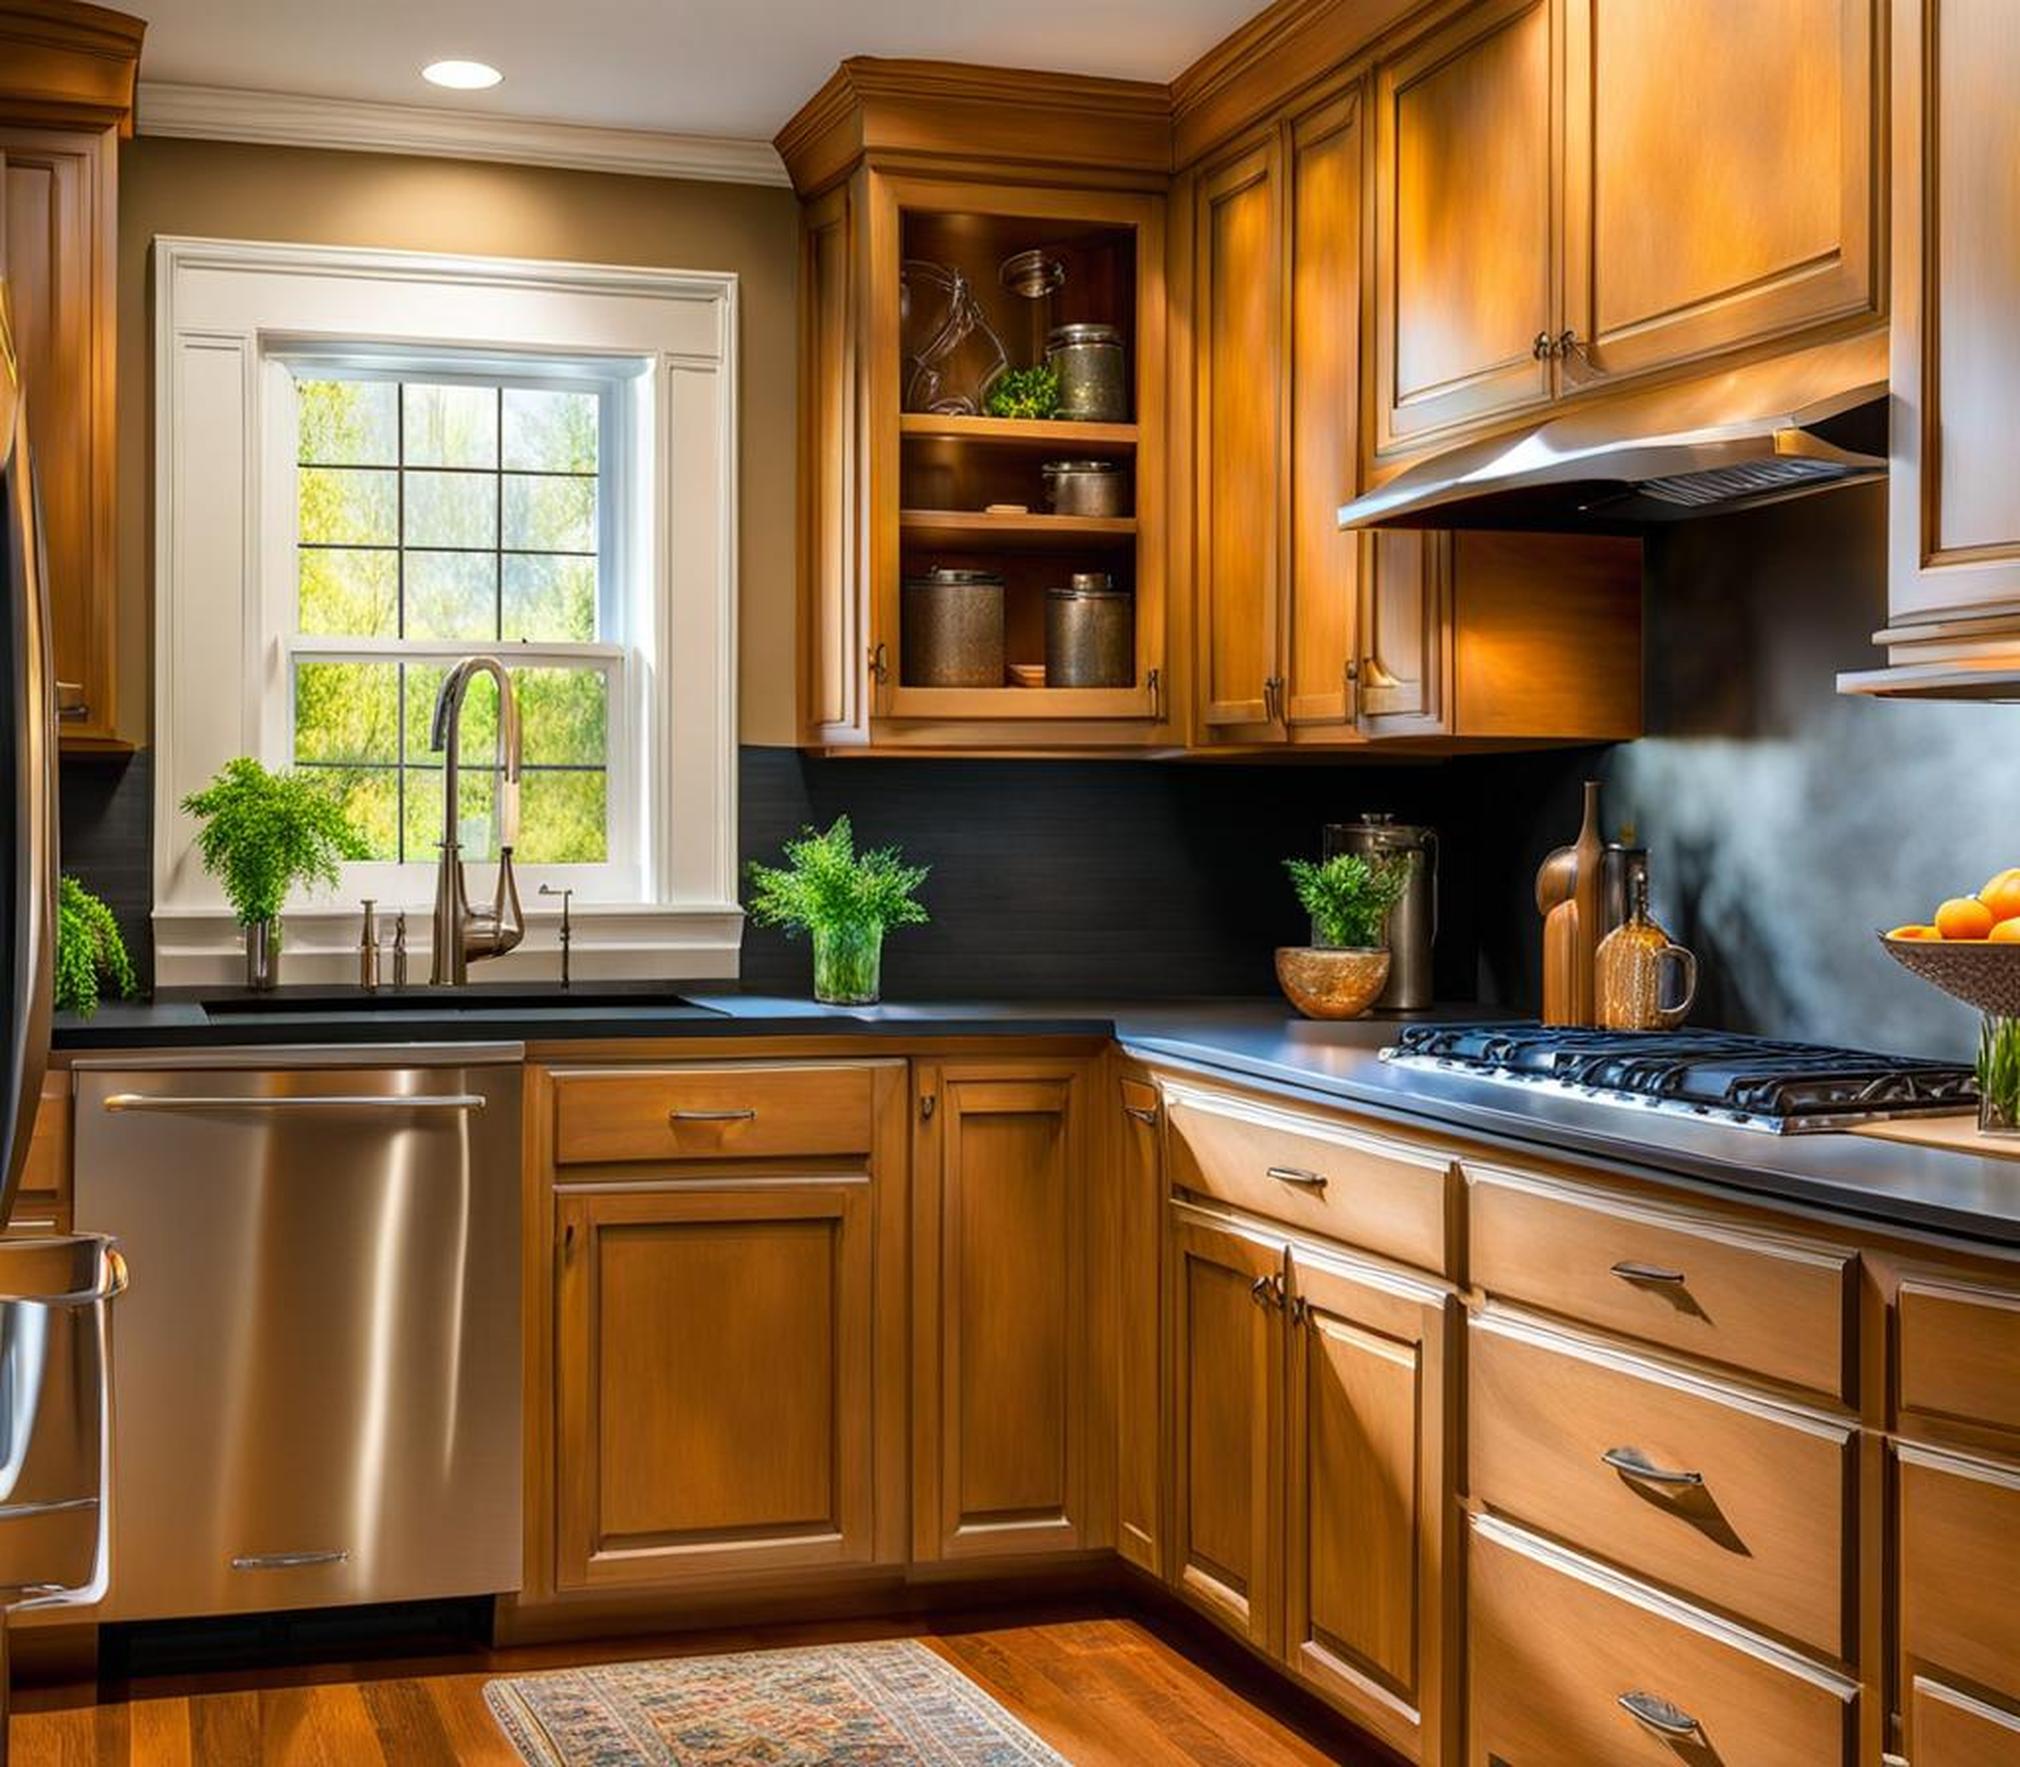
Do you dream of a gorgeous new kitchen, but can’t afford the astronomical cost of replacing your cabinets? With some elbow grease and the right techniques, you can completely transform the look of your kitchen by spray painting the cabinets yourself. Spray painting is an affordable way to give your outdated cabinets a fresh facelift. When done properly, you can get a professional-grade finish that looks like you hired a contractor. This comprehensive guide will walk you through the entire process from start to finish, with pro tips so you can spray paint your kitchen cabinets like an expert.
Prep Work is Key to Success
Preparation is crucial for beautiful, long-lasting results when spray painting cabinets. Proper prep ensures the paint adheres well and provides a smooth, even finish. Rushing this stage can lead to peeling, chipping or an uneven coating down the road. Follow these important steps:
Clean Cabinets Thoroughly
Grease splatters, dirt, residue and grime will prevent spray paint from properly sticking to cabinet surfaces. Thoroughly clean all fronts, sides, tops, bottoms and interiors with a degreasing cleaner like TSP substitute. Scrub well and rinse to remove all residue. Also clean out drawers and shelves.
Sand Cabinets to Scuff the Finish
Lightly sanding with 150-220 grit sandpaper will scuff up the glossy finish on smooth cabinet doors and fronts. This helps the paint better adhere. Focus on sanding the raised areas. Take doors outside or use a sanding block to contain the dust.
Remove Doors, Drawers and Hardware
It’s much easier to get into all the nooks, crannies and edges if the cabinet doors are removed from the frames. Remove all drawers as well. Also, take off all hinges, knobs and pulls since you don’t want spray paint to coat any hardware pieces. Number the doors and drawers with painters tape so it’s easy to reinstall everything in the right spot later.
Fill Any Holes and Imperfections
Examine cabinets closely and fill any holes, gaps, cracks or flaws with wood putty or spackle for the smoothest finish. Once dry, sand lightly to smooth away any roughness or uneven areas. Thoroughly wipe away all dust with a tack cloth.
Choosing the Right Cabinet Paint
Investing in a high-quality cabinet paint will ensure you get the most durable and beautiful outcome when spray painting kitchen cabinets. Avoid general interior wall paints, as they lack the adhesion power and hard finish needed for heavily used cabinets. The options include:
Alkyd/Oil-Based Paint
Alkyd paints dry to an extra durable, glossy enamel finish. They are self-priming on wood. Alkyd paints have strong fumes so protect skin/eyes and ventilate well.
Acrylic Latex Cabinet & Trim Paint
Water-based acrylic latex paints made specifically for cabinets provide great adhesion and a durable finish with minimal odor. Many are now self-priming but may still require a primer coat on surfaces with stains.
Color Options
Darker colors like navy, black or dark gray do the best job at hiding old stains or flaws in the woodgrain. Painting cabinets white or light colors will brighten up the whole kitchen but imperfections may still be visible.
Spray Paint Cans vs. Paint Sprayer
When deciding how to apply cabinet paint, you have two main options – traditional aerosol spray paint cans or an electric paint sprayer. Each has pros and cons to consider.
Invest in a Paint Sprayer for Whole Kitchen
If painting more than just a couple small cabinets, a paint sprayer is highly recommended. Sprayers allow you to quickly apply a smooth, even coating across large areas. Plus, they use less paint in the process. This greatly reduces costs compared to spray cans when covering many doors and frames.
Quality sprayers from Wagner, Graco and Fuji range from $100-300 for home models but are well worth the investment for DIY kitchen cabinet makeovers. Opt for a sprayer with a suction tube that allows pulling paint directly from the can.
Spray Cans Only Practical for Small Jobs
While extremely convenient, aerosol spray cans have some downsides for painting many kitchen cabinets. Each standard 12 oz can only covers around 10-15 square feet with a single coat. It takes 2-3 coats for full coverage, driving up the amount – and cost – of spray paint dramatically.
Spray cans also provide less control compared to sprayers. It’s harder to achieve an even coat without drips and brush strokes. For small jobs like painting cabinets in a bathroom or touching up kitchen cabinet doors, spray cans get the job done. But for 10 cabinets or more, a paint sprayer is far more efficient.
Pro Spray Painting Technique for a Flawless Finish
Applying spray paint requires some technique to get a smooth, professional-looking finish. Follow these tips from the experts:
Apply Multiple Thin, Even Coats
Lightly spraying 2-3 thin coats allows time for each coat to fully dry before adding the next. This prevents drips and runs. Move the sprayer at a consistent speed, holding 6 to 10 inches away from the surface.
Maintain a Wet Edge
When coating large surfaces like doors and frames, maintain a “wet edge” – overlap each spray pass so the fresh spray blends into the still-wet previous stroke. This prevents lap marks or sharp edges between passes.
Keep Sprayer Moving to Avoid Drips
Holding the sprayer motionless in one spot will result in drips. Keep it moving across the surface at a steady back and forth pace. Avoid stopping mid-stroke or doubling back over wet areas.
Use a Consistent Motion
Move your entire arm in long, sweeping passes rather than just flexing your wrist. This provides smoother, more controlled spray application. Use vertical strokes on cabinet sides and doors. Go horizontally on tops, bottoms and fronts.
Allow Proper Dry Time Between Coats
Cabinet paint needs 1 to 2 hours of dry time before applying another coat. Rushing leads to drips and runs. Sand lightly with 220 grit sandpaper between coats for maximum smoothness.
Cleanup and Reassembly
The finishing touches complete your kitchen cabinet makeover. Follow best practices for cleanup and reinstallation to check all boxes on your to-do list:
Proper Paint Sprayer Cleaning
Always follow the manufacturer’s instructions for paint sprayer cleanup. Thoroughly rinse and clean the spray nozzle, hose, and cup or reservoir using the recommended solvents. This keeps it in peak condition for future projects.
Reattach Doors, Drawers and Hardware
Once the paint has fully cured on all doors and frames (at least 24 hours), it’s safe to rehang them on the cabinets. Line up hinges and reinstall any door pulls or knobs removed before painting. Place drawer slides back on and securely screw in. Test that doors and drawers glide smoothly.
Remove All Tape
Wait until the paint has completely dried before pulling off any painters tape used during the process. Remove slowly to avoid chipping the fresh paint. Enjoy your revamped kitchen!
FAQs
How long does spray painted kitchen cabinets last?
With thorough preparation and good quality paint, DIY spray painted kitchen cabinets can easily last 5-7 years with proper care. Some report their spray painted kitchens looking pristine for over 10 years. The longevity rivals professionally painted cabinets.
What mistakes should I avoid when spray painting cabinets?
Rushing through surface prep leads to peeling and poor adhesion. Heavy coats cause drips while light coats look streaky. Not sanding glossy areas prevents proper bonding. Choosing cheap paint means a less durable finish. Not cleaning a sprayer properly ruins it for future use. Have patience at each stage.
How do I get an ultra smooth finish on spray painted cabinets?
Lightly sanding between coats fills any slight imperfections. Applying multiple thin coats creates a glass-like look. Maintain consistent motion with sprayer 6-10 inches from surface. Check for any dust or debris between coats. Use high quality paint formulated for cabinets and woodwork.
Spray painting kitchen cabinets allows you to transform the heart of your home for a fraction of the cost of new cabinetry. Follow the tips in this guide during each preparation, painting and cleanup step to end up with a flawless, professional-looking finish. The patience and attention to detail required is well worth it for beautiful results.
You can spray paint your kitchen cabinets. No one will believe you did it yourself. That gorgeous kitchen you’ve always dreamed of is now within your DIY reach with spray paint!
