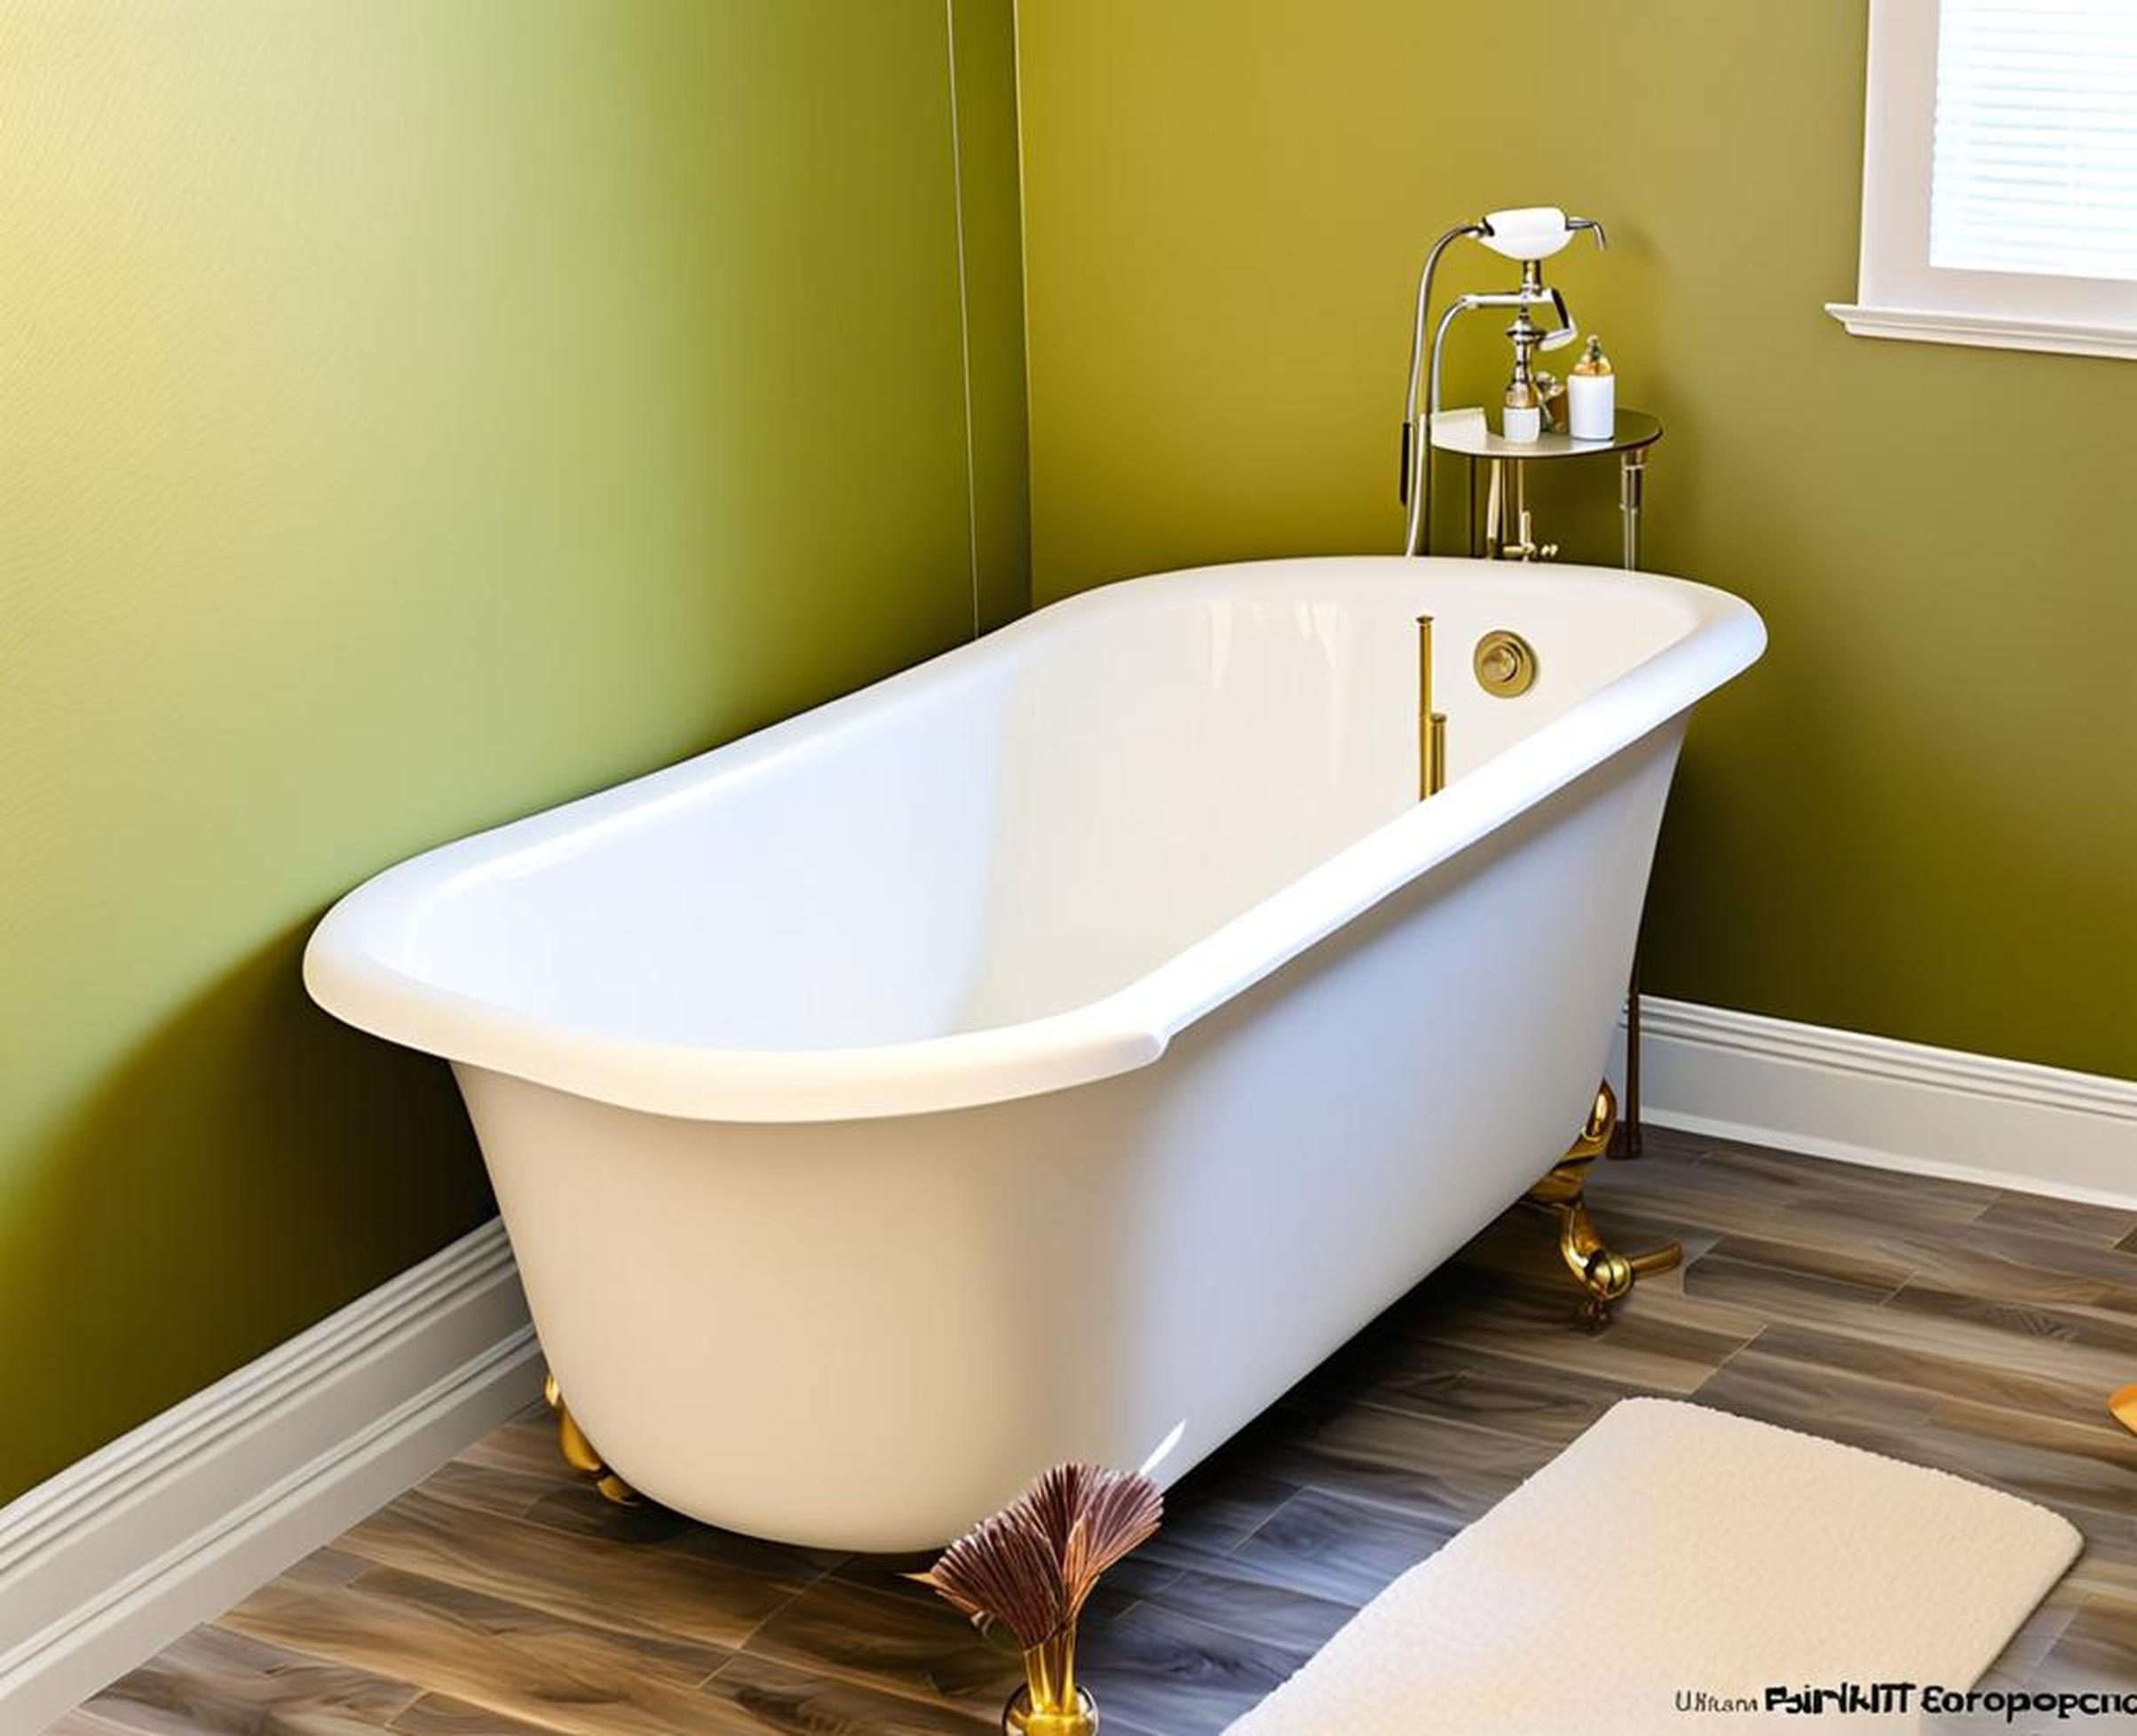
Is your dated, worn-out bathtub surround making your bathroom look tired? Replacing it can be expensive and time-consuming. Luckily, with some simple DIY techniques, you can give that old tub surround a fresh new look with a paint job. Painting a bathtub surround is an affordable weekend project that can completely transform the feel of your bathroom.
We’ll also share tips to help you achieve professional-looking results. With the right prep work and materials, you can make your bathtub surround look brand new again in no time!
Step 1: Prep the Tub Surround Surface
Preparation is crucial for achieving great results when painting a tub surround. Your paint won’t adhere properly unless the surface is properly cleaned and primed first. Here are the key tasks to tackle during the prep step:
Choose the Right Paint for a Tub Surround
While regular wall paint may seem like an easy option, it’s not formulated to stick to slick surfaces like fiberglass or porcelain. Specialty tub and tile paint is engineered for these applications. Look for an epoxy enamel or acrylic latex paint made for bathrooms.
Popular options include Rust-Oleum Tile Transformations kits and INSL-X Tile & Tub paint. Check that the paint you choose is non-toxic once cured, for safety.

Clean and Sand the Tub Surround
Start by scrubbing away any soap scum or grime . A tub and tile cleaner works best, but a solution of vinegar and dish soap can also work. Use a plastic putty knife to carefully scrape off any stubborn gunk or peeling caulk.
Once cleaned, use 220-grit sandpaper to lightly scuff the tub surface. This helps the paint adhere better. Focus on sanding smooth or glossy areas. Be gentle to avoid damaging fiberglass.
Fill Any Cracks or Holes
Inspect closely for cracks or holes in the tub surround. Fill these using a flexible caulk or filler made for wet areas. Allow the filled areas to fully cure before painting.
Use Primer
Priming first provides a stronger base layer for paint. It also helps cover any stains or imperfections. Use a tub and tile primer following the product instructions.
Step 2: Tape Off the Tub Surround Area
You’ll want to cover any nearby walls, the ceiling, and flooring to protect them from drips or splatters. Painter’s tape works better than regular masking tape for clean removal.
Take your time neatly applying tape around the perimeter of the tub surround area. Make sure no gaps exist where paint could seep through.
Step 3: Paint the Tub Surround
Apply First Coat
Always follow the manufacturer’s instructions for application. In general, use a foam roller for large flat areas and a high quality angled brush for corners and edges.
Pour the paint into a roller pan or tray. Dip and roll in a consistent “W” pattern, working in smaller 3×3 ft sections. Don’t press too hard or overload the roller.
Allow Time to Dry
How long you need to wait between coats depends on the product. Often, tub paint needs 24-48 hours to cure before recoating. Rushing this can ruin the finish, so be patient!
Add Second Coat
Two coats ensures full, even coverage and extra durability. Lightly sand again before adding the second coat so it adheres well. Work top to bottom, side to side methodically.
Step 4: Remove Tape and Reseal
After the final coat dries fully, carefully peel up the tape. Pull it back against itself slowly. Clean up any bleeding with painter’s caulk.
Finish by caulking around the tub edges and anywhere it meets walls. This waterproofs and seals the surround.
Step 5: Allow Full Cure Time
Don’t get in a hurry to use the shower again! Follow the manufacturer’s instructions, but typically you’ll need to wait 5-7 days before light use.
This full cure time ensures the paint bonds to the surface completely. Skipping this can ruin the paint job right off the bat.
After a week, your painted tub surround is ready for action! Add back any removable tub accessories using adhesive hooks. Enjoy your refreshed bathroom!
Frequently Asked Questions
What kind of paint should I use on a fiberglass tub surround?
For fiberglass surrounds, use a high-quality acrylic latex or epoxy enamel paint specifically formulated for bathrooms. Avoid regular latex wall paints.
Can I use enamel paint on my tub surround?
Yes, enamel paints can work well for painting tub surrounds. Opt for those made specifically for bathrooms. Make sure to scuff glossy surfaces first so the paint adheres properly.
How do I get glossy tub surround paint?
To get a shiny, glossy finished look, use a tub and tile paint labeled as “high-gloss.” Allowing for the full cure time also helps maximize glossiness.
Will the paint come off when I shower?
If applied correctly, tub surround paint should not peel or wash off with routine showering and cleaning. Proper prep work, priming, drying times, and protective topcoats are key.
Can I paint just half of my tub surround?
It’s best to paint the full surround, including bottom, sides, and backwalls, for an integrated finished look. Painting only a portion can allow moisture penetration and looks piecemeal.
Painting a dated or worn tub surround allows you to inexpensively upgrade your bathroom. With proper supplies and some handy DIY skills, the project can be completed in a weekend.
Following the step-by-step process, from thorough prep work to allowing full cure time, results in a revitalized bath space. Treat yourself to hotel-worthy luxury without the designer price tag!
