A charming beadboard ceiling can transform any porch into a welcoming oasis for relaxing and entertaining. While the prospect of installing beadboard yourself may seem daunting, the process is actually quite straightforward with proper planning and the right tools. The end result is a high-quality, custom ceiling that adds beauty, texture and personality to your porch.
With a little time and effort, you can create a stunning, coastal-inspired space right in your own backyard.
Benefits of Beadboard Porch Ceilings
So why choose beadboard for your porch ceiling in the first place? Here are some of the top reasons this material is a great option:
- Aesthetic Appeal. The classic vertically grooved pattern of beadboard provides visual interest and a charming, coastal or cottage-inspired look.
- Durability. Beadboard is long-lasting and stands up well to moisture, humidity and sun exposure.
- Weather Resistance. Properly installed and sealed beadboard resists cupping, cracking and peeling.
- Customization. Stain or paint beadboard any color to match your home’s style.
- Cost Effective. Beadboard is relatively affordable, especially compared to other ceiling materials.
With proper installation and maintenance, a beadboard porch ceiling can last for decades, providing beauty and character for years to come.
Planning Your Beadboard Porch Ceiling Project
Careful planning is a key first step to ensure your installation goes smoothly. Here are a few things to think about:
Measure Ceiling Area and Calculate Materials
Use a tape measure to measure the length and width of your ceiling space. Account for any irregularities or angles. Calculate the total square footage to determine how much beadboard you’ll need to purchase. It’s better to buy a little extra.
Choose the Type of Beadboard
Pine and poplar are common beadboard materials suitable for outdoor use. Cedar and redwood also work well but cost more. Consider thickness too – 5/8 inch boards are a sturdy option.
Account for Expansion Gaps
Beadboard expands and contracts with temperature changes. Leave a 1/8 inch gap between boards and a 1/4 inch gap where they meet walls or fixtures.
Allow Time for Surface Preparation
Setting aside enough time for steps like removing old ceiling coverings, patching nails holes, sanding, and priming will ensure your boards install cleanly.
Preparing the Ceiling Surface
Proper surface preparation prevents issues down the road. Here are the key steps:
Remove Any Existing Ceiling
If there is already a ceiling covering like drywall or wood panels, remove them first. This allows you to address any issues with the framing or structure.
Identify and Mark Ceiling Joists
Locate ceiling joists using a stud finder and mark them with pencil. You’ll nail the beadboard into the joists later for support.
Check for Level and Address Uneven Spots
Use a 4-foot level to identify any uneven areas. Shim joists as needed so boards install flush.
Thoroughly Clean the Surface
Remove any old nails, staples or adhesive. Wipe away dirt and debris so boards adhere properly.
Installing the Beadboard Panels
Now comes the fun part – nailing up those beautiful beadboard planks! Follow these tips:
Cut Boards to Fit Ceiling Length
Measure and mark board cutting lines. Use a circular saw or handsaw to cut boards to size. Wear safety goggles.
Apply Primer/Sealer to Ends
Brush primer on cut board ends to prevent moisture damage. Let dry completely first.
Nail Boards to Joists Leaving Gaps
Pre-drill then nail boards every 16 inches along joists using a pneumatic finish nailer. Leave 1/8 inch gaps between boards.
Stagger Joints Between Rows
Offset seams between rows for a pleasing look. Staggering strengthens the ceiling too.
Use Scarf Joints for Seamless Look
Cut 30-45 degree angled edges when boards meet for tighter, seamless joints.
Finishing Touches
The final details take your beadboard ceiling from rough to refined. Don’t skip these last steps:
Caulk Any Gaps and Seams
Use painter’s caulk to fill any remaining cracks or gaps between boards. Smooth with wet finger.
Apply Primer Coat
Priming all boards helps paint adhere uniformly and prevents moisture damage.
Paint or Stain for Protection
Apply 2-3 outdoor-rated paint or stain coats. Let dry completely between coats.
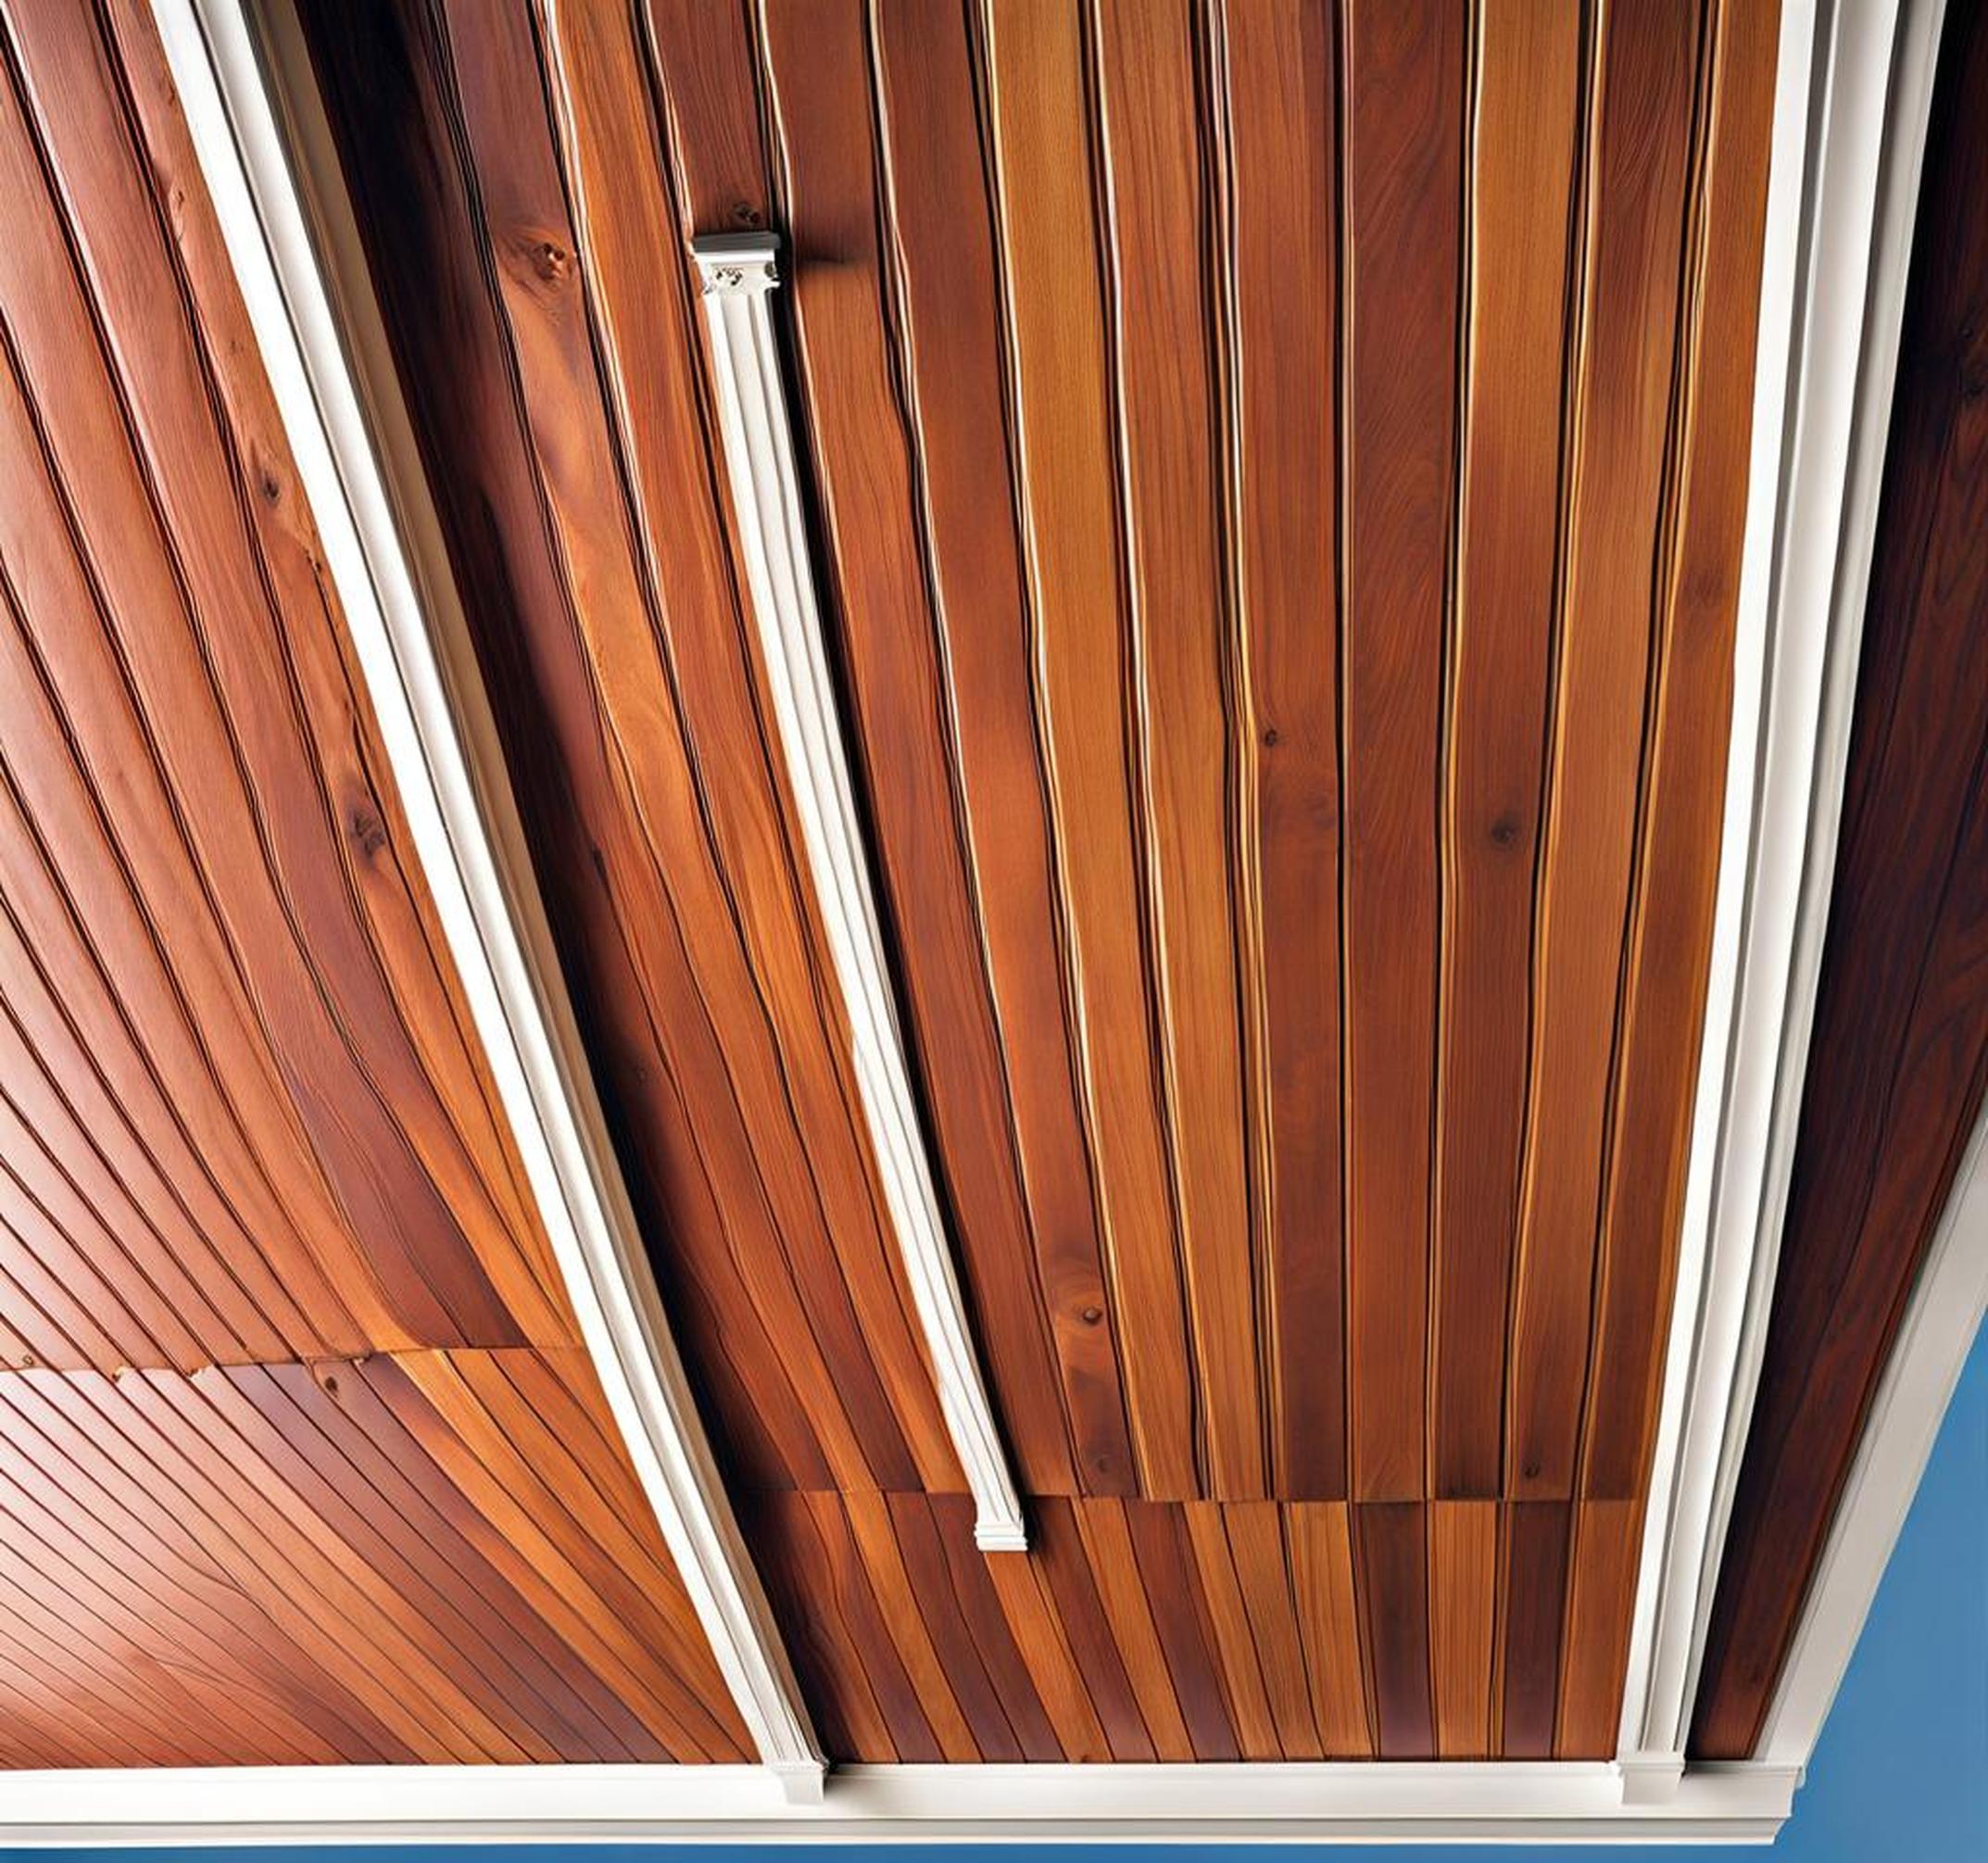
Add Trim for Polished Look
Install wood trim pieces where ceiling meets walls. White-painted trim pops against stained boards.
Maintaining Your Beadboard Ceiling
Like any exterior wood, beadboard needs periodic maintenance to look its best. Follow these care tips:
- Check for leaks/damage. Repair promptly to prevent moisture issues.
- Re-coat with paint or stain every 2-3 years.
- Clean surface before re-coating to remove dirt and mildew.
- Make repairs immediately to prevent further deterioration.
With proper installation and care, your beadboard ceiling will provide timeless porch style for years of relaxing and entertaining!
Alternative Materials to Beadboard
While classic beadboard is a popular choice, there are other materials to consider for porch ceilings:
Plywood
Paintable plywood offers a smooth, versatile ceiling surface. Use textured or V-groove for a beadboard look.
Tongue-and-Groove Planks
These interlocking planks are easy to install. Cedar and redwood have natural weather resistance.
PVC/Composite
PVC and composite beadboard is durable, moisture-proof, and doesn’t require painting. Easy to clean too.
Fiber cement boards like HardiePlank hold up well outdoors and have a long life span. No painting needed.
While these other options have benefits, traditional wood beadboard has undeniable allure and charm. Following the steps above will get you on your way to installing a beautiful, coastal-inspired beadboard ceiling on your porch.
