Adding a covered porch area to your home can provide extra outdoor living space and protect you from sun and rain. Attaching a new porch roof takes planning and careful construction, but with the right techniques, materials, and tools, you can achieve a beautiful finished product.
We’ll cover critical steps like determining the roof layout, cutting and assembling rafters, reinforcing connections, installing sheathing, and more. With proper care and attention to detail, you can build a sturdy, well-integrated porch roof to enjoy for years to come.
Planning Your New Porch Roof
The first step in any construction project is thoughtful planning and preparation. There are several key factors to consider as you design your ideal porch roof addition:
Choose the Size and Layout
Consider the activities you’ll use the porch for and how much space you’ll need. A simple small sitting area may only require a 10 x 10 foot square porch, while a larger entertainment space could be 20 x 20 feet or more. Decide on the overall shape as well–common options are shed, hip, gable, and more complex hybrid shapes.
Pick a Slope and Pitch
Typical residential roof slopes range from 3/12 to 8/12 rise over run. Low-pitched roofs can cause drainage problems while very steep pitches may look out of place. For visual harmony, choose a slope that matches or complements your existing roof. Proper drainage off the roof is also critical.
Get Proper Permits
Most areas require building permits for structural additions like porch roofs. There may also be zoning laws that affect the roof height and setback from the property lines. Talk to your local building department early in the planning process to avoid issues down the road.
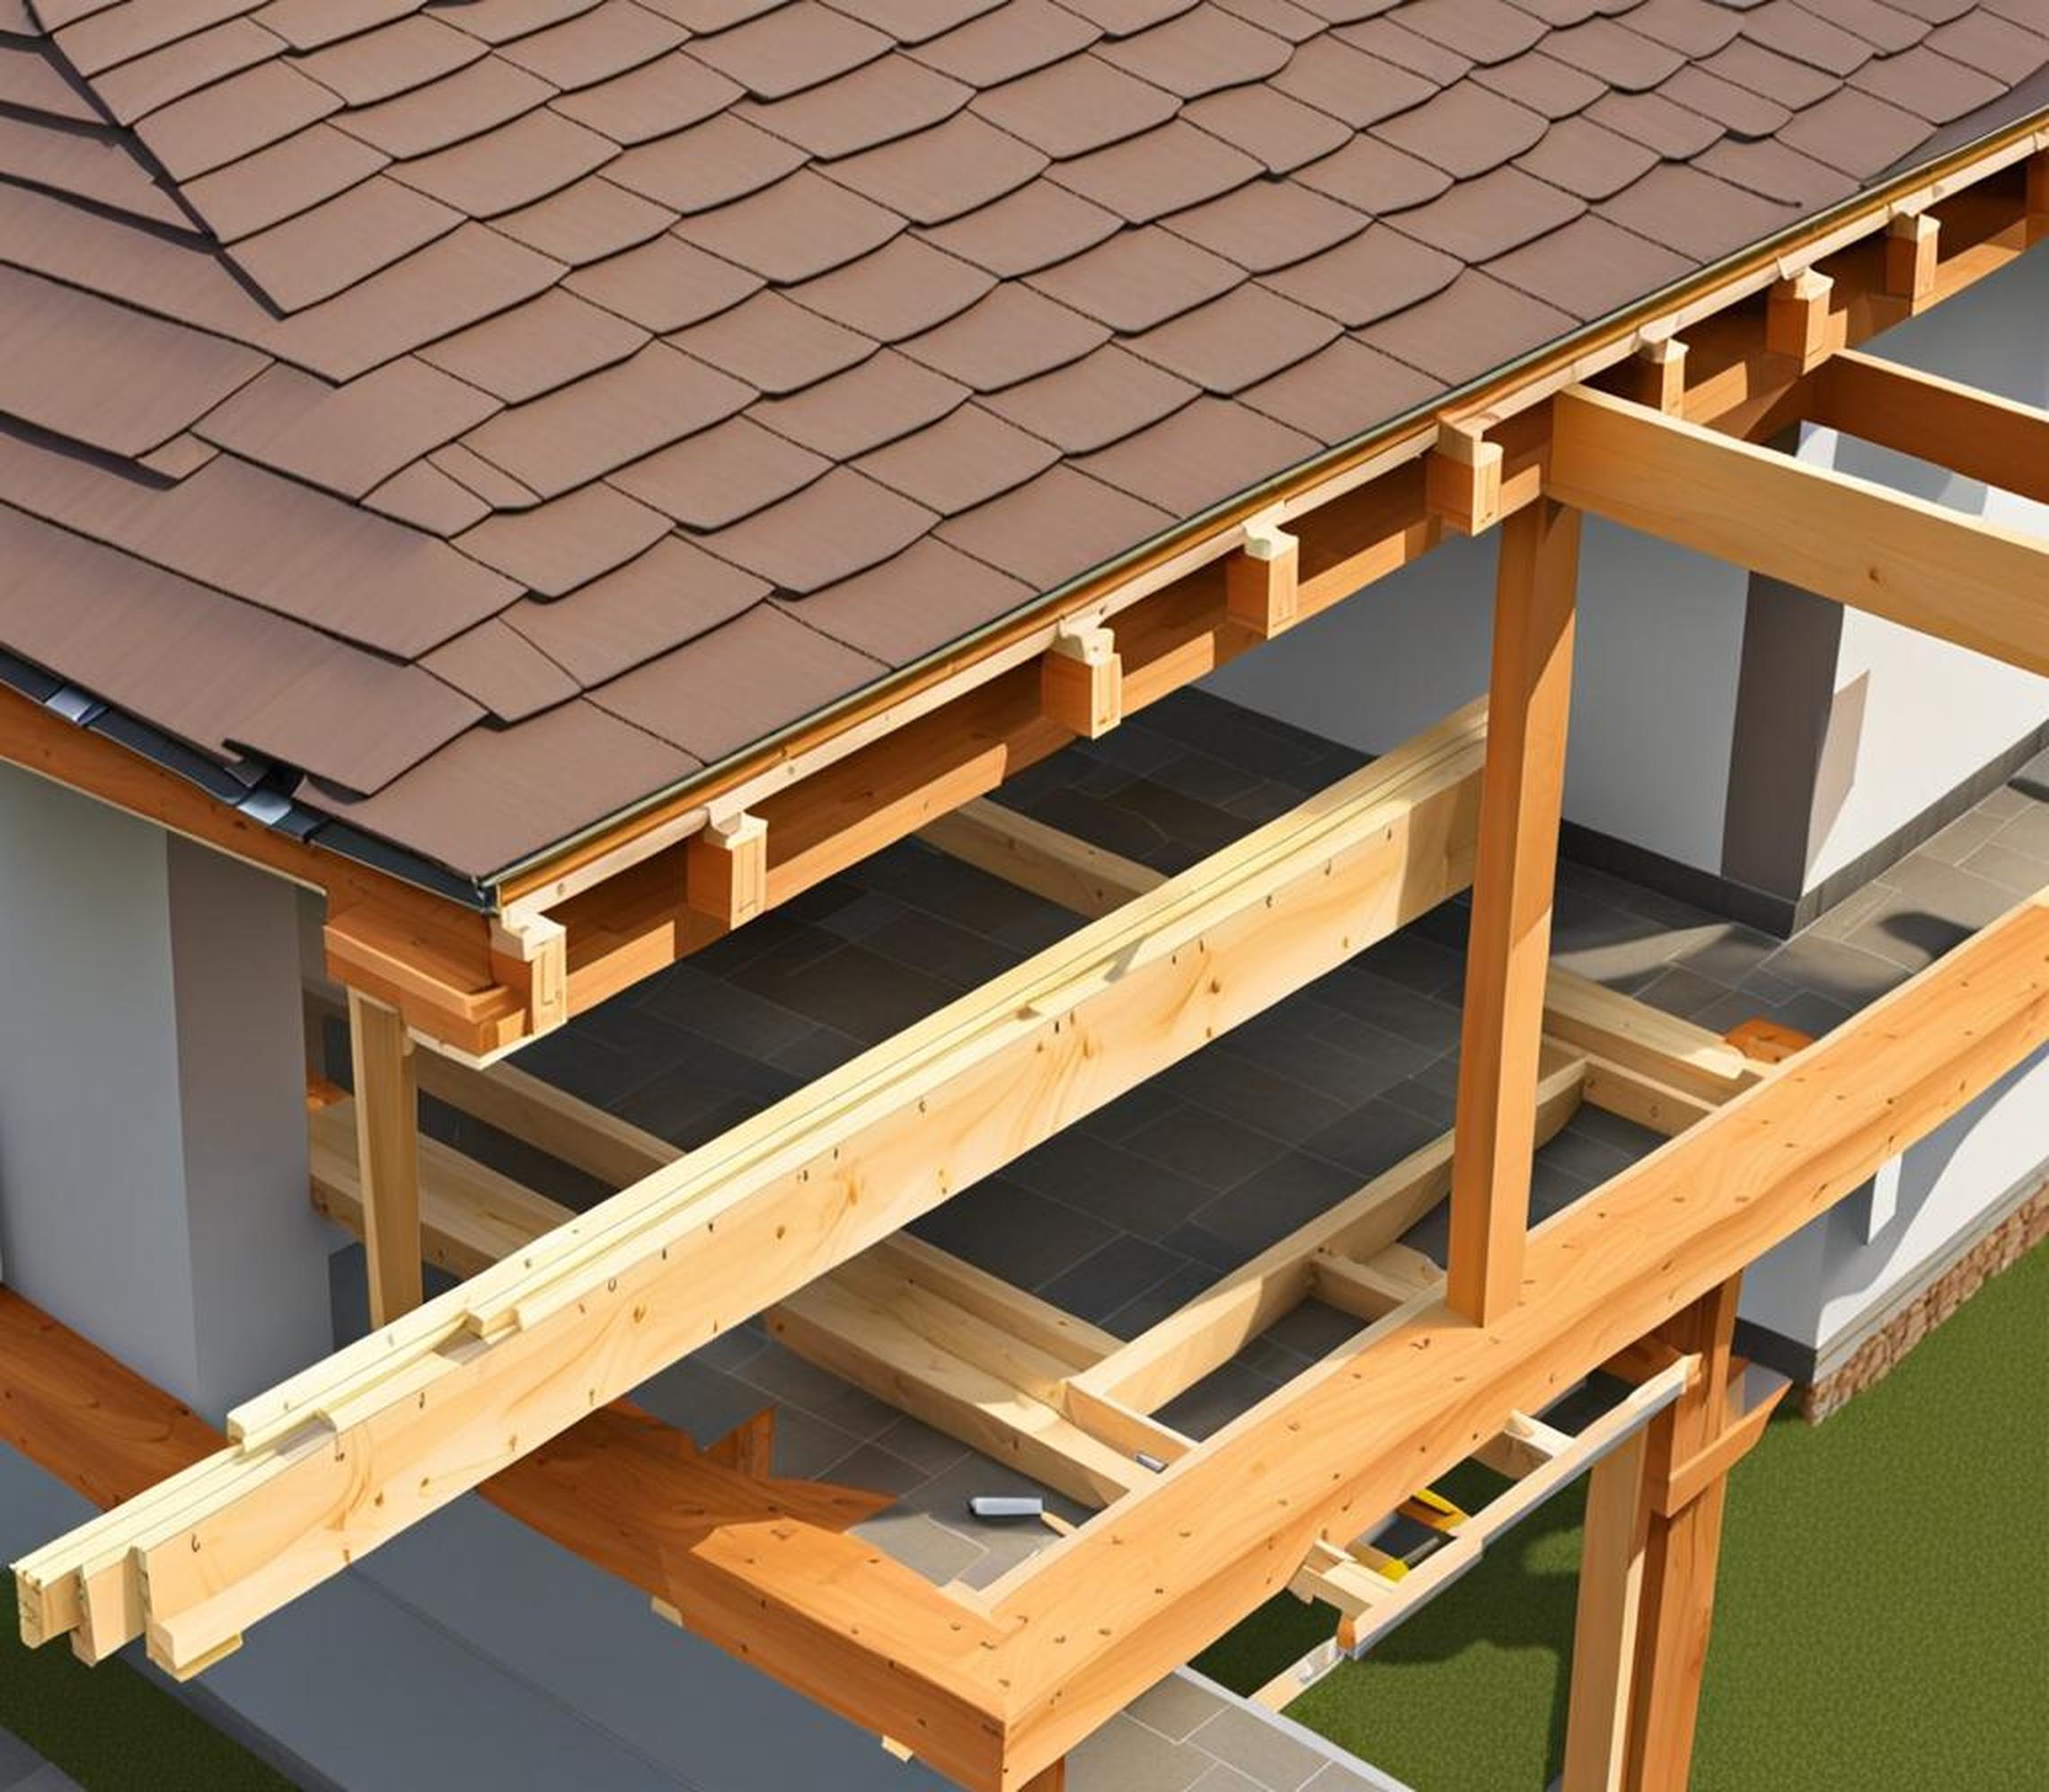
Framing the Roof Structure
With a roof plan in place, it’s time to construct the underlying framework that will support the roof. This involves beams, rafters, and critical attachment points secured to the house. Safety is paramount when working on elevated framing.
Install Ledger Boards
Ledger boards provide attachment points for the porch rafters and transfer roof loads safely back to the wall framing. Use 2×6 or larger lumber and anchor securely using lags or bolts into the wall studs or framing members. Apply hurricane ties for added strength.
Cut Rafters to Size
Measure and mark rafter lengths according to your roof plan and slope calculations. Cut using a circular saw or miter saw for straight, clean edges. You may also need to notch rafter ends for bird’s mouth joints.
Assemble Roof Framing
Working systematically, set rafters into the ledger board notches and nail in place. Install headers, blocking, and bracing as needed to tie the system together. Use a level frequently to check for plumb and square.
Attaching the Roof Frame to the House
Once the basic roof framing is complete, you’re ready to securely attach the entire structure back to the house. This critical step resists wind, rain, and gravity loads trying to pull the roof away.
Use Hurricane Ties and Hangers
Use metal hurricane ties to strongly anchor each rafter to the ledger board and wall framing. Joist hangers reinforce the connection where headers meet the ledger. Focus on reinforcing all critical joints.
Consider Alternative Attachment Options
Freestanding roofs using posts offer one non-attached porch roof option to consider. Eave brackets hidden above the porch ceiling or post and beam connections are other choices.
Verify Structural Integrity
Inspect all physical connections before loading the roof. The completed assembly must meet or exceed the required wind and snow loads for your area. Also consider the weight of roofing materials.
Finishing the Roof Assembly
The framing and attachment provide the bones of the porch roof structure. The final steps add essential protection from the elements to complete the roof.
Install Plywood Sheathing
Use at least 1/2″ exterior-grade plywood and nail it properly into the roof framing. Overlap seams and leave small gaps for expansion. Stagger end joints between rows.
Add the Roof Covering
Shingles are a popular roofing choice, but metal and other materials are options too. Follow manufacturer instructions for underlayment and flashing. Proper waterproofing prevents leaks.
Attaching a new porch roof requires careful planning, structural design, and methodical installation steps, but offers great rewards. The finished product creates useful outdoor space and adds curb appeal. We hope these techniques help guide your project to success. Feel free to consult building professionals if any part of the process feels unclear or unsafe.
With safety precautions, the right tools, and a systematic approach, you can tackle this ambitious DIY porch roof project. Taking it step-by-step allows you to build something both beautiful and functional. Before you know it, you’ll be relaxing in the shade of your new outdoor paradise!
Consider the Roof Type
There are various types of porch roofs, such as gable, hip, and shed roofs. Each requires a specific method of attachment to the house. Research the specific attachment methods required for your chosen roof type before beginning the project.
Determine the Roof Structure
Before starting the construction process, it’s essential to determine the roof’s structure, including the number and positioning of support beams and columns. This will help ensure that the porch roof is stable and secure when attached to the house.
Choose the Right Materials
The choice of roofing materials will impact the attachment process. For example, metal roofing requires different attachment methods than asphalt shingles. Be sure to choose materials that are appropriate for your chosen roof type and the local climate.
Install the Flashing
Flashing is a critical component of the attachment process, as it prevents water from entering the house through the roof-wall junction. Take care to ensure that the flashing is installed correctly and securely.
The type of fasteners used to attach the porch roof to the house will depend on the roofing material and the type of roof structure. Be sure to use appropriate fasteners, such as lag screws or through bolts, to securely anchor the roof.
Attaching a new porch roof takes time and diligence, but the increased outdoor living space is worth the effort. With the right techniques and materials, you can successfully join the new roof to your home. Just take it step-by-step. Before you know it, you’ll be enjoying your beautiful new covered porch!
