Is your old thermostat on the fritz? Do you want to upgrade to a smart thermostat with Wi-Fi connectivity and voice control? Replacing a faulty or outdated thermostat seems like a simple DIY project. But before grabbing a screwdriver, it’s important to determine if you really need professional help or can safely do it yourself.
Thermostat technology has advanced rapidly in recent years. While swapping an old unit for a new programmable or smart thermostat can provide convenience and efficiency, the wiring can sometimes get complex. Let’s explore the key things to consider when deciding between DIY thermostat replacement versus hiring an electrician.
What’s Involved in Replacing a Thermostat
On the surface, swapping a thermostat appears straightforward. You take off the old one, install mounting plate for the new one, connect the wires, attach to wall, and start programming. But looks can be deceiving. Here are the basic steps:
- Turn off power to HVAC system at the circuit breaker
- Remove old thermostat and disconnect wires
- Take photos of wire connections for reference
- Mount new thermostat and connect wires
- Restore power and test heating/cooling system
- Configure new thermostat settings
If your home only uses a heating or cooling system, the wiring is fairly simple. But heat pumps, multi-stage systems, and smart thermostats require correctly connecting multiple wires. One wrong move can potentially damage the HVAC system.
Skills Needed for DIY Thermostat Installation
Before deciding to replace a thermostat yourself, consider whether you have the right skills:
- Basic electrical knowledge and comfort working with low voltage wires
- Ability to access thermostat wiring behind wall
- Understanding of home’s HVAC type and configuration
- Capability to follow new thermostat wiring instructions
- Patience and care when handling delicate wires
If you’ve installed light fixtures, swapped outlets or are generally handy around the house, a thermostat project is probably within your abilities. Being methodical, labeling wires, and triple checking connections is key.
The Benefits of DIY Installation
Why take on replacing a thermostat yourself instead of hiring an HVAC technician or electrician? Here are some motivations:
- Cost savings from not paying for professional installation
- Convenience of replacing on your own schedule
- Satisfaction of successfully completing a home project yourself
- Flexibility to choose any thermostat model you want
As long as you educate yourself on the process and work safely, DIY thermostat replacement can be rewarding. And you get to pick the exact thermostat features you want.
Downsides of DIY Thermostat Installation
Attempting to replace a thermostat on your own does come with some potential downsides:
- Risk of wiring errors damaging HVAC system
- Liability if installing without proper permits
- Safety hazards if wires are improperly handled
- Loss of HVAC warranty if not installed by a pro
Mistakes made during DIY installation can lead to expensive repairs. And legal requirements mean you might need a licensed electrician anyway. Always review thermostat manufacturer instructions before starting.
When Should You Call a Professional?
In certain situations, it’s wise to call in a pro. This includes:
- Upgrading to a zoned or smart thermostat
- HVAC system requires new additional wiring
- Advanced multi-stage heating and cooling
- New home construction or renovations
A professional electrician has the expertise to handle complex wiring scenarios when replacing a thermostat. They can also obtain any required permits and ensure compliance with local regulations.
How Much Does Professional Installation Cost?
Hiring an HVAC company or electrician to swap a simple non-programmable thermostat with a newer programmable model typically costs $150-$300. Smart thermostats with wifi connectivity often cost $200-$500 installed.
The benefit is paying an expert to do the job correctly the first time. You avoid potential expenses from mistakes or HVAC damage. In homes with complex systems, the electrician’s experience pays for itself.
Steps for Safely Replacing a Thermostat Yourself
Ready to DIY your thermostat installation? Here are tips for doing it safely:
- Turn off power to HVAC system and verify it is off
- Photograph wire connections for reference
- Label each wire with masking tape
- Disconnect wires one at a time
- Mount new thermostat base per instructions
- Carefully connect wires to proper terminals
- Attach thermostat to base and restore power
- Test heating and cooling to confirm operation
Work cautiously, double check your wiring, and don’t rush the process. Patience pays off to avoid messy and dangerous mistakes.
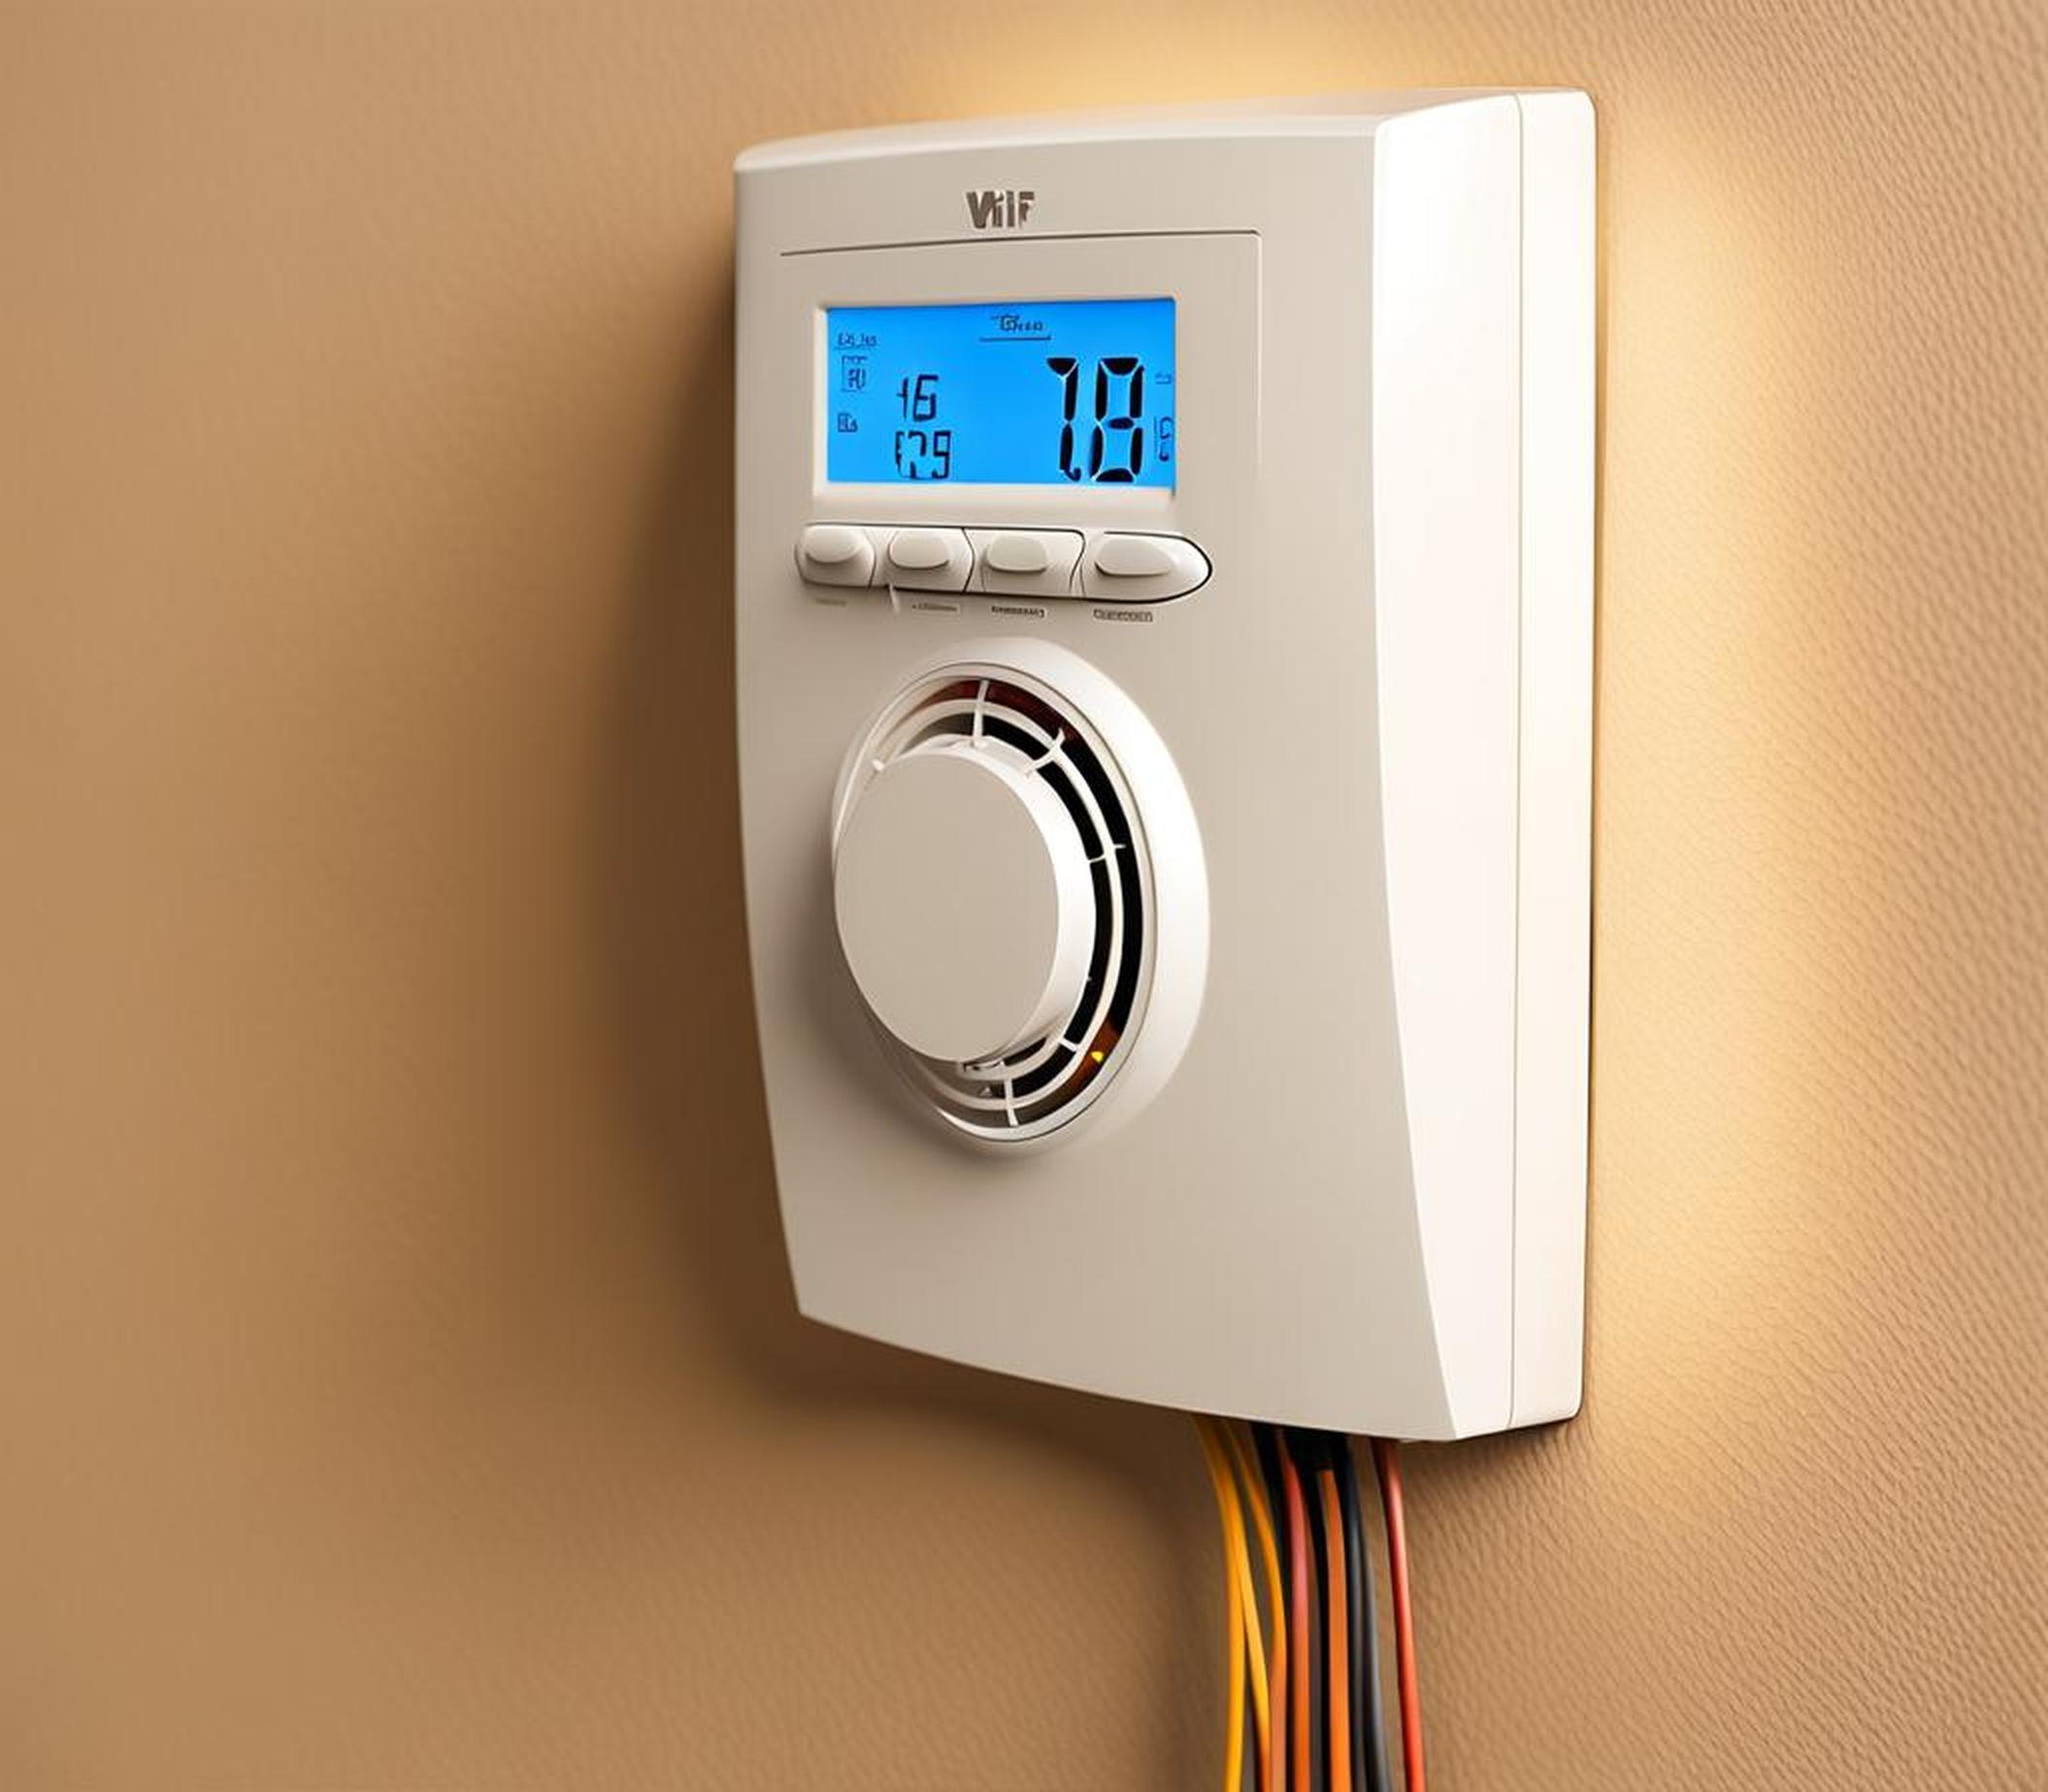
The Basics of Thermostat Wiring
To determine whether you can handle replacing your specific thermostat model yourself, it helps to understand the basics of thermostat wiring:
- Single stage systems use wires like R, W, Y, G, C
- Heat pumps need O and B wires for changes in mode
- Smart thermostats often require a C wire
- G wires control fan, Y wires control cooling
- Pay attention to wire colors when disconnecting
Additionally, new thermostats sometimes require running new wires from the furnace to provide adequate power. Check manufacturer guidelines.
Do You Need a C-Wire?
Many new wifi-enabled and smart thermostats require a C or common wire to continuously power the thermostat. Without a C-wire, the thermostat won’t function correctly. An electrician can run a new wire if needed.
Permit Requirements for Thermostat Replacement
Some municipalities require obtaining an electrical permit before replacing a thermostat, especially for major HVAC upgrades. Permit costs range from $50-$100. Licensed electricians can pull the proper permits on your behalf.
An illegal installation without a permit can potentially impact your home insurance or result in fees. Check local regulations before swapping a thermostat.
FAQs on Thermostat Installation
Here are answers to some frequently asked questions about replacing thermostats:
Is a bad thermostat covered by home warranty?
It depends. Some warranties cover thermostat replacement costs and others don’t. Check policy terms. DIY installation could void coverage.
Can I upgrade from battery to smart thermostat?
Yes, but you’ll likely need C-wire installation. Smart thermostats require constant power source.
How do I know if wiring is low or high voltage?
Low voltage wires for thermostats are typically 18-24 gauge. High voltage wires are 10-12 gauge. Electricians can verify.
You can upgrade to a Nest or Ecobee smart thermostat, but may need to call an electrician if your system lacks a C-wire or has complex wiring.
As you weigh whether to DIY thermostat replacement or hire a professional, keep these guidelines in mind. With proper planning and precaution, swapping a simple non-programmable thermostat is achievable for a handy homeowner. But more advanced installations are best left to a trained electrician. Follow manufacturer instructions and check local permit regulations before starting. With the right approach, you can install a new thermostat to save energy and stay comfortable.
