Selecting the right shower surround trim moulding can dramatically enhance your bathroom’s aesthetic appeal and functionality. This crucial element not only seals the edges of your shower enclosure but also adds a polished, finished look to your bathroom. Whether you’re renovating or building from scratch, understanding the nuances of shower surround trim moulding is essential for creating a cohesive and stylish bathroom design that withstands daily use and moisture exposure.
Understanding Shower Surround Trim Moulding: Types and Materials
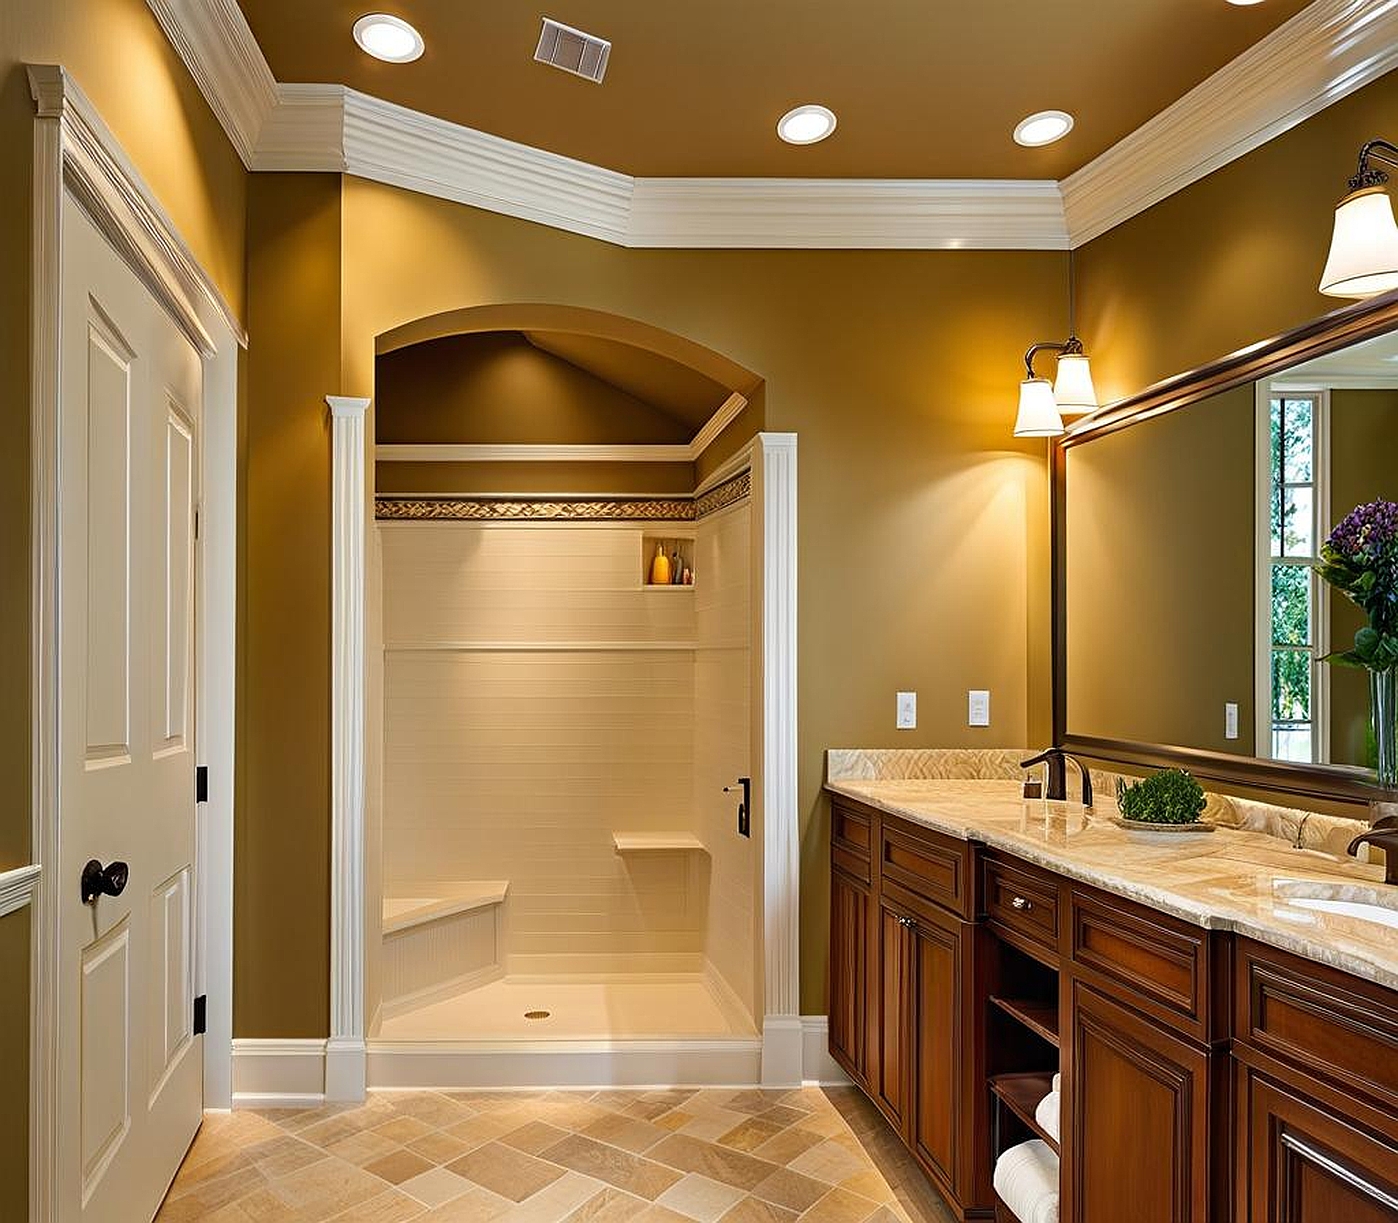
Shower surround trim moulding serves both practical and aesthetic purposes in your bathroom. It’s designed to create a seamless transition between your shower surround and the surrounding walls, preventing water from seeping behind the panels and potentially causing damage. Let’s explore the various types and materials available for trim molding bathroom shower installations:
1. PVC Trim: Polyvinyl chloride (PVC) is a popular choice for shower trim bath surround due to its water-resistant properties and affordability. It’s lightweight, easy to install, and comes in various styles that can mimic the look of more expensive materials.
2. Aluminum Trim: Known for its durability and sleek appearance, aluminum trim molding shower surround options are ideal for modern bathroom designs. They resist corrosion and are available in different finishes, including brushed nickel and chrome.
3. Acrylic Trim: This material is often used in conjunction with acrylic shower surrounds. It’s lightweight, resistant to mold and mildew, and can be color-matched to your shower panels for a seamless look.
4. Composite Trim: Made from a combination of materials, composite trim offers the benefits of both natural and synthetic options. It’s durable, moisture-resistant, and can be designed to mimic the appearance of wood or stone.
5. Natural Stone Trim: For luxury bathrooms, natural stone trim such as marble or granite can provide an elegant touch. However, it requires more maintenance and is generally more expensive than other options.
When selecting the material for your surround trim molding shower, consider factors such as your bathroom’s overall style, the level of maintenance you’re willing to undertake, and your budget. Each material has its unique advantages, so it’s essential to weigh these against your specific needs and preferences.
Factors to Consider When Choosing Shower Surround Trim Moulding
Selecting the perfect trim molding bathroom shower involves more than just picking a material you like. Here are key factors to keep in mind:
1. Moisture Resistance: Your bathroom shower surround trim will be exposed to high levels of moisture daily. Opt for materials that can withstand this environment without warping, peeling, or developing mold. PVC and aluminum are excellent choices for their water-resistant properties.
2. Compatibility: Ensure the trim you choose is compatible with your shower surround material. Some manufacturers offer matching trim for their shower surrounds, which can simplify your decision and guarantee a perfect fit.
3. Style and Aesthetics: The bath shower surround trim you select should complement your bathroom’s overall design. Consider the color, texture, and profile of the trim. A sleek, minimalist trim might suit a modern bathroom, while a more ornate option could enhance a traditional space.
4. Ease of Installation: If you’re planning a DIY project, look for trim molding shower surround options that are easy to install. Some come with adhesive backing or snap-in designs that simplify the process.
5. Maintenance Requirements: Consider how much time and effort you’re willing to dedicate to maintaining your trim. Some materials, like natural stone, require regular sealing and special cleaning products, while others, like PVC, are virtually maintenance-free.
6. Cost: Bathroom trim moulding prices can vary significantly. While it’s tempting to opt for the cheapest option, remember that quality trim can enhance the longevity of your shower surround and potentially save you money on repairs in the long run.
7. Durability: Your shower surround trim bath should withstand daily use, temperature fluctuations, and cleaning products. High-quality materials like aluminum or composite can offer excellent durability.
8. Customization Options: Some trim options allow for customization in terms of color or finish. This can be particularly useful if you’re trying to match existing fixtures or create a unique look in your bathroom.
Installation Techniques for Shower Surround Trim Moulding
Proper installation of your shower surround trim moulding is crucial for both aesthetics and functionality. Here’s a general guide to help you understand the process:
1. Preparation: Begin by thoroughly cleaning the area where the trim will be installed. Remove any old caulk, adhesive, or debris. Ensure the surface is dry and smooth.
2. Measuring and Cutting: Carefully measure the lengths needed for your shower surround. Use a miter saw or a hacksaw with a fine-toothed blade to cut the trim to size. For corner joints, cut the trim at a 45-degree angle for a professional finish.
3. Dry Fitting: Before applying any adhesive, dry fit the trim pieces to ensure they fit correctly. This step allows you to make any necessary adjustments before permanent installation.
4. Adhesive Application: Depending on the type of trim and manufacturer’s instructions, you may need to apply a specialized adhesive or silicone caulk to the back of the trim. Some PVC or acrylic trims come with pre-applied adhesive strips.
5. Installation: Carefully press the trim into place, starting from one end and working your way along the length. Use a level to ensure the trim is straight as you go.
6. Securing: Some types of shower trim molding may require additional securing methods, such as screws or nails. Follow the manufacturer’s guidelines for the best results.
7. Sealing: Once the trim is in place, apply a bead of silicone caulk along the edges to create a watertight seal. This step is crucial for preventing water from seeping behind the shower surround.
8. Finishing Touches: Clean up any excess adhesive or caulk, and allow the installation to dry completely before using the shower.
Remember, while DIY installation is possible, professional installation may be advisable for complex shower designs or if you’re working with high-end materials like natural stone. A professional can ensure precise cuts and a flawless finish, potentially saving you time and frustration.
Proper maintenance of your bathroom shower surround trim is essential for preserving its appearance and functionality. Here are some tips to keep your trim looking great for years to come:
1. Regular Cleaning: Clean your shower surround trim bath weekly using a mild, non-abrasive cleaner. Avoid harsh chemicals that can damage the finish or material of your trim.
2. Prevent Mold and Mildew: After each shower, use a squeegee or towel to remove excess water from the trim. This simple habit can significantly reduce the likelihood of mold and mildew growth.
3. Check Seals Regularly: Inspect the caulk or sealant around your trim periodically. If you notice any cracks or gaps, reseal promptly to prevent water damage.
4. Address Issues Promptly: If you notice any loose or damaged pieces of trim, address the problem immediately. Ignoring small issues can lead to more significant problems down the line.
5. Use Appropriate Cleaning Tools: Soft sponges or microfiber cloths are ideal for cleaning shower trim. Avoid abrasive scrubbers that can scratch or damage the surface.
6. Ventilation: Ensure your bathroom is well-ventilated to reduce moisture buildup. This can help prevent issues with your trim and the entire shower surround.
7. Annual Deep Clean: Once a year, consider giving your shower surround and trim a thorough deep clean. This might involve using specialized cleaners (appropriate for your trim material) to remove any built-up soap scum or hard water deposits.
8. Refinishing: For some types of trim, such as metal or natural stone, you might consider refinishing or resealing every few years to maintain their appearance and protective qualities.
By following these maintenance tips, you can ensure that your shower surround trim moulding remains in excellent condition, continuing to enhance your bathroom’s appearance and functionality for years to come. Remember, the key to longevity is consistent care and addressing any issues as soon as they arise.
Choosing the right shower surround trim moulding involves careful consideration of materials, style, installation, and maintenance. By taking the time to select the best option for your needs, you can create a beautiful, functional, and long-lasting shower enclosure that enhances your daily bathing experience and adds value to your home. Whether you opt for sleek aluminum trim for a modern look or classic PVC for its practicality, the perfect trim can tie your entire bathroom design together while providing essential protection against water damage.
