Installing or upgrading to an electric stove requires meeting specific wiring requirements to ensure safe and efficient operation. Proper electrical connections are crucial for powering the heating elements that allow an electric range to cook and bake. Hooking up the wrong wire gauge or type can lead to poor performance, damage to the stove, circuit overload, fires, or electrocution. Understanding the fundamentals of electric stove wiring keeps you grounded in safety.
Wire Gauge for Electric Stoves
Wire gauge refers to the diameter or thickness of the conductive metal core of the wire. The gauge numbering system may seem counterintuitive, as a higher gauge number actually indicates a thinner wire. Wire thickness affects how much electric current can safely pass through without overheating. Thinner wires have higher electrical resistance, limiting current flow. Using too thin a wire for an electric stove can lead to excessive voltage drops, reduced power, and potential fires from overheating the wires.
For a typical 30 amp, 240 volt electric stove circuit, a 10 gauge wire is recommended. The larger diameter allows 30 amps to flow without issue. For electric stoves demanding higher amperages between 40-50 amps, an 8 gauge wire is preferred. The shorter the wire run from the circuit breaker to the stove, the thinner the wire may be without causing problems. But when in doubt, choose a gauge size thicker than technically required for added safety margin and capacity.
10 Gauge Wire
With a diameter of 0.1019 inches, 10 gauge wire works for circuits up to 30 amps. The thicker size keeps resistance low over longer wire runs. It can safely supply a 30-inch electric range pulling 24 amps without significant voltage drop. 10 gauge is generally the smallest size recommended for household electric stove wiring. While costlier than 12 or 14 gauge wire, the extra capacity and reduced fire risk make 10 gauge a wise investment.
8 Gauge Wire
Slightly thicker at 0.1285 inches in diameter, 8 gauge wire can handle 40-50 amp electric stove circuits. The lower resistance allows up to 55 amps for short wire distances. If your electric range requires more power, or if you’re running wire over 50 feet, 8 gauge is a must. It provides a safety buffer for larger appliances with high amp draw. You’ll enjoy solid performance with no voltage drop issues.
6 Gauge Wire
For demanding 50 amp, 240 volt electric ranges, 6 gauge wire may be specified. At 0.162 inches thick, it has extremely low 4 ohm resistance per 300 foot run. This heavy-duty capacity prevents voltage drop over longer distances. 6 gauge wire is overkill for smaller 30 amp stoves but gives peace of mind for large cooktops with multiple powerful heating elements. While costlier to install, it lasts for decades and provides reliable power flow.
Matching Wire Size to Electric Stove Amperage
Choosing the proper wire size involves matching the electric current demands of your stove with the capacity of the wire. The amp rating, commonly 30, 40 or 50 amps, will be printed on the stove’s rating plate. A 30 amp stove calls for different wire than a more power-hungry 50 amp model. You want sufficient thickness to handle the amperage without strain.
30 Amp Electric Stove
A 30 amp electric stove is only medium-duty but requires dedicated 240 volt wiring. Never attempt to use a 120 volt 20 amp kitchen circuit. For a 30 amp electric range, 10 gauge wire is universally recommended and meets code in any residential application. While you could technically get by with thinner 12 gauge wire over short distances, the minimal savings isn’t worth the fire safety compromise.
40-50 Amp Electric Stove
Heavier-duty stoves with higher amperages between 40-50 amps need thicker wire. 8 gauge is the most common, though local codes may require 6 gauge. The 40-50 amp load necessitates such low-resistance wire to avoid voltage drops. A high-end restaurant range may demand 6 gauge or even 4 gauge wiring, but residential stoves rarely need such heavy wire. Always follow the manufacturer’s specifications.
Reduced Wire Gauge for Short Runs
If the circuit breaker panel is located very close to the kitchen, you may be able to use slightly thinner wire than normally specified. For example, a short 8 foot run could allow 8 gauge wire for a 50 amp stove instead of 6 gauge. But it’s generally better to err on the side of a thicker wire gauge for the reduced resistance and overhead capacity. This prevents any voltage problems if you remodel and increase the wire length.
Wire Type for Electric Stove Connections
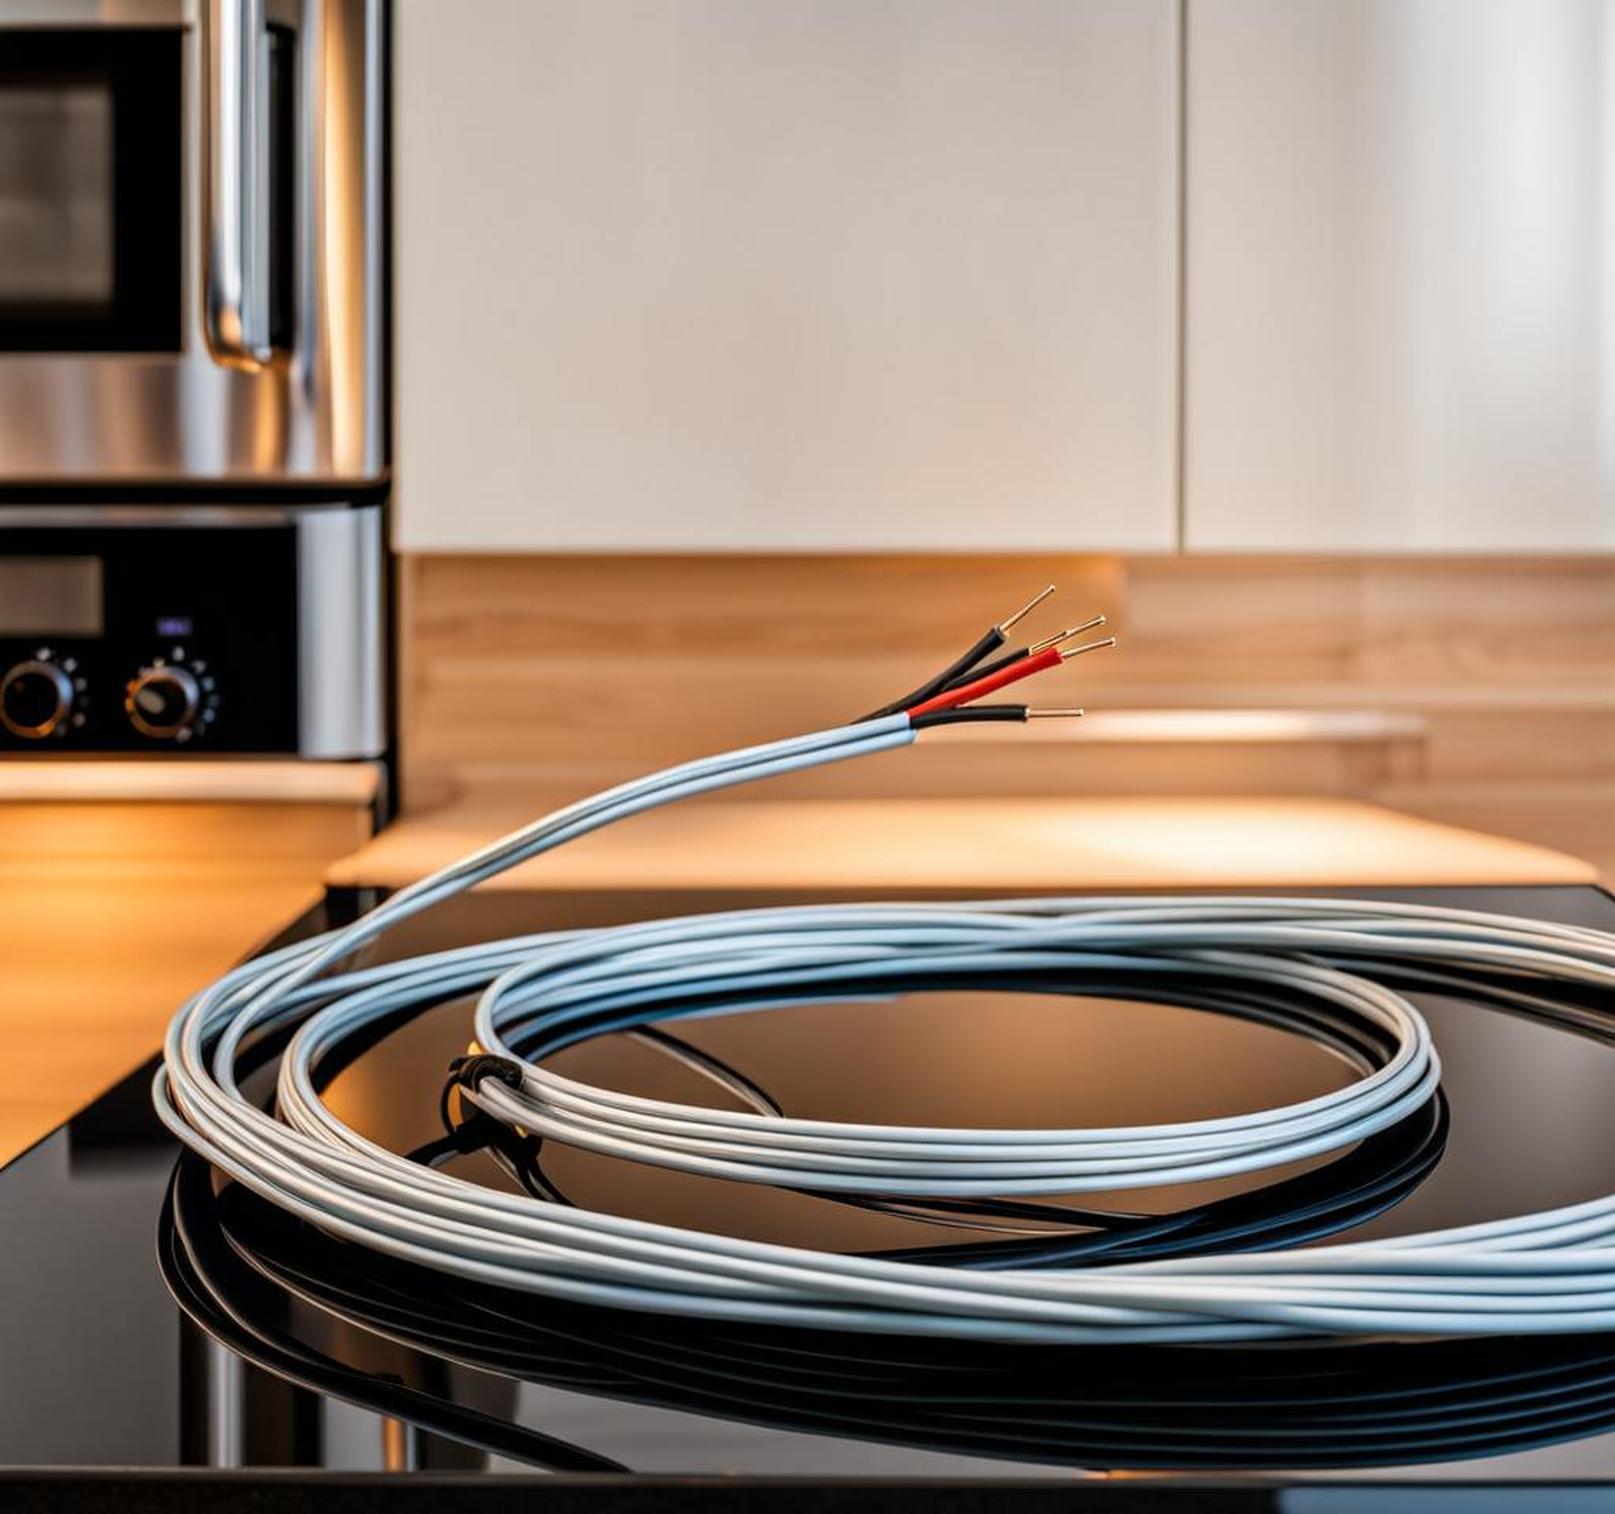
In addition to choosing the right wire gauge, you need wire specifically rated for stove and oven connections. Wire comes insulated with different materials based on the maximum temperature they can withstand. Common types like 8/2 and 8/3 NMB cable lack the proper heat rating for directly powering a stove.
NMB Cable Not Suitable
One of the most common types of wire for 15 and 20 amp household circuits is 8/2 cable with ground, known as Romex or NMB. However, 8/2 NMB cable is only rated for wet/damp locations up to 75 degrees Celsius and dry locations up to 90 degrees Celsius. Standard 8/3 NMB is rated at just 60 degrees Celsius. These temperature limits make 8/2 and 8/3 NMB cables unsuitable for the high heat exposure near stoves.
Look for High Heat Ratings
Wires designed for oven and range connections will have markings indicating much higher temperature ratings. For example, cross-linked polyethylene (XLPE) insulated wire is commonly rated at 200 degrees Celsius – well above the needs of any residential electric stove. TPR/THHN wire insulation or other special high-heat materials ensure the wiring remains undamaged from the cooking heat.
Electric Stove Circuit Requirements
Connecting an electric range requires a dedicated circuit with specific wiring. Gas stoves simply plug into a standard 120-volt outlet, but electric ranges need 240 volts with more wires. The circuit must be properly sized to handle the load and have an appropriate double-pole breaker. DIYers should carefully study requirements before wiring a stove outlet.
50 Amp, 240 Volt Dedicated Circuit
Most household electric stoves need a 50 amp, 240 volt dedicated circuit supplying up to 12,000 watts of cooking power. The 240 volt supply requires two 120 volt hot wires along with a neutral and ground. Older 100 amp service may not have room for this circuit, while modern 200 amp panels can easily handle the added power draw. Never attempt to split an electric stove onto two smaller 120 volt circuits.
Double Pole Circuit Breaker
To properly switch both of the 120 volt hot leads, a double pole breaker is required in the service panel. This allows simultaneously disconnecting power to both legs of the circuit. Two 30 amp or 50 amp single pole breakers cannot be used together. The amperage should match the stove’s specification or wire size, typically 30 amp or 50 amp. Amperage exceeding the wire capacity can lead to dangerous overheating.
Number of Wires
A total of 4 wires must be pulled for an electric stove circuit – two hots, one neutral, and one ground. One neutral and ground is sufficient for the circuit since it’s just a single 240 volt load. The ground safely diverts any electrical malfunction or short while the neutral completes the circuit path. Proper connections to the neutral and ground wires are vital for preventing shocks and electrocution.
Outlet Considerations
Hardwiring directly into a stove-rated junction box is the typical installation method. But some homes lack the necessary receptacle connections. Upgrading the kitchen wiring or installing a new circuit and outlet may require hiring an electrician.
Junction Box Connections
Since most electric ranges cannot simply plug into an outlet, wiring connections are made in a junction box housing the neutral, ground, and two hot wires. This 4-prong connection must remain accessible even with the unit slid into place against the wall. Stoves plug into either a NEMA 10-50R or NEMA 14-50R receptacle of the proper rating and number of wires.
Lack of Existing Connection Point
If moving into an older home with an outdated fuse panel, chances are the kitchen wasn’t designed for a modern electric stove. Running a new 240-volt circuit and box with correctly-sized grounding and neutral lines may not be as simple as it seems. Hiring an experienced electrician ensures the work is done properly and safely.
Hiring an Electrician
Professional electricians can expertly handle the nuances of installing or upgrading electric stove connections. Their years of training and experience ensure work is done correctly and safely. Most homeowners lack the technical know-how for meeting code.
Permit Requirements
Electrical work generally requires securing the proper permits from local building codes departments. Licensed electricians are familiar with permit procedures and can pull any needed permits before starting. Unpermitted work may jeopardize home insurance claims if wiring issues later cause damage.
Passing Inspection
In addition to permits, the completed electric stove wiring must pass local inspection before approval for use. Experienced electricians are well-versed in code compliance and can competently install stove circuits that will pass inspection on the first try. Failed inspections mean extra waiting and costs for fixing issues.
DIY Stove Install Tips
If your existing kitchen wiring indicates it’s up to the task, handy homeowners may want to try installing their new electric stove themselves. But extreme care must be taken and technical capacity to ensure safe and proper function.
Review Wiring Diagram
It’s essential to follow the wiring diagram included with your specific stove model. Wire colors and terminal connections vary across brands. One wrong move could result in shorting, shocking, or permanent damage. Double-checking the diagram before connecting any wires prevents mishaps.
Label All Wires
To avoid mix-ups, clearly label the existing wires pulled into the electrical box so the appropriate connections are made. Mark the hots, neutral, and ground. This helps ensure the correct wires are attached to the corresponding stove terminals.
Check for Power Before Wiring
Using a voltmeter, always confirm the circuit has no live power flowing before touching any wires or terminals. Shut off the correct breaker and disconnect the range if replacing an existing unit. Accidentally wiring a live circuit risks electrocution.
Request Inspection
Even if you don’t pull permits, it’s smart to request an inspection by your local building department after completing the rough-in wiring. Having an inspector verify code compliance provides peace of mind that wiring hazards are avoided.
When it comes to electric stove wiring, following basic guidelines for wire sizing, dedicated circuits, and high-temperature wire keeps you safe. While it may seem complex, the fundamentals come down to matching your stove’s power demands and following technical specifications. When in doubt, consult a professional electrician to ensure your home’s wiring capacity and connections meet all requirements for secure electrical function. Properly installed electric stove circuits prevent damage, blown breakers, electrical shorts, and potential fires or shocks.
