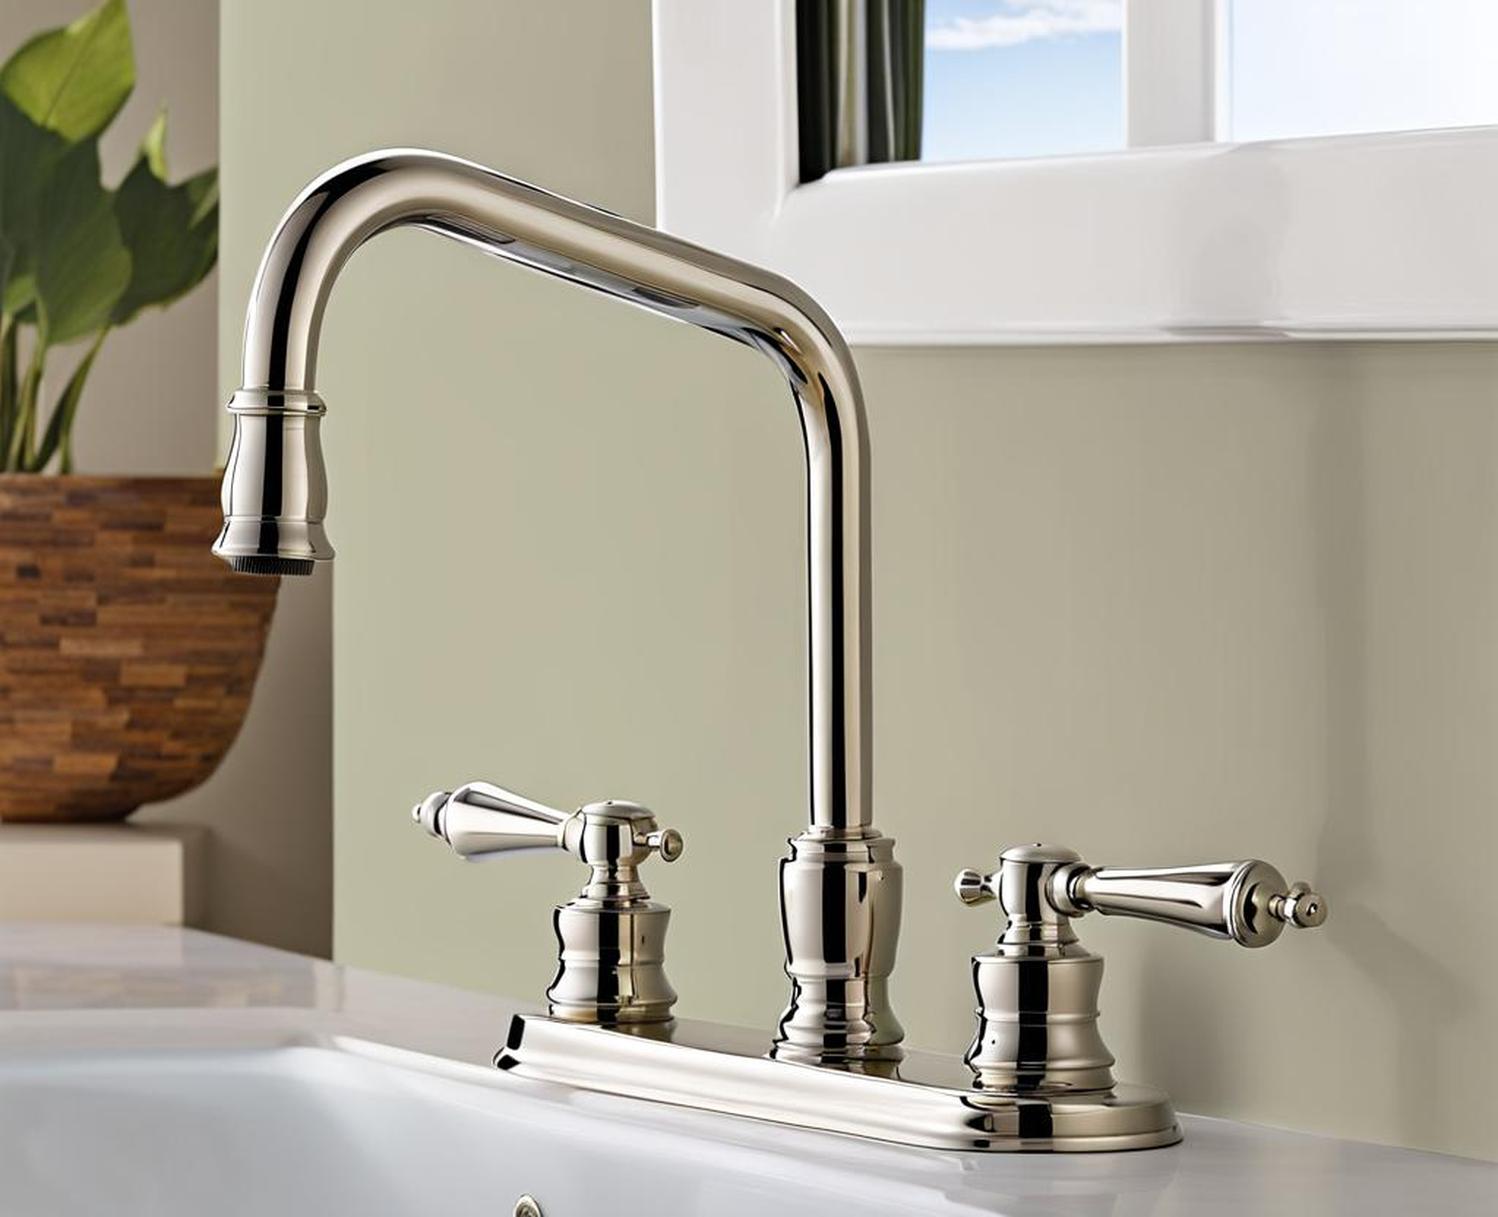
Perrin & Rowe are known for their exquisitely designed luxury faucets that can cost a pretty penny. But like any fixture, wear and tear eventually take a toll. Instead of spending money on an expensive plumber, many issues with Perrin faucets can be addressed with some DIY troubleshooting and replacement parts.
Common Perrin Faucet Problems Homeowners Face
Dripping Faucet
A leaky, dripping faucet is one of the most common issues. This is typically caused by worn washers or seals within the faucet mechanics. While seemingly harmless, a persistently dripping faucet can waste hundreds of gallons of water over time. Replacing a few cents’ worth of rubber seals is an easy DIY fix.

Low Water Flow
Has your once-powerful kitchen faucet been reduced to an anemic trickle? Hard water mineral buildup and clogged aerator screens are likely culprits. While low flow can indicate larger issues within the faucet or pipes, simple maintenance like soaking the aerator in vinegar often gets things working again.
Leaks
Catching leaks quickly is crucial to prevent extensive water damage and dangerous mold growth. But identifying the exact origin of a leak can be tricky with installations behind walls. If tightened connections don’t resolve seepage at the base of your faucet, don’t delay calling in professional help to inspect for issues within your home’s plumbing.
Loose Faucet
A loose faucet may start subtly with a bit of wiggle but can progress to dangerous disconnects from water lines, causing messy leaks and possible sink detachment. Getting fittings properly re-secured ASAP prevents damage. But for decorative ceramic installations, take care not to overtighten connections in the quest for sturdiness.
DIY Faucet Repair Tips
Gather Necessary Replacement Parts
Many common leaks and drips can be fixed by replacing old rubber O-rings, washers, and seals. Thankfully, Perrin & Rowe sell replacement part kits for most of their faucet models. For other, more general faucet repairs, kits from reputable brands provide an assortment of supplies for under $20.
Safely Shut Off Water Supply
Before tackling any disassembly, find water shut-off valves and carefully switch off the flow of water under fixtures and at the main home line. Accidentally removing lines or parts while water is still on risks flooding damage. Refer to our illustrated guide to avoid mistakes during this crucial first step.
Disassembling the Faucet
Taking faucets apart to access internal components takes patience and care. Refer to manufacturer instructions specific to your Perrin model for detailed steps. In general, preparation like laying down towels assists in collecting small dropped parts. Take photos during the process for easier reassembly. Note any stubborn connections or signs of underlying pipe corrosion, indicating professional help may be required.
Cleaning & Installing New Parts
Scrub fixtures to remove mineral deposits around spouts and seals then insert replacement washers, O-rings, etc. Ensure parts are evenly aligned and make tight seal contact around valve openings. Misaligned rubber seals are often the culprit for ongoing drips after repair attempts.
Reassembling Faucet
When re-attaching faucet bodies, getting hardware tightened back to the correct torque specifications prevents future leaks. Too loose, connections detach. Too tight risks damaging fragile interior valve components. Go slowly to hit the right level of snug security.
Restoring Water Supply & Testing
When turned back on slowly, initial spurts and spurters are normal as trapped air escapes interior faucet lines. Let water run for a few minutes to help filter out any sediment dislodged during repairs. Check for drips and leaks over the next days of regular use.
Maintaining Your Perrin Faucet Investment
Basic Cleaning
While Perrin faucets resist mineral buildup and corrosion with protective finishes, regular gentle cleaning maintains luster and smooth performance. Quick daily wipe downs prevent soap, toothpaste and grime accumulations.
Use Filtration
Hard water takes a toll over time, leaving scale on fixture surfaces and inside parts. Installations of whole-house or faucet-mounted water softeners minimize future component-damaging deposits.
Call Professionals When Needed
While many basic leak and drip fixes detailed here can be DIY-managed, issues involving deeper valve and pipe replacements require professional expertise. Seek help for persistent problems going beyond washers and seals to properly restore your investment’s function.
Repairing a leaky Perrin faucet on your own with replacement parts allows homeowners to save on expensive plumber house calls. Follow instructions to methodically disassemble, address issues and properly reinstall fixtures. Combining renovations with regular maintenance keeps these luxury investments working great for years of beauty and reliable service.
