Tired of lackluster end tables that have seen better days? Give them new life with a simple paint makeover! Painting is an easy and affordable way to customize end tables to match your personal style. With a little creativity and the right supplies, you can transform boring tables into beautiful showstoppers.
Discover foolproof techniques from choosing paints to prepping properly. We will also showcase creative painted “looks” to spark your imagination. With this guide, you will gain the confidence to DIY end table makeovers this weekend!
Gather Your Supplies
The first step to any painting project is gathering the proper tools and materials. Having everything prepared beforehand ensures the job goes smoothly from start to finish. Luckily end table painting primarily requires commonly available supplies.
Paint Types
There are many options when selecting paint for end tables. Consider factors like the current finish, whether you’ll distress or antique, and desired final look. Here are popular recommendations:
- Chalk paint – Formulated to adhere to slick surfaces like laminate without sanding. Produces a matte, porous finish ideal for distressing.
- Milk paint – Non-toxic, eco-friendly formula based on casein protein. Known for exceptional adhesion and a beautiful matte finish.
- Spray paint – Convenient aerosol cans provide smooth, even coverage. Many have built-in primers and low VOCs.
- Acrylic craft paint – Offer affordability and vivid, highly pigmented hues perfect for detailing.
- Metallic paint – Water-based varieties create stunning faux metal finishes without harsh chemicals.
Additional Supplies
Along with choosing the right paint, stock up on these supplies:
- Sandpaper – For lightly distressing surfaces before painting.
- Paintbrushes – Angle sash brushes efficiently cut crisp lines.
- Drop cloths – Protect floors and surroundings from drips and spills.
- Primers – Promote topcoat adhesion and color accuracy.
- Top coats – Seal paint and enhance durability. Consider matte or glossy finishes.
Prepping for Success
Preparing end tables thoroughly before painting ensures your makeover lasts. Proper prep also helps paint adhere smoothly and evenly. Follow these pro tips for best results:
Sanding
Importance of proper sanding – Sanding removes surface debris and abrades glossy finishes paint won’t stick to. Always wear a protective mask when sanding.
Grits for distressing vs smoothing – For light distressing, use 120-150 grit sandpaper. To smooth tabletops, work up to 220 grit for painting.
Priming
Purpose of primer coat – Priming seals porous surfaces so topcoat color appears richer. It also allows paint to bond tightly.
Recommended products – Stick with bonding primers like Zinsser Bulls Eye 1-2-3 for slick finishes like melamine.
Taping Off
Protect surrounding surfaces – Use painter’s tape to mask off baseboards, floors, walls and other areas.
Tricks for clean paint lines – First tape off edges to be painted. Then add another layer of tape outer edge. Remove second strip first before drying.
Inspiring Paint Techniques
Unleash inspiration selecting from endless trendy paint techniques! Moving beyond basic solid colors opens a world of faux finishes. Explore popular options perfect for customizing end tables:
Solid Colors
Sometimes keeping it simple makes the biggest statement. Coordinating bold brights or soothing neutrals with your decor displays creativity.
- Modern brights – Energize with vivid citrus shades or ocean teals.
- Soft neutrals – Elevate with warm ivories or weathered grays.
- Contrasting undertones – Surprise with deep navy or emerald green bases under light tops.
Antiquing
Makeover mosaic tables with easy no-wax paint aging techniques for vintage appeal. Popular approaches include:
- Dry brushing – Dip brush lightly in paint then wipe excess on rag before brushing over details.
- Chippy paint effect – Intentionally reveal some of the original finish by gently distressing paint once dry.
- Rub through with dark wax – Apply white paint then rub away select areas to expose deeper wood tones.
Faux Finishes
Faux finishes utilize special tools like sponges, textured rollers or crumpled plastic to mimic luxury materials. Favorite options for small surfaces like end tables include:
- Wood grain effects – Use wood grain tools and glazing mediums to simulate oak, walnut or driftwood.
- Marbleizing – Float several colors across tabletop to mimic natural stone patterns like marble or granite.
- Metallic finishes – Midas touch with rub n’ buff waxes or Modern Masters Metal Effects paint for convincing metal replicas.
Patterns & Designs
Make a bold statement with eye-catching motifs applied directly to the end table surface. Fun approaches involve:
- Painter’s tape stripes – Crisp lines in perfect angles intrigue the eye and framework smaller pieces.
- Stenciling motifs – Floral medallions, Moroccan tiles or geometric shapes infuse artistic flair.
- Freehand painting – Whimsical designs applied with steady hand like chevron stripes or abstract shapes.
Creative Paint “Looks”
Up the ante on transforming lackluster end tables with unique color combinations and mismatched mixed media makeovers!
Eclectic Wrapped
- Covering tabletop with scrapbook paper – Adhere pages from favorite books, sheet music or maps to tabletop for uncommon couture.
- Complementary paint on base – Ground fanciful tops with solid coordinating colors on end table base and legs.
Beachy Chic
- Bleached coastal hues – Summon seaside with weathered white bases topped with greenish-blue tinted “driftwood”-inspired tops.
- Weathered driftwood finish – Recreate nuances of ocean-tossed wood using dry brushing and layers of translucent glazes.
Farmhouse Plaid
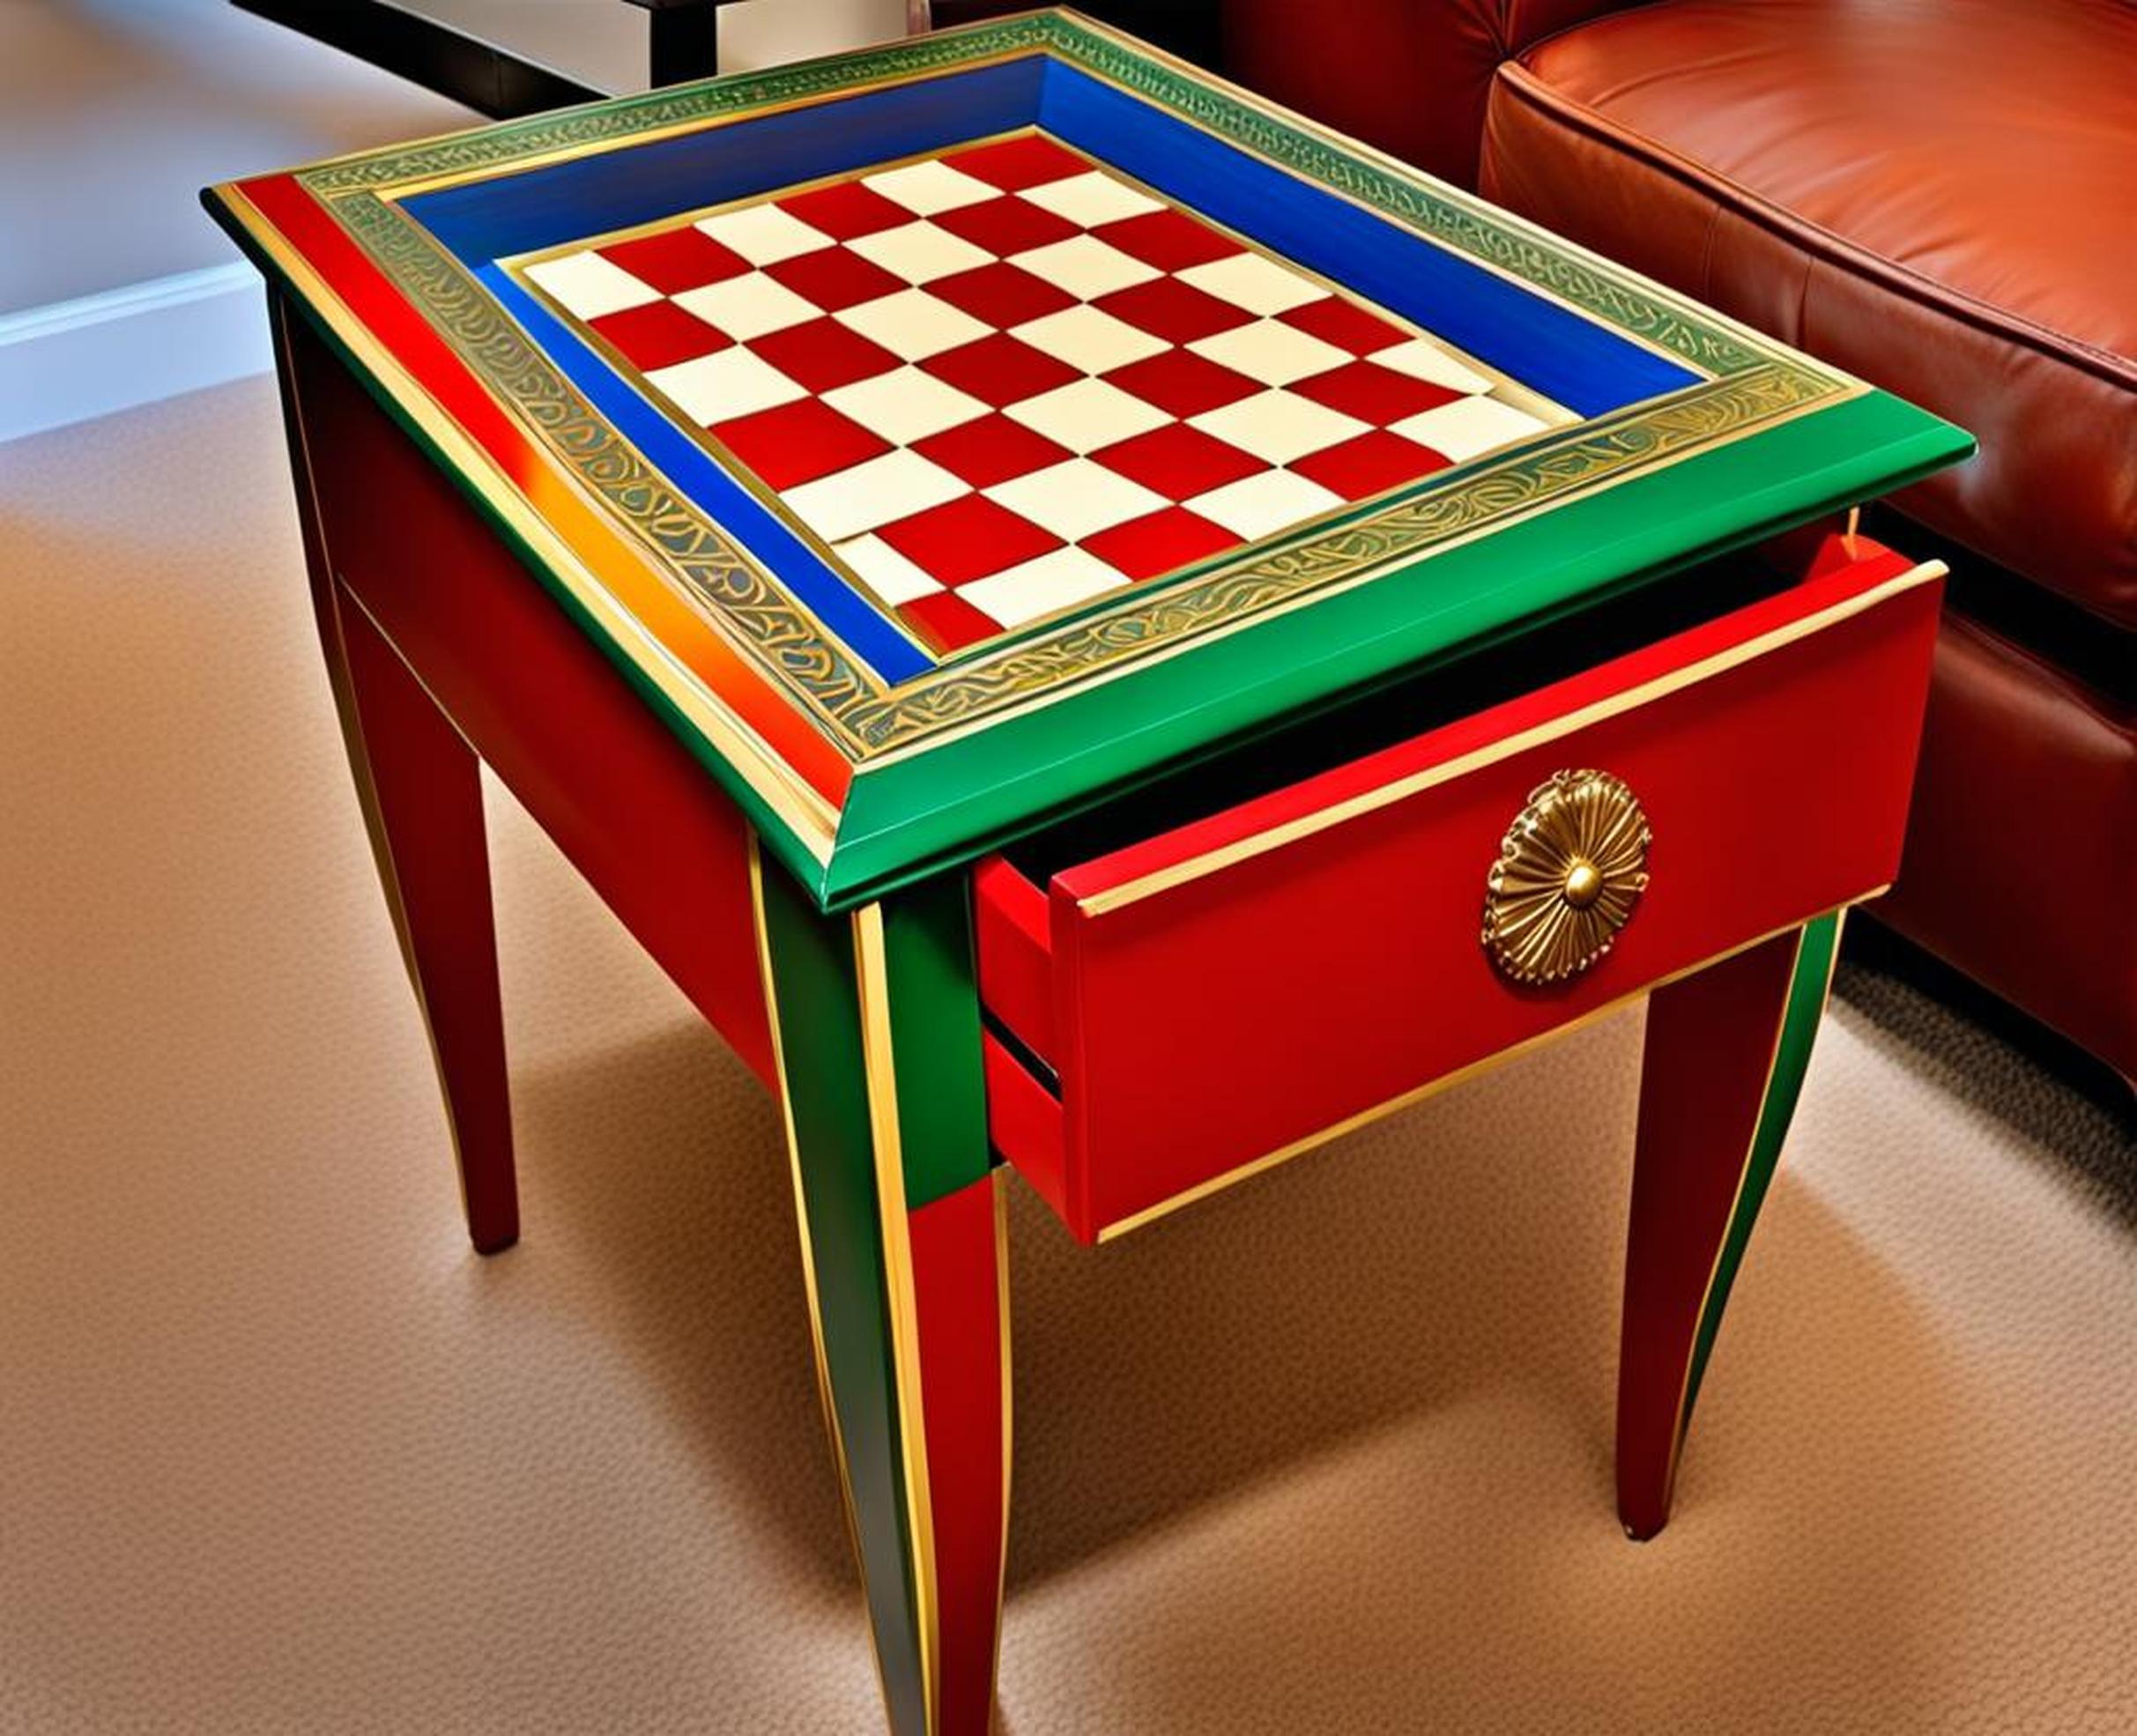
- Checkerboard tabletop – Make alternating square “tiles” in contrasting black and white using painter’s tape masking.
- Contrasting base frames top – Soft creamy base welcomes graphic plaid pattern grounded in tradition.
Protect & Seal
Shield your creative efforts with a durable, protective topcoat. Sealing end tables guards against fingerprints, spills, scratches and fending off fading.
Products for sealing painted finishes – Consider water-based polyurethane, acrylic sealer or a matte varnish.
Extend life & enhance durability – Multiple thin layers of fast drying topcoat allow for easier distressing later if desired.
The next time lackluster end tables leave you stumped, remember a coat of paint offers an affordable weekend makeover! With so many creative paint techniques, patterns and color combinations, the options for customizing end tables are endless. Not feeling artsy? No worries – even simply switching knobs or adding trim frames tops visually. The ideas shared here aim to kindle your imagination so you can DIY the end table style of your dreams. Soon that bare corner will come alive showcasing your personalized handcrafted piece.
We hope you feel motivated to pick up a paintbrush and rediscover the potential waiting within the tired end table hiding in your home. Transforming overlooked “brown furniture” into conversation-worthy works of art fuels the spirit. Happy painting!
