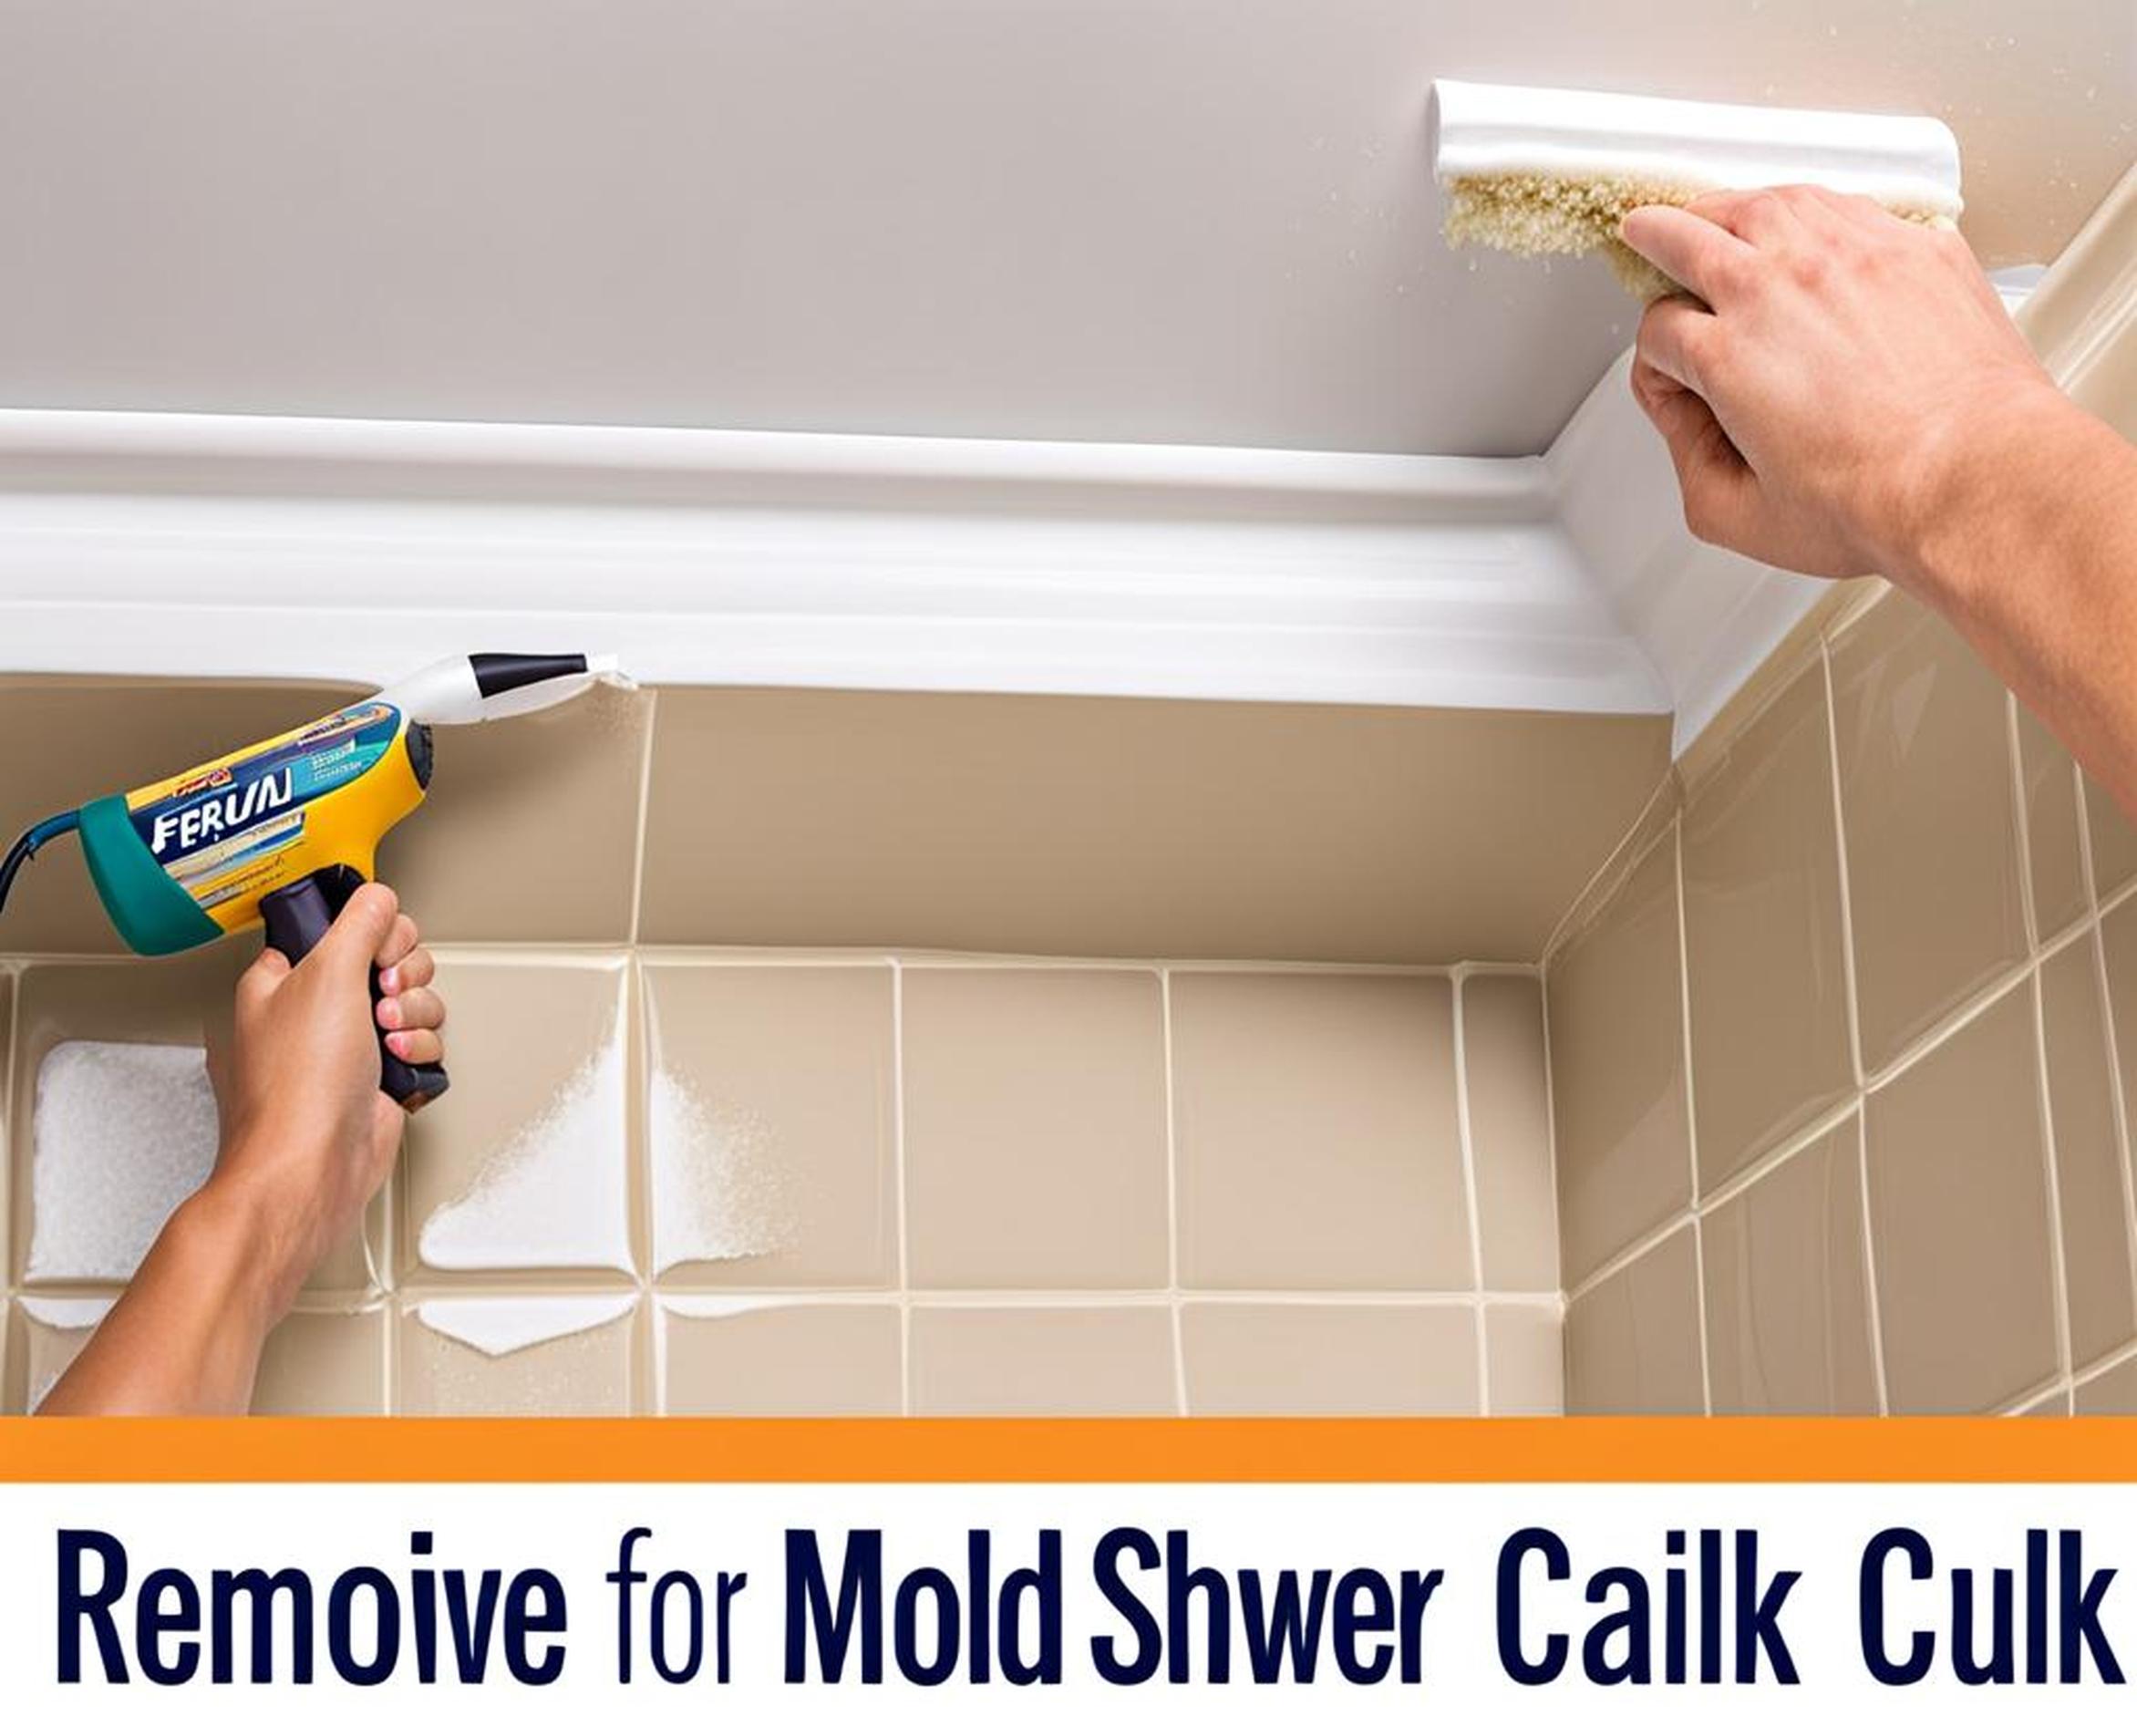
Mold growing in the caulk around your shower is an unsightly problem that can also damage surfaces and pose health risks. With the right techniques and solutions, you can banish mold from shower caulk for good. This comprehensive guide will walk you through the causes, prevention, and removal process step-by-step.
By the end, you’ll know how to permanently eliminate mold from your shower caulk using common household items.
What Causes Mold To Grow In Shower Caulk?
Mold is a type of fungus that thrives in warm, humid environments like showers. Excess moisture is the main culprit for mold growth in caulk and other bathroom areas. Poor ventilation, leaks, cracks in caulk, and generally damp conditions also encourage mold.
As moisture accumulates on surfaces like tile and grout, mold spores start to grow. The warm, moist environment of the shower makes caulk an ideal place for mold colonies to form and spread.
Dangers Of Mold Growth In Showers
Mold growing in your shower caulk and elsewhere can lead to some unfavorable consequences:

- Health hazards – mold spores can cause allergic reactions, asthma attacks, and other respiratory issues when inhaled
- Can spread to other surfaces like walls, ceilings, and framing if left unchecked
- Damages caulk and grout over time, requiring costly repairs or replacement
- Causes unsightly staining and black or green discoloration
Catching and removing mold promptly minimizes these risks in your home.
Before Removing Mold: Prevention Tips
Before tackling existing mold, it’s wise to take preventative steps to stop mold growth in the future:
- Improve bathroom ventilation with fans, windows, or HVAC adjustments
- Fix any leaks or cracks immediately to reduce moisture
- Wipe down shower surfaces after each use to limit mold-feeding moisture
- Use mold-resistant caulk and grout formulated to deter mold
Keeping your bathroom drier will go a long way towards preventing mold from taking hold in caulk.
Step 1: Prepare To Remove Mold From Caulk
Once you notice mold on your shower caulk, act quickly to get rid of it. Follow these tips to prep for mold removal:
- Put on gloves, a mask, and goggles to protect yourself from mold spores
- Cover nearby surfaces like walls and floors with plastic sheets to avoid damage
- Turn on exhaust fans, open windows and doors to maximize ventilation
- Select your mold killing solution – see step 2 for options
- Gather old rags, scrub brushes, and plenty of towels
Safety first is key, as mold spores can irritate lungs and skin. Proper ventilation keeps spores from spreading during the removal process.
Step 2: Apply A Cleaning Solution
Several common household products can be used to kill and remove mold from caulk:
- White vinegar – The acetic acid in vinegar kills mold and is very affordable
- Hydrogen peroxide – Breaks down mold with oxidation but may bleach surfaces
- Bleach – A strong disinfectant but may damage grout and caulk over time
- Baking soda – Non-toxic powder used as a scrubbing abrasive on mold
Vinegar is typically the safest, cheapest option. Hydrogen peroxide also works well without harsh chemicals. Test bleaches and cleaners on small hidden areas first to check for discoloration.
Application Process
Once you select your cleaning solution, follow these steps:
- Spray or sprinkle the caulk generously with the cleaning solution, focusing on the moldy areas
- Allow it to sit for at least an hour so the solution can fully penetrate and kill mold
- Scrub the treated caulk with an old toothbrush or other small scrub brush
- Wipe away the dead mold and cleaning solution residue with towels
Leaving the solution on longer maximizes mold removal. Scrubbing gives the mold nowhere to hide.
Step 3: Scrub, Wipe, And Allow To Dry
After applying your anti-mold solution, some elbow grease is required to remove all traces of mold from the caulk. Here are some tips for this step:
- Scrub vigorously with a brush to loosen mold deep in crevices
- Wipe away all mold residue and cleaning solution with dry rags or towels
- Allow caulk several hours to fully dry before using shower
- Repeat scrubbing and cleaning if any dark mold spots remain
Thorough drying prevents future mold – leave bathroom fans running after cleaning. Repeat treatments may be needed for persistent mold.
When To Call A Professional
While DIY mold removal often does the job, there are times to call in a professional:
- If DIY methods aren’t successfully removing all mold
- For large affected areas or mold behind bathroom walls
- If you have respiratory issues or serious mold allergies
Professionals have industrial-strength products, protection equipment, and methods to fully eradicate mold on shower caulk.
After Mold Is Gone: Prevent It From Coming Back
Once you wipe out all visible mold, take steps to prevent future growth:
- Use mold-resistant caulk and grout in humid areas
- Improve bathroom ventilation and airflow
- Fix any new leaks ASAP to limit moisture
- Wipe down all shower surfaces after each use
- Install a bathroom vent fan if lacking
- Keep bathroom humidity levels consistently low
With diligent moisture control and quick action on new mold growth, you can keep shower caulk mold-free for good.
Mold invading your shower caulk can be frustrating, but it doesn’t have to require expensive replacement. Using common household cleaners, preventative maintenance, and prompt mold removal allows you to conquer caulk mold yourself.
Equipped with these proven tips, you can eliminate pesky mold from your shower caulk once and for all. No more scrubbing and staining – just a fresh, mold-free shower.
