For many homeowners, an outdated flat roof is an eyesore that also poses potential leakage and structural issues. By converting to a contemporary pitched roof, you can completely transform the look and function of your home in just a few straightforward steps.
With some careful planning and preparation, you can swap out that tired flat roof for an attractive, durable pitched style that enhances your home’s curb appeal and value.
Step 1: Structural Analysis
Before embarking on the conversion process, it’s essential to determine if the building’s structure can support the weight of a pitched roof. A structural engineer should conduct a thorough analysis to ensure the roof’s integrity and stability.
They will examine critical factors like:
- Age of the building
- Current state of the existing flat roof
- Load bearing walls and beams
- Any existing signs of structural issues or weaknesses
This professional engineering analysis gives you confidence that the new pitched roof will be completely secure and not put undue strain on the building.
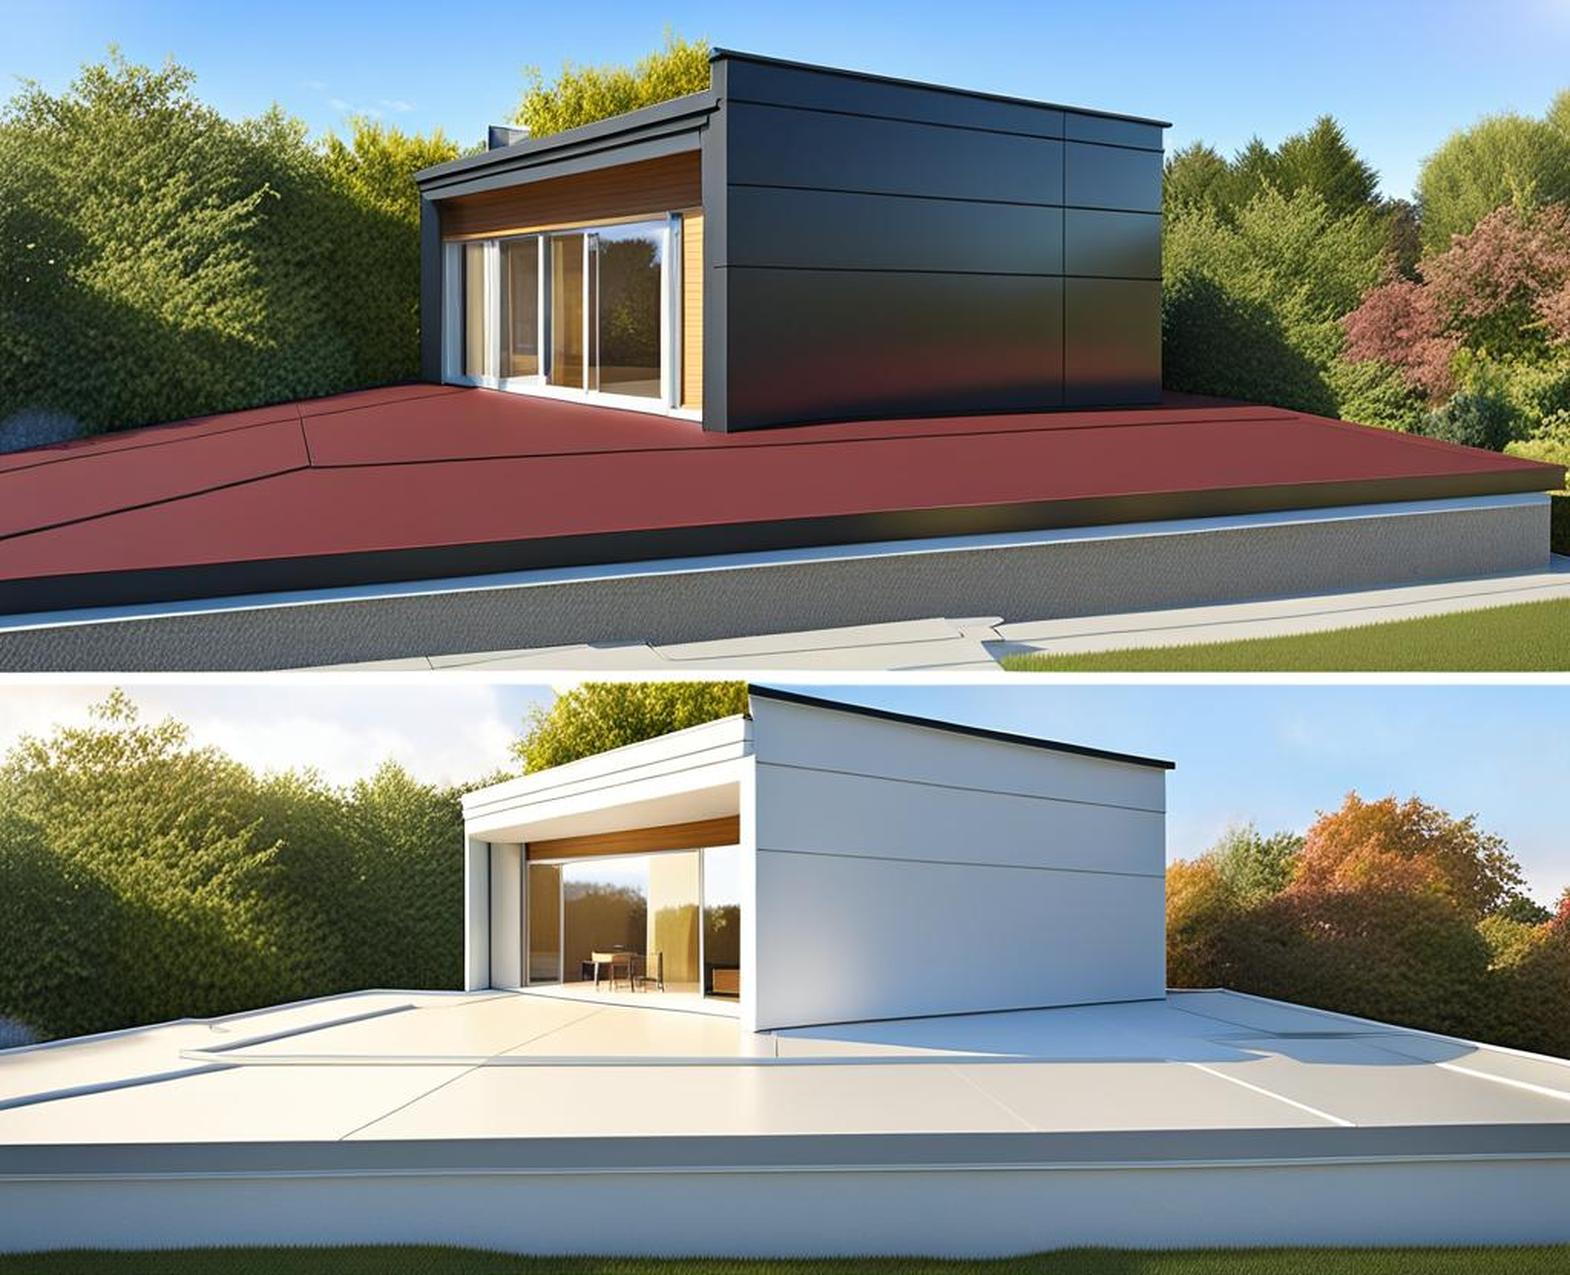
Step 2: Choosing the Roof Pitch
The roof pitch is a crucial factor to consider when converting from flat to pitched. This refers to the steepness or angle of the new roof.
A low-pitched roof may be more practical and affordable, as it requires less materials and labor. However, a steeper pitch can dramatically improve aesthetics and functionality:
- Better drainage and weather resistance
- More striking curb appeal
- Increased space for living areas
When selecting pitch, you’ll need to strike a careful balance between appearance, practicality and the building’s structural limitations. A pitch of 30-45 degrees is ideal for most homes.
Step 3: Selecting Roofing Materials
You’ll have several material options when it comes to constructing your new pitched roof, each with their own advantages and considerations:
| Material | Key Factors |
| Asphalt shingles | Affordable, easy installation, wide variety of styles and colors |
| Slate | Natural stone, very durable but heavy and expensive |
| Metal | Long lifespan, resistant to fire/insects/mold but prone to denting |
When selecting a material, consider your budget, location, climate, desired lifespan and visual appeal. Your roofer can advise on the best options.
Step 4: Planning Drainage
Effective drainage is critical with pitched roofs to avoid moisture issues. Work with your roofer to design a robust drainage system including:
- Gutters and downspouts sized for peak rainfall
- Sloping valleys to direct water runoff
- Insulation to prevent ice damming in cold climates
Proper drainage will protect your roof’s integrity and prevent costly water damage over time.
Step 5: Obtaining Permission and Permits
Depending on your local regulations, you may need special permission or permits for your roof conversion project. Be sure to check requirements and apply for planning permission if the new roof will exceed size or height limits.
Secure all required approvals from local authorities before commencing work. Your contractor can usually help with the permitting process.
While a competent DIYer may be able to replace a flat roof, converting to a pitched roof is a complex job best left to the professionals. Be sure to hire an experienced, fully insured roofer.
Here’s what to look for:
- Strong reviews and references for pitched roof projects
- Certified and trained on latest building codes
- Can provide a detailed quote and timeline
- Quality workmanship guarantee
Depending on the weather and scope, you can expect the conversion to take 2 weeks. Now you can finally swap out that lacklustre flat roof for a spectacular new pitched style!
