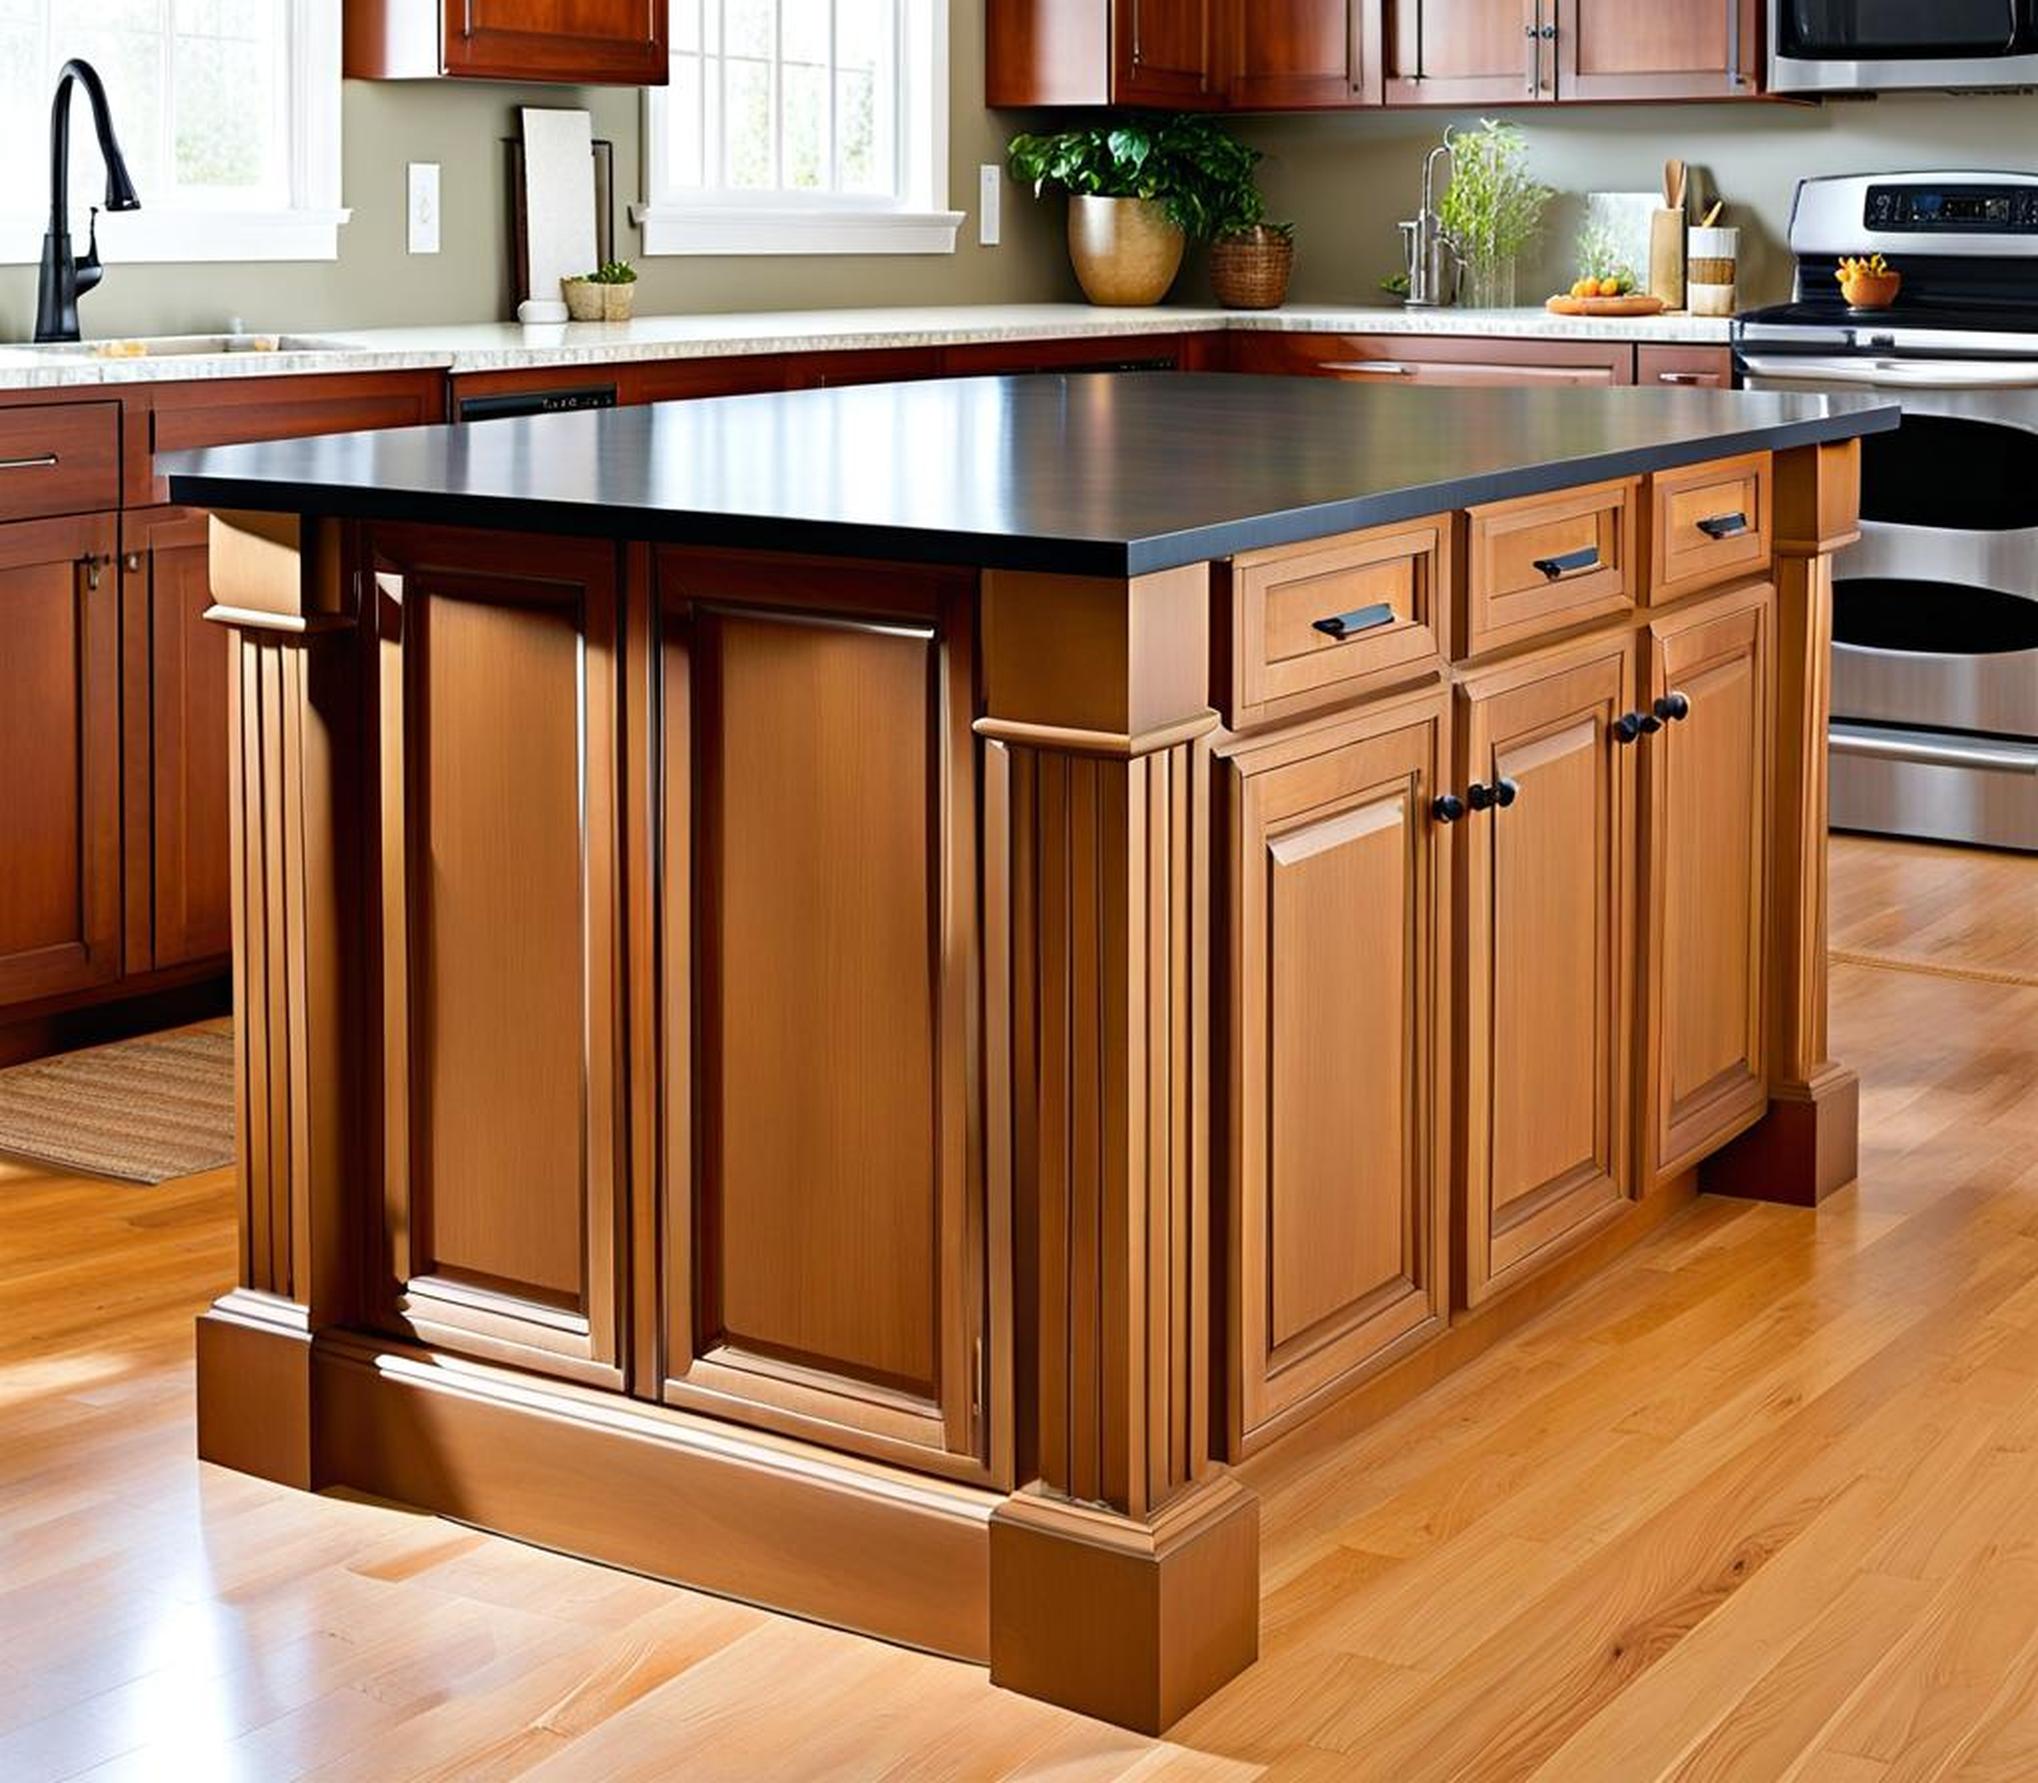
Kitchen islands are hugely popular for good reason. Not only do they provide extra prep space and storage, but they also become a natural focal point in the kitchen. The benefits of an island are clear, but many homeowners find the cost of a prefabricated island prohibitive. However, with a little planning and DIY spirit, you can construct your own dream island using base cabinets for a fraction of the cost.
In just 7 straightforward steps, it’s possible to build an island that’s customized to your space and style using basic carpentry skills. With the right combination of base cabinets, countertop, and hardware, you can create an island that looks like it was professionally designed and installed. So roll up your sleeves and let’s get started on your DIY journey to island greatness!
Step 1: Plan the Island Design and Layout
Knowing the size and shape you want for your kitchen island is key for determining what materials to purchase. Start by considering the space you have available and how you plan to use the island. If you’ll mainly use it for extra seating, size it accordingly for stools and an overhang. For more prep space opt for a larger rectangular shape.
Determine the Island Dimensions
Measure between existing cabinets, walls, and appliances to find the maximum dimensions for your island. Standard depths are 25-30 inches deep and lengths vary from 4-10 feet. Remember to account for countertop overhangs on each side.
Decide if you want your island to be flush on one side for circulation or have space all around. Make sure there’s enough room for traffic flow and pulling out chairs.
Choose the Island Shape
The most common island shapes are:
- Rectangular – The simplest, most versatile option
- L-shaped – Offers ample prep space and an additional side for seating
- U-shaped – When you need seating on three sides
Match the shape to the flow of your existing kitchen layout for the best function.
Determine Suitable Height
Standard kitchen island height is 36 inches, like a typical countertop. For dining islands with stools, consider going slightly taller. Or if you mainly need extra prep space, opt for a shortened height around 34 inches.
Step 2: Purchase the Necessary Base Cabinets
Choosing the right base cabinets ensures your island will be strong, sturdy, and blend with your existing kitchen style. Keep these factors in mind when selecting:
Choose Cabinet Type and Size
Standard base cabinets come in 3, 6, 9, 12 inch widths. For a kitchen island, versatile drawer base cabinets are also a great option for accessible storage. Include a sink base if adding an island sink. Corner cabinets can supplement additional interior storage space.
Measure interior dimensions to ensure appliances, trash bins, etc will fit inside the cabinets.
Select Cabinet Finish and Style
Opt for a finish and door style that matches your current kitchen cabinets for a cohesive look. Shaker cabinets in a stained wood finish are a popular option that fits most kitchen aesthetics.
Calculate Number of Cabinets Needed
Measure your planned layout and divide the length by standard cabinet widths to determine how many you need to purchase. Remember to account for spacing between cabinets and any overhang.
Step 3: Prepare the Assembly Area
Since assembly requires some maneuvering, create an open workspace if possible. A garage floor, basement, or spare room works well. Make sure the floor is clean and protected. Gather all your materials, hardware, tools, and reference the instructions.
Step 4: Assemble the Base Cabinets
Follow Manufacturer Instructions
Assemble each cabinet individually per the instructions. Attach any included shelves, drawers, doors and hinges. Pay close attention to proper drawer alignment if provided.
Join Cabinets Together
With the cabinet fronts and backs flush, clamp them securely in place. Drill pilot holes through the frames to avoid splitting and screw the units together using galvanized or stainless steel screws.
Add Decorative End Panels
For an attractive finished look, cut panels from plywood to match the exposed cabinet sides. Attach them to the ends using finish nails or screws.
Step 5: Install the Assembled Island
Move Island Frame to Kitchen
Carefully lift and transport the assembled base frame to its final position. Use furniture sliders or rolling dollies to move heavy islands. Protect surrounding floors and surfaces from dings or scratches during the move.
Level and Anchor the Island
Check for level and use shims to adjust height if needed. Anchor securely through the base into the floor using brackets or threaded rod. Construction adhesive can also help hold it in place.
Attach the Countertop
Clean the base cabinets and apply adhesive to the top perimeter. With help, carefully lower the countertop into position, overhanging slightly on each exposed side.
Step 6: Complete Island with Trim and Hardware
Add matching trim molding pieces if desired to cover any visible gaps along the base. Install hardware like knobs, pulls, or handles on doors and drawers. Seal around edges with silicone caulk.
Step 7: Finish Island with Sink or Appliances
For additional function, use a jigsaw to cut out space in your countertop for a sink or cooktop. Connect the necessary plumbing and electrical. For a built-in sink, finish by installing a backsplash and faucet.
Constructing your own kitchen island is a rewarding project that allows for personal customization. Not only do you save on the cost of purchasing a pre-made island, you can build it to fit your exact kitchen space and needs.
It’s easy to see why an island can transform a kitchen. By following the steps outlined above, you’ll have the skills to build the island of your dreams using standard base cabinets.
