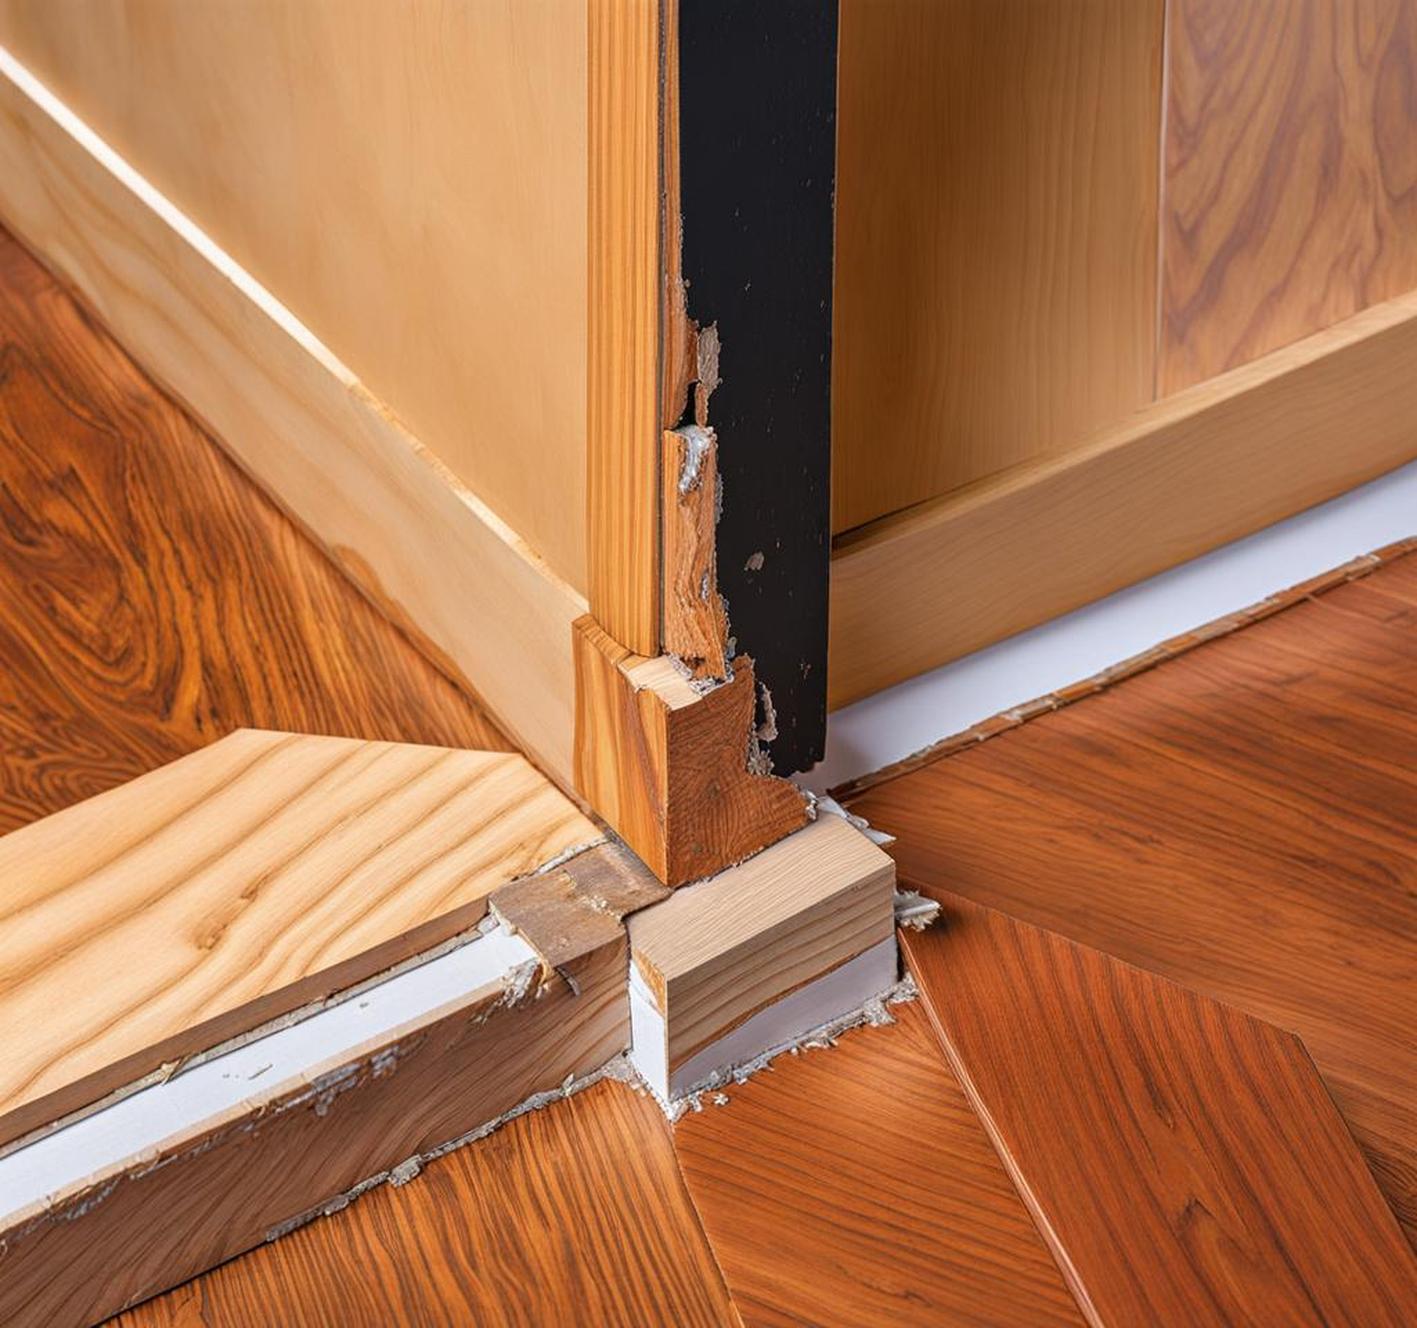
We’ve all experienced the dread of finding our beautiful wood furniture marred by animal chewing damage. Deep gashes, gouges, and splintered corners quickly transform your lovely belongings into unsightly ruins.
Repairing chewed wood corners may seem hopeless, but it can be done! With a few simple tools and materials, those annoying tooth marks can disappear. This easy 3-step process will have your furniture looking brand new again in no time.
Assess the Chewing Damage
Start by taking a close look at the chewed area. Are the marks deep punctures or more surface level scratches? Are there chunks of wood missing or splintered off? Determine how extensive the damage is.
Minor surface chewing can be repaired fairly easily. But deep gouges with missing wood may require rebuilding with filler products. If the damage is severe across a large section, you may need to call in a professional.
When to Call In a Professional
- Severe deep gouges or missing large sections of wood
- Extensive damage spanning a large area
- Damage to structural integrity or stability of furniture
Step 1 – Prep the Area
Once you’ve assessed the chewing damage, it’s time to start prepping the area for repair. Use a power sander or sand by hand to smooth and remove any splintered or ragged areas around the damaged spot.
Sand down to reveal bare wood if the finish is also compromised by chewing. The goal is to get the area flat and smooth with defined edges. Thoroughly clean the sanded spot to remove any dust before applying filler.
Step 2 – Fill In Holes & Gouges
Next, choose a filler product to patch and rebuild the damaged wood. For minor dents and small holes, a basic wood putty should do the trick. For deeper gouges, opt for a plastic wood filler or wood epoxy to rebuild missing chunks and fill larger holes.
Work the filler into the damaged area, overfilling slightly. Plastic wood and epoxies will require ample drying time, so follow package directions. Here are some tips for a seamless filler application and professional looking fix:
Tips for an Easy, Seamless Filler Application
- Use painter’s tape around repair if needed for clean edges
- Sand between coats for smoother finish
- Use putty knife to evenly spread filler
Step 3 – Blend & Refinish Repaired Area
Once your filler has fully cured, sand the area again. Start with a coarse grit to smooth the filler down, then use finer sandpaper to blend it seamlessly into the surrounding wood.
Apply stain, paint, or clear coat to match the existing finish. A clear top coat will also protect the repaired area from moisture and damage. Take your time with the refinishing to get a polished, factory-like look.
Buff and polish as the final step to a renewed, chew-free wood corner that looks like new again!
Prevent Future Chewing Damage
Completing furniture repairs only solves half the problem – you need to curb the chewing habit as well. Start by deterring your pet from wood surfaces with bitter apple sprays and restricting access to vulnerable corners.
Address underlying issues like separation anxiety, teething needs, or sheer boredom that may cause destructive chewing behaviors. Make sure your pet gets plenty of exercise, interactive toys, and chew alternatives.
Positive reinforcement training using treats can also teach them to avoid off-limit furniture. Protect vulnerable corners and legs by covering them with pet-friendly material.
With a little diligence, our furry companions can leave the woodwork alone, letting you bask in the glory of your restored, chew-free furniture.
Don’t despair over dog-damaged wood furniture – the chewing damage can disappear with these 3 simple steps: sand, fill holes, and refinish. Repairing chewed corners yourself is much cheaper and easier than replacing the entire piece.
