An outdoor bathroom can transform your backyard into a relaxing oasis for getting away without going away. Constructing your own private backyard retreat may sound daunting, but with proper planning and materials, you can create the ultimate staycation destination right at home.
In this comprehensive DIY guide, we’ll walk you through the entire process of building an outdoor bathroom from start to finish. Follow these simple steps to craft your own backyard escape.
Choose the Perfect Location
When deciding where to build your outdoor bathroom, consider privacy, proximity to the house, views, sunlight, and drainage. An easily accessible southern facing spot is ideal for ample sunlight. Also account for extending plumbing and electrical connections from the main house.
Optimize for Relaxation and Privacy
Pick a location away from high traffic areas for privacy. Strategically placed screens, fences or foliage create seclusion. Consider sightlines from windows and neighboring properties as well.
Plan views and access to soothing vistas from your tub or shower. Experiment with open and enclosed layouts to find your ideal balance of exposure and solitude.
Maximize Convenience and Accessibility
Choose a spot close to the house for convenient access, like just off an existing deck or patio. Keep proximity in mind for connecting plumbing and electrical.
Ensure the path to your bathroom is well-lit and easy to navigate. A relaxing dip in your tub will be less appealing if getting there is a chore.
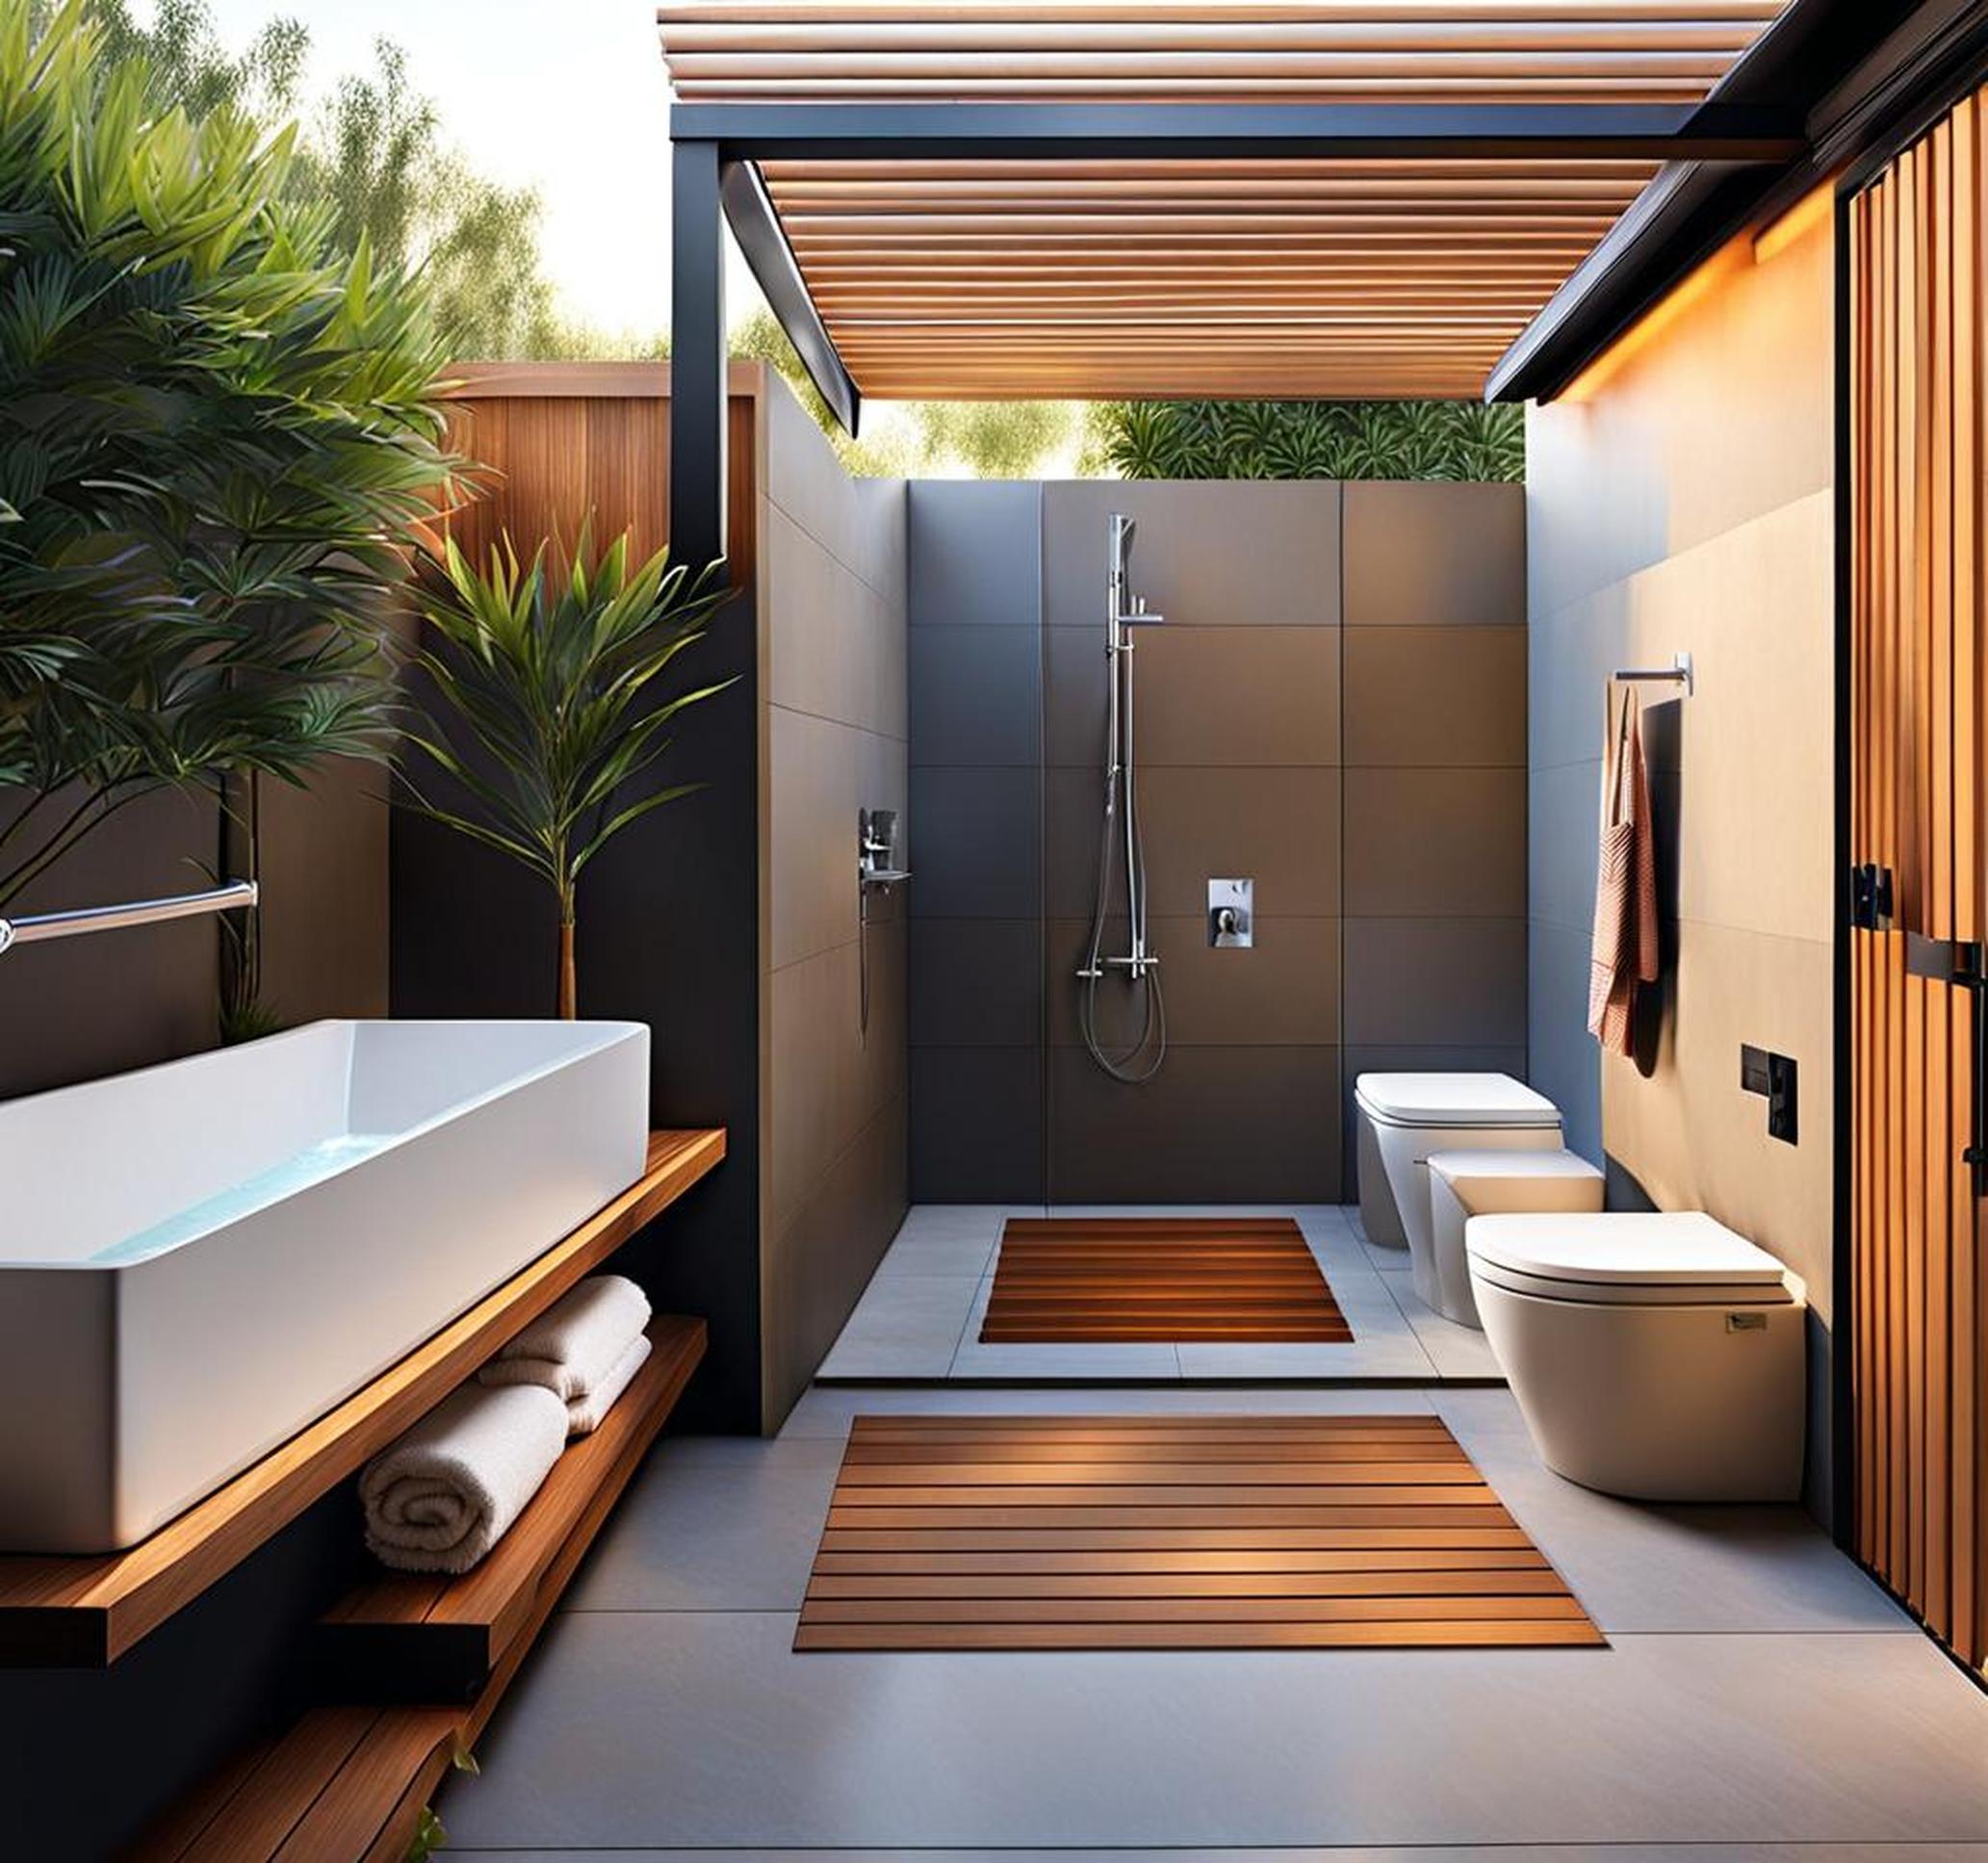
Design and Materials Selection
Once you’ve settled on a location, it’s time to envision the design. Sketch layout ideas and make materials lists for your dream bathroom. Planning carefully will ensure you build a space you’ll enjoy for years to come.
Component and Layout Considerations
Decide which components you want like a shower, sink, or soaking tub. This will inform the required footprint. Map where fixtures, storage, seating and accessories will go. An enclosed layout offers more privacy while an open layout immerses you in nature.
Be sure to incorporate storage for towels and toiletries plus electrical and plumbing needs into your plan.
Choose Durable, Weather-Resistant Materials
Select materials that can withstand your climate’s temperature swings, moisture and sun exposure. Tile, natural stone, concrete, and pressure-treated woods are great options.
For roofing, use materials that complement your home like cedar shakes, metal, or asphalt shingles. Get creative with reclaimed woods or weather-resistant fabrics for walls.
Construct a Solid Foundation
A proper base is crucial for ensuring your bathroom lasts. Here’s how to create a stable, level surface for installing your outdoor oasis.
Install Gravel and Compact It
Excavate and level the soil. Add a 4-6 inch layer of gravel to promote drainage. Use a tamper to compact the gravel down evenly.
For soaking tubs, a deeper gravel base of 12 inches or more prevents settling. Compact each layer as you build up depth.
Pour a Concrete Slab
Build a timber frame the dimensions of your bathroom space. Fill with 4-6 inches of concrete to create a moisture barrier and flat surface for constructing walls and installing fixtures.
Allow the concrete to fully cure before building on top. Be thorough prepping the gravel base for maximum stability.
Construct the Walls and Roof
Once your solid foundation is in place, the fun really begins taking shape. Here’s how to erect sturdy, stylish walls and a roof to complete your bathroom structure.
Brick, Cement Block, or Timber Wall Framing
If using masonry, lay bricks or blocks with mortar in between, using the timber frame as a guide. For a timber frame, attach weather-resistant wood vertically and horizontally.
Incorporate openings for fixtures and accessories like showerheads, faucets, and mirrors. Waterproof walls prevent leaks and moisture damage.
Install a Roof for Added Protection
A roof lets you enjoy your bathroom rain or shine. Use materials that complement your home and protect from the elements like concrete, metal, shingles or fabrics.
Account for drainage with proper sloping. Install a clear panel for sunlight or opt for opaque roofing for total privacy.
Add Plumbing, Electricity and Finishing Touches
You’re in the home stretch! Complete the creature comforts with running water, electricity and lovely accents to create a spa-like ambiance.
Install Proper Plumbing
Hire a professional plumber to trench and install supply lines, drains, and septic connections if needed. Follow codes and get required permits.
Test for leaks and drainage flow before finishing walls. Insulate pipes in cold climates to prevent freezing.
Incorporate Lighting and Electric
Consult an electrician to wire and install lighting, outlets, heated floors or other electrical components safely and to code.
Lighting adds ambiance and nighttime functionality. Hardwire components or use solar power for an eco-friendly solution.
Personalize with tile, stone, reclaimed wood or other decorative accents. Built-in seating, counters, plants and artwork create a luxe spa vibe.
Outfit with robes, plush towels, candles and bath accessories for optimal relaxation and enjoyment.
Now escape to your private backyard oasis anytime you need a relaxing getaway without going away. By following these steps, you can craft your own outdoor bathroom sanctuary. Start planning your backyard renovation today!
