Adding customized built-in cabinets around a window is a great way to maximize unused space while amplifying your home’s style. With strategic planning and preparation, it’s completely feasible to DIY stunning window cabinets over the course of a single weekend. From constructing the cabinet boxes to installing trim and hardware, we’ll walk you through the entire process step-by-step.
Built-in window cabinets allow you to expand storage and display capacities around often awkward window areas. Not only functional, but they also provide the perfect opportunity to inject your unique design taste. When completed, you’ll have an integrated cabinetry display that looks like it was designed just for your windows.
Gather Materials for a Streamlined Weekend Project
The key to completing this DIY window cabinet project in just two days is having all your materials ready ahead of time. This prevents making multiple trips to the hardware store during the build. Here’s everything you’ll need:
- Plywood or solid wood for framing the cabinet box structure
- Cabinet doors and handles of your choice
- Shelving and other interior fittings
- Hardware like nails, screws, hinges, and shelf pins
- Power tools: miter saw, jigsaw, drill, level, etc.
- Wood filler, caulk
- Trim pieces and molding
- Finishing supplies – sandpaper, wood stain and/or paint, polyurethane
Opt for Quality Wood and Materials
High-grade plywood like birch or oak works beautifully for built-ins. Avoid particleboard as it won’t stand up well over time. Choose durable cabinet doors and stable solid wood for the frames. Spending a bit more here prevents sagging issues down the road.
Include All Needed Tools
Having the right power tools on hand will make quick work of cutting all the wood pieces to size. Make sure you’ve got saws, drills, routers, levels, drivers and all possible workshop tools before you begin.
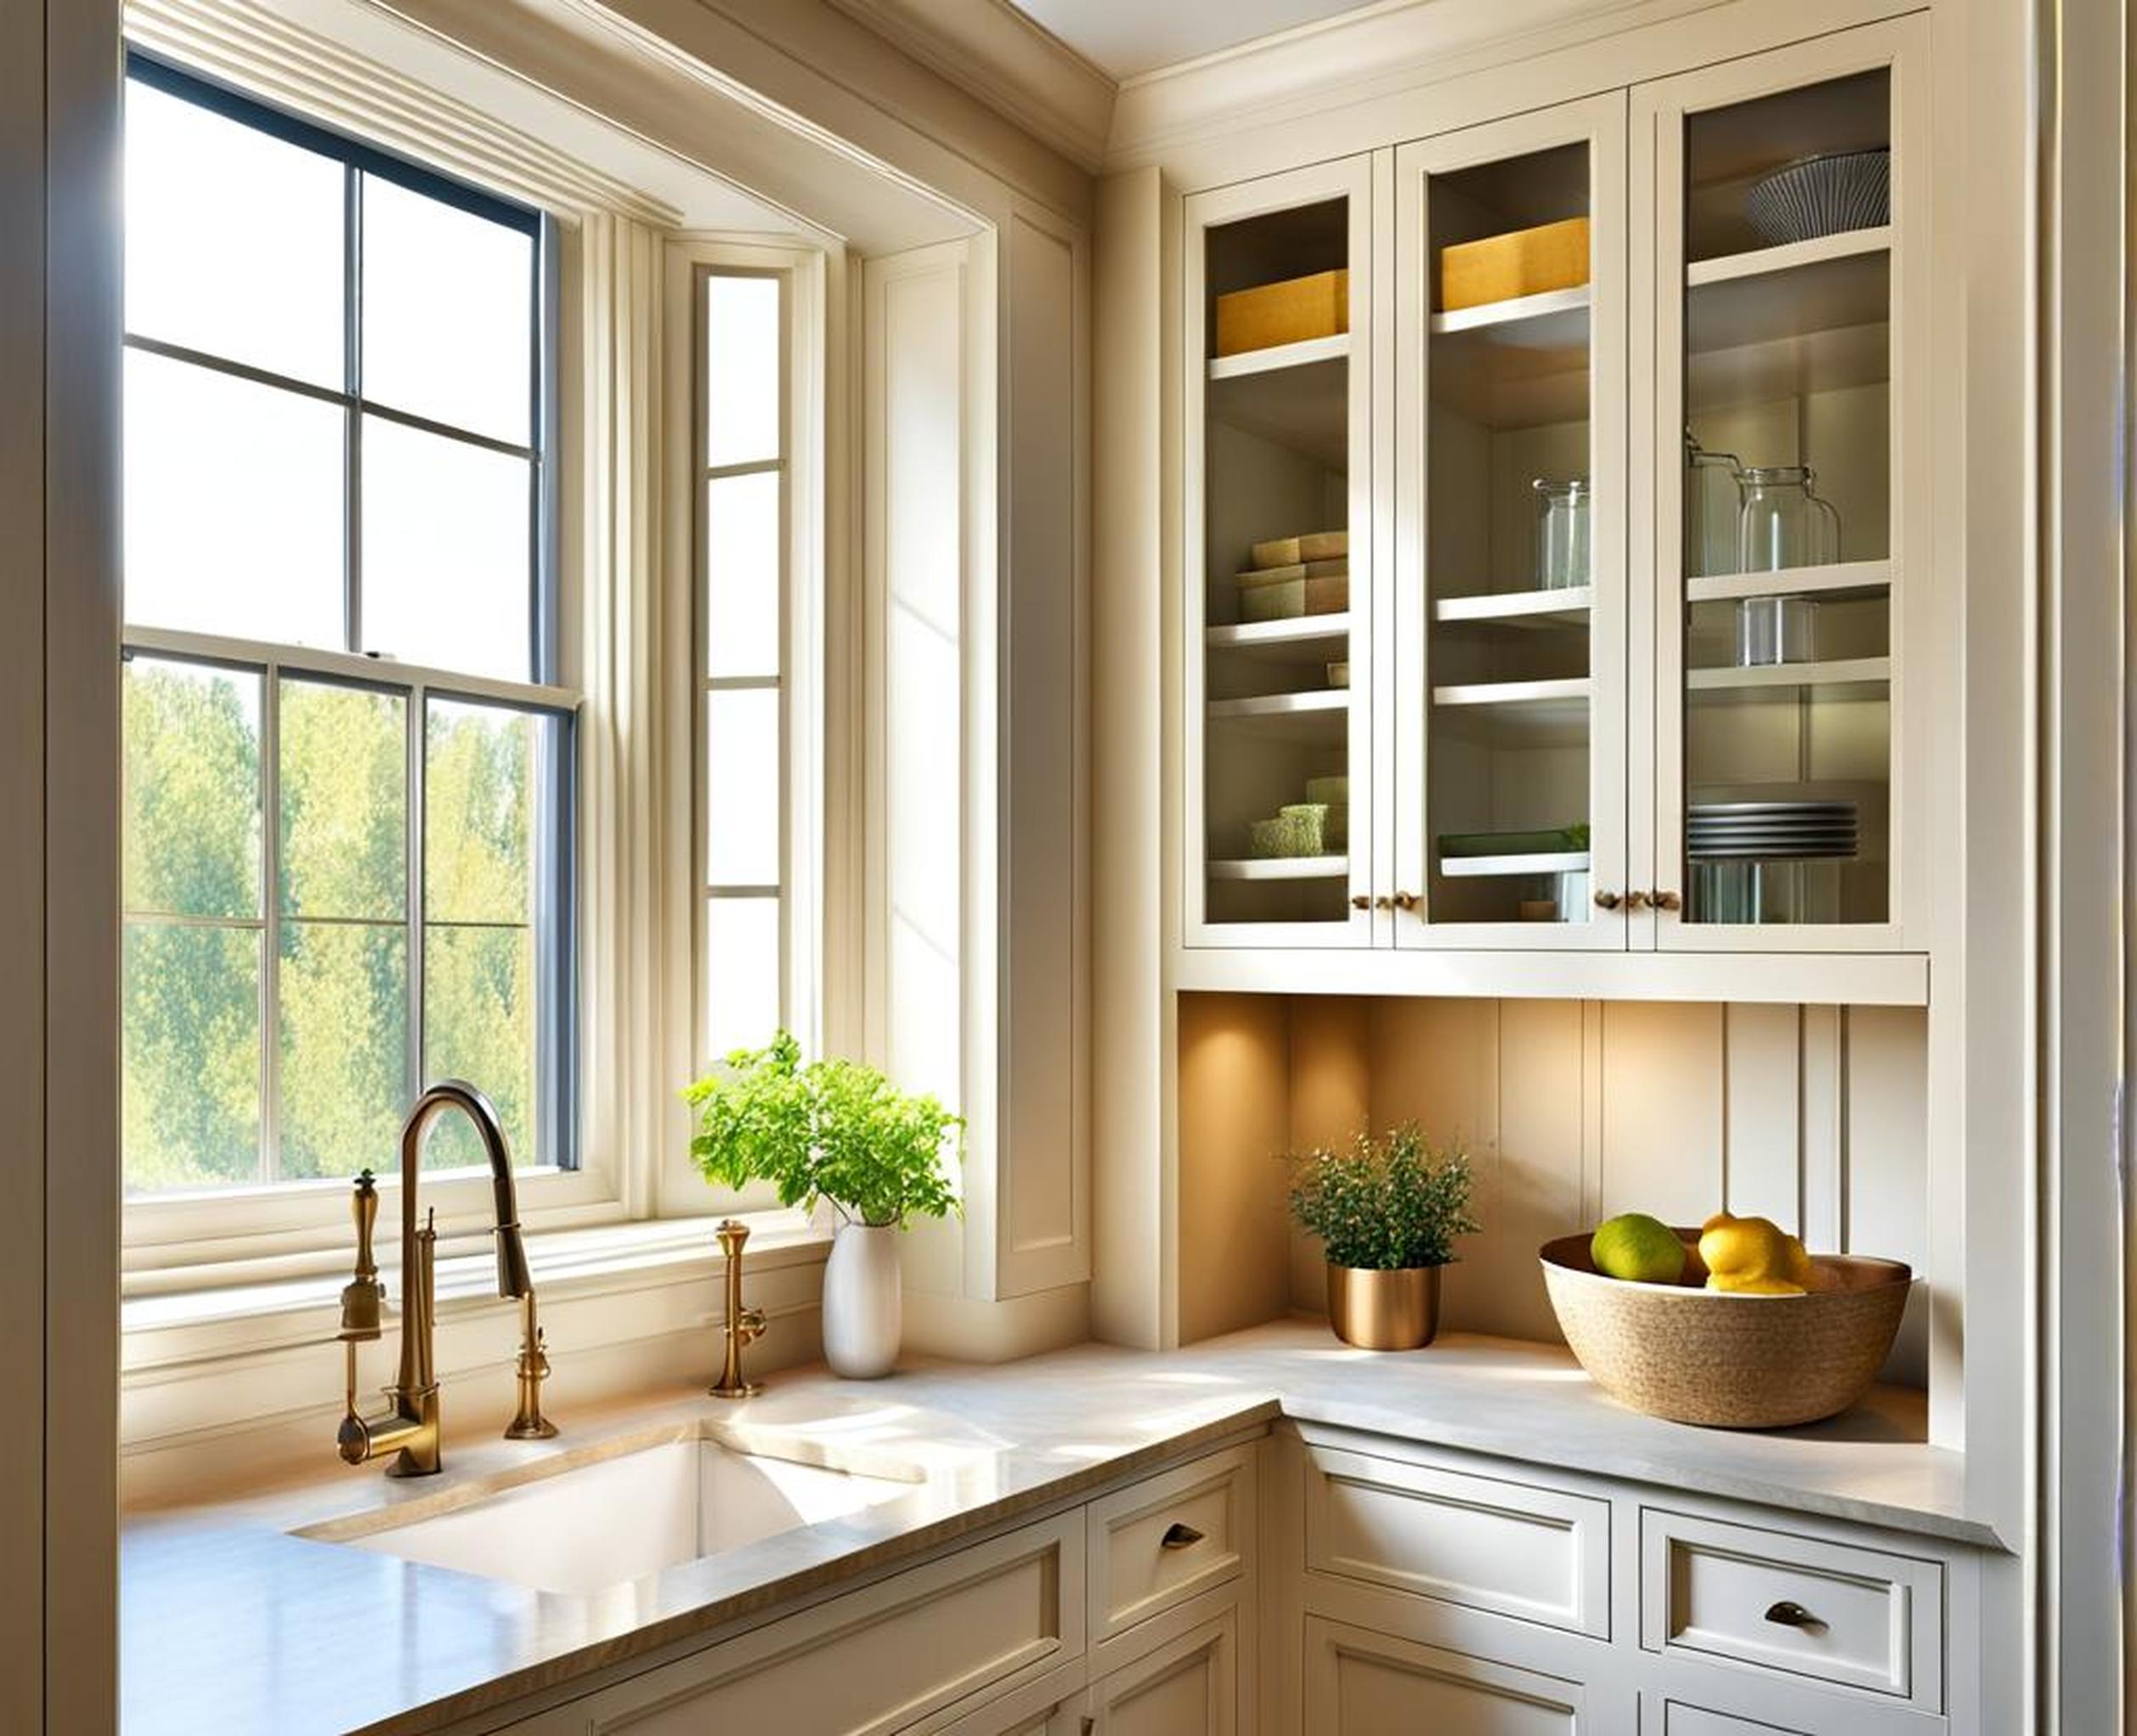
Preparing the Window for Seamless Built-Ins
Before constructing the actual cabinets, the first step is ensuring your window is ready for the built-in framework. Accurately measuring and making any necessary adjustments is vital for a perfect custom fit.
Precision Window Area Measurements
Take extremely detailed measurements of the window opening and surrounding wall space. This includes width, height, and the depth of the window casing. Knowing the exact window dimensions allows you to design cabinets tailored specifically for your space.
Check Window Trim for Interference
Examine the existing window trim and sills to see if anything protrudes outward that might obstruct cabinet placement. Carefully remove or alter as needed to create a flush surface for cabinets to adjoin.
Account for Ventilation Requirements
Leave a gap of at least 4 inches between the window itself and built-in cabinets. This allows for airflow and makes for effortless window cleaning without needing to squeeze behind cabinets.
Constructing the Cabinet Framework
With your window prepped, it’s time for the fun part – bringing your custom window cabinets to life! Building them follows typical cabinetry construction steps just on a fixed framework.
Map Out Design Plans and Cut List
Draft detailed schematics showing cabinet dimensions, layouts, and construction plans based on your specific window measurements and design vision. This helps identify all necessary cuts.
Frame Attached Cabinet Box
Construct a sturdy plywood cabinet box designed to affix directly to the wall stud framing around the window. This provides reinforced structural support.
Add Cabinet Face Frame
Attach a face frame made of solid wood to the front of the cabinet box. This offers additional strength while also creating a lip for cabinet doors and drawers to mount to.
Include Special Interior Fittings
Now is the time to add any specialty interior fittings including adjustable shelves, hidden nooks or storage compartments. Get creative with built-in functionality!
Apply Finish Sanding and Staining
Once construction is complete, thoroughly sand cabinets and apply your choice of wood stain, paint or clear coat. Allow to dry fully before installation.
Install Your Custom Window Cabinets
Installation is the final and most crucial step to ensure your DIY window cabinets align perfectly within the existing space.
Secure Cabinets Firmly In Place
Using shims, drills, levels and wood screws, fasten the cabinet framework directly into the wall studs and window framing for stability. Confirm everything is completely plumb and level.
Allow Space for Finishing Touches
When securing cabinets, leave small allowances for trim, caulk and final decorative elements to cover any gaps or uneven areas.
Test Cabinet Doors and Drawers
With the cabinet framework solidly anchored in, attach cabinet doors, handles and drawers. Open and close everything to guarantee proper clearance and function.
Complete Project with Complementary Trim
Integrating color-matched trim and molding delivers a polished, high-end appearance making cabinets resemble integrated features.
Bridge Any Visible Gaps
Use additional trim strips to join cabinets smoothly with the surrounding walls. Fill any cracks or uneven areas with caulk for a seamless built-in look.
Tie Everything Together with Paint or Stain
Copying the original wood finish, stain or paint the final trim sections to harmoniously blend. This creates one cohesive built-in design.
With adept planning, room preparation and by combining essential cabinet construction steps, you have all the techniques needed to create dazzling built-in window cabinets over one committed weekend. Here are some additional pointers for keeping your project on track:
- Stick to your cutting plans for efficiency
- Assemble cabinet pieces using pocket holes
- Use silicone caulk to prevent cracking over time
- Work safely with another person for installing
The end reward makes this intensive DIY endeavor well worth it – customized storage and display space that looks like a high-end custom build. Go enjoy your improved views through the windows now framed with eye-catching and functional built-in cabinetry you created in just 48 hours!
