Expanding your home’s footprint often involves tying a new roof section into your existing roof. While convenient, this roofing project requires care and precision to prevent leaks, stability issues, and other problems down the road. Without proper planning and workmanship, the roof tie-in risks failing prematurely.
Paying attention to critical details such as structural reinforcement, waterproofing, and permitting can lead to a secure, lasting roof expansion that withstands the elements.
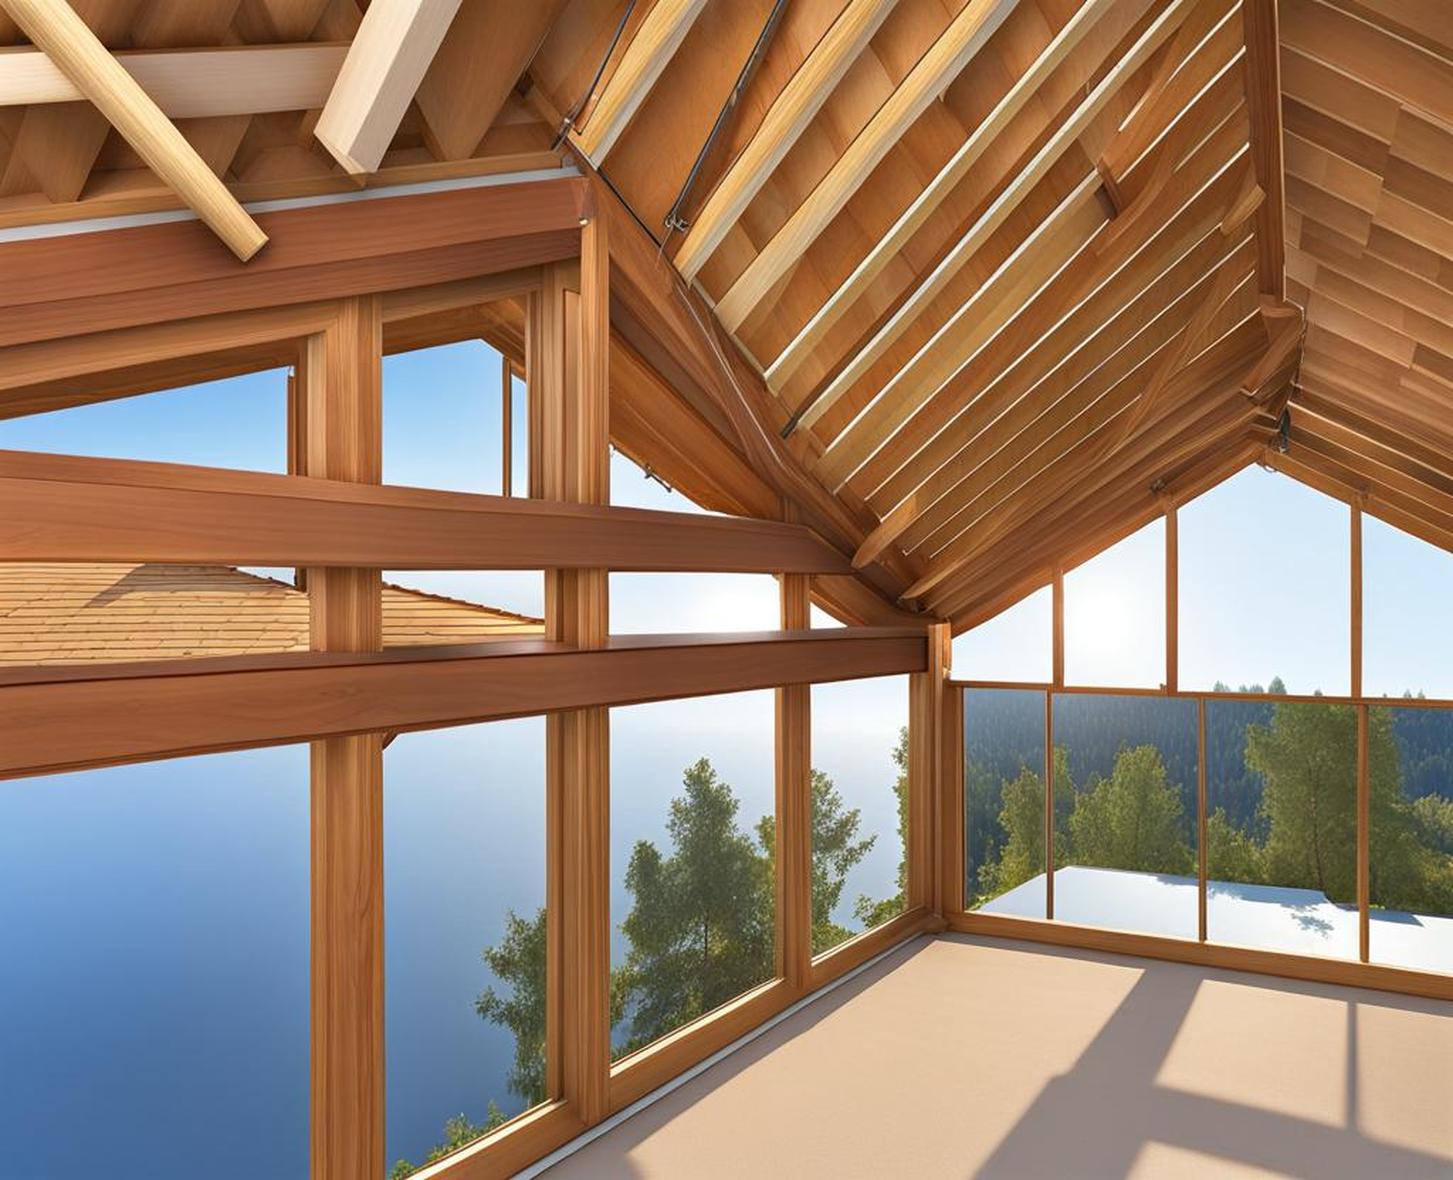
Assessing the Existing Roof Thoroughly
Before embarking on a roof tie-in project, you must start by carefully examining the current state of your roof. Consider factors like its age, weathering, number of layers, and expected remaining lifespan. Check for any signs of deterioration like cracked or missing shingles, leaks, rot, or rust stains. Probe structural members like the roof deck and rafters for soft spots or damage.
Additionally, determine whether your existing roof has adequate strength to handle the extra weight imposed by the tie-in. A structural engineer can help calculate the roof’s load capacity based on the span, materials, and framing. Depending on your climate, the roof may need to withstand substantial snow loads.
When to Reinforce the Existing Structure
If you discover any problems with the roof or lack the capacity to hold additional weight, take corrective steps beforehand. This may involve repairs like sealing damaged areas or replacing compromised structural members. Or, you may need extensive reinforcement by sistering new rafters, adding collar ties, or installing supplemental framing.
Neglecting to address existing roof issues or inadequacies can undermine the integrity of the new tie-in. And remember to factor in future loads like solar panels, which can weigh over 5 pounds per square foot.
Measuring and Planning the Tie-In Project
Successfully joining a new roof section requires careful project planning, measurements, and calculations. Start by consulting your local building codes for roof construction requirements. An experienced architect or engineer can ensure your plans satisfy regulations for your area.
Having Professional Measurements Taken
While you may be tempted to take roof measurements yourself, small inaccuracies can compound into larger issues. Professional measurements from aerial photography or on-site laser scanning produce detailed 3D mapping of the roof. This allows for precise planning of the tie-in position, materials, and labor.
You’ll also need to calculate important figures like the roof’s square footage, slope, and the quantities of supplies needed. This helps create a comprehensive materials list and budget for purchasing items like flashing, fasteners, sheathing panels, and shingles.
Selecting Durable, Compatible Materials
The roofing materials selected for your project significantly influence its long-term weather resistance. For a seamless appearance, choose shingles that closely match the color and style of your existing roof. Opt for durable, overlapping architectural shingles which interlock tightly.
Using Proper Underlayments at Seams
Pay special attention to the underlayments and metal flashings that will seal the intersection between the two roof sections. Self-adhering rubberized asphalt strips block water infiltration. Also, select compatible metals to prevent galvanic corrosion. Use stainless steel, aluminum, or coated steel rather than bare copper with galvanized steel.
Inspect all materials before installation and allow them to sit unwrapped. Exposure lets items like shingles lay flat rather than curling. Prevent cracking by keeping adhesives and membranes from freezing.
Anchoring Supports Securely
The framework underneath your shingles provides essential support. When attaching tie components like rafters and ridge beams, use metal hurricane ties screwed into solid structural members. Anchor ties to double top plates or rafters, not simply to ridge boards or purlins which can split under loads.
Bracing Roof Overhangs
Overhanging eaves and gables often require additional reinforcement. Install angled knee braces back to roof beams, collar ties, or wall top plates to properly distribute weight. Use adequate fastener sizes and stagger nail patterns to prevent working loose or withdrawing.
In snowy areas, attached steel struts or wood blocking between rafters to minimize sagging from snowdrifts. Follow your engineer’s specifications for bracing to handle expected wind and snow loads.
Installing Waterproofing and Flashings
Preventing moisture entry requires a defense-in-depth strategy with multiple barriers. Begin by applying flexible roofing underlayment over the entire section. Adhere flexible flashing strips along seams, allowing at least 6 inches on each side.
Sealing Edges Thoroughly
Metal flashings also play a vital role spanning any gaps. Install them above and below intersections, projecting at least 2 inches either side. Secure tightly and seal the edges with roofing cement. Then interweave step flashing shingles over top.
Around penetrations like plumbing vents, set metal flashing underneath with the upper edges turned up into the vent pipe. Then pack any openings with non-hardening sealant.
Solid Attachment Points for Tie-Ins
The actual tie members like rafters or ridge beams link the old and new roofs together. Anchor these securely into roof framing members to transfer loads properly. Attach ties over firm support points like rafters or blocking.
Avoiding Common Fastener Mistakes
Use the manufacturer’s recommended fastener type, length, and spacing pattern. Generally choose screws over nails for better pull-out strength. Take care not overdrive fastener heads which can dimple and split roof sheathing.
When working overhead, an impact driver with adjustable torque settings helps prevent accidentally drilling screws too deep. Always double check connections to ensure every bracket and tie gets fully secured.
Integrating Shingles for a Uniform Appearance
Consistent shingle coursing gives the new roof section a seamless, integrated look. Offset existing courses to interlock new and old shingles together. Then hand seal any lifted edges to prevent moisture entry.
Sealing Under Shingles Effectively
Also apply a heavy bead of roofing cement along the intersection before shingle installation. This extra sealant barrier sticks tenaciously to seal small gaps. Then cover it with overlapping shingles.
Inspect the new shingles after a few months, looking for any lifted corners or nail pops. Catch these common problems early and reseal to prevent deterioration.
Allowing for Expansion and Contraction
Roofs expand and contract considerably with temperature changes. Where the two sections meet, leave adequate room for this movement while still controlling water. Use backer rods and flexible caulk between roofing panels.
Accommodating Normal Roof Movement
Also have flashing and fasteners that can shift slightly without failing. Avoid rigidly attaching items together across roof sections. Instead, allow slip connections using slotted screw holes. Pan flashing permits lateral sliding without loosening.
Proper attic ventilation reduces temperature extremes. Gable and ridge vents prevent moisture buildup from condensation, prolonging the roof’s service life.
Following Permit and Code Requirements
Most jurisdictions require permits for structural roof alterations like tie-ins. Research your local regulations and have all required inspections scheduled. Provide code officials access to inspect framework reinforcements and waterproofing details.
Hiring Qualified Professionals
Also consider consulting qualified roofers, architects and engineers to ensure proper planning and execution. They can navigate relevant codes and standards to satisfy necessary requirements. The right professional help guarantees code compliance.
Performing Maintenance and Inspections
Regularly inspect the intersection point between roof sections every 6 months, watching for any flashing failures or shingle deterioration. Address small issues immediately before they grow into major leaks or stability problems.
Resealing cracked caulk joints takes little time compared to replacing rotted roof sheathing later on. Always have repairs completed by late fall before winter snow loads accumulate and freezing temperatures arrive.
Stay vigilant and your new roof tie-in should last for decades, safely shedding rain and snow year after year. Avoiding common mistakes during attachment and continuing maintenance keeps your home dry and structurally sound.
