Installing a trampoline in your backyard is an exciting way to encourage outdoor activity for the whole family. However, the assembly process can seem daunting if you’ve never done it before. By breaking down trampoline set up into four key steps – choosing a location, gathering tools, building the frame, and attaching the bounce mat – you can safely install a high-quality trampoline without hassle. With sturdy construction and attentive supervision, a backyard trampoline will provide hours of bouncing enjoyment for years to come.
Choosing a Location
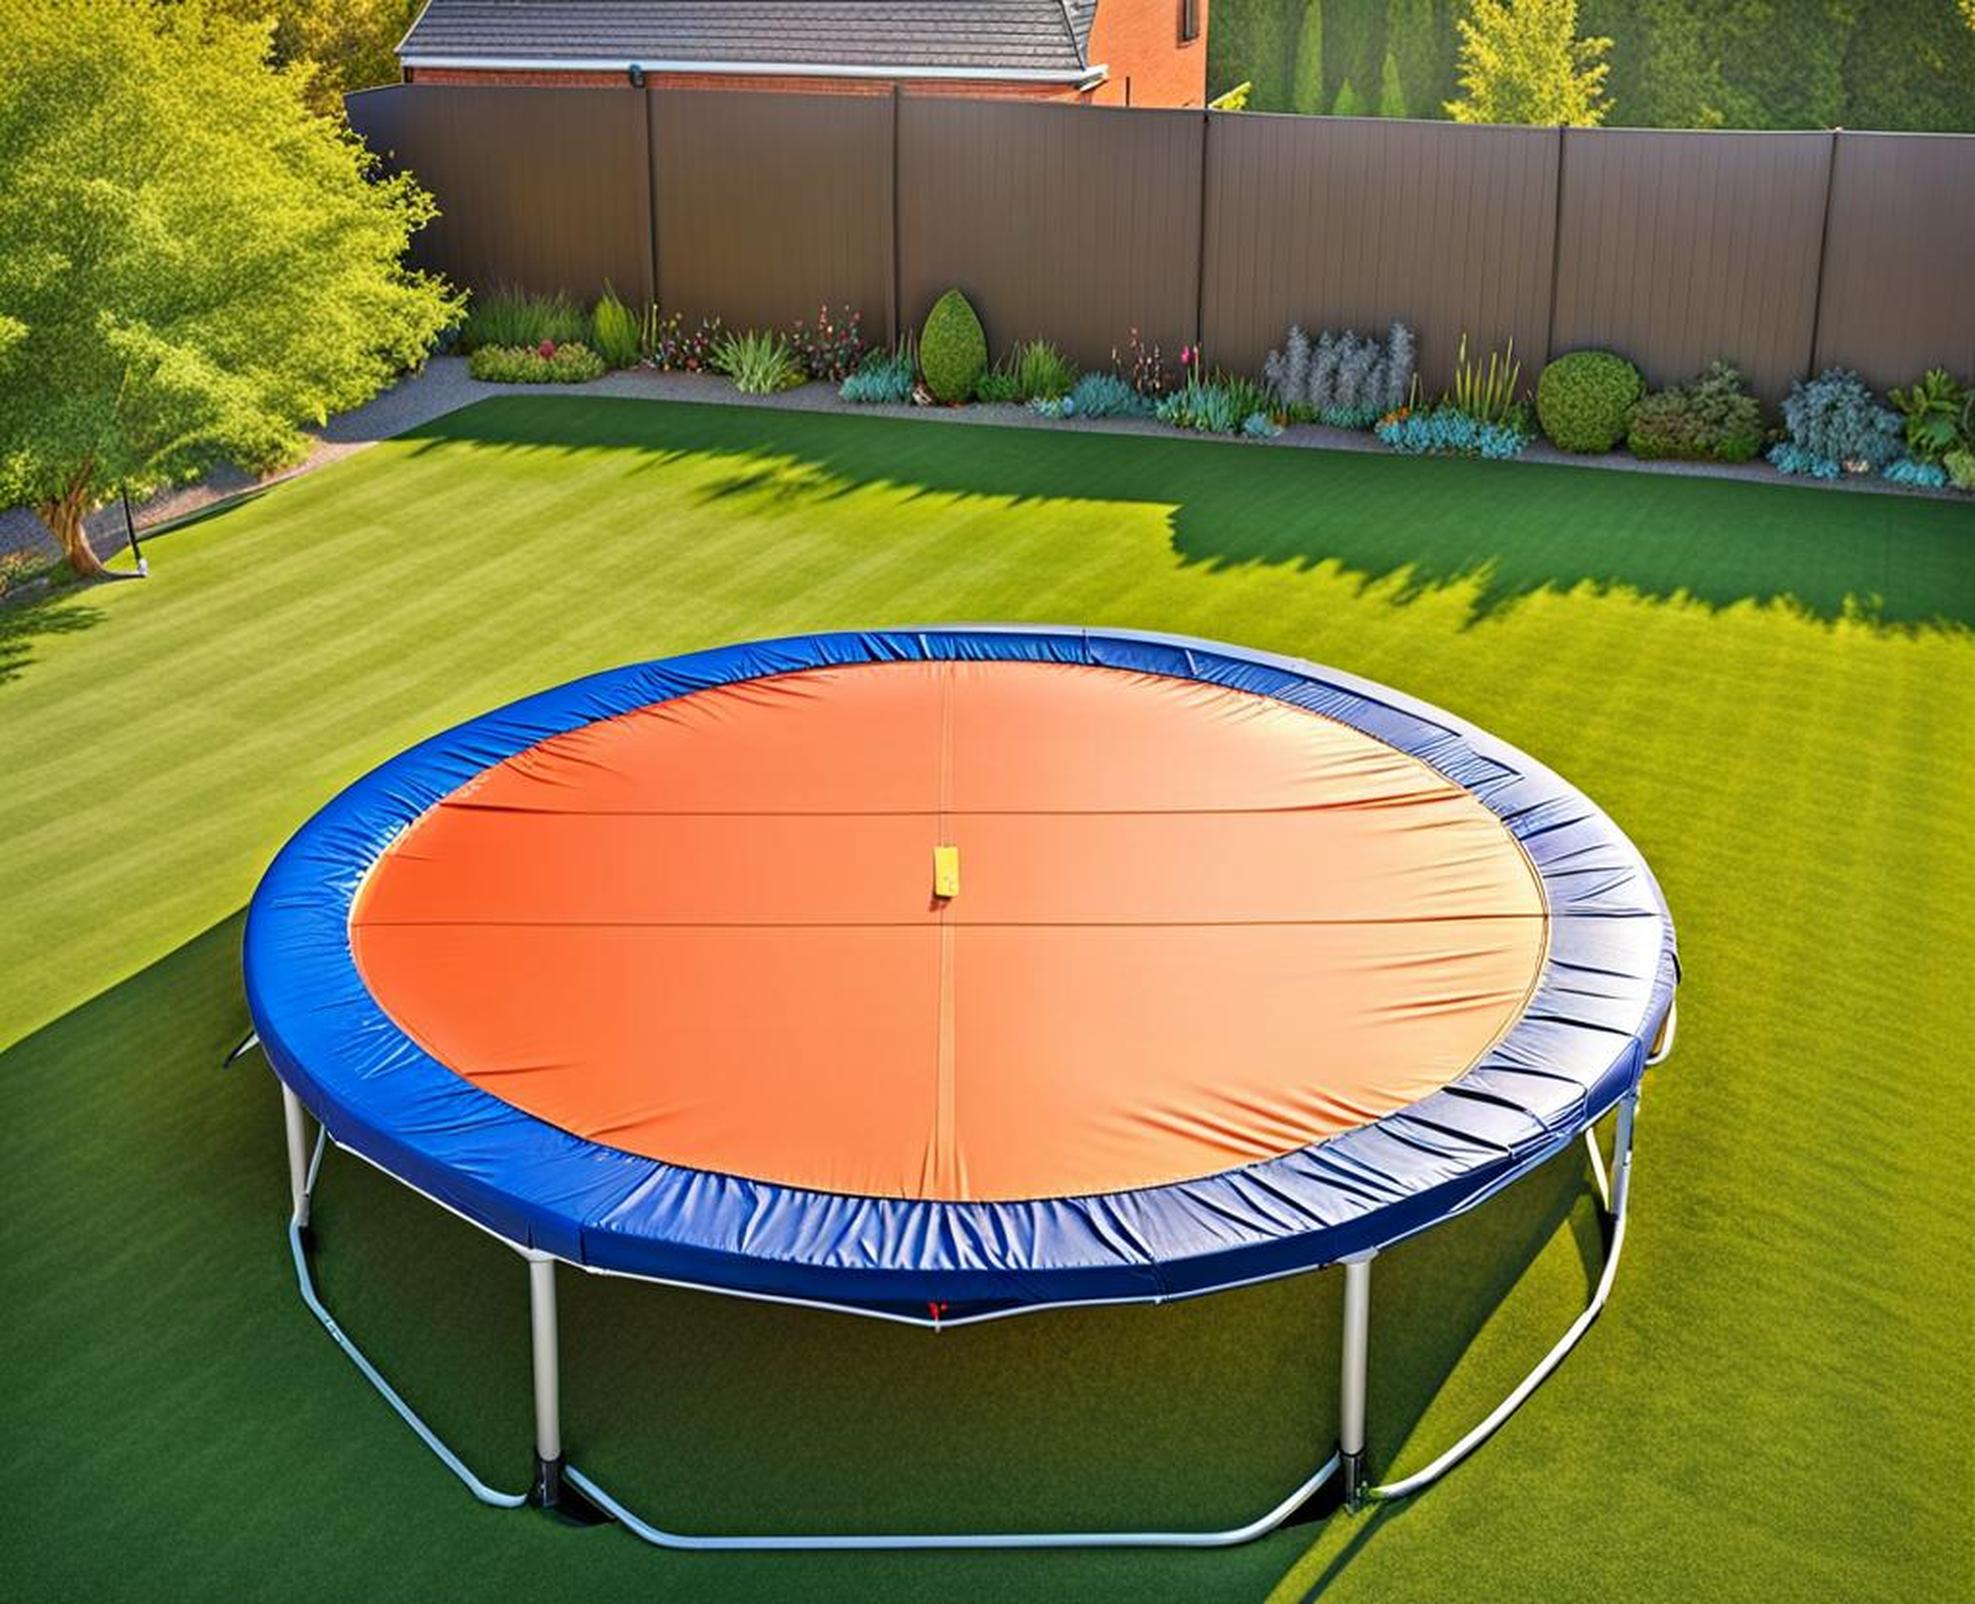
When situating your new trampoline, the first factors to evaluate are safety and convenience. As a major piece of recreational equipment, you’ll want quick access for supervision, adequate weather protection, and plenty of open space for games. Careful attention during the planning process prevents headaches down the road.
Safety considerations
Start by examining your yard for hazards and obstructions. The area should be completely flat and clear, with at least 6 ft (2m) on all sides between the trampoline and any structures, fences, or landscaping. This protective perimeter minimizes collisions and provides room for emergency dismounts. Check for low-hanging tree branches or power lines overhead as well to avoid accidental contact.
Next, determine how you’ll anchor the trampoline frame securely against high winds. Most models include holes along the leg bases to bolt to concrete footings or a ground anchor system. You may need a patch of level ground at least 9 ft (3m) wide for some anchoring options to function properly.
Sun and shade
Pay attention to sunlight patterns in your yard throughout the day. Try to situate the trampoline where it will receive direct morning sun to dry dew but become shaded from harsh midday and afternoon rays. A Northern exposure often works well to take advantage of daytime warmth while offering cooling relief as temperatures peak. Consider nearby trees, buildings, and fences that may provide shade at strategic times.
Accessibility
For safety, locate your trampoline close enough to the house for parents to easily monitor bouncing children. But choose a spot at least 12 ft (4m) from your home’s foundation and siding to prevent damage. Avoid positioning it directly under eaves or gutters that may drip water onto the mat after it rains.
Finally, allow sufficient room around the trampoline perimeter for games, additional bounce space, and basic maintenance. While a 10 ft (3m) clearance provides a baseline, an even wider safety zone is ideal for active jumpers. Keep in mind that children may stray beyond the trampoline boundaries in their enthusiasm.
Necessary Tools and Hardware
Trampoline assembly requires some specialty equipment to attach bolts, lift heavy poles, and secure durable springs. While tool needs vary by model, most backyard trampolines utilize similar components and hardware. Understanding which supplies are necessary before you start will save significant time and frustration down the road.
Common equipment
Stock up on essentials like screwdrivers, adjustable wrenches, and work gloves. A rubber mallet comes in handy for persuading poles and frame pieces into alignment. You’ll also need a metal spring loading tool for tightening the trampoline mat. Review your instruction manual to see if other supplies like a drill, pliers, or clamps are required as well.
Inventory hardware
Take inventory of the boxes containing your trampoline parts and hardware. Confirm you have the expected quantities of nuts, bolts, washers, springs and pole caps. Sort hardware bags and boxes by part type so pieces are easy to locate during each assembly step. Refer frequently to hardware images and lists in your instructions to identify unclear parts.
Review instructions
Before you start construction, carefully read every page of the assembly instructions. Pay special attention to equipment requirements, safety rules, and tips for each phase. Understanding proper bolt placement, pole joining techniques and mat attachment methods ahead of time will make the process far less intimidating.
Assembling the Frame
Once you’ve selected an optimal site and gathered supplies, it’s time to build the bounce mat’s sturdy support structure. While frame configurations vary across trampoline brands, they all require careful alignment, strong joints, and level placement on the ground. Taking it slow during frame construction ensures safety and longevity down the road.
Connect poles together
Lay out trampoline poles and joint pieces on level ground as described in your manual. Match up holes in adjoining sections, then insert bolts and loosely secure with nuts. When all poles are joined, go back and firmly tighten all hardware with a wrench. Use your rubber mallet as needed to encourage stubborn frame pieces into proper configuration.
Attach leg extensions
Once the frame perimeter is locked together, identify orientation for the separate leg sections. Bolt or screw these securely onto the bottom of each pole, adjusting extension height as needed to compensate for elevation changes across your installation site. The frame must sit perfectly level and stable on the ground before proceeding.
Add pole caps and coverings
For safety and aesthetics, slide foam coverings over exposed steel bars along the frame. Then press durable plastic caps into the tops of each pole. Both measures protect bouncing kids from cuts and scrapes from hard metal edges. With coverings and pole caps installed, your trampoline frame is fully constructed and ready for the bounce mat.
Securing the Bounce Mat
The durable fabric trampoline mat, or “bed”, stretches across the circular frame to create the bouncing surface. Attaching it properly requires aligning edges, connecting numerous springs, and securing protective padding. While this step is physical, take your time to ensure the mat feels taut but rebounds gently underfoot when you test it.
Prepare mat for installation
Unpack and unroll the jump mat in the center of the frame, aligning edges with the spring holes along the circumference. The mat may still be folded from packaging, so give it an hour or two to relax flat in the sunshine if possible. Proper mat alignment is important for successfully attaching the springs next.
Connect springs
With bounce mat edges aligned to frame holes, place a spring loading tool on the first spring. Hook one end through the mat, then pull the other end down to catch through the frame. The tool protects your hands and provides better leverage when wrestling strong springs into place. Slowly work around the trampoline perimeter attaching one spring at a time until all are secured.
Finish protective padding
Wrap foam coverings snugly around frame sections to protect jumpers from hard edges and protruding springs. Attach a weather-proof fabric barrier along openings for entry access. Secure the entrance overlap with sturdy clips or velcro closures to prevent padding from loosening over time. Your trampoline is finally ready for backyard fun!
Installing a quality trampoline properly doesn’t have to overwhelm novice DIYers. Breaking assembly down into four key steps simplifies the process into manageable phases. Carefully choose an optimal yard location for safety, sunlight and supervision. Gather all required tools and hardware beforehand to avoid frustration. Build a level frame with secure joint connections from the ground up. Then align, attach and protect the critical bounce mat surface that literally puts the “jump” in trampoline!
While every trampoline brand may be slightly different, understanding this basic sequence sets you up for assembly success. Taking precautions also prevents tip-overs, spring hazards and occupant injuries. Follow all instructions closely and don’t skip safety steps. Once built, your trampoline will provide years of bouncing enjoyment and quality family time in your own backyard.
