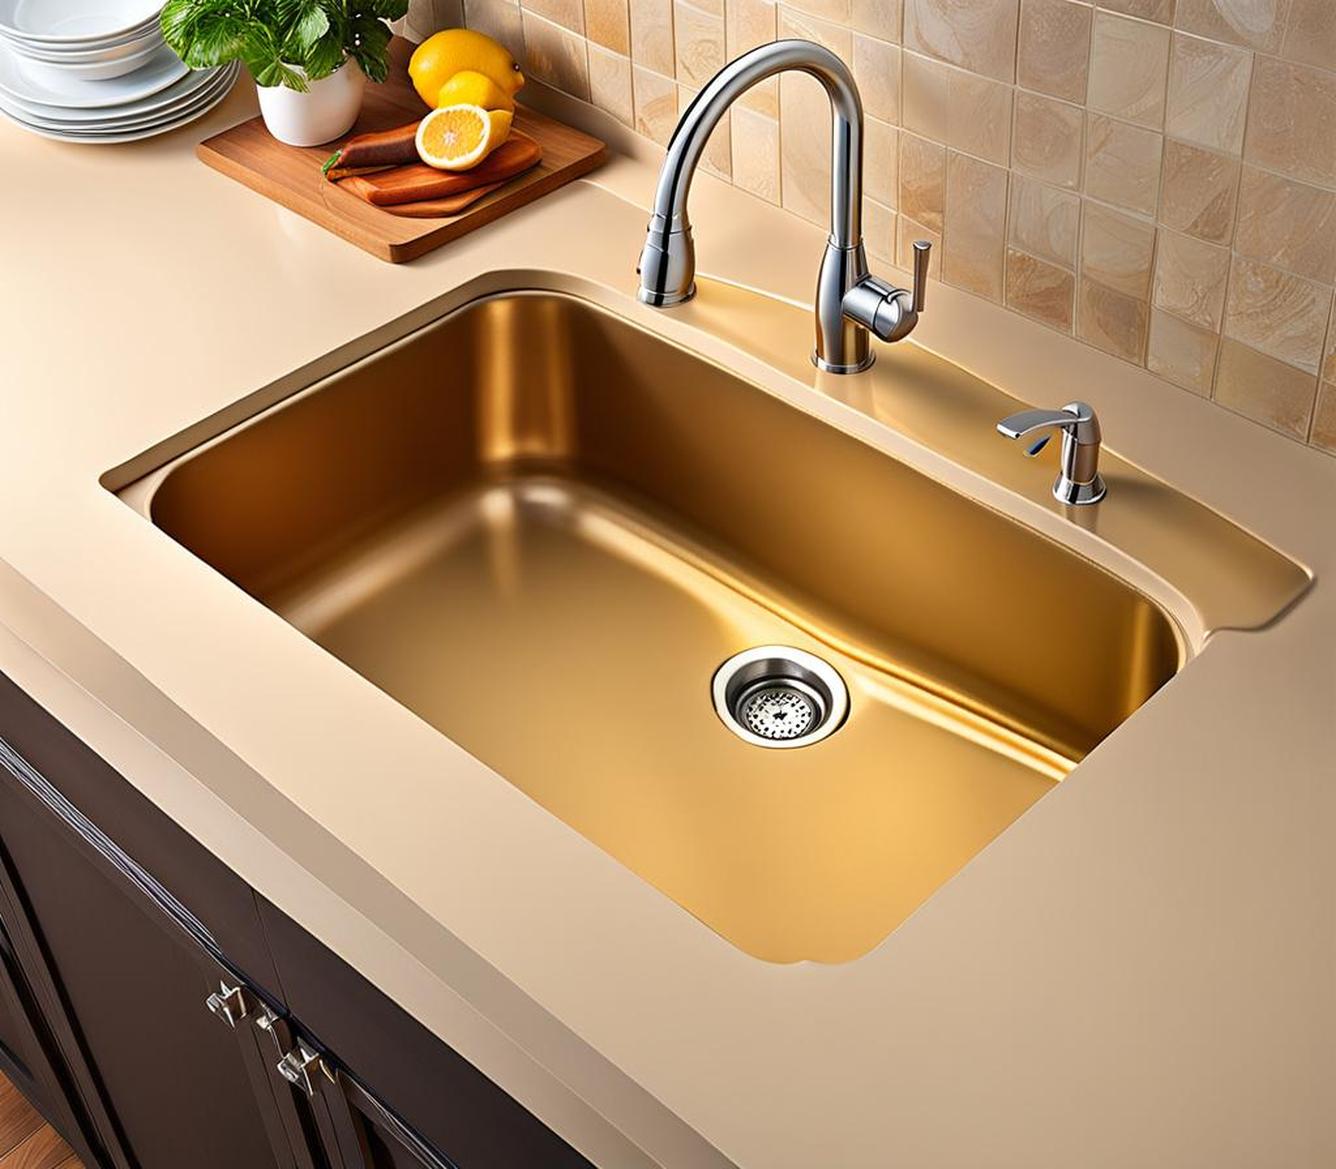
Is your kitchen sink drain leaking? Those seemingly small drips can turn into a big problem if left unaddressed. Applying the right sealant properly is key to stopping leaks for good.
We’ll cover choosing the best sealant, prepping the area, applying it correctly, allowing full cure time, and maintaining the seal over time.
Choose the Right Sealant for Your Sink Drain
Not all sealants are created equal when it comes to a waterproof barrier for your sink drain. Plumber’s putty may seem like an easy solution, but modern silicone sealants tend to outperform with durability, mold resistance, and flexibility.
Silicone vs. Plumber’s Putty
Traditional plumber’s putty gets the job done, but it dries out and cracks over time. Silicone sealants offer some key advantages:
- Greater durability from temperature changes and water exposure
- Resistant to mold and mildew growth
- Waterproof protection against leaks
- Permanently flexible without drying out
What to Look For in a Sink Drain Sealant
For best results, choose a 100% silicone sealant made specifically for kitchen and bath applications. Key features you want:

- 100% silicone formulation
- Kitchen/bath formula
- Mold and mildew resistance
- Flexible, rubber-like consistency
- Waterproof protection
Our Top Sealant Recommendations
Based on silicone caulking criteria, here are two great sink drain sealant options:
GE Silicone Kitchen & Bath Sealant
- 100% silicone
- Strong mold resistance
- Flexible even in extreme temps
- 30-year durability
DAP Kwik Seal Kitchen & Bath Adhesive Sealant
- 100% waterproof silicone
- Resists cracking and shrinking
- Easy soap and water clean-up
- Low odor formula
Prepare the Sink Drain Area
Before sealant can properly adhere, the sink drain surface needs to be prepped. Here’s how:
Clean Surface Around Drain
Start by removing any old caulking or putty with a putty knife. Give the entire area a good wipe down with isopropyl alcohol to remove grease, soap scum, and any other residue.
It’s critical that the surface is completely dry before applying fresh sealant so it bonds correctly. Allow several minutes for any cleaning products to fully evaporate.
Apply Painter’s Tape on Both Sides of Drain
Painter’s tape allows you to achieve nice, neat edges with the sealant for a professional look. It also saves cleanup time after.
Apply tape on the countertop and sink edges, aligning exactly where you plan to caulk. Press firmly to adhere.
Apply Silicone Sealant
With the right silicone sealant and prepped surface, now comes the fun part. Arm yourself with a caulk gun and sealant cartridge.
Loading Sealant into Caulk Gun
First, prep the cartridge’s opening for smooth flow:
- Use a utility knife to cut nozzle tip at a 45deg angle
- Pierce the inner foil seal with a nail or metal skewer
- Load cartridge into the caulk gun’s barrel
Spreading Sealant
Apply the sealant carefully, working in sections for best control and accuracy:
- Start at one end of the sink drain area
- While pulling the caulk gun towards you, fully fill in gaps around drain perimeter
- Before moving on, smooth out sealant with a wet finger or plastic smoother
Take care to eliminate any holes for water ingress. Filling it all provides a protective, leak-proof barrier.
Allow Proper Cure Time
Fresh sealant will skin over quickly, but full drying and strength takes longer. Avoid disturbing the area while curing:
Sealant Drying Process
- Initial skin layer forms within 5-10 minutes
- Full cure time is 24-48 hours
Cure Time Tips
- Don’t run sink water or put strain on drain area
- Exact cure times varies by sealant brand
- Read manufacturer guidelines
Check Seal Over Time
While quality silicone sealants last for years, it’s smart to periodically inspect for leaks. Catching problems early makes re-sealing easier.
Signs of Leaks
- Water drips from drain perimeter
- New gaps or cracks in sealant
- Unevenness or concave sink of seal
Seal replacements involve the same process. Be sure to fully remove old sealant before applying fresh caulk.
Stay vigilant for leaks around your kitchen sink drain. With the right sealant selection and application technique, you can avoid plumbing headaches for years to come!
