Shiplap paneling brings rustic character to any space. But nailing down the best width for your project can impact how the finished look turns out.
We’ll look at how size and layout, installation factors, personal style, and more come into play. Let’s dive in!
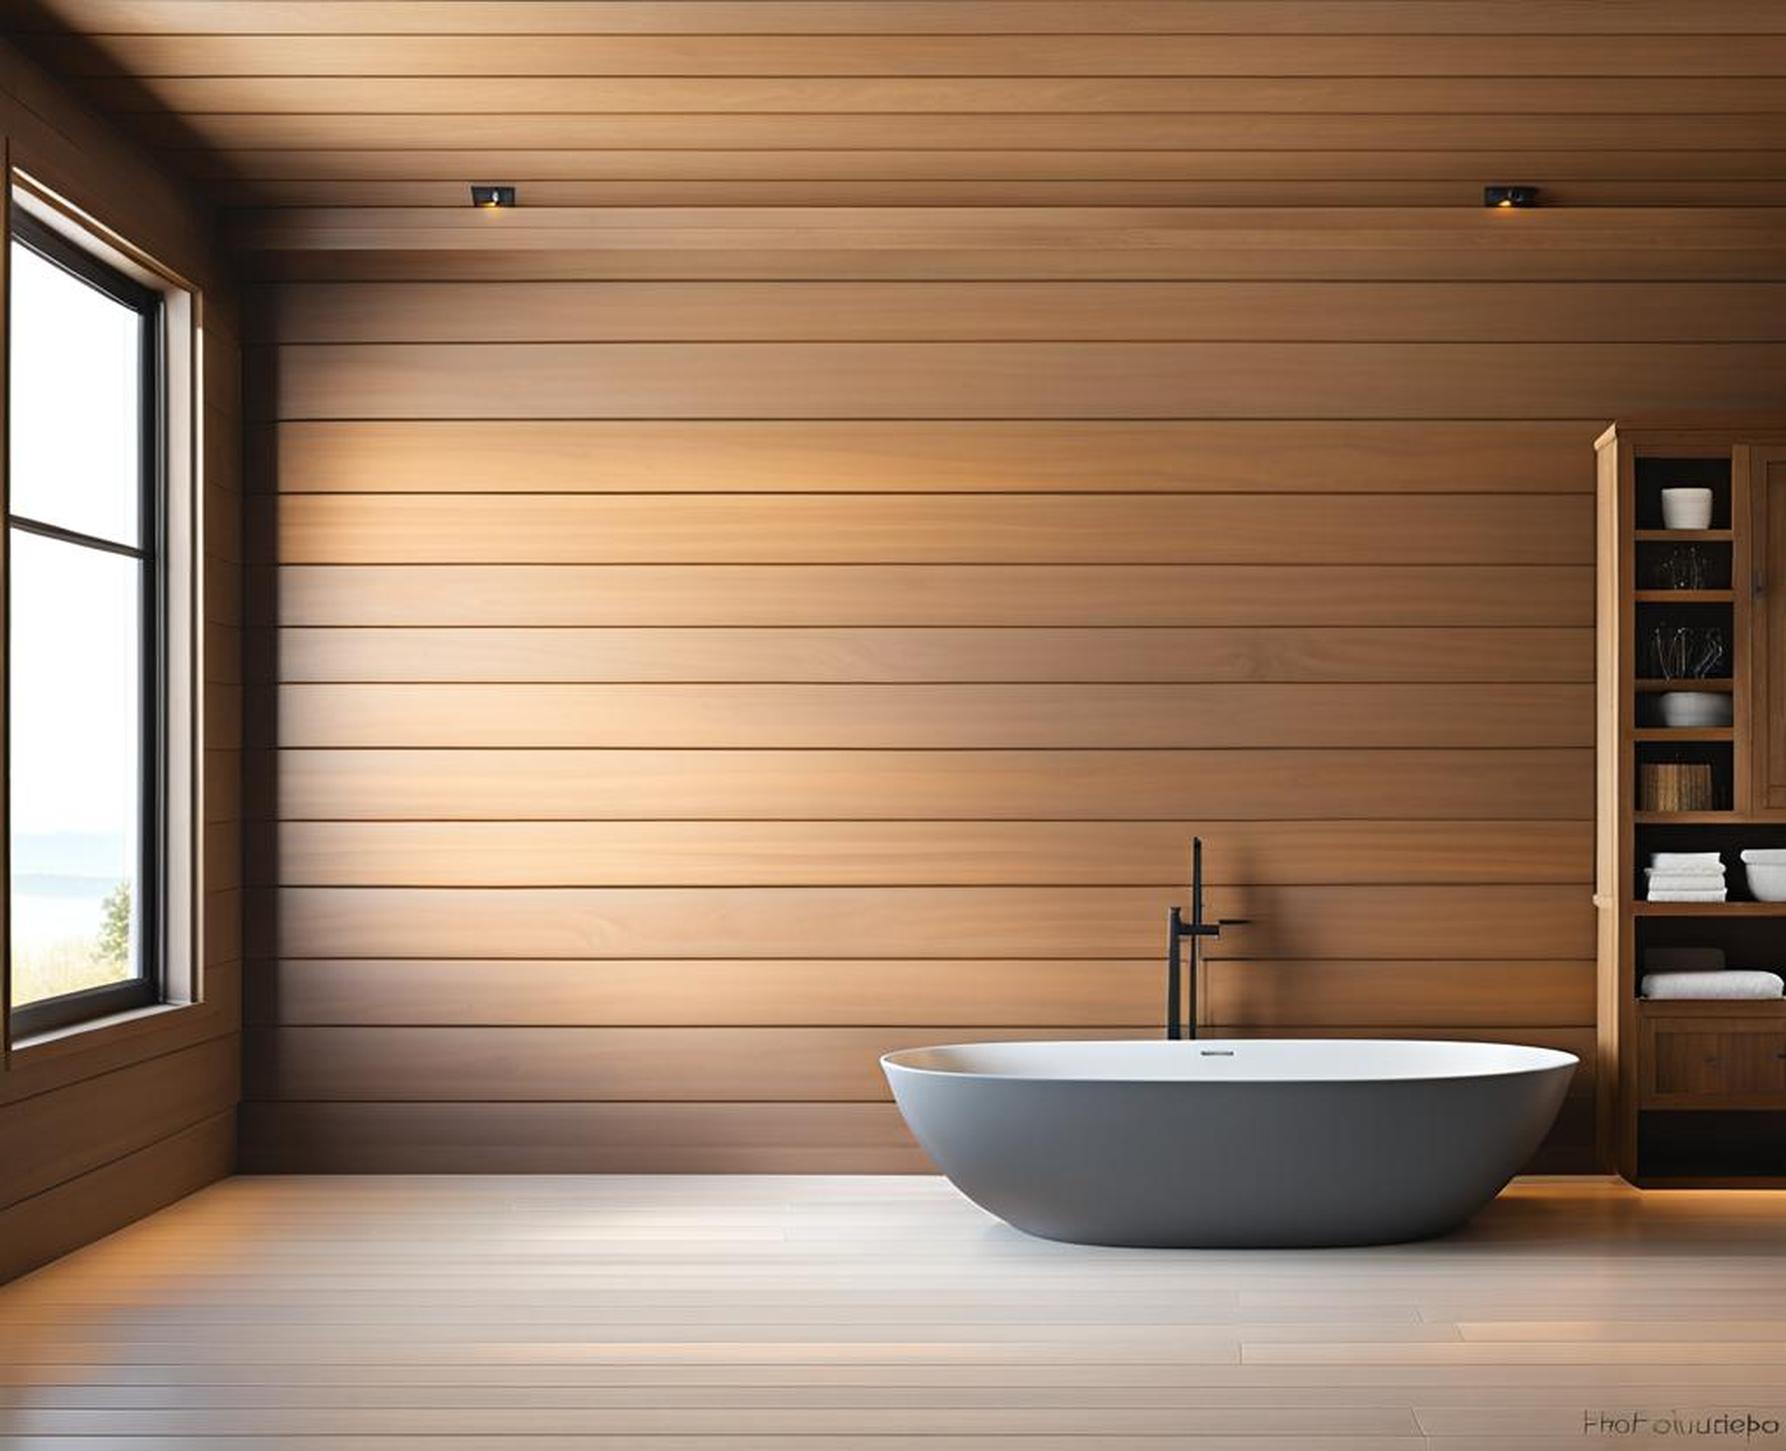
What is Shiplap?
Before determining the ideal width, it helps to understand exactly what shiplap is.
Shiplap refers to thick, wide wood boards featuring grooved edges that fit together tightly. The name comes from the shipbuilding days when these boards prevented sea spray and wind from entering interior cabin walls.
Today, shiplap is commonly used as rustic wall and ceiling paneling in homes. It creates a pleasing, horizontal overlapping pattern thanks to the interfacing grooves.
Typical Shiplap Widths
Shiplap boards range significantly in width. While sizes can be as narrow as 4 inches, they also extend up to an expansive 24 inches wide. However, two of the most frequently seen widths are:
- 6-inch shiplap boards
- 8-inch shiplap boards
Wider shiplap boards, like the 1×10 and 1×12 sizes, impart a more contemporary, streamlined aesthetic. They minimize seams for a smoother look and feel.
Narrower boards, on the other hand, deliver a cozier appeal. The overlapping gaps create textural dimension. So determining purpose and ambience helps guide ideal width.
How Width Impacts Installation
Shiplap width also affects installation requirements. Wider boards demand extra supports, fasteners, and studs beneath for sufficient stability. Too few anchors may cause planks to loosen or crack over time.
With narrow widths, overlap coverage also increases. This not only alters appearance but spacing as well. Remember to leave consistent gaps, around 1/8 inch across all boards. This allows the wood to expand and contract naturally over seasons.
Factor #1: Room Size and Layout
One of the biggest considerations for shiplap width comes down to room dimensions and arrangement. The scale of any space should complement your panel sizing choice.
Width Impacts Visual Weight and Proportions
Extra wide shiplap brings substantial visual weight to walls and ceilings. The thicker wood has more presence. So in petite rooms, these boards may feel overly imposing and throw scale off balance. High-traffic areas also risk looking cluttered.
On the flip side, houses with open floor plans suit bolder boards better. Great rooms, kitchens flowing into dining spaces, and similar call for wider sheets. The sprawling scale balances chunky planks for a seamless fit.
Wider Boards Suit Larger, Open Concept Rooms
Cathedral ceilings, lofts, and expansive living areas nicely support the textural depth of 1×10 or 1×12 panels. Here, shiplap stretches horizontally without confining vertical space. This showcases intricate wood grain for an organic yet polished look.
For second story rooms with dramatic angled ceilings, mix up widths. Blend different sizes together for bespoke character that flatters the architecture. Just ensure proper anchoring for safety.
Narrow Boards Better for Small Rooms
Conversely, narrow shiplap boards, such as 1×6 models, work better for petite rooms. Think snug studies, guest quarters, or powder bath spaces. The slimmer scale prevents overwhelming the compact footprint.
Bedrooms also benefit from daintier dimensions. Here, soft colors and natural textures establish a comfortable, inviting sleep sanctuary. Shiplap then adds subtle depth without dominating.
Factor #2: Installation Considerations
Along with room layout, factoring installation needs when choosing shiplap widths streamlines the entire process. Take into account:
Account for Number of Studs in Walls
Always start by mapping out wall studs since shiplap fastens directly to them. Gauge how many studs exist over your surface area. Space panels across in multiples that align with studs for sturdy anchoring.
This prevents solely nailing into drywall between studs or awkward spacing issues. Having an extra set of hands definitely eases spanning wider boards across multiple studs as well.
Calculate Boards Needed to Cover Area
Do the math when purchasing materials too. Measure your target wall or ceiling then calculate square footage. From here, determine how many boards needed to cover based on width and height.
Remember to account for proper overlap spacing as well. Buying a couple extra allows for mistakes, trimming, or replacing any damaged boards over time.
Factor Overlap and Spacing Requirements
As mentioned, shiplap overlaps itself thanks to the integrated edge channels. But the wider the boards, the less overlap occurs since fewer total pieces get installed. Too little overlap though risks gaps forming.
Check that enough layered crossover happens across chosen widths to prevent unnecessary seams or misaligned boards. Consider nailing strips along the studs to further stabilize panels together if concerned.
Factor #3: Personal Style and Look
Along with room specs, assessing your personal interior design taste and overall aesthetic goals helps decide on width too. Here’s how to mix and match for customization:
Mix Widths for Eclectic, Custom Style
Who says all shiplap must match? Blending an array of sizing, from narrow 4-inch to bold 24-inch boards, makes a seriously stylish statement. The contrast showcases texture beautifully.
Starting with a neutral backdrop like crisp white paint allows the natural wood drama to shine. Mixing color tones in the planks boosts cozy contrast too for personality.
Uniform Width Depends on Desired Look
Some spaces call for uniformity across shiplap instead. For a soothing, minimalist aesthetic, one consistent width used everywhere calms the senses.
Crisp white walls beg for textural depth without distraction. Here, sleek 8-inch panels, suspended in soldier-straight formation, complement without overwhelming the simplicity.
| Eclectic Mix | Uniform Minimalism |
|---|---|
| Blend of widths | Single consistent width |
| Textural contrast | Crisp clean aesthetic |
| Custom personality | Soothing minimalism |
Combine with Other Rustic Elements
For cabins or farmhouse designs, shiplap teams up beautifully with additional reclaimed materials. Think aged barnwood accents, galvanized metal finishes, and chic Chicken Wire paired as detailing.
Here, harmonizing weathered elements grounds the setting with natural ambience. Don’t overlook the impact weather-worn supportive beams, metal ceiling fixtures, or salvaged storage lend too.
Getting the Right Tools and Supplies
Prepping with the proper installation tools and materials makes achieving your ideal shiplap widths smooth sailing:
Tape Measure, Stud Finder, Level, etc.
Gather trusty DIY basics like tape measure, stud finder, laser level, ladder, and safety glasses. For getting into crevices, have a pry bar, hammer, nail set, and trim puller ready too.
A table saw, miter saw, jigsaw, or circular saw equip you to cut boards as needed. While a brad nailer with compressed air streamlines affixing them to the wall over doing so manually.
Appropriate Fasteners and Adhesive
Use corrosion-resistant finish nails or wood screws to anchor shiplap directly into wall studs or furring strips. Pre-drill planks first whenever possible to prevent cracking.
Applying quality wood glue between layers boosts stability significantly too. This helps bonded joints withstand humidity fluctuations down the line.
Account for Expansion Gaps
Remember to leave those recommended 1/8 inch intervals between each board. Caulking or wood putty fills these eventually for a polished look. But allowing for expansion prevents buckling issues.
Use painter’s tape when installing to evenly guide board spacing. Remove any debris between planks with compressed air too for precision.
Preparing Walls and Ceilings
Get surfaces ready before ever attempting to install shiplap. Specifically:
Ensure Surface is Smooth and Secure
Eliminate any existing nails, hooks, roughness or imperfections that could impede mounting. Fill holes with spackle then sand smooth when dried. Wipe away dust.
On freshly painted walls, ensure the coat fully cures first. Oil-based paints require at least 3 days drying before proceeding.
Mark Stud Locations for Fastening Boards
Use your stud finder to detect and mark out underlying studs. Ensure you have enough to span the width of your shiplap boards and provide ample fastening points.
If studs lack, install additional support battens horizontally first. This gives boards the anchoring stability they need across larger expanses.
Tips for Proper Installation
When ready to mount shiplap, keep these pro pointers in mind:
Start in Main Focal Area
Determine the main visual area then begin installation there. Usually it’s above a bed, sofa, fireplace, or similar. Centering the most attractive boards in prime areas elevates impact.
Dry Fit Boards First to Perfect Spacing/Alignment
Do a dry fit without fastening initially. This allows moving planks around until evenly aligned and spaced. Use painter’s tape across the whole surface as a visual spacing guide.
You can tweak the tone and mix by shuffling board order too. Once the dry layout satisfies, secure permanently into place one by one.
Use Fasteners Into Studs for Sturdy Result
Predrill then drill boards directly into wall studs or furring strips if available. This provides the strongest hold.
For dense wood species like pine or oak, apply construction adhesive between layers too. Follow all manufacturer drying recommendations before loading weight or contents against the wall.
Ensuring Long-Lasting Beauty
Protecting and maintaining your shiplap properly ensures it graces your space beautifully for years on end:
Seal Boards Properly to Avoid Moisture Damage
Applying water-resistant sealant protects the wood from everyday humidity, spills, and wear/tear over time. Use polyurethane for bold grain definition.
Use Trim to Cover Expansion Gaps if Desired
While expansion gaps are essential, you can conceal them for a more polished aesthetic. Carefully nail coordinating wood trim over gaps, caulking the seam edges smoothly.
Refinish as Needed Over Time
Reapplying protective sealant every few years maintains shiplap’s integrity and appearance. Lightly sanding then coating keeps the wood revitalized for years of enjoyment.
Determining the best shiplap width for your next project requires considering room specifics, installation, and personal style goals. But choosing the right size transforms plain walls into a decorative focal point.
Assess ceiling heights, existing architectural elements, and overall ambience desired. Larger rooms suit wider boards while narrow widths work better in petite footprints. Account for underlying studs, prep surfaces thoroughly, and properly space/seal for longevity.
Mix up sizing or keep uniform for tailored appeal. Either way, shiplap infuses character and texture beautifully. So take these tips when deciding widths in order to realize your dream design.
