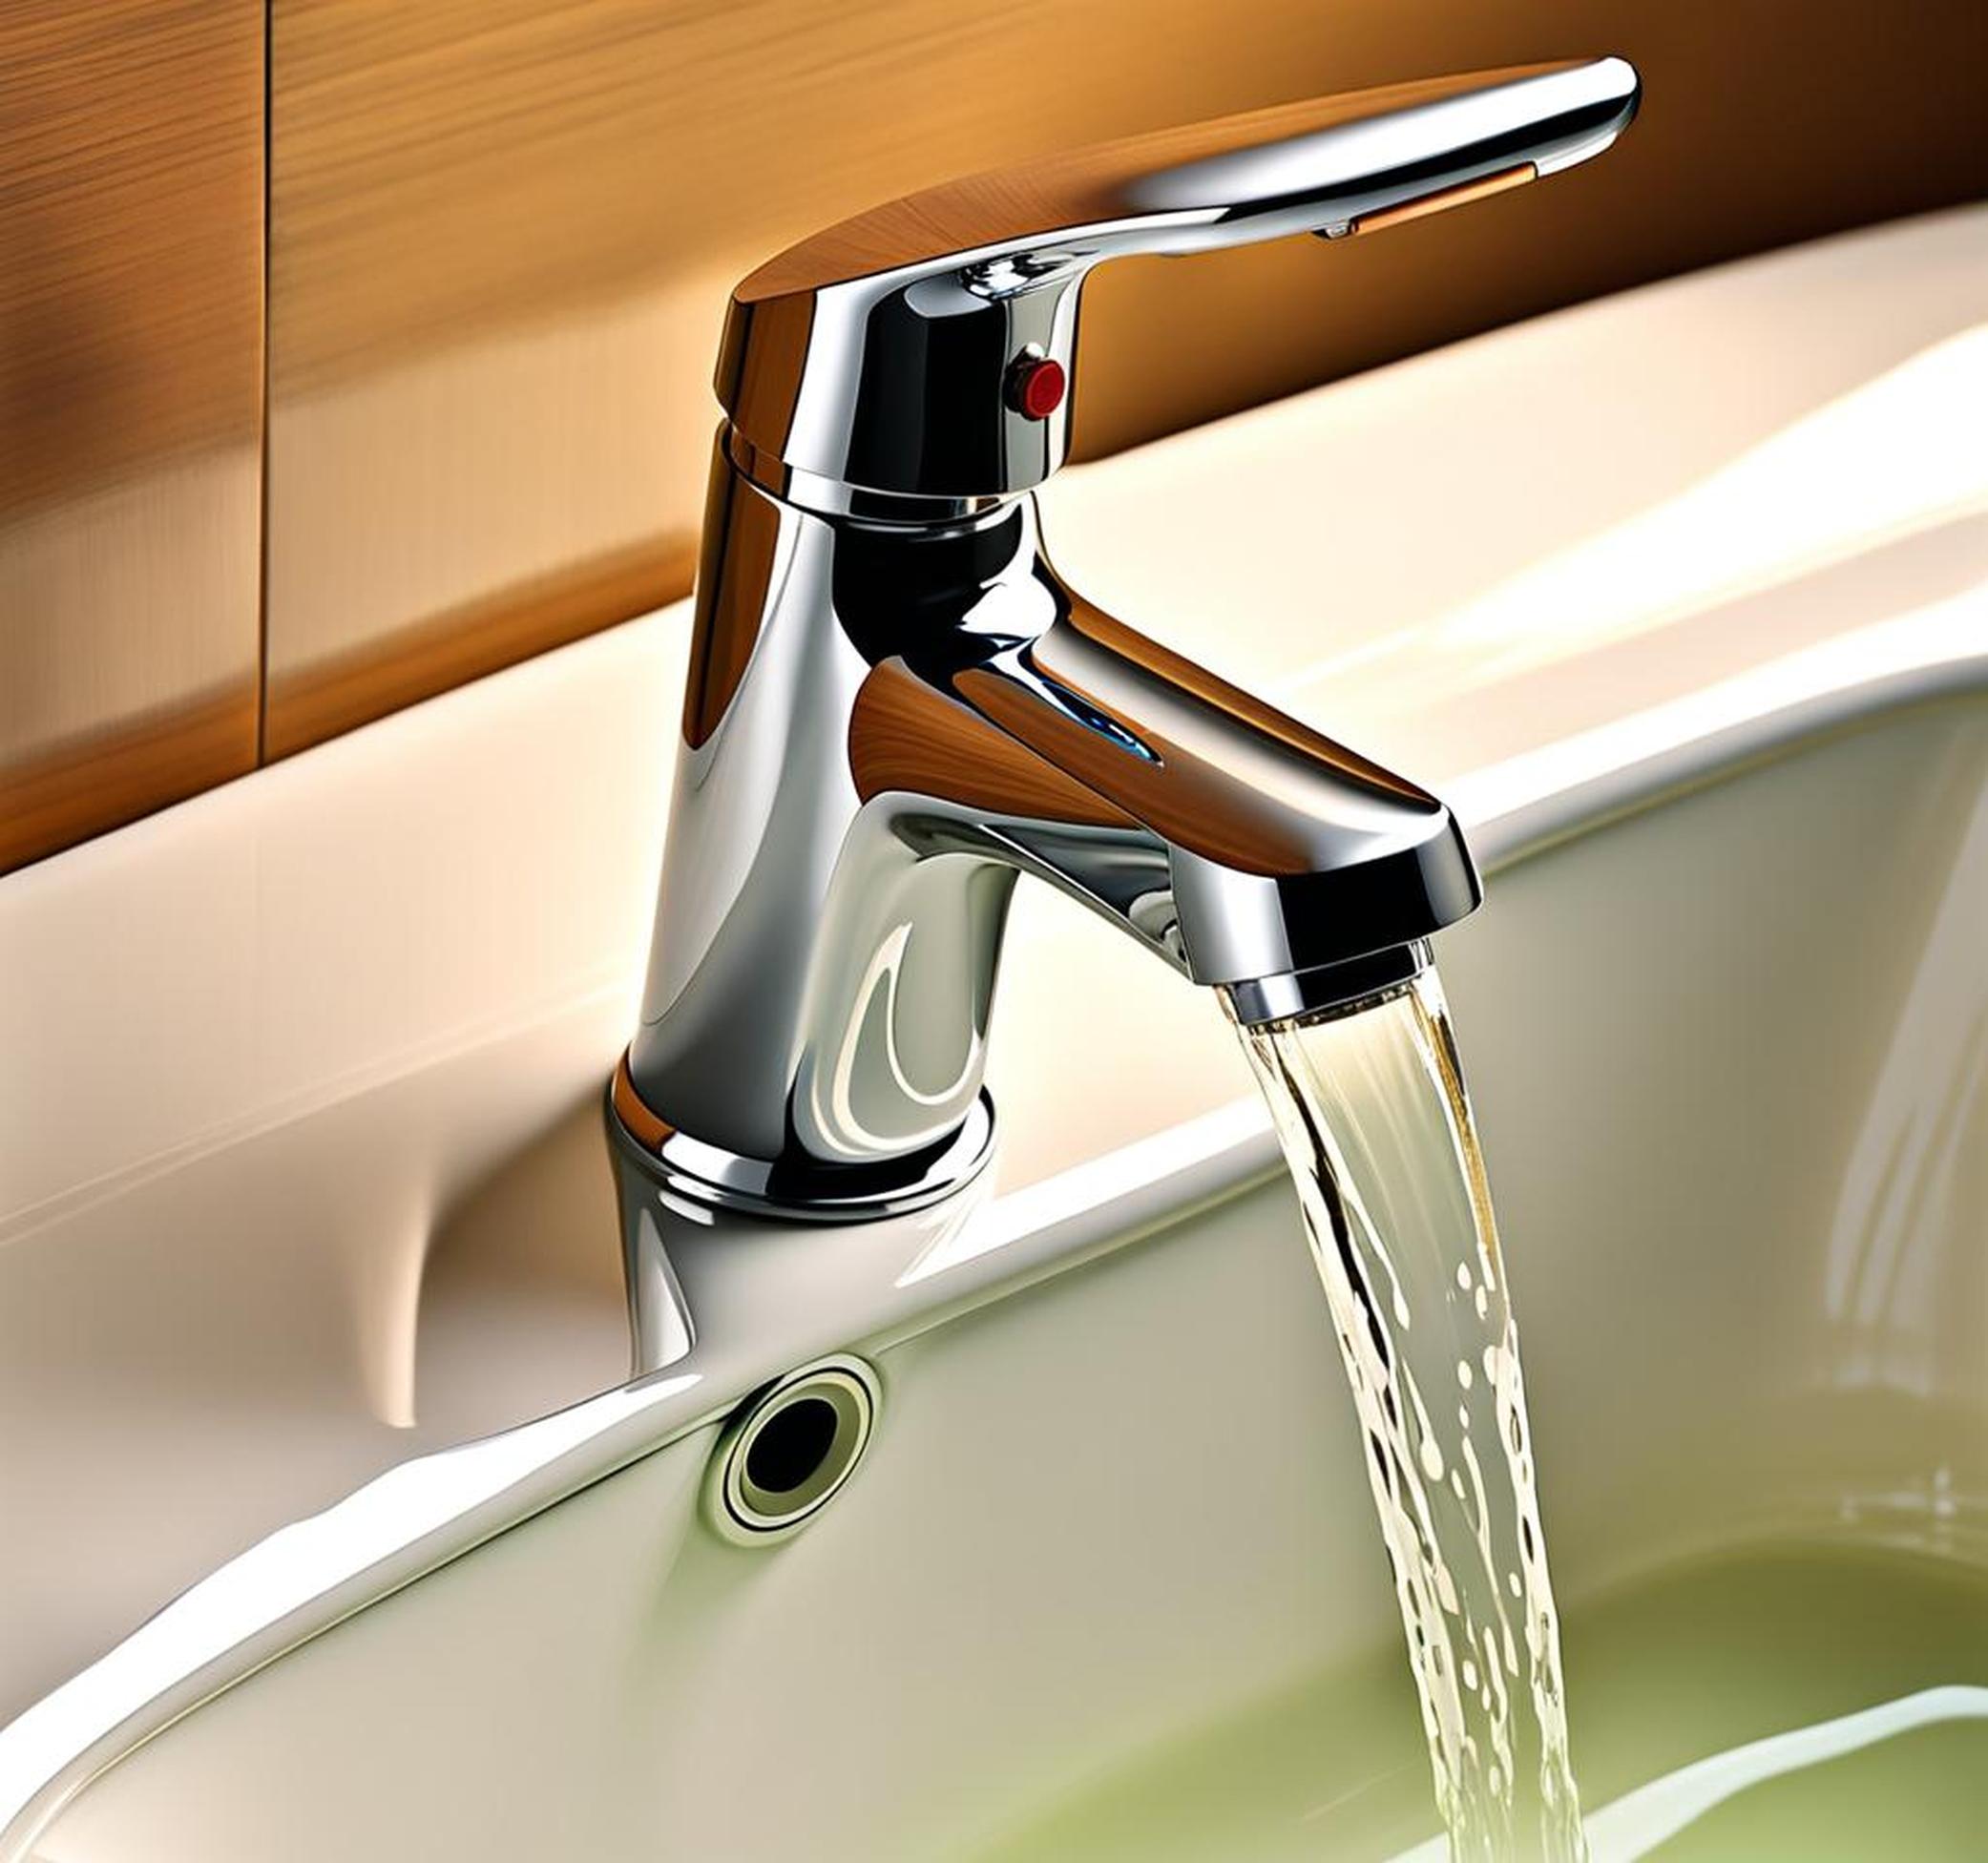
Has this ever happened to you? You take a nice, long soak in the bathtub, pull the drain plug, and turn the faucet handles all the way off. But even though the handles are turned completely off, water continues dribbling out of the faucet spout. It’s frustrating when your bathtub faucet won’t fully shut off the water flow. But don’t worry – in most cases, this issue can be fixed in just 3 easy steps.
Reasons Why Your Bathtub Faucet Won’t Shut Off
There are a few common culprits behind bathtub faucet leaks and continuous water flow, even when turned “off.” Understanding the root of the problem will help you pinpoint the proper solution.
Worn Out Faucet Valve
Inside your bathtub faucet is an inner valve that controls the hot and cold water flow. Over years of use, this valve can become worn out or corroded, preventing the faucet from fully shutting water off. You’ll notice the dripping gets worse over time if the valve is failing.
Damaged Faucet Handle
The faucet handle connects to the valve stem inside the faucet assembly. If the handle gets damaged or loose, it may not be able to grip this stem tightly enough when turned off. This allows water to continue passing through.
Loose Set Screw
There is a small set screw that holds the faucet handle firmly onto the stem. If this screw has backed out over time, it also can lead to handle slippage and continual dripping or leaking.
Debris Stuck in Faucet
Mineral buildup and gunk can accumulate inside the faucet body and get lodged in the valve components. This debris can prevent the valve from fully closing and shutting off the water completely.
Accidentally Left Water Supply On
Many bathtub faucets have individual shut-off valves for the hot and cold water supply lines. If one of these valves was accidentally left partially open, water would continue flowing to the faucet even with the handles off.
Step 1: Check For Leaks
Before tackling the faucet itself, inspect under the sink and around the tub and wall surround for any signs of moisture or dripping. Catching a larger leak early is crucial to prevent catastrophic water damage.
Testing Water Pressure
High water pressure can overcome the shut-off components inside a faucet and push water out when it should be off. To check for this issue:
- Locate the main water shutoff valve, often near your water meter
- Completely shut off water supply to the house
- Go to the tub and see if water is still flowing from the faucet, now that main pressure is removed
If the flow stops, your home’s water pressure is too high and likely causing the bathtub faucet problem. Installing a pressure regulator between your home’s main line and water meter is the solution.
Clearing Clogged Aerator
The aerator on the end of the faucet spout strains out sediments and controls water velocity. Over time, this small screen can get obstructed, leading to abnormal water flow issues. To clean:
- Unscrew the aerator from the faucet tip
- Rinse grit and deposits off with vinegar or special faucet cleaner
- Reattach tightly, being sure not to damage o-ring seal
Step 2: Tighten The Set Screw
If you’ve ruled out plumbing leaks as the culprit, move onto inspecting the tub faucet handle and connections. The threaded set screw holds the handle firmly onto the stem shaft inside the faucet body. Over time, this screw can loosen slightly, allowing the handle to wobble and spit out water. Tightening it is an easy fix:
- Look for a tiny plastic cap on base of handle. Pop this off with a small flathead screwdriver, revealing the set screw underneath.
- Use screwdriver to tighten set screw snugly, being careful not to strip threads or over tighten.
- Wiggle handle to ensure it now has a tight grasp of the faucet stem.
Try turning the faucet handle off again to check if water shuts as it should. If the drip persists, further disassembly and cleaning may be needed.
Removing Faucet Handle
With the set screw removed, you can now fully extract the faucet handle for better visibility and access into the faucet body:
- Lightly wedge flathead screwdriver into crevice behind the handle and gently pry handle loose while wiggling from side to side.
- Once loosened, pull handle directly away from faucet to expose stem.
Cleaning Out Debris
Check valve openings and flow channels for any grit or mineral buildup. Use stiff wire brush or small bottle cleaner to gently scrub away deposits around rubber washers and end of valve stem. Caustic vinegar can also help dissolve scale. Flush faucet body thoroughly with water after cleaning.
Step 3: Replace Faucet Washers and O-Rings
If adjusting handles and connections hasn’t stopped the water flow, replacing the small rubber washers inside is the next solution for persistent drips. Necessary for sealing water in, these washers compress and flatten over years of turning your faucet on and off. Eventually they become permanently deformed and no longer seal.
Replacement washers and o-rings are inexpensive and widely available at hardware stores and home centers. Choose the appropriately sized washer by comparing to the existing one. The same oring sits around brass valve stem in many faucet types.
Follow these tips when completing washer/o-ring replacement and reassembling your faucet:
- Make sure new flat washers slide smoothly over valve ends
- Coat o-rings with silicone grease to ease back into faucet body
- Re-seat faucet stem fully before replacing handle
- Tighten handle set screw securely, but not excessively
Check for continuous water flow once project is complete. Call for professional help if dripping resumes shortly after you’ve replaced the washers and seals.
Additional Valve Repairs
For two or three handle tub faucets, each one has its own separate hot and cold valve assembly. If replacing washers doesn’t work, you may need to replace the entire valve stem or cartridge instead.
While more intensive, these repairs follow the same basic process of disassembling the handle, then extracting the worn central components with needle nose pliers. Match new replacement parts according to your existing hardware.
Calling A Professional Plumber
Some circumstances do require calling a licensed plumber to properly diagnose and complete faucet repairs. If you have a tricky widespread or centerset faucet type, can’t isolate where dripping water is coming from, or discover larger underlying issues like pipe corrosion, it’s smart to call in an expert.
With specialized video pipe inspection equipment, plumbers can uncover leaks in inaccessible wall and floor spaces. They also have the expertise to safely replace old valves and remedy complex faucet components that homeowners can’t tackle.
Preventing Future Leaks
Take steps between repairs to keep your tub faucet working smoothly long term:
- Rinze grit from aerator screen monthly
- Tighten handles and hardware yearly
- Deep clean mineral scale and lime buildup with vinegar
- Replace washers and o-rings proactively every few years
Catching drips quickly and maintaining your faucet valves prevents the need for large-scale pipe replacement projects down the road.
As you can see, repairing a tub faucet with continual water flow, even when “off,” is totally doable yourself. Just follow our 3 step inspection, adjustment, and replacement process to remedy this common and frustrating issue.
Understanding what internal components cause faucets to drip non-stop makes it simpler to address. And knowing when it’s smarter to call in plumbing help takes the stress away too.
So don’t let an endlessly dripping tub faucet annoy you any longer. Roll up your sleeves and fix that leaky faucet yourself today in 1, 2, 3 easy steps!
