Is your water heater’s pressure relief valve leaking water and driving up your utility bills? This problem is common, but can also indicate dangerous pressure levels building up inside your hot water heater tank if left unchecked.
A continuously dripping or opening relief valve means the excess pressure inside your tank has reached the valve’s pressure setting, forcing it open to release the buildup. While the valve is doing its job protecting the tank, an overactive relief valve suggests issues needing your attention.
What is Causing My Relief Valve to Leak?
Excess Pressure Buildup in the Tank
Too much pressure inside a hot water heater can result from:
- Faulty temperature and pressure (T&P) relief valve allowing pressure to escalate unchecked
- Excessive water heating temperature or overly high water pressure entering the tank
- Sediment buildup inside tank triggering more frequent pressure releases
If water pressure or temperature rises beyond safe ranges, the buildup puts stress on the tank walls and seams risking dangerous explosions or leaks. Catching and resolving pressure issues early is critical.
Faulty, Stuck Open, or Corroded Relief Valve
Even if your tank pressure is normal, a dysfunctional relief valve can still cause dripping. Common problems include:
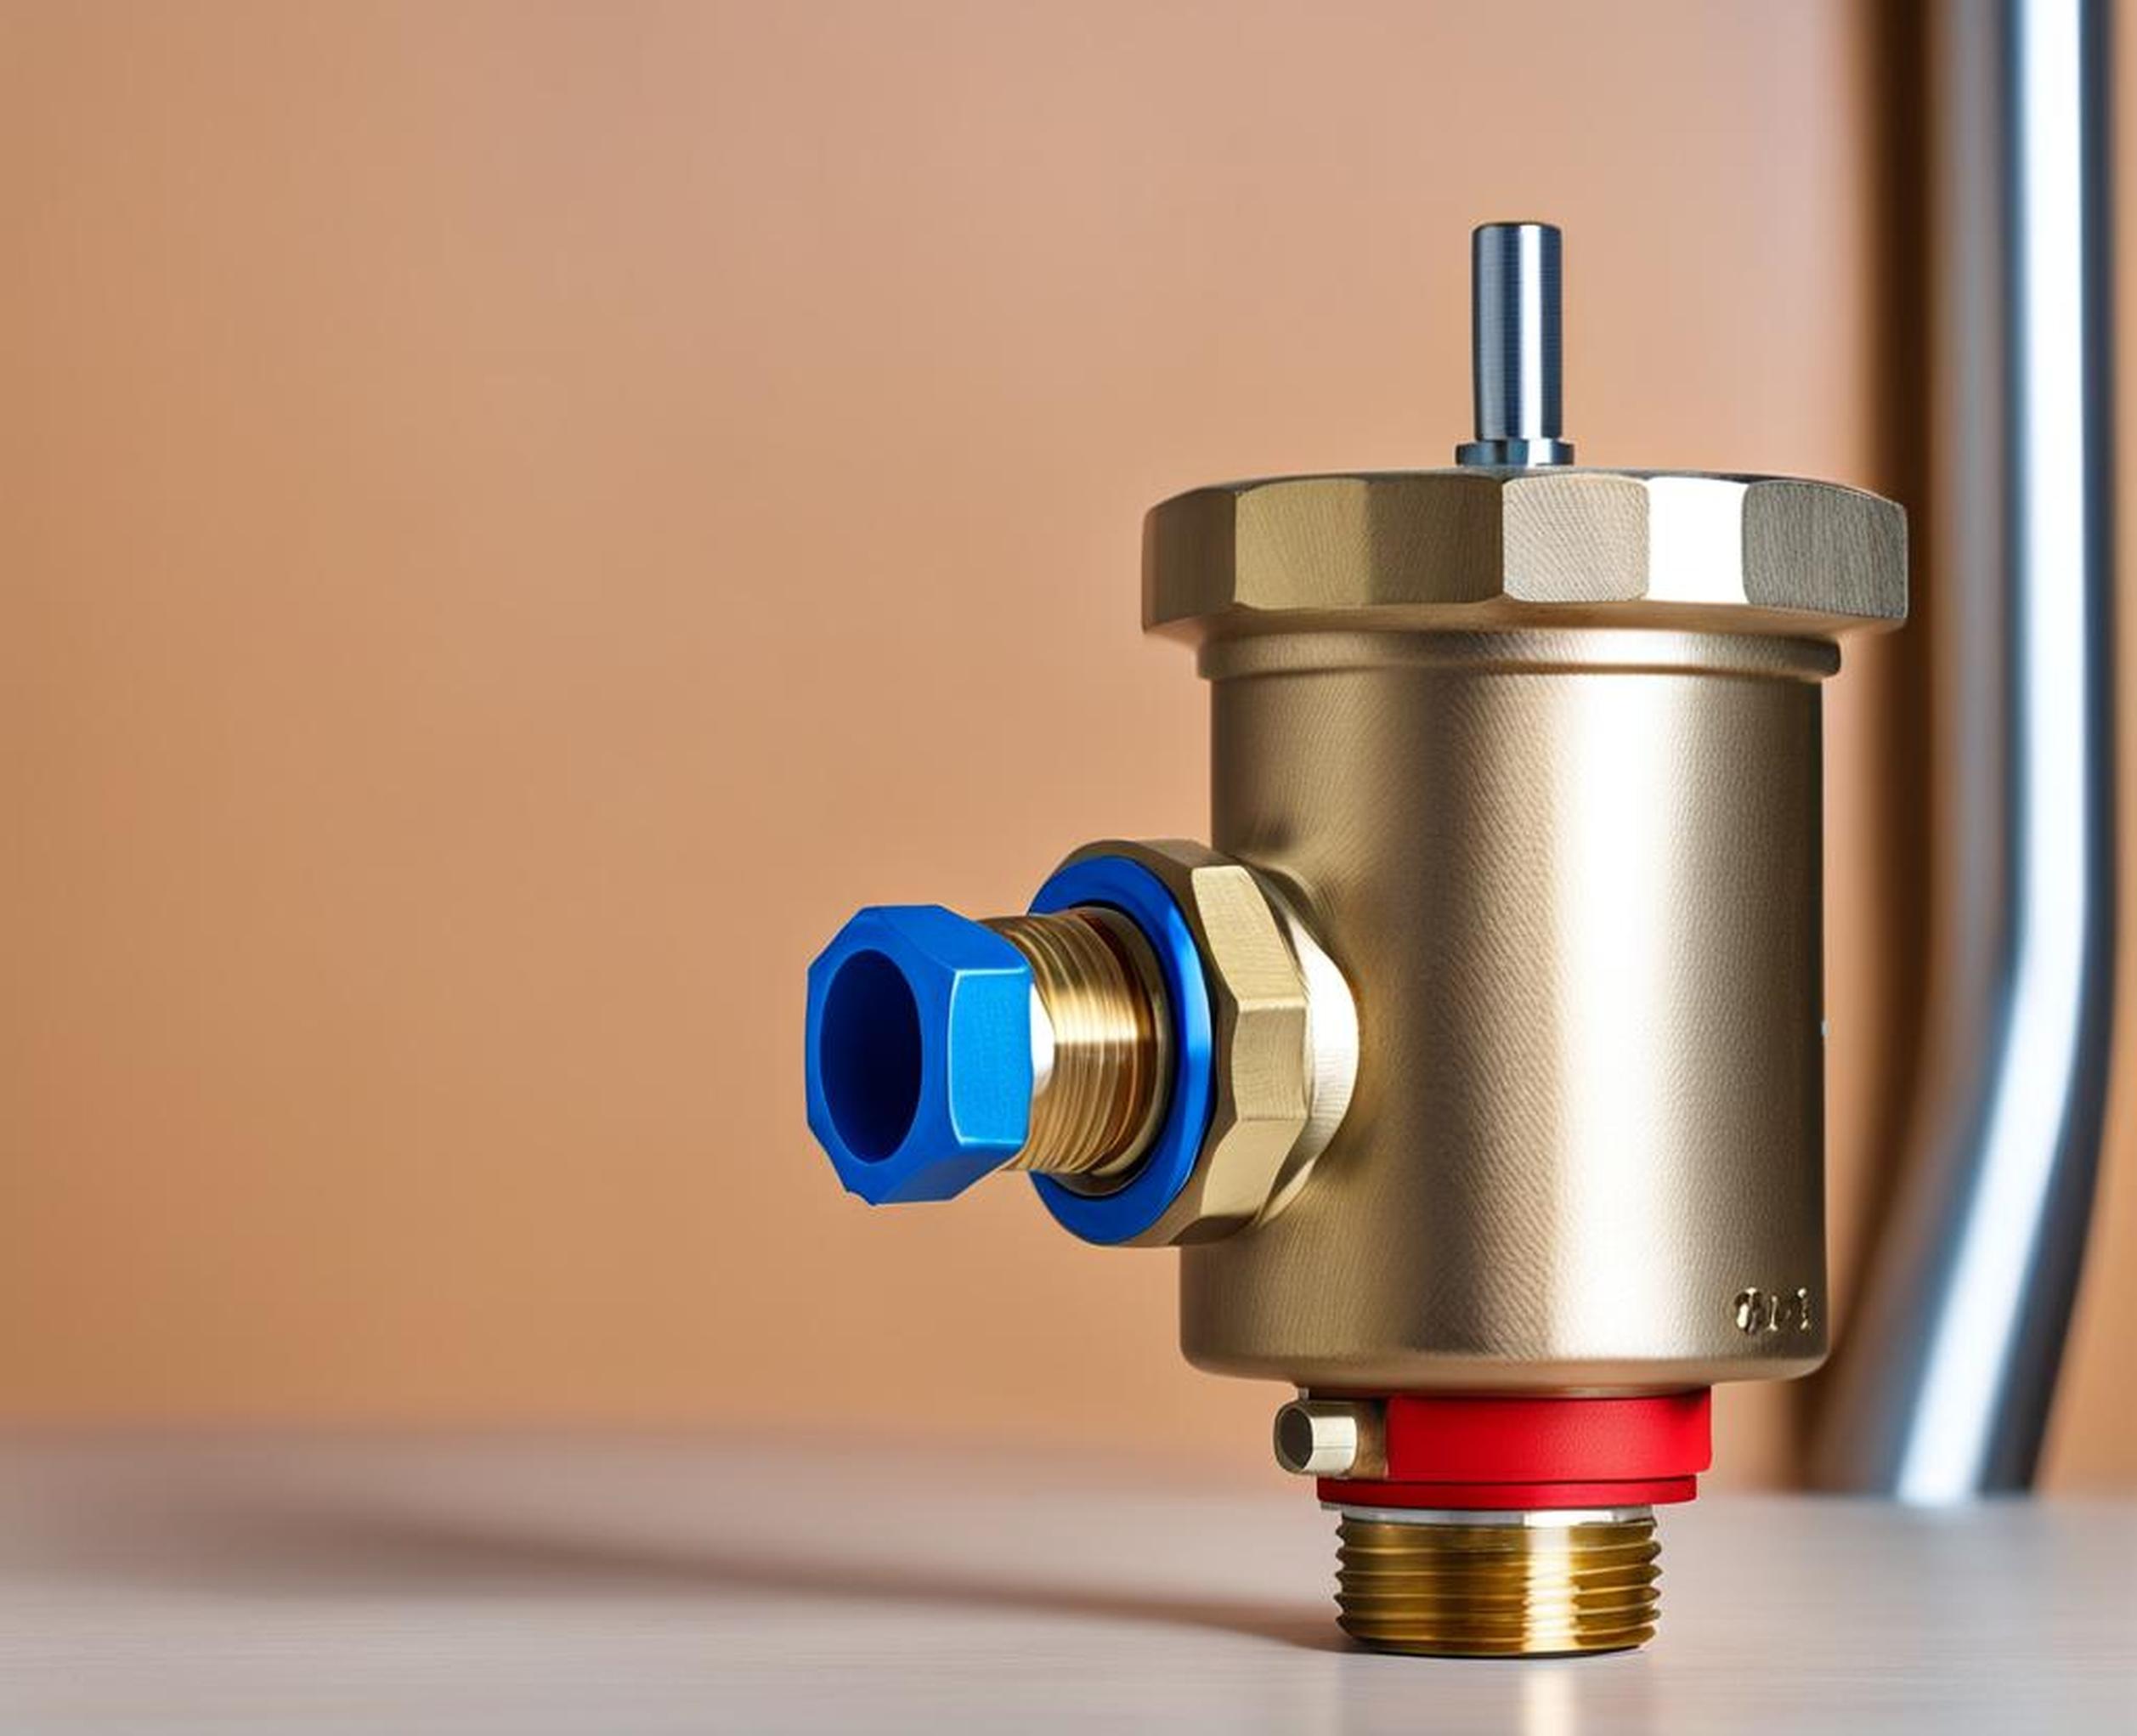
- Failure to fully close after releasing excess tank pressure
- Corrosion and mineral buildup over time leading to sticking open
- Sediment or rust preventing proper sealing
A stuck open or leaky relief valve gives pressure nowhere to go but out the open valve, resulting in constant water loss and risk of pressure continuing to build. Replacing faulty valves is key.
3 Methods to Stop Water Heater Relief Valve Leaks
1. Test and Maintain the Existing Relief Valve
Before replacing your relief valve, try testing and maintaining it. This involves:
- Manually lifting and releasing lever to flush valve and ensure proper functioning
- Cleaning any corrosion or sediment buildup from valve seat and components
- Clear obstructions in valve discharge line
- Replace valve if found faulty
Sometimes this restores full valve functionality, saving the cost of a replacement. Schedule relief valve tests at least annually.
2. Reduce Water Temperature and Pressure
If maintaining the valve fails to resolve leaks, try adjusting hot water heater and home plumbing settings including:
- Lower temperature to 120degF
- Install pressure reducing valve set to 50-60 PSI
Dropping temperature and water pressure may provide temporary relief until the true cause is found. Monitor valve periodically.
3. Replace the Relief Valve
Replacing a consistently leaky or faulty pressure relief valve is often the best permanent solution. Steps include:
- Choosing a valve with equal pressure rating to original valve
- Matching temperature rating and valve connection size
- Shutting off water supply and draining tank before swapping valves
- Testing repaired system by manually operating new valve
Installing a brand new relief valve eliminates any underlying defects allowing full functioning. Test annually.
Preventing Future Leaks
Take proactive steps to avoid recurring relief valve dripping including:
Annual Testing and Maintenance
- Add valve testing to yearly water heater maintenance routine
- Regularly flush valve seat and discharge line
- Replace valve every 2-4 years or at first sign of issues
Don’t wait for leaks to happen. Schedule upkeep before problems occur.
Adjust Water Heater Settings
- Set temperature to 120degF to reduce tank pressure
- Examine home water pressure and install regulator if over 80 PSI
Optimizing settings lessens strain on the relief valve.
Install a Drain Pan and Drain Line
- Contain leaks with a drain pan collecting water
- Route drain line to safely divert water outside
Even slight dripping adds up over time. Protect surrounding areas from moisture damage until leaks are repaired.
What If the Leak Persists?
If adjusting valve and tank settings fail to resolve a stubborn relief valve leak, larger system issues may be brewing requiring additional repairs such as:
Whole System May Need Replacing
- Inspect tank exterior for rust and bulges signaling age and defects
- Determine if full water heater replacement makes sense based on age and condition
- Hire plumber for removal and replacement if needed
An outdated, defective water heater contributes to frequent relief valve dripping requiring more robust repairs.
- Seek professional diagnosis if self-service efforts unsuccessfully end leaks
- Explore repiping options or full replacements
- Beware costs ranging $200-$500 or more depending on location and repairs needed
