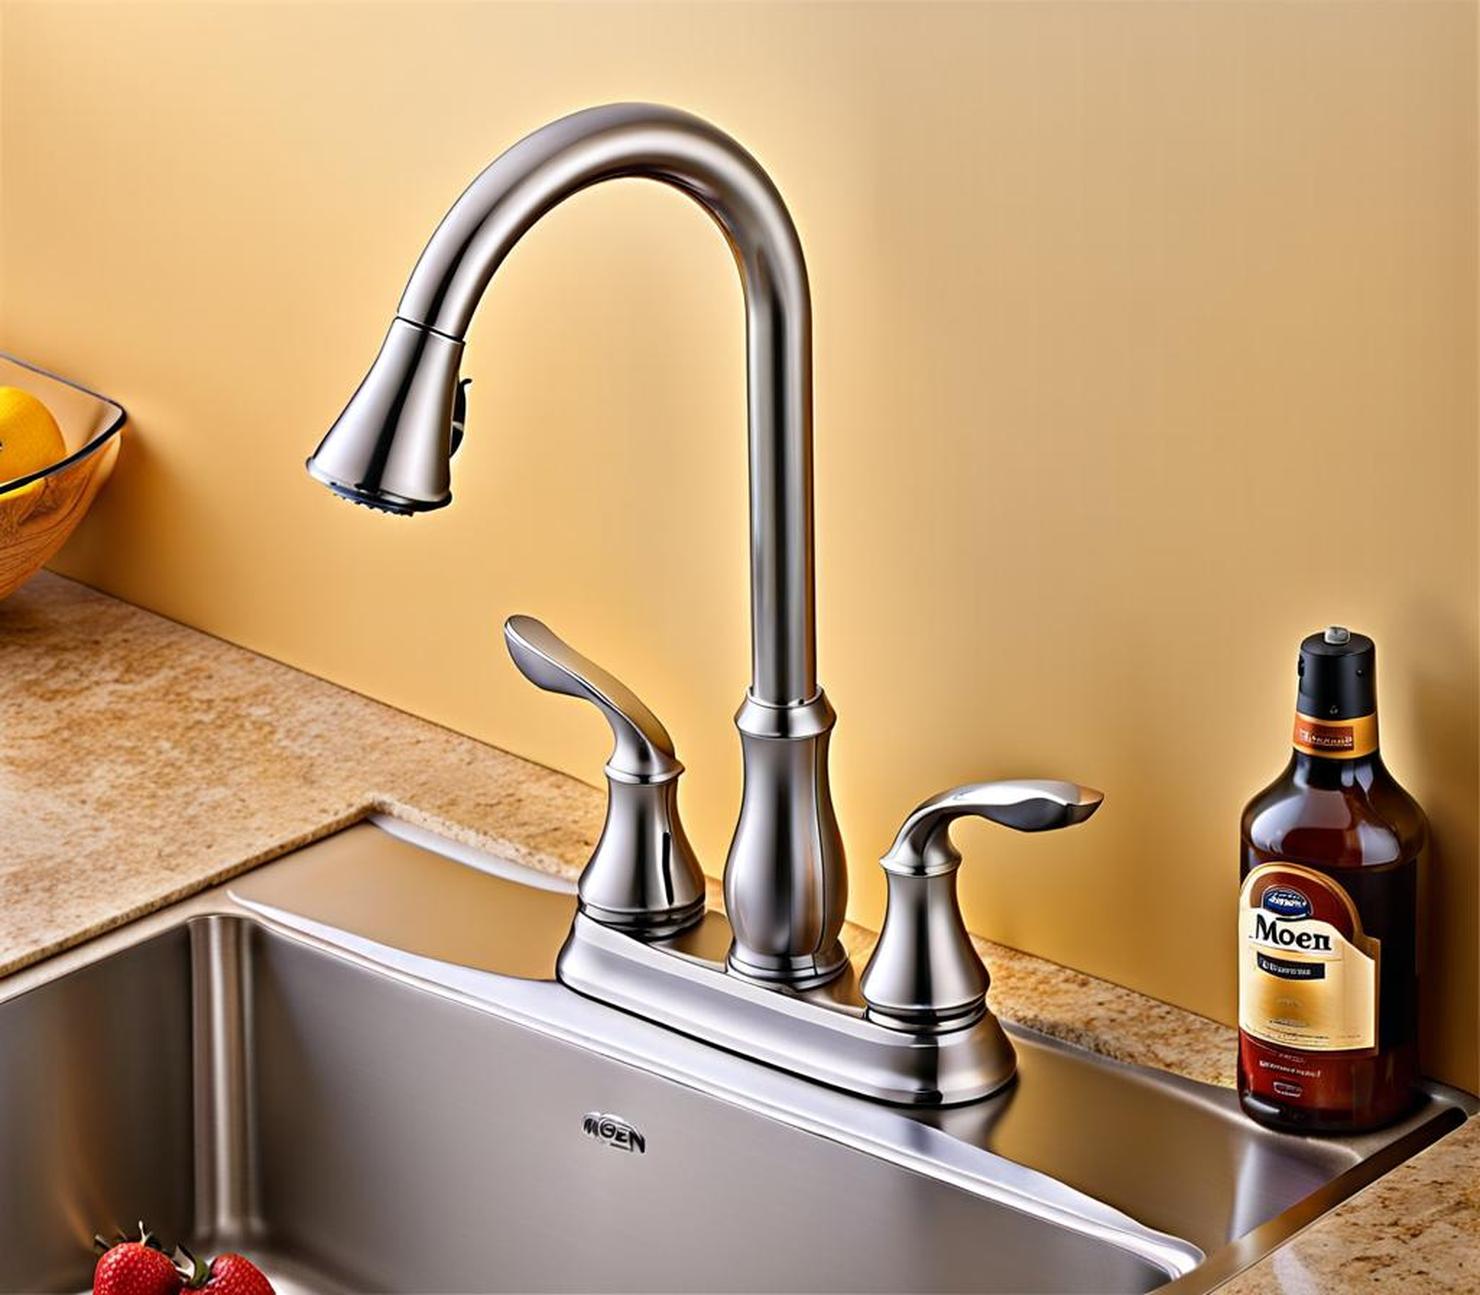
If your kitchen is due for an update, one of the easiest ways to give it a fresh new look is by replacing the faucet. Moen is one of the most popular and trusted brands when it comes to kitchen faucets. But before you can install a shiny new model, you’ll need to remove your existing Moen faucet.
Removing a kitchen faucet may seem daunting, but it’s actually a fairly straightforward DIY project – even for novice homeowners. With some basic tools, a little patience, and by following the proper steps, you can have that outdated Moen faucet removed in no time.
Before You Start Removing Your Moen Faucet
Taking the time to prepare your workspace and gather supplies will make the removal process safer and smoother. Here are some tips to follow before getting started:
Turn Off the Water Supply
Before removing your Moen kitchen faucet, it’s crucial to shut off the water supply lines. This prevents water from spraying out when you detach the lines, making a mess under your sink. Locate the shut-off valves underneath the sink and turn them clockwise to shut off both hot and cold water.
Gather the Necessary Tools
You don’t need any fancy specialty tools to remove a Moen kitchen faucet. With some basic DIY tools you likely already own, you’ll be all set:
- Adjustable wrench
- Basin wrench
- Bucket
- Rag
- Penetrating oil (WD-40)
It’s also a good idea to have a flashlight handy so you can see under the sink, as well as a towel to lay down for comfort and to catch any drips.
Removing the Faucet’s Supply Line Connections
The supply lines deliver water from the shut-off valves to your Moen faucet. Disconnecting them is one of the first steps in removing the old unit. Here’s how:
Locate the Supply Line Nuts
The supply lines attach to the bottom of the faucet’s base with threaded nuts. You’ll find one nut where each hot and cold line connects. Shine a flashlight upward to get a clear view of the nuts’ location.
Loosen and Unscrew the Nuts
Insert your adjustable wrench onto each supply line nut and turn counterclockwise to loosen. Once loose, you should be able to finish unscrewing them by hand. Have your bucket ready below to catch any drips.
Try not to damage the supply lines themselves as you may reuse them for your new faucet. Set the nuts aside in a safe place.
Removing the Mounting Hardware
With the supply lines detached, it’s time to remove the mounting nuts, screws, or brackets that secure the faucet to your sink or countertop. This will vary slightly depending on your model.
Access the Mounting Hardware
You’ll likely find mounting nuts threaded onto a pair of threaded posts or rods below the sink. You may need to use your basin wrench to reach them in the tight space.
Loosen the Hardware
Insert your wrench onto each mounting nut or screw head, applying penetrant if needed, and turn counterclockwise to loosen. Take care not to strip the nuts by applying too much force.
Remove the Faucet
Once all hardware is detached, you can finally lift the Moen faucet up and out of its sink or countertop holes. This step often takes a bit of wiggling and patience. Have an old towel ready below to catch any water still in the faucet.
Cleaning Up and Prepping for the New Faucet
With the old unit removed, take a few minutes to tidy up the sink area and make sure it’s ready for your new faucet:
- Wipe down the sink surface to remove any grime or sealant
- Consider re-sealing the faucet holes if needed
- Read the new faucet’s instructions thoroughly
Some additional steps like clearing out under the sink or replacing the water lines may be needed depending on your situation.
Troubleshooting Tricky Moen Faucet Removal Situations
While removing a Moen kitchen faucet is generally straightforward, you may encounter some snags. Here are some tips for handling tricky situations:
Dealing with Stuck Mounting Nuts
If penetrating oil doesn’t loosen the mounting nuts, try carefully tapping them with a hammer to break them free. Gripping with vice grips or using a hacksaw to cut through particularly stubborn nuts may be needed.
Removing a Seized Faucet Cartridge
Use a faucet cartridge puller tool to carefully pull the cartridge straight out if basic twisting doesn’t work. Beware not to damage the cartridge.
Accessing Hard-to-Reach Areas
A basin wrench or faucet tool can extend your reach to get better leverage on tight mounting nuts. An extension mirror can also help you see hard-to-view areas.
Helpful Moen Faucet Removal Tips
Keep these tips in mind throughout the removal process:
- “Lefty loosey, righty tighty” – Turn counterclockwise to loosen nuts and fittings
- Don’t force anything too hard – Take a patient approach
- Allow penetrant oils time to work – At least 10-15 minutes of soaking time
What to Do After Removing Your Moen Faucet
Once your Moen kitchen faucet is successfully removed, a few more steps are needed to complete your faucet upgrade project:
Select Your New Faucet Model
Browse Moen’s kitchen faucet collections and choose a style you love that fits your budget and sink configuration.
Purchase Any Needed Adapters or Extensions
If your existing water lines or mounting hardware don’t match up with your new faucet, pick up compatible connectors or extensions.
Install Your New Faucet Properly
Carefully follow the manufacturer instructions for safely and correctly installing your new Moen kitchen faucet.
As you can see, removing an old Moen kitchen faucet is totally doable for DIYers with some basic tools and a bit of patience. Just take it slow, use proper form, and don’t be afraid to ask for help with any tricky steps.
Before you know it, you’ll have that outdated faucet removed and ready for an exciting new model. A streamlined modern faucet can make your whole kitchen feel brand new!
