If your kitchen cabinets are looking tired but you don’t have the time or budget for a full replacement, painting them can make a dramatic difference. But who wants to spend days prepping by tediously sanding each surface? With the right products and techniques, you can skip the sanding and still get beautiful, professional-quality results.
Painting without prep sanding saves tons of time and elbow grease. By using specialty bonding primers and cabinet paints designed for non-sanded application, it’s possible to revitalize your kitchen in just a weekend. We’ll walk you through every step of the process so you can uncover this clever shortcut.
Scrub Cabinets Thoroughly First
Before painting, it’s crucial to start with super clean surfaces so the paint can properly adhere. That shiny varnish may look sleek, but it leaves nowhere for paint to grip. Oils and grease are enemies too.
Wash cabinet boxes, doors, and drawers with a degreasing cleaner like TSP substitute to cut through residue. For stubborn stains, use a mild abrasive cleaner and scrub. Remove doors, handles and hinges to access nooks easier. Finish by dusting with a tack cloth.
Tips for Cleaning Cabinets Before Painting
- Use degreasing dish soap or TSP cleaner
- Scrub stains and markings with mild abrasive cleaner
- Dust surfaces with a tack cloth when done
Pick a Strong Bonding Primer
Priming creates crucial adhesion between old finish and new paint. For skipping sanding, use a bonding primer specifically designed to stick to glossy and non-porous surfaces like varnish or laminate.
Brands like Zinsser Bulls Eye 1-2-3 are great options that pros use. Follow application instructions for best bonding power–too thick or thin weakens effectiveness.
Bonding Primer Tips
- Sticks well to slick and glossy surfaces
- Helps paint adhere without sanding
- Apply evenly in thin coats
Brush On Primer Thoroughly
Using a paintbrush , roll on an even layer of bonding primer onto all cabinet surfaces–boxes, doors, frames and draws. Don’t glob it on too thick or it may sag and drip. Thin coats allow thorough drying between.
Work methodically to prevent missing any spots, especially on door frames and cabinet lips. Check for full coverage before moving onto painting. Now your cabinets are perfectly prepped for fuss-free paint application.
Primer Application Tips
- Use angled brush for corners
- Apply in thin, even coats
- Inspect for drips or missed areas
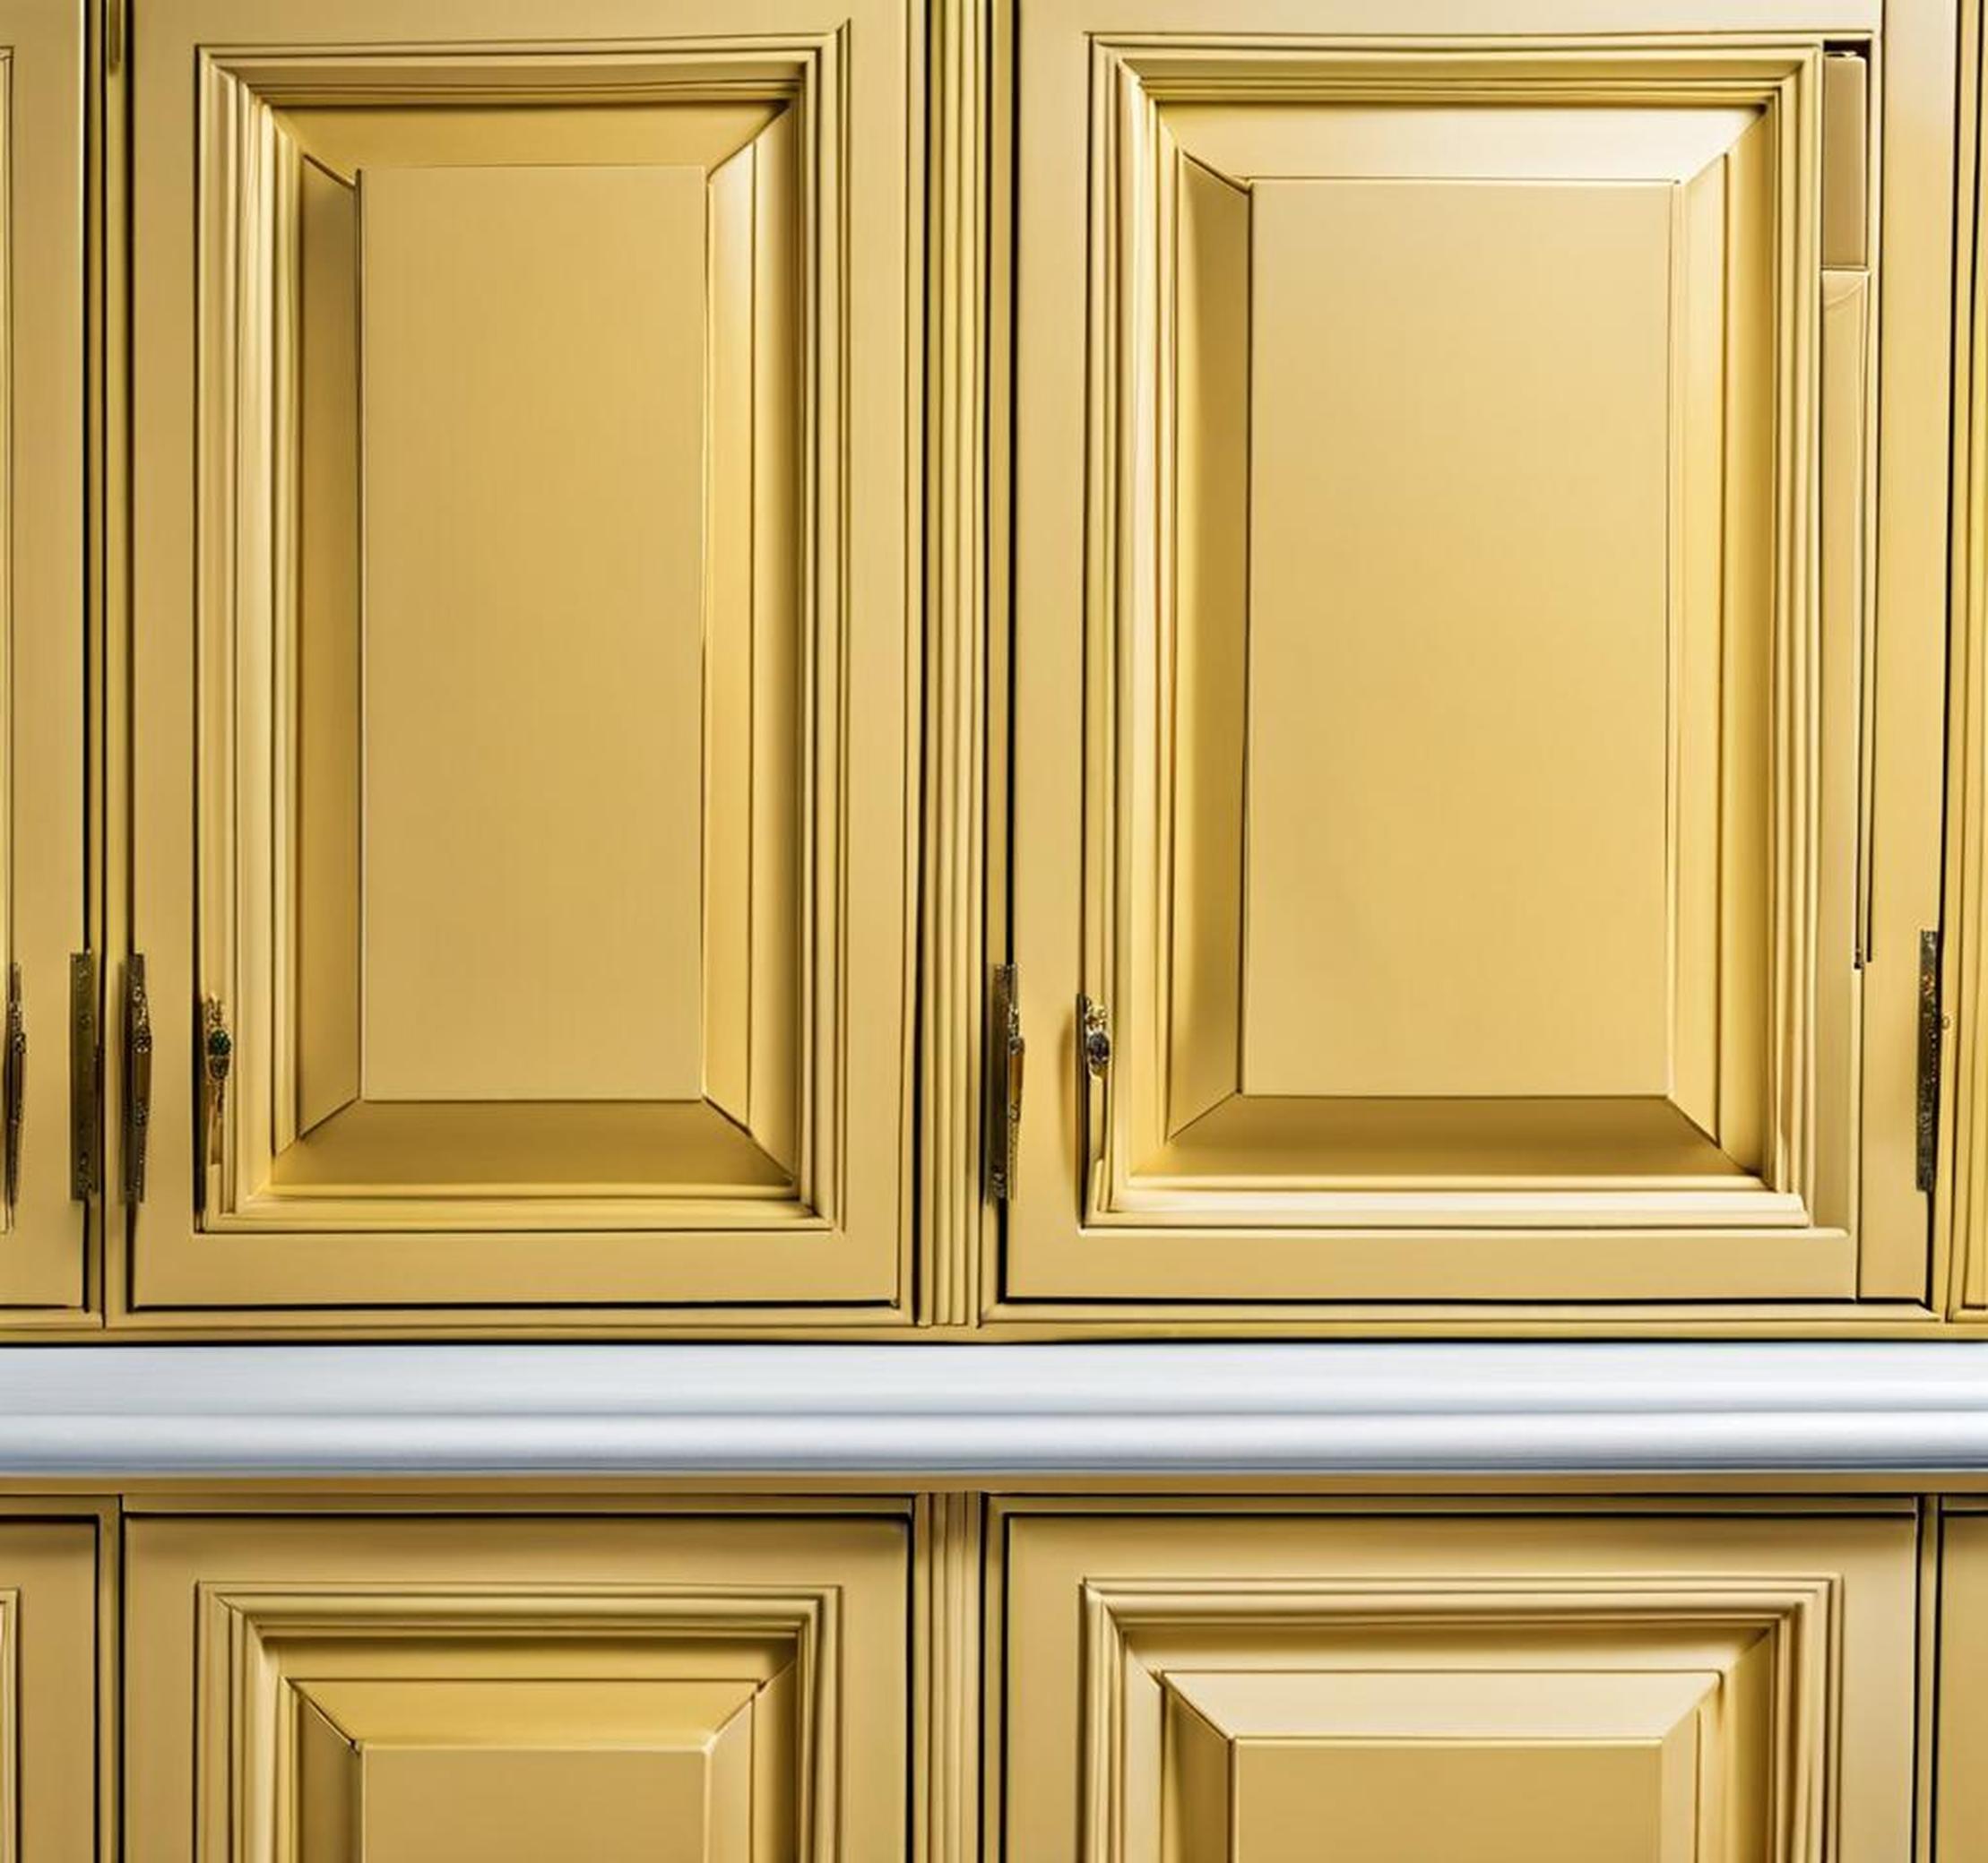
Choose a Durable Cabinet Paint
For painting kitchen cabinets without sanding, you’ll need specialty milk paint that adheres well to glossy surfaces and doesn’t require priming. General Finishes and Benjamin Moore Advance paints work great.
Opt for satin or semi-gloss sheens for washable and protective finishes. Darker tones like navy blue and charcoal grey hide flaws better if your cabinets have any damages or uneven areas.
Ideal Cabinet Paint Features
- Doesn’t require sanding or priming
- Sticks to slick, glossy, or varnished wood
- Durable, scratch-resistant finish
Prep Paint Properly Before Applying
Now comes the fun part of finally applying colorful paint for your kitchen’s makeover! First, thoroughly mix the paint until uniform in color and thickness. Add paint conditioner if it seems too thick for smooth brushing.
Plan your approach before starting. Paint the cabinet boxes first, then doors and drawers when doing the second coat. Pour paint into trays instead of heavy cans to easily coat brush.
Paint Preparation Tips
- Stir paint until fully mixed
- Use paint conditioner for thicker paints
- Work top to bottom for easier process
Apply Paint With Brush, Roller or Sprayer
Time for the fun part–applying the paint! Use an angled trim brush for cutting in edges and painting cabinet frames. Then roll or spray the center flat areas. Applying paint is like coloring; relax and be creative!
Load your brush nicely but not overloaded. Start brushing with the wood grain in long, slightly overlapping strokes. Make them all in the same direction for a smooth effect.
Paint Application Tips
- Trim brush reaches narrow spaces
- Rollers work well for flat expanses
- Sprayers provide the most even finish
Apply Second Coat for Best Looks
One coat often looks decent but a second makescabinets look rich and polished. The second coat also helps the paint cure fully into a protective, scrubbable finish that will last for years before needing a refresh.
Let the first coat dry at least 5-6 hours before adding another. Lightly sand any drips or rough patches between coats for flawless results. Then bask in your refreshed kitchen!
Reasons for Second Paint Coat
- Deepens color for opacity
- Creates thicker, more durable finish
- Helps cover any flaws or unevenness
Skip spending days prepping cabinets the old-fashioned way. With the right specialty paint products and some simple techniques, it’s easy to unlock a dazzling kitchen refresh without any messy sanding. Just remember to clean thoroughly first and use a strong bonding primer.
In less than a weekend, you can enjoy revamped cabinets and a happier home without blowing your budget. Ditch the drudgery and discover this clever hack for yourself–your inner DIYer will thank you!
