Is your Hunter ceiling fan running smoothly, circulating air throughout the room, while the light stays dark no matter how many times you flip the switch? It’s a common problem for the fan and light on ceiling fans to malfunction independently, leaving homeowners baffled about how to get both working again.
With some basic DIY electrical skills and the right tools, you can often fix the light yourself without calling an electrician.
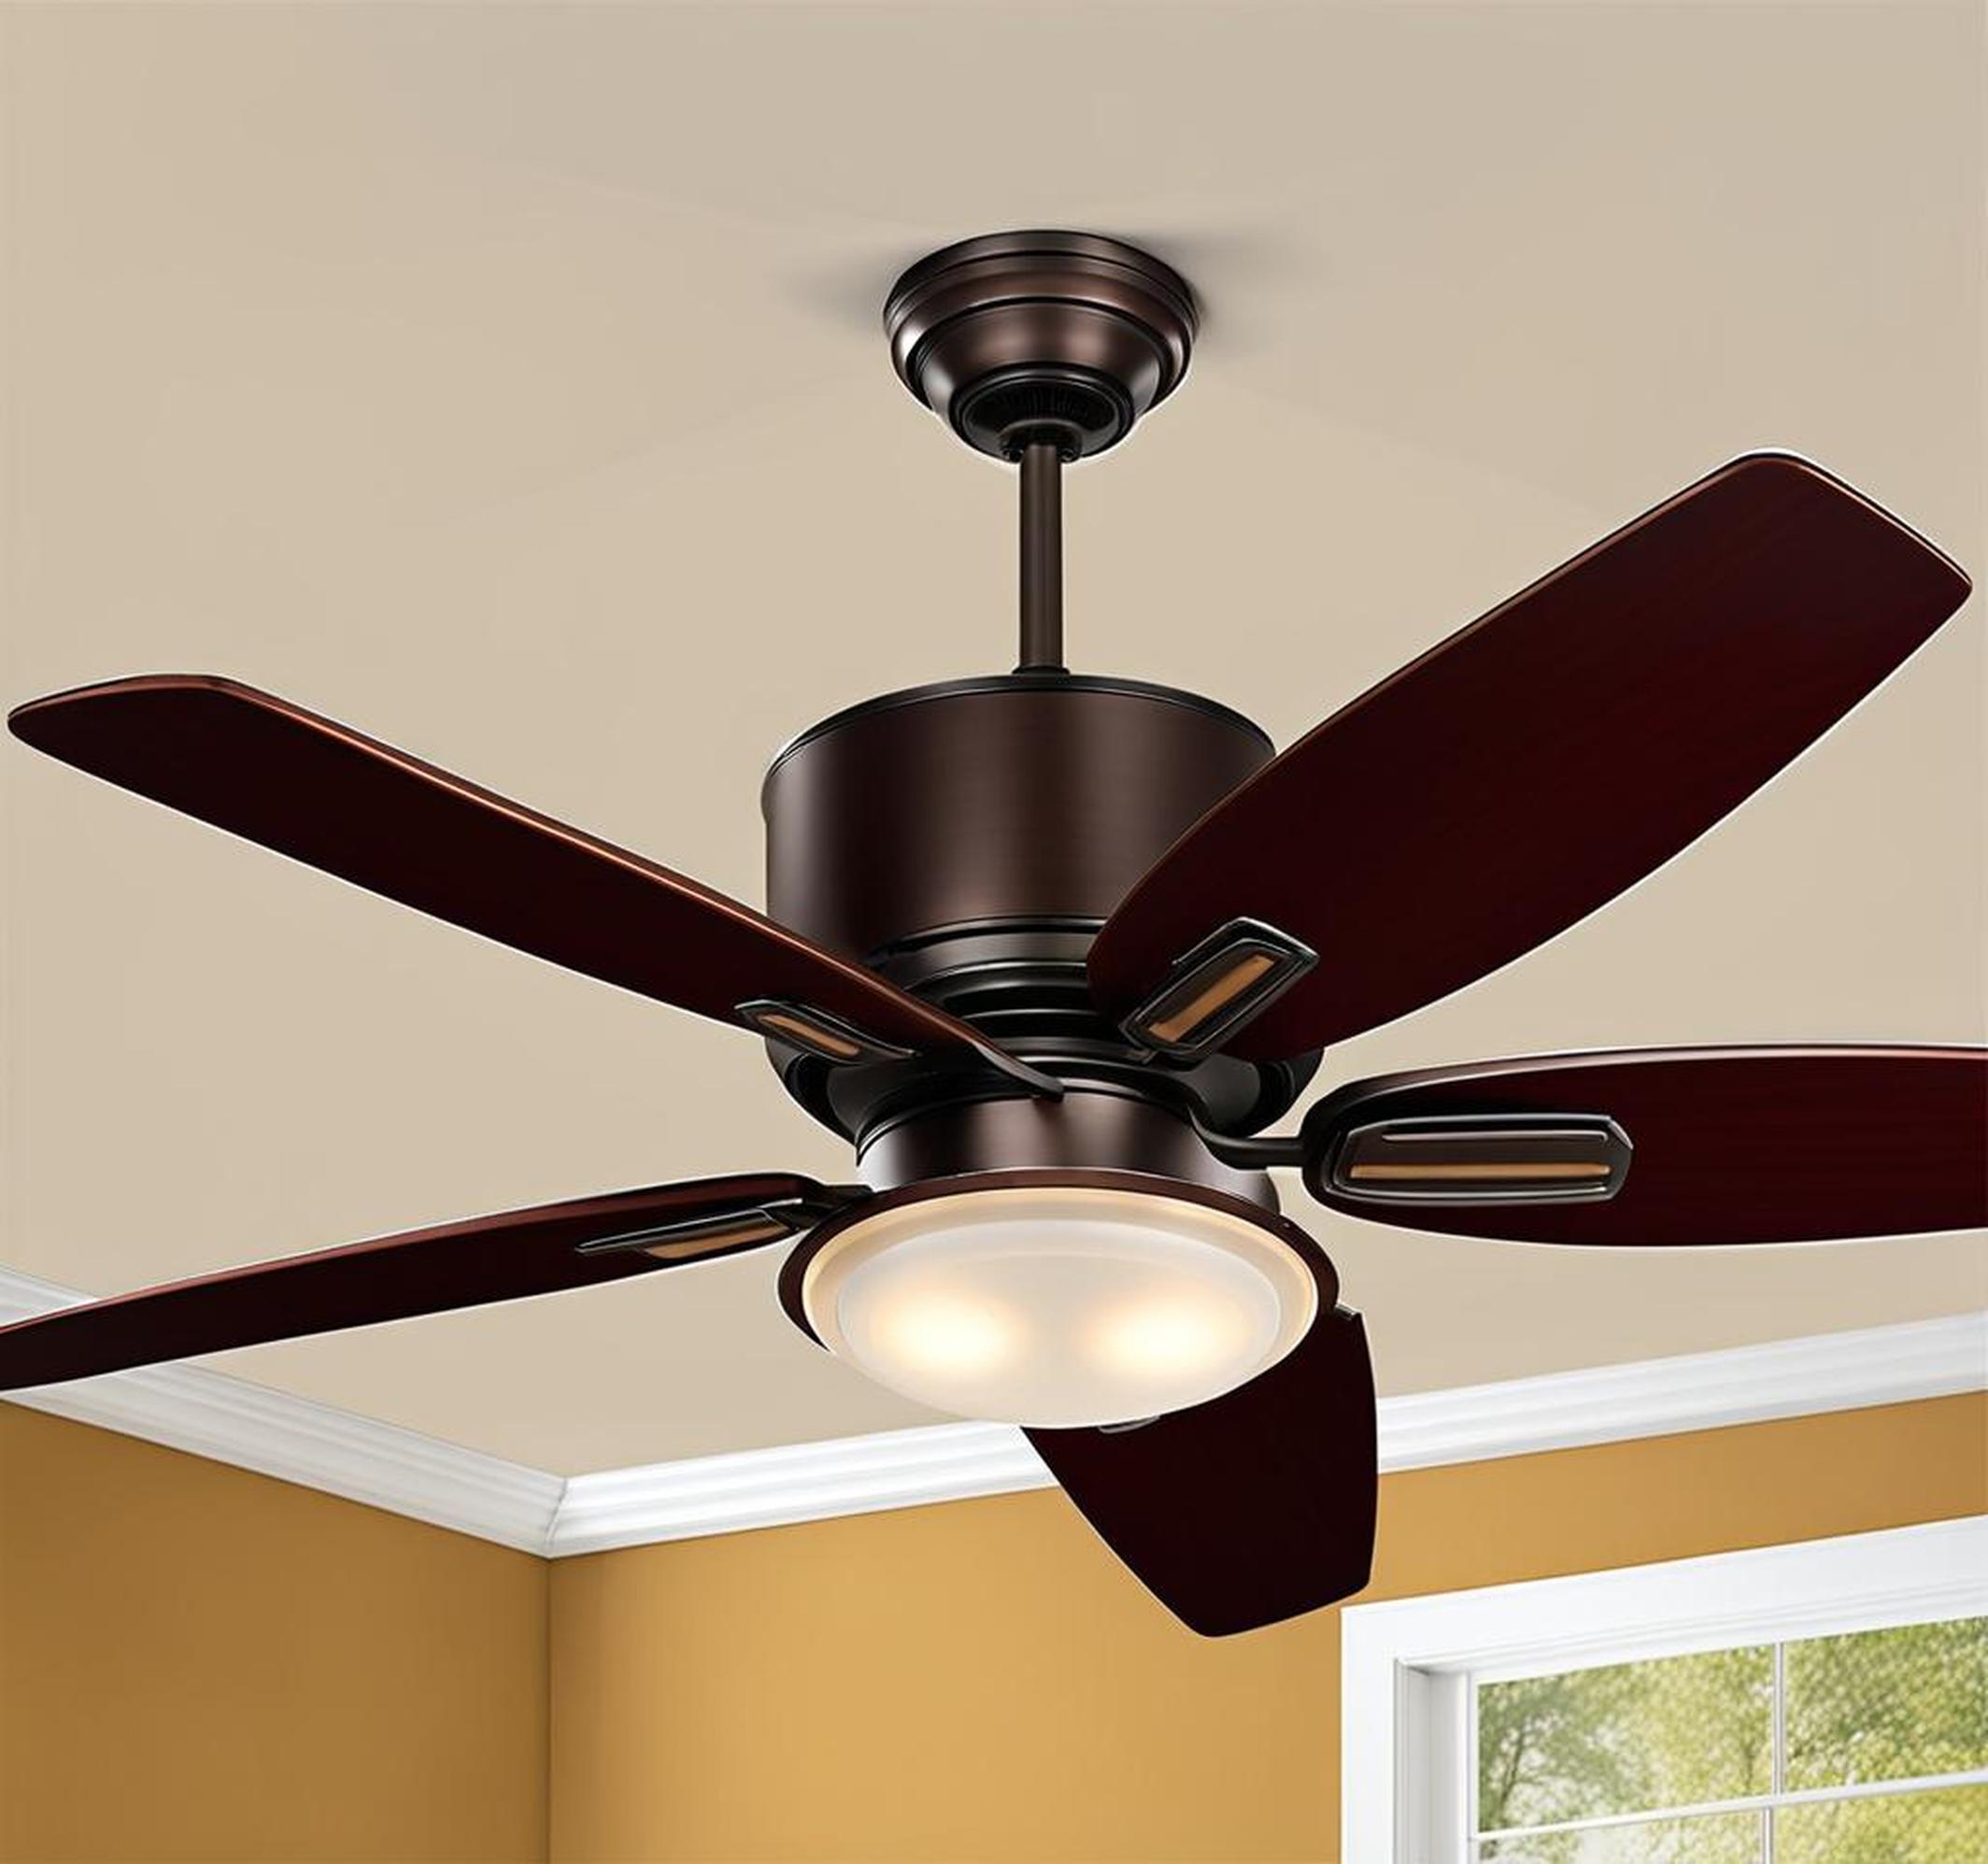
Common Causes of a Ceiling Fan Light Not Working
When the fan is operating but the light remains off, there are a few key parts that could be the culprit:
- Faulty or broken light bulb
- Problems with the switch or dimmer
- Issues with wiring connections
- Remote control battery or signal problems
- Obstructed or jammed fan blades
- Problems with the fan bearings
- Loose light kit or light housing
- Faulty capacitors that start the fan
- Burnt out light socket
- Tripped breaker or blown fuse
By methodically checking each component, you can usually determine the root cause and get both fan and light glowing again.
Tools and Supplies Needed
Gather the following tools and supplies before inspecting your Hunter ceiling fan:
- Replacement light bulbs (compatible with your fan)
- Electrical tape
- Wire strippers
- Wire nuts
- Circuit tester or multimeter
- Phillips and flathead screwdrivers
- Needlenose pliers
- Ladder or step stool
- Replacement capacitors or remote (if needed)
- Cleaning rags and lubricating oil
For any repairs dealing with wires, make sure to turn off the power at the breaker before starting. Safety should always come first when dealing with electrical components.
Step 1: Rule Out a Faulty Light Bulb
Before taking apart the fan or making any repairs, first check if the light bulb has simply burnt out.
- Turn off power to the ceiling fan.
- Use a stepladder to reach the light fixture beneath the fan.
- Unscrew the glass light cover and gently remove the bulb.
- Inspect the bulb for broken filaments, loose glass or a melted plastic base.
- Screw an identically rated new bulb into the socket.
- Return power to the fan and test the light.
If the new bulb turns on, the problem is solved! Screw the glass cover back on securely before using the fan.
Additional Light Bulb Tips
Use bulbs marked specifically for ceiling fan usage – these are designed to withstand vibration.
Look for the right bulb shape, base type, diameter and wattage indicated on the socket.
Consider investing in LED bulbs which last significantly longer than traditional incandescent bulbs.
Step 2: Inspect the Wall Switch and Wiring
If a new bulb doesn’t fix the problem, issues with the power supply are the next likely culprit.
- At the circuit breaker, turn off power to the ceiling fan and light.
- Remove the wall switch’s cover plate and unscrew the switch from the junction box.
- Examine the switch for damage like cracked or melted plastic and do not reuse if deteriorated.
- Test that power is flowing to the switch using a circuit tester.
- Check the wiring connections on the switch using a screwdriver to tighten any loose screws.
- Ensure bare wire ends are separated and securely wrapped around the switch terminals.
- Replace the switch if needed and return the cover plate.
Electrical Safety Notes
Use caution when working with switch wires and avoid touching bare wire ends when power is flowing.
Disconnect the wires by loosening the screws on the terminals, not by pulling on the wires.
Matched the wires correctly with their prior connections when replacing a switch.
Step 3: Check the Remote Control and Receiver
If your fan came with a handheld remote, problems with the remote, internal receiver or signal between them could explain the light malfunction.
- Remove the remote’s battery cover and batteries.
- Press and hold the small “reset” button on the inside for 10-15 seconds.
- Replace the batteries with fresh CR2032 coin cell batteries.
- Reattach the battery cover.
- Aim the remote at the fan and press the Light button. Listen for a faint clicking sound from the receiver.
- Try standing directly beneath the fan and pressing the button.
- If the light won’t activate, you may need to replace the remote or internal receiver unit.
Step 4: Check for Obstructed Fan Blades
If your fan blades won’t spin properly, this can prevent the lights from turning on as well.
- Visually inspect each fan blade top and bottom for any obstructions.
- Look for dust buildup, sagging or bent blades, or objects caught in the blades.
- Try to rotate the blades manually and feel for grinding or stiff resistance.
- If the blades don’t move easily, use a stepladder to reach the fan and clean each blade with a soft cloth.
- If bent, carefully straighten blades with pliers.
- Remove any objects or debris restricting blade motion.
Restore power to the fan once the blades can rotate freely without obstruction.
Step 5: Lubricate and Clean Bearings
To spin smoothly, the bearings that connect the fan blades to the motor housing need cleaning and lubrication.
- Locate the round bearing caps above and below the fan motor assembly.
- Unscrew the top bearing cap with a screwdriver and slide it down temporarily.
- Wipe away built-up grime inside the bearing housing using a clean rag.
- Apply just a few small drops of electric motor oil or bearing lubricant.
- Replace the top bearing cap.
- Repeat steps to clean and lubricate the lower bearing.
Consult your owner’s manual for the recommended lubricant type and quantity for your fan.
Step 6: Inspect the Fan Housing
Issues with the light fixture, wire connections or other internal components can cause operational problems.
- Shut off power to the fan at the breaker.
- Remove the glass light shades.
- Unscrew the light kit housing and carefully lower it down.
- Inspect wires for damage, loose connectors or corrosion.
- Check that the bulb sockets are not broken or overheated.
- Look for cracks or melting in the light housing itself.
- Replace any damaged wires and components as needed.
Step 7: Test the Voltage
Use a multimeter to check if power is reaching the fan and light.
- With the fan canopy removed, locate the black, white and copper wires.
- Set multimeter to AC voltage and hold probes on white and black wires.
- You should get a 120v reading if power is flowing correctly.
- Check from white and copper to confirm grounding.
- If voltage is lower here than at the switch, there may be breaks in the wiring.
Step 8: Inspect the Circuit Breaker or Fuse
Check if a tripped breaker or blown fuse is the reason behind the lack of power.
- Locate the main circuit breaker providing power to the fan.
- Flip the main breaker off and then back on to reset it.
- Inspect nearby outlets to see if other devices lost power as well.
- With the main breaker off, remove the breaker panel cover and examine all breakers for tripping.
- Check any fuses for filaments that appear broken or melted.
- Replace any faulty fuses and reset tripped breakers.
Step 9: Test Capacitors
Damaged capacitors can lead to a fan that operates but a light that won’t turn on.
- Locate the fan’s capacitor, a cylindrical component behind the fan motor.
- Discharge the capacitor by touching a screwdriver to its terminals.
- Unscrew and remove the capacitor.
- Inspect for bulging tops, leaking oil or cracks.
- Use a multimeter to test capacitance. If too high or low, it needs replacement.
- Install a new compatible capacitor with the same capacitance rating.
When to Call an Electrician
If you’ve worked through all the troubleshooting steps but the light still refuses to turn on, it’s time to call a professional electrician.
An electrician can inspect elements like the fan’s transformer, socket connections, and internal wiring harness that DIYers can’t easily access.
Electrical experts also have specialized tools to fully diagnose and pinpoint the root cause of the problem.
Avoid taking the fan apart beyond what is outlined here, as you could risk damaging components or creating unsafe conditions.
Professional fan installation and severe electrical issues like short circuits also require an electrician’s skills.
With a methodical troubleshooting approach and some electrical know-how, you can often get a Hunter ceiling fan’s lights working again without professional help.
Inspect the bulb, switches, wires, remote, blades, bearings and other internal connections in sequence until you isolate the specific problem.
Repair any debris buildup, broken parts, or loose wiring connections responsible for the malfunctioning light.
While repairs are straightforward for some ceiling fan issues, exercise caution when dealing with electrical components and wiring. Turning off power at the breaker and avoiding working on energized wires reduces the risk of injury.
If you have the right tools and attention to safety, you can fix a Hunter ceiling fan light that won’t light up.
