Kitchen cabinets play a crucial role in defining the overall aesthetic of your culinary space. One often overlooked detail that can make a significant impact is the trim around the bottom of kitchen cabinets. This seemingly small addition can transform your kitchen from ordinary to extraordinary, creating a polished and cohesive look. By carefully selecting and installing the right trim, you can elevate your kitchen’s style, hide imperfections, and add a touch of elegance that will impress both family and guests alike.
Understanding Kitchen Cabinet Trim: Enhancing Your Kitchen’s Aesthetic Appeal
Kitchen cabinet trim is more than just a decorative element; it’s a functional feature that can dramatically improve the overall appearance of your kitchen. When we talk about trim around the bottom of kitchen cabinets, we’re referring to a finishing touch that serves multiple purposes. First and foremost, it covers the gap between the cabinet base and the floor, creating a seamless transition that gives your kitchen a more polished look.
But the benefits don’t stop there. Bottom kitchen cabinet trim also protects the lower edges of your cabinets from moisture, dirt, and general wear and tear. This is especially important in areas prone to spills or where you mop frequently. By adding this protective layer, you’re not just enhancing aesthetics; you’re also extending the life of your cabinetry.
When exploring kitchen trim ideas, you’ll find a wide array of options to suit various styles and preferences. From simple, clean lines for a modern look to ornate moldings for a more traditional feel, the choices are virtually endless. Some homeowners opt for a contrasting color to make their trim stand out, while others prefer a matching finish for a more subtle, integrated appearance.
One popular trend in kitchen cabinet trim is the use of decorative trim to add character and depth to plain cabinet faces. This can include adding beadboard panels, rope molding, or even intricate carved designs. These decorative elements can transform basic cabinets into custom-looking pieces that become the focal point of your kitchen.
Types of Trim for the Bottom of Kitchen Cabinets: Exploring Your Options
When it comes to selecting trim for kitchen cabinets, particularly for the bottom area, you have several options to consider. Each type of trim offers unique benefits and can contribute to different style aesthetics. Let’s explore some of the most popular choices:
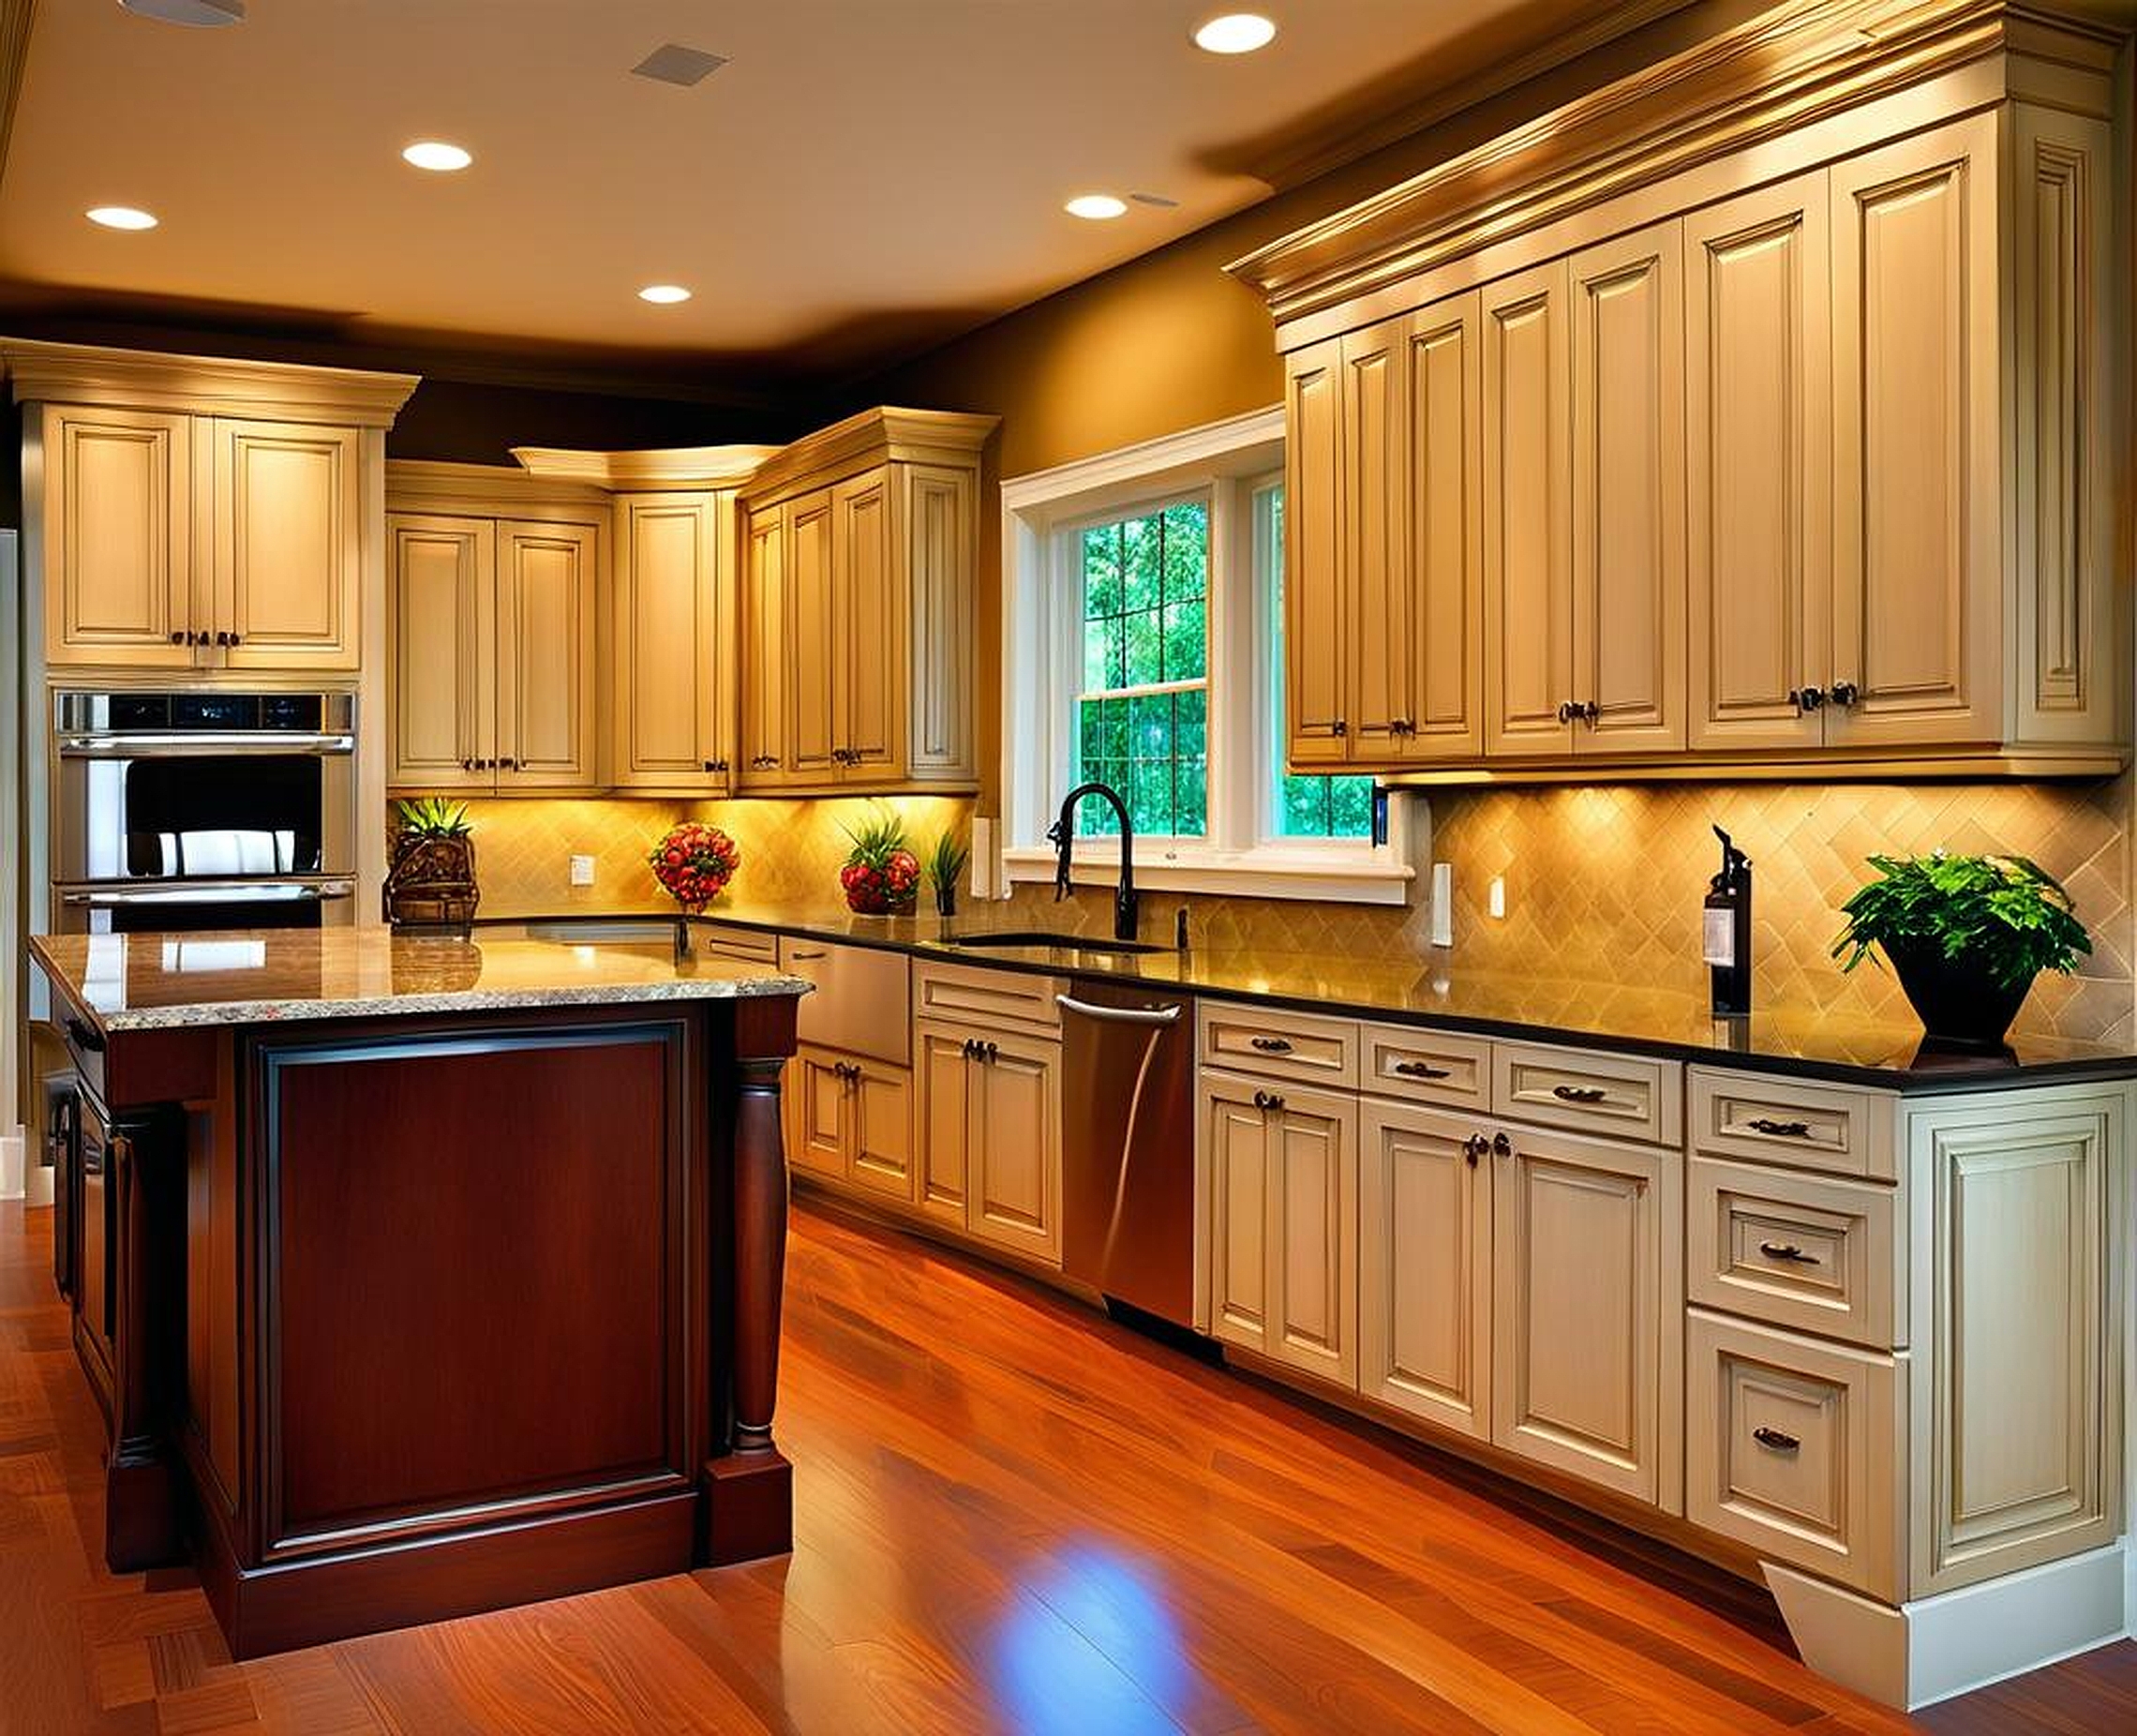
1. Base Molding: This is perhaps the most common type of trim used around the bottom of kitchen cabinets. Base molding comes in various profiles and sizes, allowing you to choose one that complements your cabinet style. It’s typically installed to cover the gap between the cabinet base and the floor, creating a finished look.
2. Toe Kick: A toe kick is a recessed area at the base of the cabinet that allows you to stand closer to the countertop. While not technically trim, it can be enhanced with decorative trim to add visual interest. Some homeowners opt for a contrasting color or material for the toe kick to create a unique design element.
3. Quarter Round: This small, rounded trim is often used in conjunction with base molding to create a smooth transition between the cabinet and the floor. It’s particularly useful if your floors are slightly uneven, as it can help hide small gaps.
4. Scribe Molding: Also known as filler strips, scribe molding is used to fill gaps between cabinets and walls or between cabinets and appliances. While not specifically for the bottom of cabinets, it’s an important trim piece that contributes to the overall finished look of your kitchen.
5. Light Rail Molding: Although typically used at the bottom of wall cabinets to hide under-cabinet lighting, light rail molding can also be adapted for use at the base of floor cabinets to add a decorative touch.
When selecting cabinet edge trim, consider both the style of your cabinets and the overall design of your kitchen. For example, if you have shaker-style cabinets, you might opt for a simple, clean-lined trim to maintain the minimalist aesthetic. Conversely, if your kitchen has a more traditional or ornate style, you might choose a more detailed trim profile to enhance that look.
It’s also worth considering the material of your trim. While wood is the most common choice, there are also options in MDF (Medium-Density Fiberboard) and even metal for a modern touch. The material you choose should not only match your cabinets but also be durable enough to withstand the wear and tear of a busy kitchen environment.
Installing Trim Around the Bottom of Kitchen Cabinets: A Step-by-Step Guide
Installing trim around the bottom of kitchen cabinets can be a rewarding DIY project that significantly enhances the look of your kitchen. While the process requires some skill and patience, with the right tools and approach, you can achieve professional-looking results. Here’s a step-by-step guide to help you through the process:
1. Measure Carefully: Begin by measuring the length of each cabinet base where you’ll be installing the trim. It’s crucial to be precise, so measure twice to ensure accuracy. Don’t forget to account for corners and any obstacles like appliances.
2. Choose Your Trim: Select a trim style that complements your cabinet design and kitchen aesthetic. Whether you opt for a simple quarter round or a more elaborate base molding, ensure you have enough material to cover all areas, plus a little extra for mistakes.
3. Cut the Trim: Using a miter saw, cut your trim pieces to the measured lengths. For inside corners, cut the trim at a 45-degree angle so that the pieces fit together seamlessly. For outside corners, you’ll need to create a coped joint for a professional finish.
4. Dry Fit: Before applying any adhesive or nails, dry fit all your trim pieces to ensure they fit correctly. This is your chance to make any necessary adjustments.
5. Apply Adhesive: Once you’re satisfied with the fit, apply a thin bead of construction adhesive to the back of each trim piece. This will help secure the trim and prevent gaps from forming over time.
6. Nail in Place: While the adhesive is still wet, carefully nail the trim into place using a nail gun with finish nails. Be cautious not to split the wood, especially near the ends of the trim pieces.
7. Fill Nail Holes: Use wood filler to cover the nail holes. Once dry, sand the filled areas smooth.
8. Paint or Stain: Finally, paint or stain your trim to match your cabinets. If you’re using pre-finished trim, you can skip this step.
Remember, patience is key when installing trim. Take your time with each step, especially when measuring and cutting. If you’re not confident in your DIY skills, don’t hesitate to consult a professional. The investment in professional installation can be worth it for a flawless finish that enhances your kitchen’s overall appearance.
Choosing the right cabinet edge trim is crucial in achieving a cohesive and stylish kitchen design. The trim you select should not only complement your cabinets but also align with your kitchen’s overall aesthetic and functional needs. Here are some factors to consider when selecting the perfect cabinet edge trim:
1. Kitchen Style: Your kitchen’s style should guide your trim choice. For modern kitchens, sleek and simple trim profiles work best. Traditional kitchens can benefit from more ornate trim styles, while transitional kitchens might blend elements of both.
2. Cabinet Design: The design of your cabinets plays a significant role in trim selection. Shaker-style cabinets often pair well with simple, clean-lined trim, while raised panel cabinets can handle more elaborate trim designs.
3. Material Compatibility: Ensure the trim material complements your cabinet material. Wood trim is versatile and can be stained or painted to match various cabinet finishes. For laminate or thermofoil cabinets, consider matching materials for a seamless look.
4. Durability: Kitchen environments can be harsh, with exposure to moisture, heat, and frequent cleaning. Choose a trim material that can withstand these conditions. Hardwoods like oak or maple are durable choices, while MDF can be a cost-effective alternative if properly sealed.
5. Maintenance: Consider how much upkeep you’re willing to do. Some trim styles and materials may require more frequent cleaning or touch-ups than others.
6. Functionality: While aesthetics are important, don’t forget about functionality. For example, if you have under-cabinet lighting, you might want to incorporate light rail molding into your trim design to hide the fixtures.
7. Budget: Trim can vary significantly in price. While it’s tempting to cut costs here, remember that trim is often one of the most visible elements of your cabinetry. Investing in quality trim can elevate the overall look of your kitchen.
When exploring kitchen cabinet molding options, don’t be afraid to mix and match different trim styles to create a unique look. For instance, you might use a simple base molding around the bottom of your cabinets but add a more decorative crown molding at the top for visual interest.
Interior trim choices can also extend beyond just the cabinets. Consider how your cabinet trim will interact with other trim elements in your kitchen, such as window casings or door frames. Creating a cohesive look throughout the space can tie your entire kitchen design together.
Remember, the right trim can transform basic cabinets into custom-looking pieces. Whether you’re opting for subtle cabinet trim finishes or bold decorative elements, the key is to choose trim that enhances your kitchen’s overall design while meeting your practical needs.
Lastly, don’t underestimate the impact of color when it comes to trim. While matching the trim color to your cabinets creates a seamless look, using a contrasting color can add depth and interest to your kitchen design. For example, white trim against dark cabinets can create a striking, classic look, while a natural wood trim can add warmth to a modern white kitchen.
By carefully considering these factors and exploring various kitchen trim ideas, you can select the perfect trim around the bottom of kitchen cabinets and other areas, creating a distinctive kitchen style that reflects your personal taste and enhances the value of your home.
