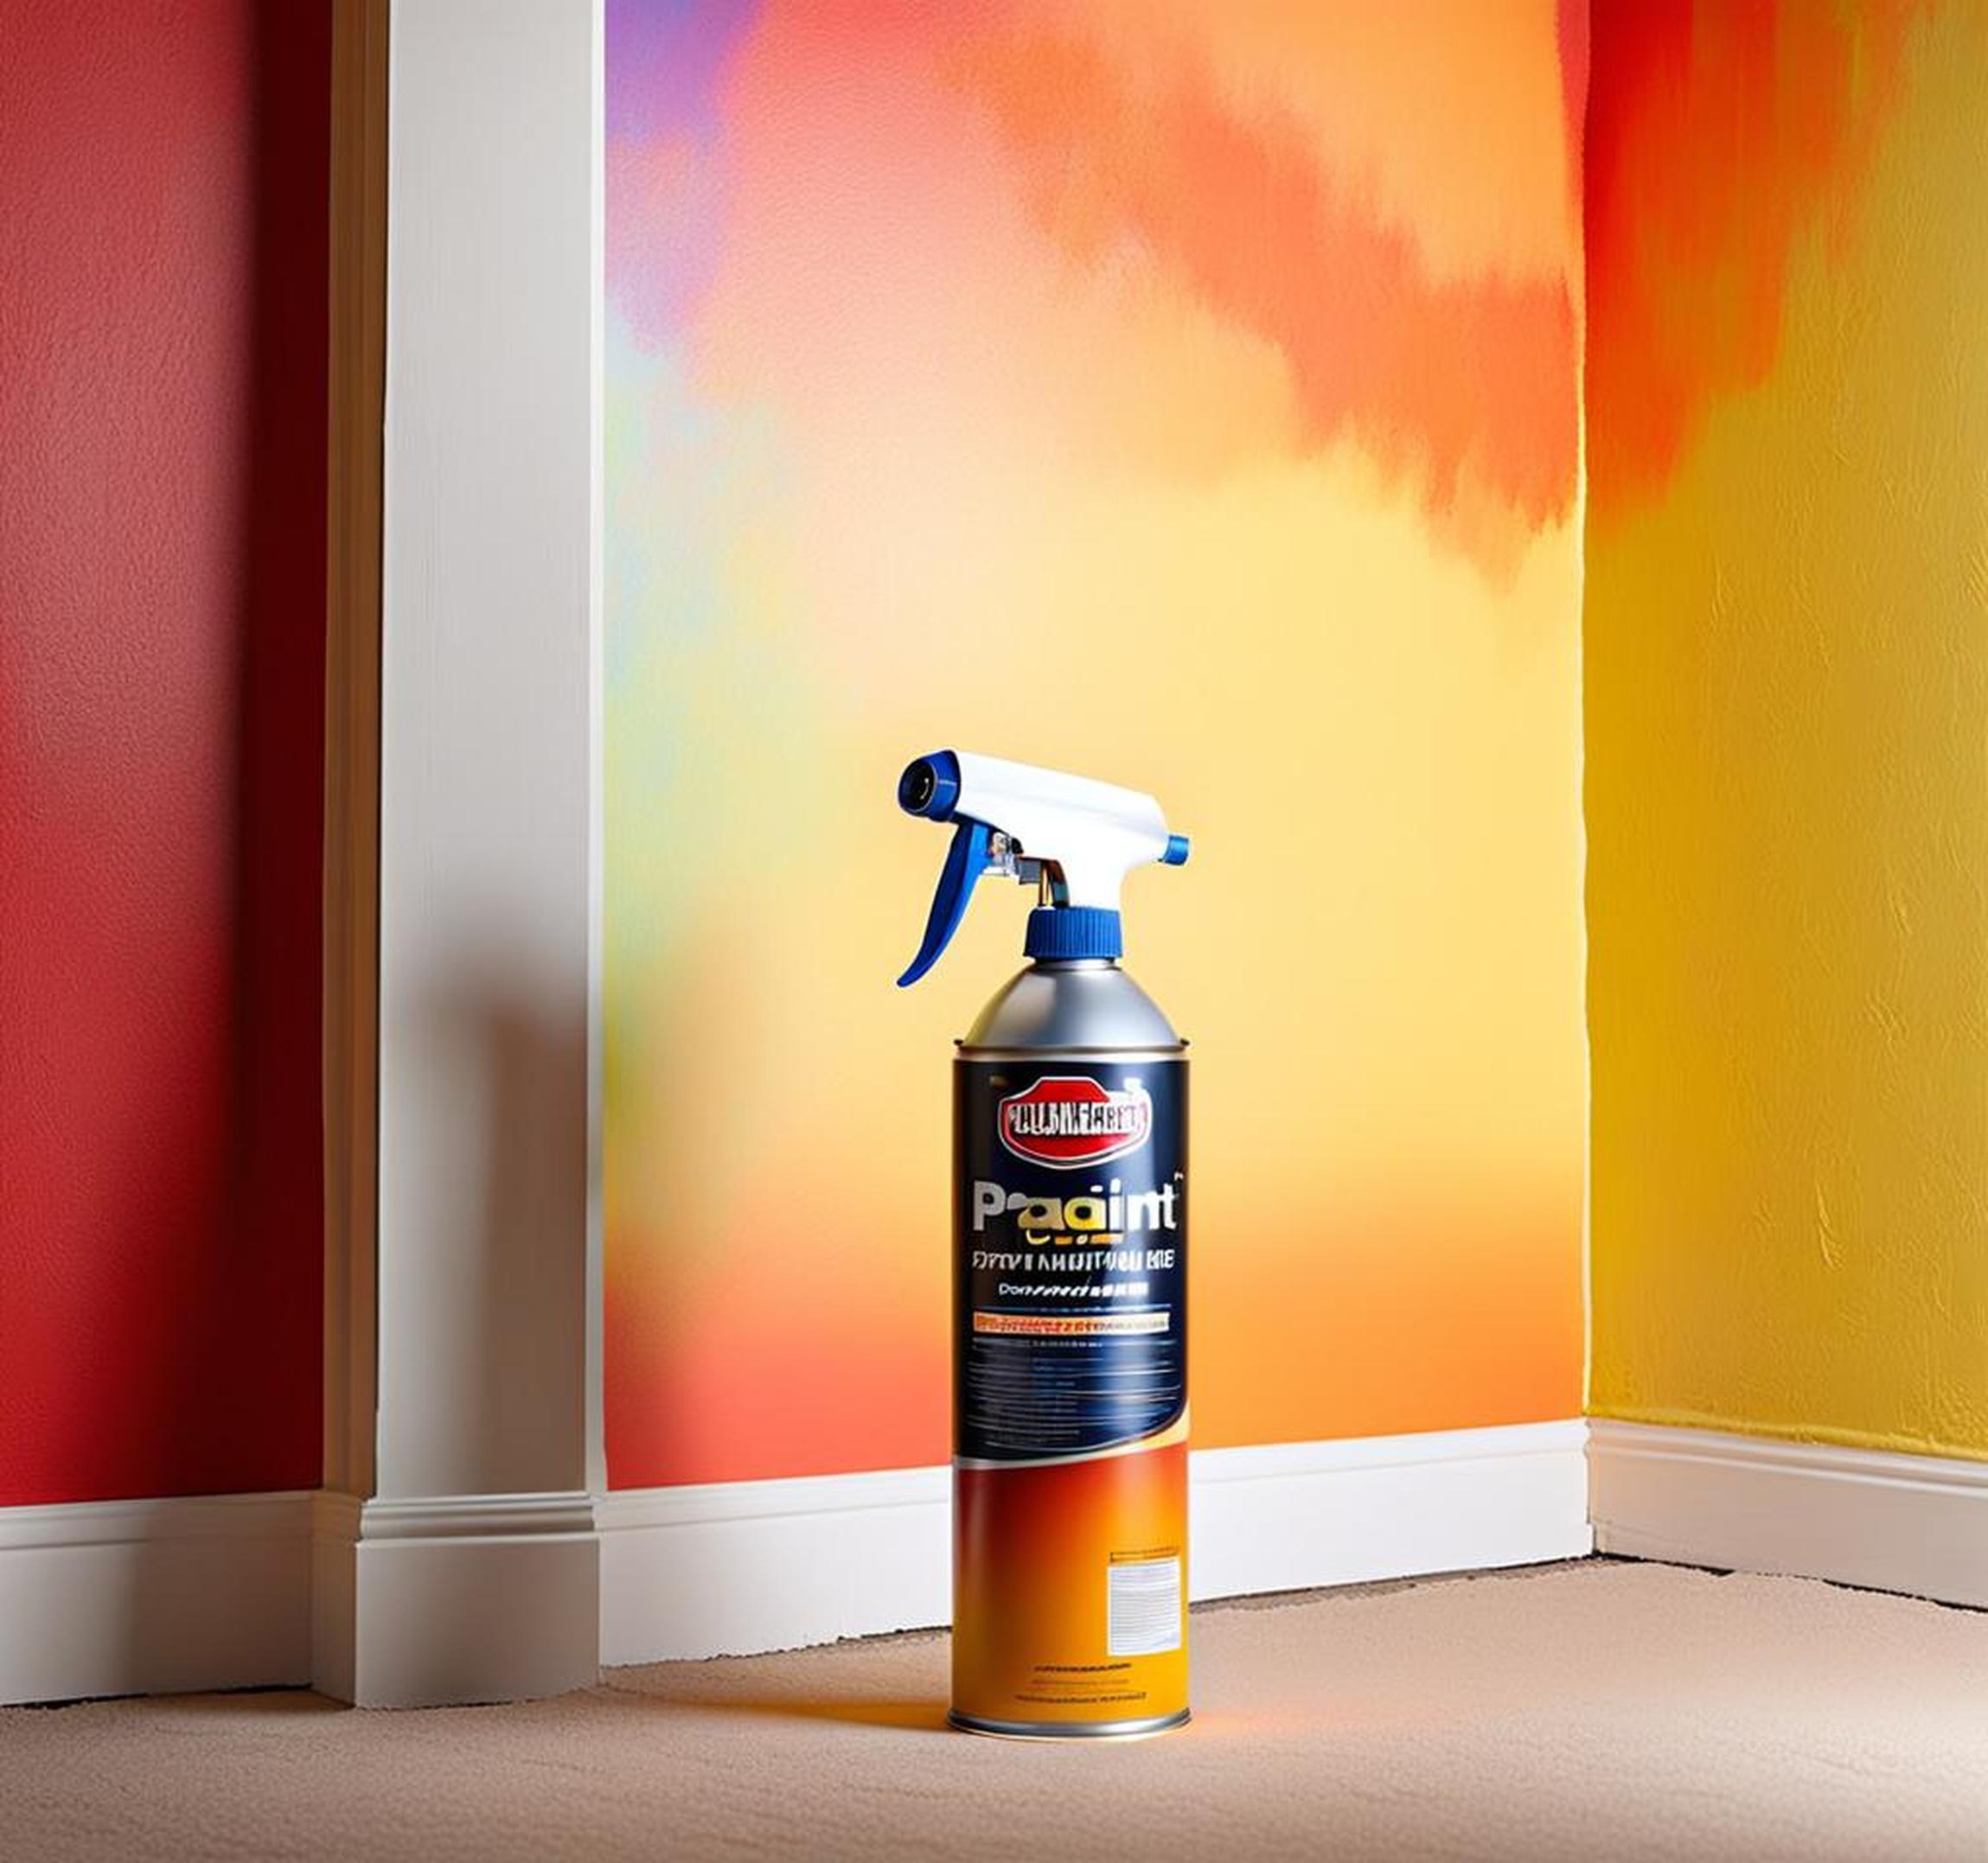
Looking to give your home a quick makeover but don’t have the time or budget for a major renovation? Transforming dull, outdated walls with a fresh coat of spray paint can instantly liven up any room. Compared to painting by hand with a brush and roller, spray painting walls is significantly faster. It also produces a more flawless, professional-looking finish.
We’ll cover choosing the right spray painting equipment, proper prep work, spray techniques for an even finish, and important safety gear. With a little bit of practice, you can use spray paint to easily refresh your space.
Equipment Needed for Spray Painting Walls
The first step when prepping for a spray paint wall project is gathering the right tools. The main piece of equipment you’ll need is a paint sprayer. Here are the most common types suitable for home use:

Paint Sprayer Options
Airless Sprayers: Airless sprayers use high hydraulic pressure to push paint through the tip, creating a fine spray. They offer high efficiency and precision for larger DIY projects.
HVLP Sprayers: High Volume Low Pressure (HVLP) spray systems rely on compressed air to atomize the paint. They give good control for spray painting cabinets or trim.
Handheld Sprayers: Compact handheld paint sprayers are less powerful but provide an affordable option for small jobs. Look for Wagner or HomeRight brands.
Consider the size of your project and your level of experience when deciding which type of paint sprayer to purchase or rent. Airless models like the Graco Magnum offer professional-grade results for spraying large interior wall surfaces.
Other Helpful Spray Painting Supplies
In addition to a paint sprayer, gathering these supplies will make your project go smoothly:
- Drop cloths, masking tape, plastic sheets – protect floors and furniture from overspray
- Paint strainers or filters – prevent paint clumps from clogging spray nozzle
- Extension poles for spray gun – make spraying high walls and ceilings easier
- Paint sprayer attachments – control paint flow and reduce waste
Prep Work: Get Walls Spray Paint Ready
Taking time to properly prepare walls before painting ensures the spray paint adheres well and provides beautiful results. Follow these tips for getting walls ready for a fresh coat of spray paint:
Cleaning and Repairing Walls
Fill any holes or cracks with spackle compound and let dry completely. Remove any protruding nails. Use TSP (trisodium phosphate) cleaner and water to wash walls and remove grease, dirt or soap residue. Lightly sand glossy areas to roughness up the surface so paint can grip better.
Masking and Covering Surfaces
Use painter’s tape to mask off any trim, outlets, windows and other areas you don’t want painted. Cover floors, furniture and other surfaces with drop cloths secured with tape. Use plastic sheets secured with painter’s tape to seal off doorways and any vents or openings.
Choosing the Right Paint for Spraying
While any paint can technically be sprayed, some formulas work better than others for DIY home spraying. Here’s what to look for:
- Latex-based interior wall paint – offers easier cleanup than oil-based
- Paint designed specifically for airless spraying
- Opt for durable, low VOC finishes
- Primers enhanced for spray application
- Paint conditioner additives improve flow and reduce clogs
Adjusting Paint Viscosity
For smooth spraying, the paint needs to be thinned to an optimal consistency. Start by adding a small amount of water or solvent and testing the viscosity on cardboard. Adjust until the paint flows smoothly but still offers adequate coverage. Thinned properly, it should spray easily without dripping or running.
Spray Paint Techniques for Walls
With your walls prepped and paint selected, you’re ready to start spray painting. Follow these techniques to get a flawless finish:
- Hold spray gun perpendicular to wall, about 6-8 inches away
- Move spray gun at steady, consistent pace
- Overlap each stroke horizontally or vertically 50%
- Let the spray gun do the work – don’t push too hard
Horizontal, Vertical, and Circular Motions
Use vertical up-and-down strokes for large, open wall expanses. For corners and ceiling edges, hold spray gun horizontally for side-to-side passes. Use lighter circular motions over ornamental details or irregular surfaces. Always overlap strokes evenly.
DIY Spray Painting Tips
Here are some additional pointers to ensure spray paint success on your first try:
- Practice spray technique on cardboard first
- Do a small test patch in an inconspicuous area
- Adjust distance and sprayer settings until satisfied
- Build confidence and skill with practice
Don’t get frustrated if your technique is imperfect at first. Spray painting has a learning curve. But with a little practice and fine-tuning, you’ll get professional-looking results.
Stay Safe While Spray Painting
In addition to making a mess, spray paint overspray and fumes can be harmful if inhaled or get into eyes. Here are some important safety tips:
- Always wear an organic vapor respirator when spray painting
- Protect eyes with goggles
- Ventilate the workspace
- Wear a hat, gloves, and protective clothing
With the right preparation and technique, spray painting your interior walls is an easy weekend project that can completely transform the look of a room. The speed and flawless finish of spray painting make it a smarter choice over painting by hand.
Just follow our tips to select the proper spray painting supplies, prep your walls, and use the right spray techniques. In no time, you’ll have walls with a smooth, consistent professional finish done in half the time of brush painting. Try spray paint on your next painting project for beautiful results with less mess and effort!
