If you’re short on floor space but still need a spot to store essentials near your bed, a wall-mounted floating nightstand is a great solution. Building your own floating nightstand is an easy DIY project that allows you to customize the size, wood type, and hardware to match your style and storage needs.
We’ll cover the materials and tools required, step-by-step building instructions, how to mount it securely on the wall, and customization options to make it your own. Let’s get started!
Materials You’ll Need
This DIY floating nightstand is made primarily from common 1×4 and 1×12 boards. Here’s an overview of the main materials you’ll need:
Wood
- 1×12 board – for the sides, top, and bottom panels
- 1×4 boards – for the drawer fronts, sides, and supports
- 1/2″ plywood – for drawer bottom
For this project, pine boards were used but you could also use poplar, birch, oak, or another solid wood. Avoid particle board without veneer as it won’t hold up well.
Hardware & Supplies
- Full extension drawer slides
- Drawer pulls or knobs
- Wood glue
- Brad nails
- 1 1/4″ pocket hole screws
- Wood filler
- Sandpaper
Tools Needed
- Miter saw or circular saw
- Drill/driver
- Kreg jig for pocket holes
- Stud finder
- Level
- Tape measure
- Clamps
Step-by-Step Building Instructions
With your materials and tools gathered, you’re ready to start constructing the DIY floating nightstand. Follow these steps:
Cutting the Pieces to Size
Start by cutting down the 1×12 and 1×4 boards to the required dimensions:
- Sides – 2 @ 25-1/2″ x 7-1/2″ from 1×12
- Top and bottom – 2 @ 25-1/2″ x 5-1/2″ from 1×12
- Back – 1 @ 7-1/2″ x 14-1/2″ from 1×12
- Drawer front – 1 @ 16-1/4″ x 5″ from 1×4
- Drawer sides – 2 @ 5″ x 13-3/4″ from 1×4
- Drawer bottom – 1 @ 15-1/4″ x 22-1/2″ from 1/2″ plywood
Use a circular saw and miter saw to cut your pieces accurately. Having smooth, straight edges will make assembly easier.
Assembling the Nightstand Box
With all the pieces cut, it’s time to assemble the basic box. There are several steps here:
- Drill pocket holes in the sides, top, and bottom.
- Attach the top and bottom to the side pieces using wood glue and 1 1/4″ pocket hole screws. The top and bottom should be flush with the back edges.
- Glue and nail the back piece in between the sides, top, and bottom.
- Install the drawer slides to the inside of the nightstand box, 4″ from the bottom.
Use clamps as needed to hold everything tightly in place while the glue dries.
Building the Drawer
The drawer gets built next so it can slide smoothly in the nightstand frame. Follow these steps:
- Drill pocket holes in the front and side pieces.
- Assemble drawer box using glue and screws.
- Drop in the plywood bottom piece.
- Install drawer slides onto the sides.
Make sure the drawer slides line up precisely with the ones in the nightstand frame so the drawer glides smoothly.
Finishing Touches
To complete the DIY floating nightstand, add any final embellishments. Ideas include:
- Create a recessed power cubby – Cut an opening in the back panel and add a door.
- Add finger pull out slot – Router out a channel in the bottom panel.
- Stain, paint, or finish as desired.
- Install knobs or handles.
- Fill any visible screw holes with wood filler and sand.
With that, your nightstand construction is complete and ready to mount on the wall!
Mounting the Nightstand
To securely mount the floating nightstand, follow these steps:
Locating Wall Studs
Use a stud finder to locate studs in the installation area. Mark their locations with tape for reference. Having at least two studs to mount to is ideal.
Installing French Cleat
For strength, use a french cleat system to mount the nightstand.
- Cut two 12″ cleat boards from 3/4″ plywood at 45 degree angles.
- Attach one cleat piece to the back of the nightstand (make sure it’s level) and the other to the wall studs.
Hanging the Shelf
With the matching cleats on the wall and nightstand, you can now hang the shelf:
- Line up the angled cleats and slide the nightstand into place.
- Secure with 3″ screws through the nightstand back into the wall studs.
Be sure to double check that the nightstand is level and firmly anchored into studs before loading it up!
Customization Options
One benefit of building it yourself is getting to customize your floating nightstand exactly how you want. Here are some easy ways to make it your own:
Use Different Wood
Try oak, walnut, or bamboo for a unique look. Distressed wood can give a vintage vibe. Just make sure it’s 3/4″ thick for durability.
Add Personalized Hardware
Use knobs or pulls that match your decor style – modern brushed nickel, farmhouse bin pulls, or vintage glass knobs. Get creative!
Include Lighting
Install battery-powered puck lights on the underside or incorporate a slim LED strip for handy illumination.
Try a Glass Top
For a more elegant look, top it with tempered glass cut 1/4″ smaller than the top dimensions.
Swap Drawers for Doors
Add cabinets instead with adjustable shelves inside. Great for displaying items!
Include Trim
Frame the front with 1×2 boards for a built-in look. Add molding trim for extra flair.
Get creative with your design choices! The possibilities are endless.
As you can see, building your own DIY floating nightstand is an approachable project that allows complete customization. With just basic tools and materials, you can create functional storage that maximizes space and matches your style.
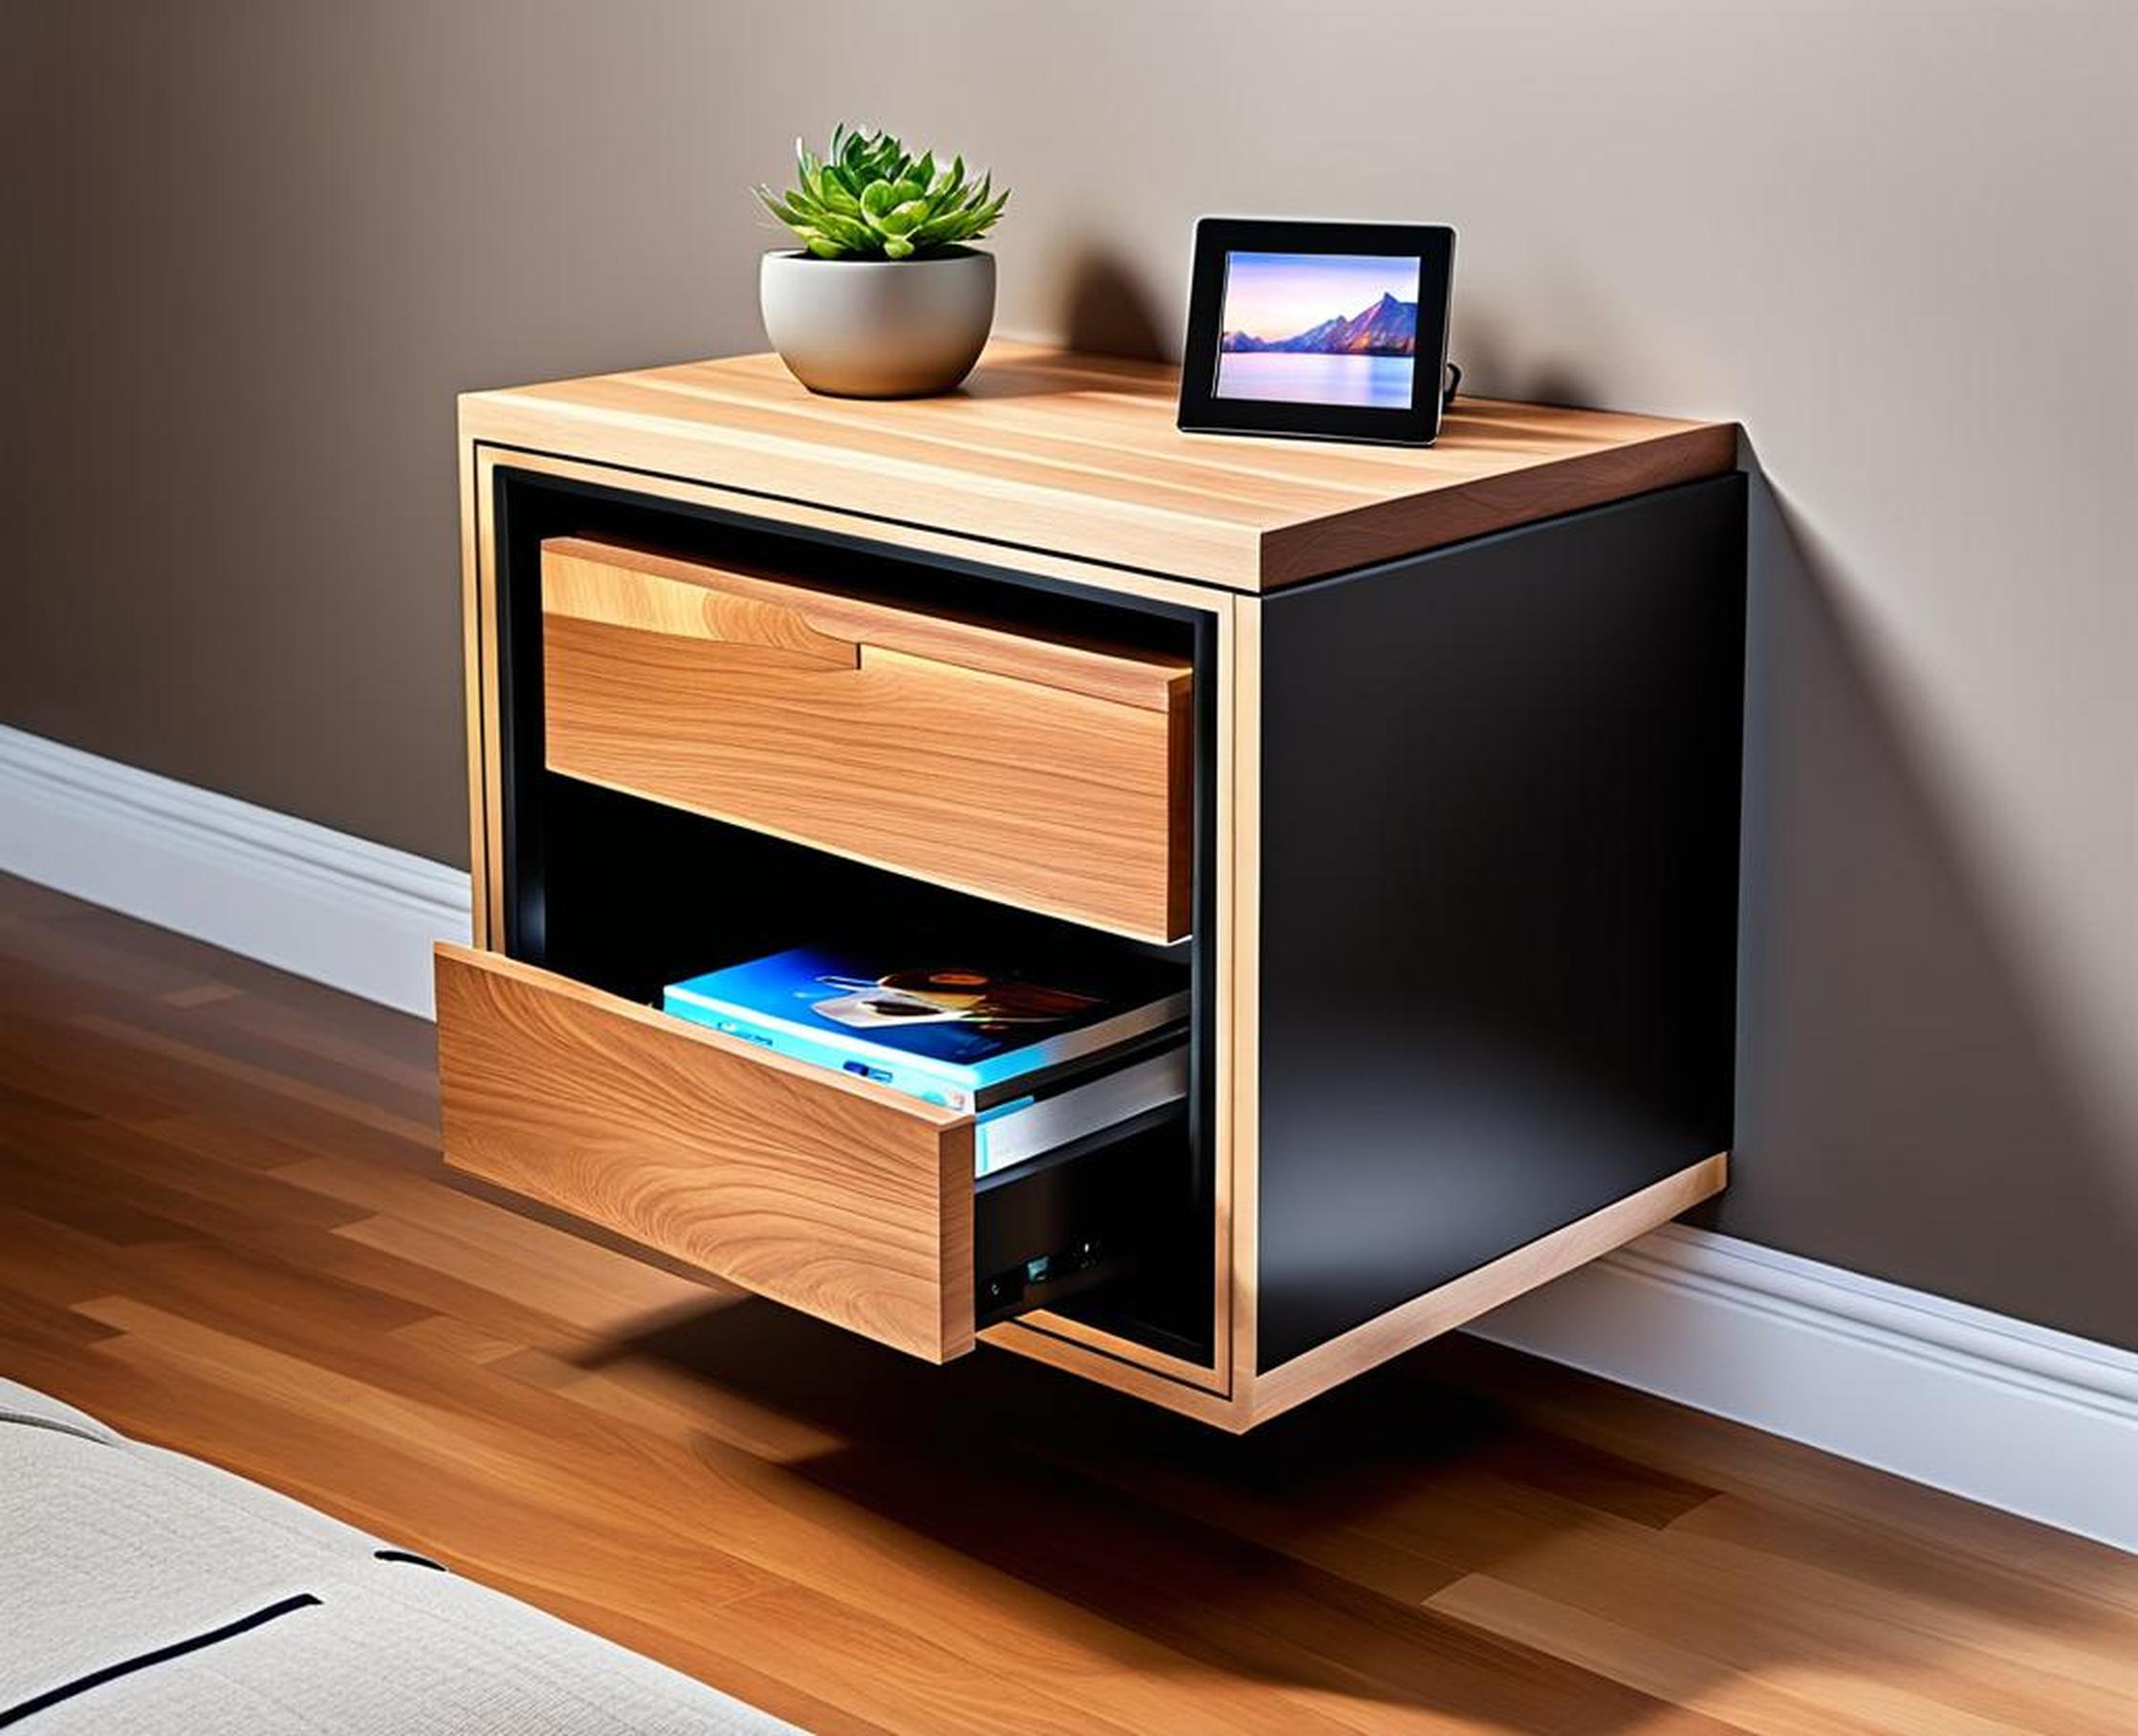
Mounted properly on the wall, this floating nightstand provides a stable spot for bedside essentials. The drawer keeps items organized and hidden. This nightstand takes clutter off the floor while still keeping your books, glasses, and devices within reach.
We hope this DIY tutorial has inspired you to create your own floating nightstand tailored to your needs and home decor. Let us know if you tackle this project – we’d love to see photos of your finished piece!
Alternative Material Options
While the author used pine and poplar for their nightstand, there are many other materials that could be used for a different look. For example, birch, oak, or walnut could be used for a more rustic or traditional feel. Plywood or MDF could also be used for a sleeker, more modern look.
Customizing the Size
The author’s nightstand measures 25-1/2″ x 7-1/2″ x 16″, but the dimensions can be adjusted to fit individual needs. For a taller nightstand, the height could be increased. For a wider nightstand, the depth could be increased. And for a shorter nightstand, the height could be decreased.
Adding a Second Drawer
While the author chose to build just one drawer, it’s possible to add a second drawer below the first for additional storage. This would require another set of drawer slides and another piece of 1/2″ plywood for the bottom.
To accommodate charging of electronic devices, USB ports could be added to the nightstand. This would require running wiring inside one of the legs, connecting it to a wall outlet, and installing USB outlets in the desired location.
