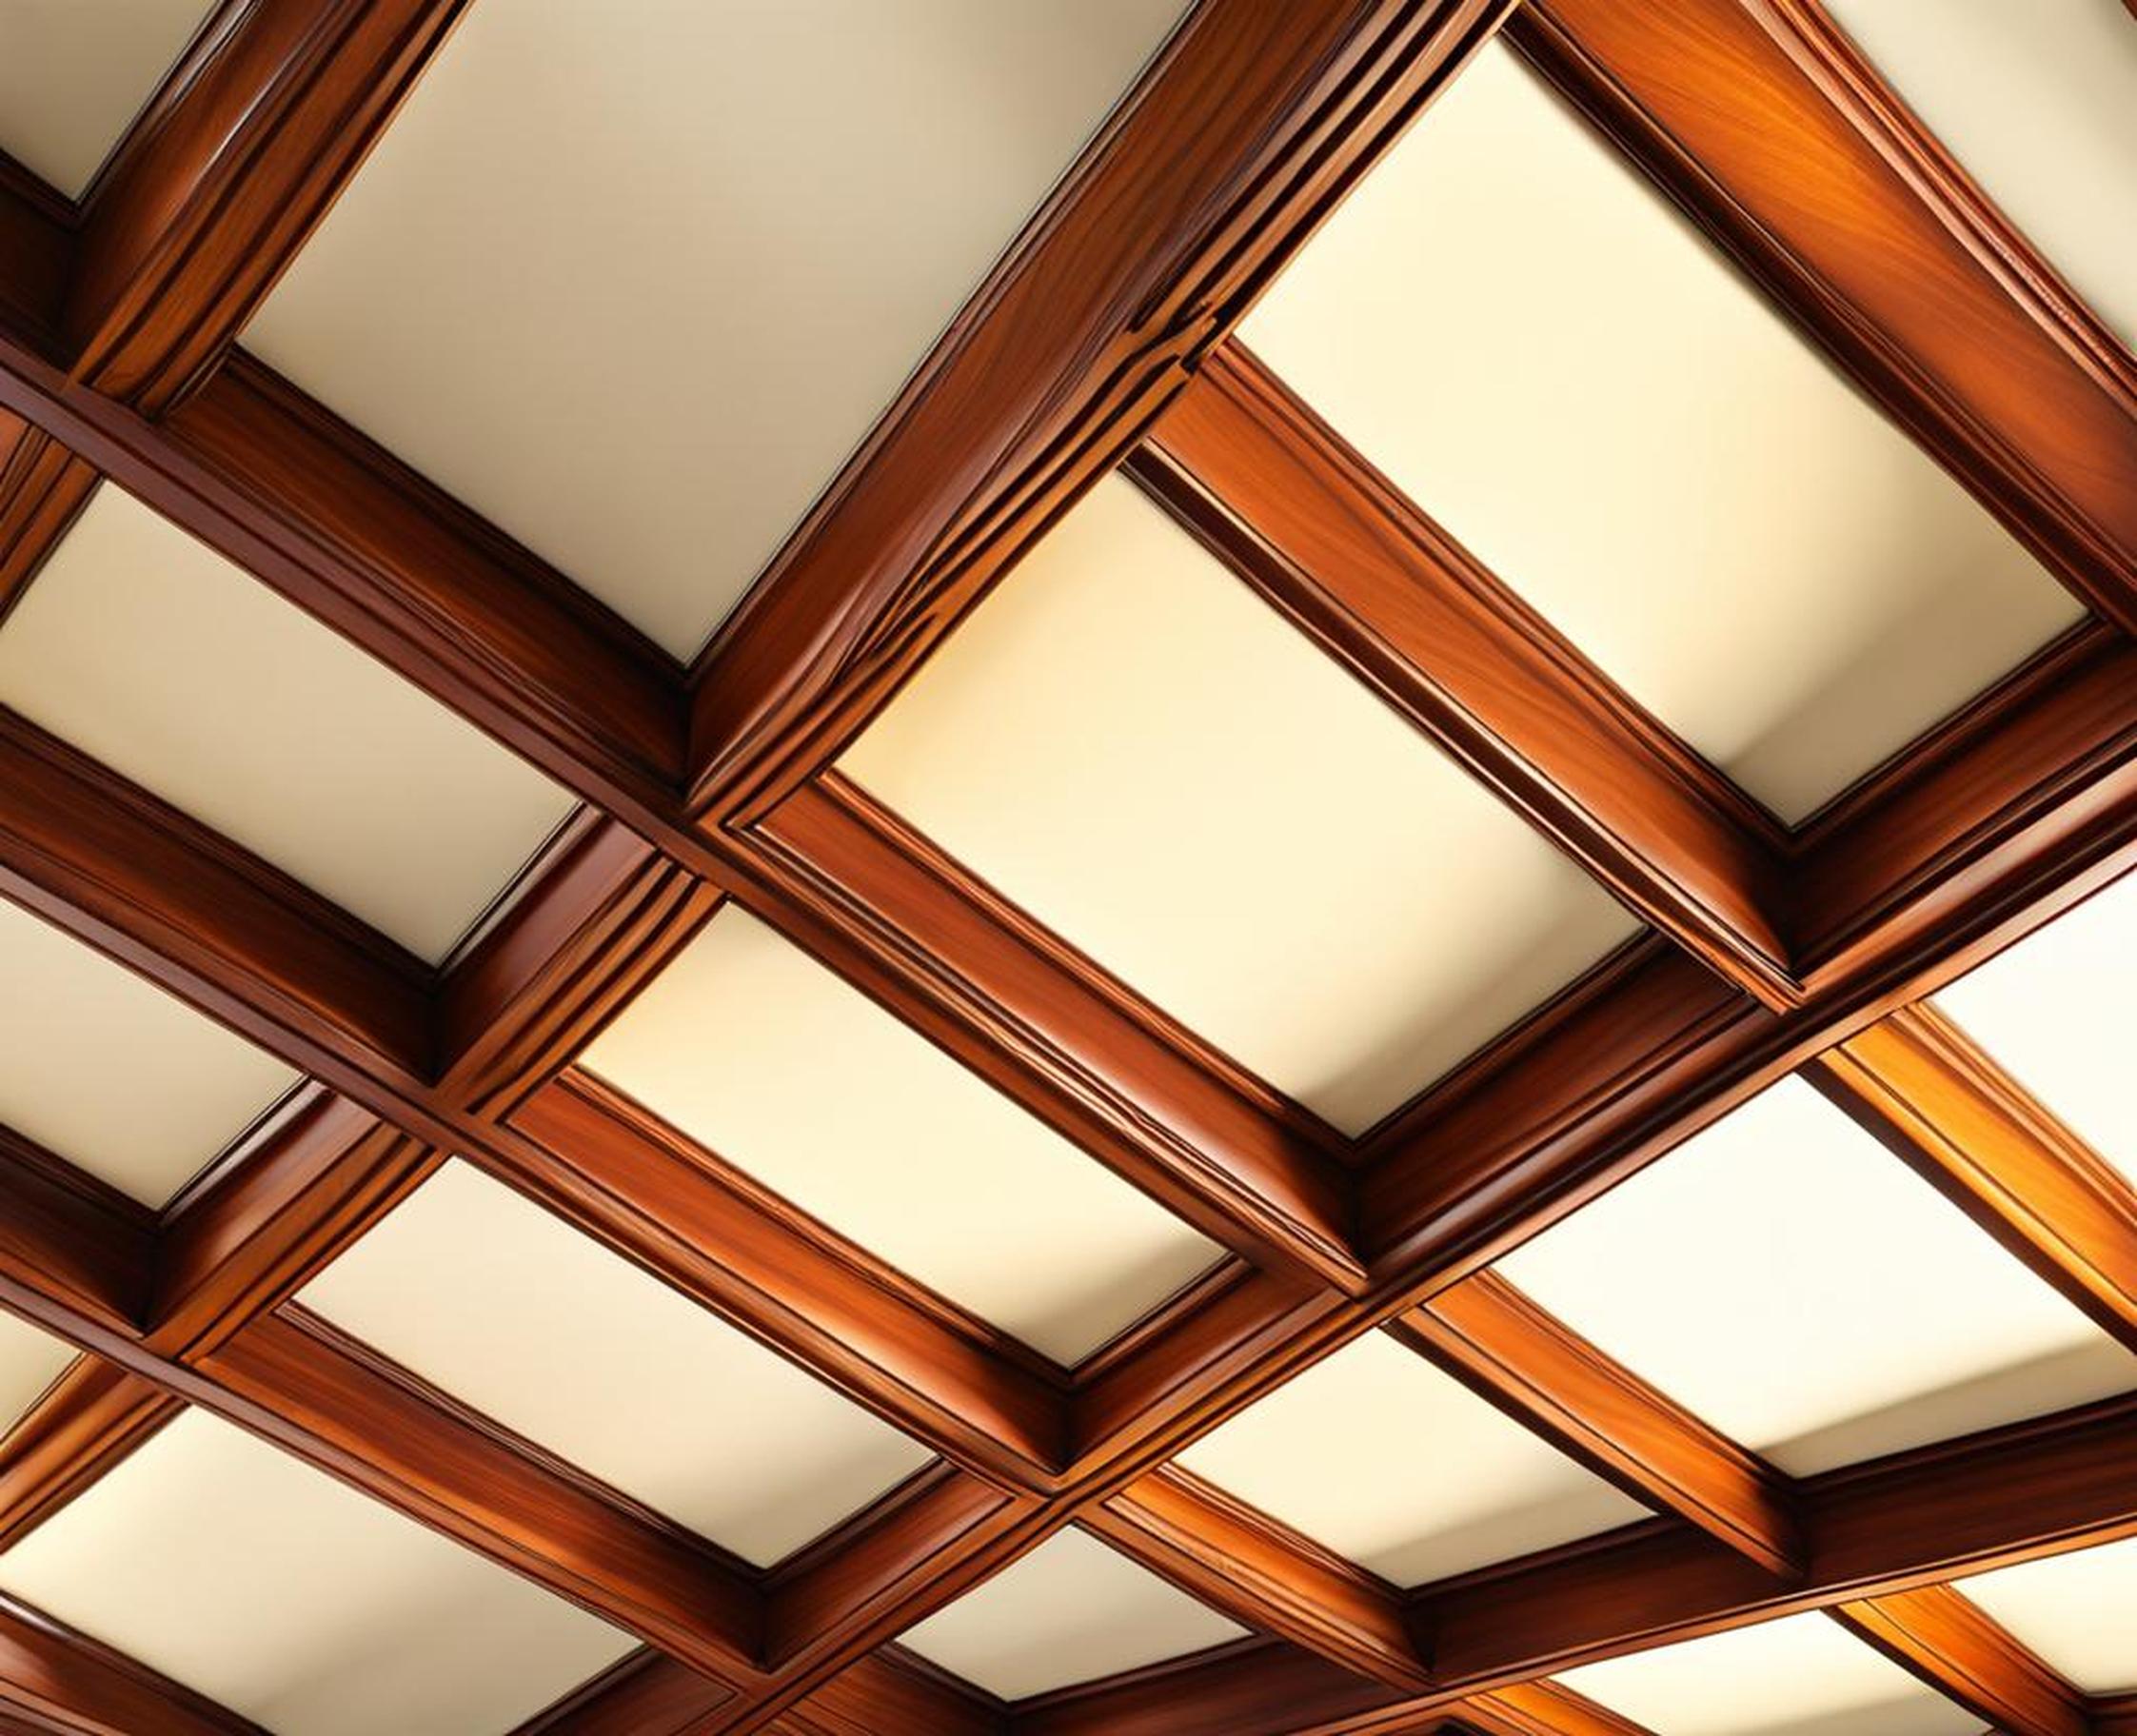
Dark ceiling beams can create a cozy, rustic look in a room, but they also have a way of making spaces feel smaller and heavier. If your goals are to open up a room and give it a lighter, airier aesthetic, those prominent wooden beams crisscrossing overhead might feel like they’re getting in the way.
Luckily, with the right prep work and paint techniques, it’s entirely possible to make those beams seem to vanish right into the ceiling. By concealing their natural wood tones and effectively “erasing” their borders, you can enjoy the architectural detail they provide without sacrificing an ounce of perceived spaciousness.
Preparing Beams and Workspace for Painting
Before breaking out the paint cans to start concealing those ceiling beams, it’s essential to set up a protected workspace and ensure the beams themselves are properly prepped. After all, paint can only cover up so much on its own–the smoother and cleaner the surface, the better the finished effect.
Protecting Floors and Furnishings
The first step is clearing furniture from directly below the ceiling area to prevent accidental drips or splatters from staining upholstery or ruining finishes. Then lay down drop cloths, using painter’s tape to securely border off walls, baseboards, and other surfaces you don’t intend to paint.
Achieving Access and Assessing Beam Condition
Working overhead on a ceiling requires sturdy, safe ladder or scaffolding setup. Position your ladder near an electrical outlet whenever possible so that you can plug in lights, fans, or other helpful gear. Ensure the ladder feels secure and allows you to maneuver comfortably without overextending your reach.
Before doing any sanding or priming, carefully inspect the current condition of your wooden beams. Check for areas of split, cracked or missing wood that may require patching and repairs for the smoothest painting outcome. Also note any previous layers of finish, paint or residue for extra sanding focus.
Cleaning and Lightly Sanding Beams
Use a vacuum attachment and damp cloth to remove any loose dust, cobwebs or debris from your untreated wooden beams. Allow them to fully dry before moving onto sanding. With medium grit sandpaper, gently smooth away just enough wood texture to “degloss” the surface–this helps paint better adhere.
On beams with existing paint or stain, focus sanding efforts on areas of peeling, flaking or cracking finish. The goal is to feather edges and create an evenly dull surface across the length of the beam without fully stripping the prior finish.
Priming Previously Finished Beams
Before painting stained or previously painted beams with colors intended to conceal them, it’s a smart idea to apply a layer of high-quality wood primer. This creates added wear protection and also helps block any remaining wood tones from causing discoloration of the new painted finish down the line.
Choosing Paint Colors for Beam Concealment
Strategically selecting beam paint colors is perhaps the most critical step in making those ceiling beams seem to disappear. Rather than standing out as bold wood elements overhead, beams painted to match or complement wall/ceiling colors essentially fade into the background–especially when you build additional layers that help soften edges and mute wood grain.
Matching Wall/Ceiling Colors
If your goal is beam concealment, choosing a custom wall or ceiling paint color that seamlessly blends with existing finishes is key. Bring home an array of subtle neutral paint swatches from light greys and tans to warm whites and creams, testing each until you find a perfect match.
Avoid higher gloss paints, as they will catch and reflect more light. A flat or eggshell finish helps beams visually recede, even if the color doesn’t completely disappear into ceiling planes.
Opting for White or Light Neutral Tones
Crisp white paint or pale neutral shades are smart choices for making beams vanish since they intrinsically make spaces feel lighter and airier. Just beware of potential undertones in off-the-shelf whites, which could skew cream, grey or even pick up stains over time.
- Soft White – warmest tone, at risk of yellowing
- Bright White – clean, bright tone if walls are already light
- Extra White – slightly blue-grey undertone
Considering Undertones to Prevent Discoloration
The undertones present in white or neutral paint colors can be emphasized by the natural color variations in wood beams, causing some sections to appear more grey, yellow or pinkish over time. Choosing an ultra-soft grey with hints of those same tones helps camouflage potential discoloration issues down the road.
Testing Paint Swatches on Beams
Once you’ve narrowed down top contenders for your concealing beam paint based on existing finishes and undertones, test those colors directly on the beams before fully committing to a particular shade. Paint 2-3′ sections in inconspicuous spots, allowing swatches to fully dry before making final paint selections.
Glazing Beams to Minimize Visual Impact
Rather than attempting to completely obscure beams with layers of opaque paint, another technique for diminishing their appearance is through diluted paint glazes. These translucent, layered finishes softly filter–but don’t entirely mask–the wood tones and grain.
Diluting Paints for a Translucent Glazed Effect
Standard interior paints become glazes when significantly diluted with glaze medium or water, allowing some of the wood underneath to show through. While any paint color can be transformed into a glaze, lighter neutrals help beams recede most.
Dilute paint with a 1:1 ratio of glaze or 4:1 ratio of water as a starting point. Test opacity on swatches before applying to beams so the wood grain still partially reads through the layers.
Building Glaze Layers to Filter Wood Tones
Glazing beams works similarly to applying colored translucent filters in photography or apps like Instagram. Multiple thinned coats build up a hazy veil that shifts the beams’ underlying brown tones into cooler neutrals without fully blocking wood texture or definition.
Achieving a Softened, Muted Beam Aesthetic
The beauty of glazing beams versus full opaque coverage is that it allows you to meet goals for toning down brown wood elements without losing all that natural texture, variation and architectural interest. The resulting muted effect feels soft, hazy and subtly weathered.
Distressing Beams to “Fade” into the Ceiling
For a similarly weathered, whitewashed aesthetic that helps beams blend into the ceiling, try intentionally distressing and mottling solid paint covers. Varying tones imperfectly mimic aged wood for a cohesive, blended look overhead.
Employing White Paints for a Weathered Whitewash Effect
Start by applying multiple coats of bright white, flat finish paint to beams until fully covering wood tones. Then randomly seal some sections with protective topcoat while leaving other areas raw and exposed to reveal the whitewash colors layered underneath.
Creating Variations in Paint Tones Across Beams
You can also deliberately distress beams post-painting by gently scraping some areas down to the wood or prior finishes in sporadic stripes and edges. The resulting texture and tonal variations help beams fade into the busyness of the ceiling.
Sealing Layers with Protective Topcoat
Once you’ve built up desired layers of lightly weathered paints and glazes, apply a final clear, protective topcoat across the length of beams to lock in the concealed effect. This prevents future scuffs or stains from accidentally revealing wood tones.
Maintaining Concealed Beams Over Time
While the concealed paint techniques for making beams disappear certainly cut down on regular maintenance and dusting compared to raw wood, don’t assume you’ll never have to lay eyes on those beams again post-makeover.
Periodically Checking for Paint Cracking or Fading
Over months and years, it’s important to periodically inspect overhead for any signs of your concealing paint cracking, chipping or rubbing off due to cleaning, moisture or simply through the natural expansion/contraction of wood. Address any issues sooner than later.
Touching Up Painted Finishes as Needed
For minor paint flaws, keep your original color swatches or formulas on-hand for easy touch-up mixing. Carry a small paintbrush and bottle of touch-up paint on your inspection ladder to fix small splits or fading areas right on the spot before they expand.
Considering Renovation if Aesthetic Changes
While regular upkeep should maintain concealed beams for 5-10 years, any major home renovations like re-painting other surfaces might necessitate fully re-doing faux treatments if the new scheme contrasts starkly with your aged beam finishes.
Achieving Other Wood Finishes on Beams
For those less concerned with fully hiding architectural beams, and perhaps more interested in playing up these structural elements as an intentional design feature, there are several stain, glaze and paint techniques for customizing your wood accents:
Staining or Oiling for a Natural Ceiling Feature
Rather than obscuring the natural beauty of real wood beams, consider a simple clear coat to protect the grain while letting tones and textures shine through. Or introduce contrasting stains like light oak or walnut for definition.
Opting for Contrasting Colors to Accent Beams
Make exposed beams pop against the ceiling and become an obvious design focal point by selecting bold, dramatic paint colors like black, navy blue or even metallic silver finished with high-gloss for slick modernity.
Working with Wood Structure versus Faux Beams
When dealing with real structural beams crafted from quality old-growth woods full of rich grain, it can feel like a shame to hide them away completely. For faux plaster or fiber beams that lack authentic patinas, however, no need to preserve fake wood textures underneath coats of concealing paint.
At the end of the day, ceiling beams offer the best of both worlds–either warm, textural design elements or disappearing architectural details depending on your goals and paint techniques. With the right colors, layering and distressing, you really can keep the structure while limiting visual clutter overhead.
And when it comes time for future renovations, faux treatments mean easily switching gears back to exposed beams down the road. By mastering both concealment and reveal approaches, you can always pick the perfect aesthetic for both seasonal updates or long-term room goals.
