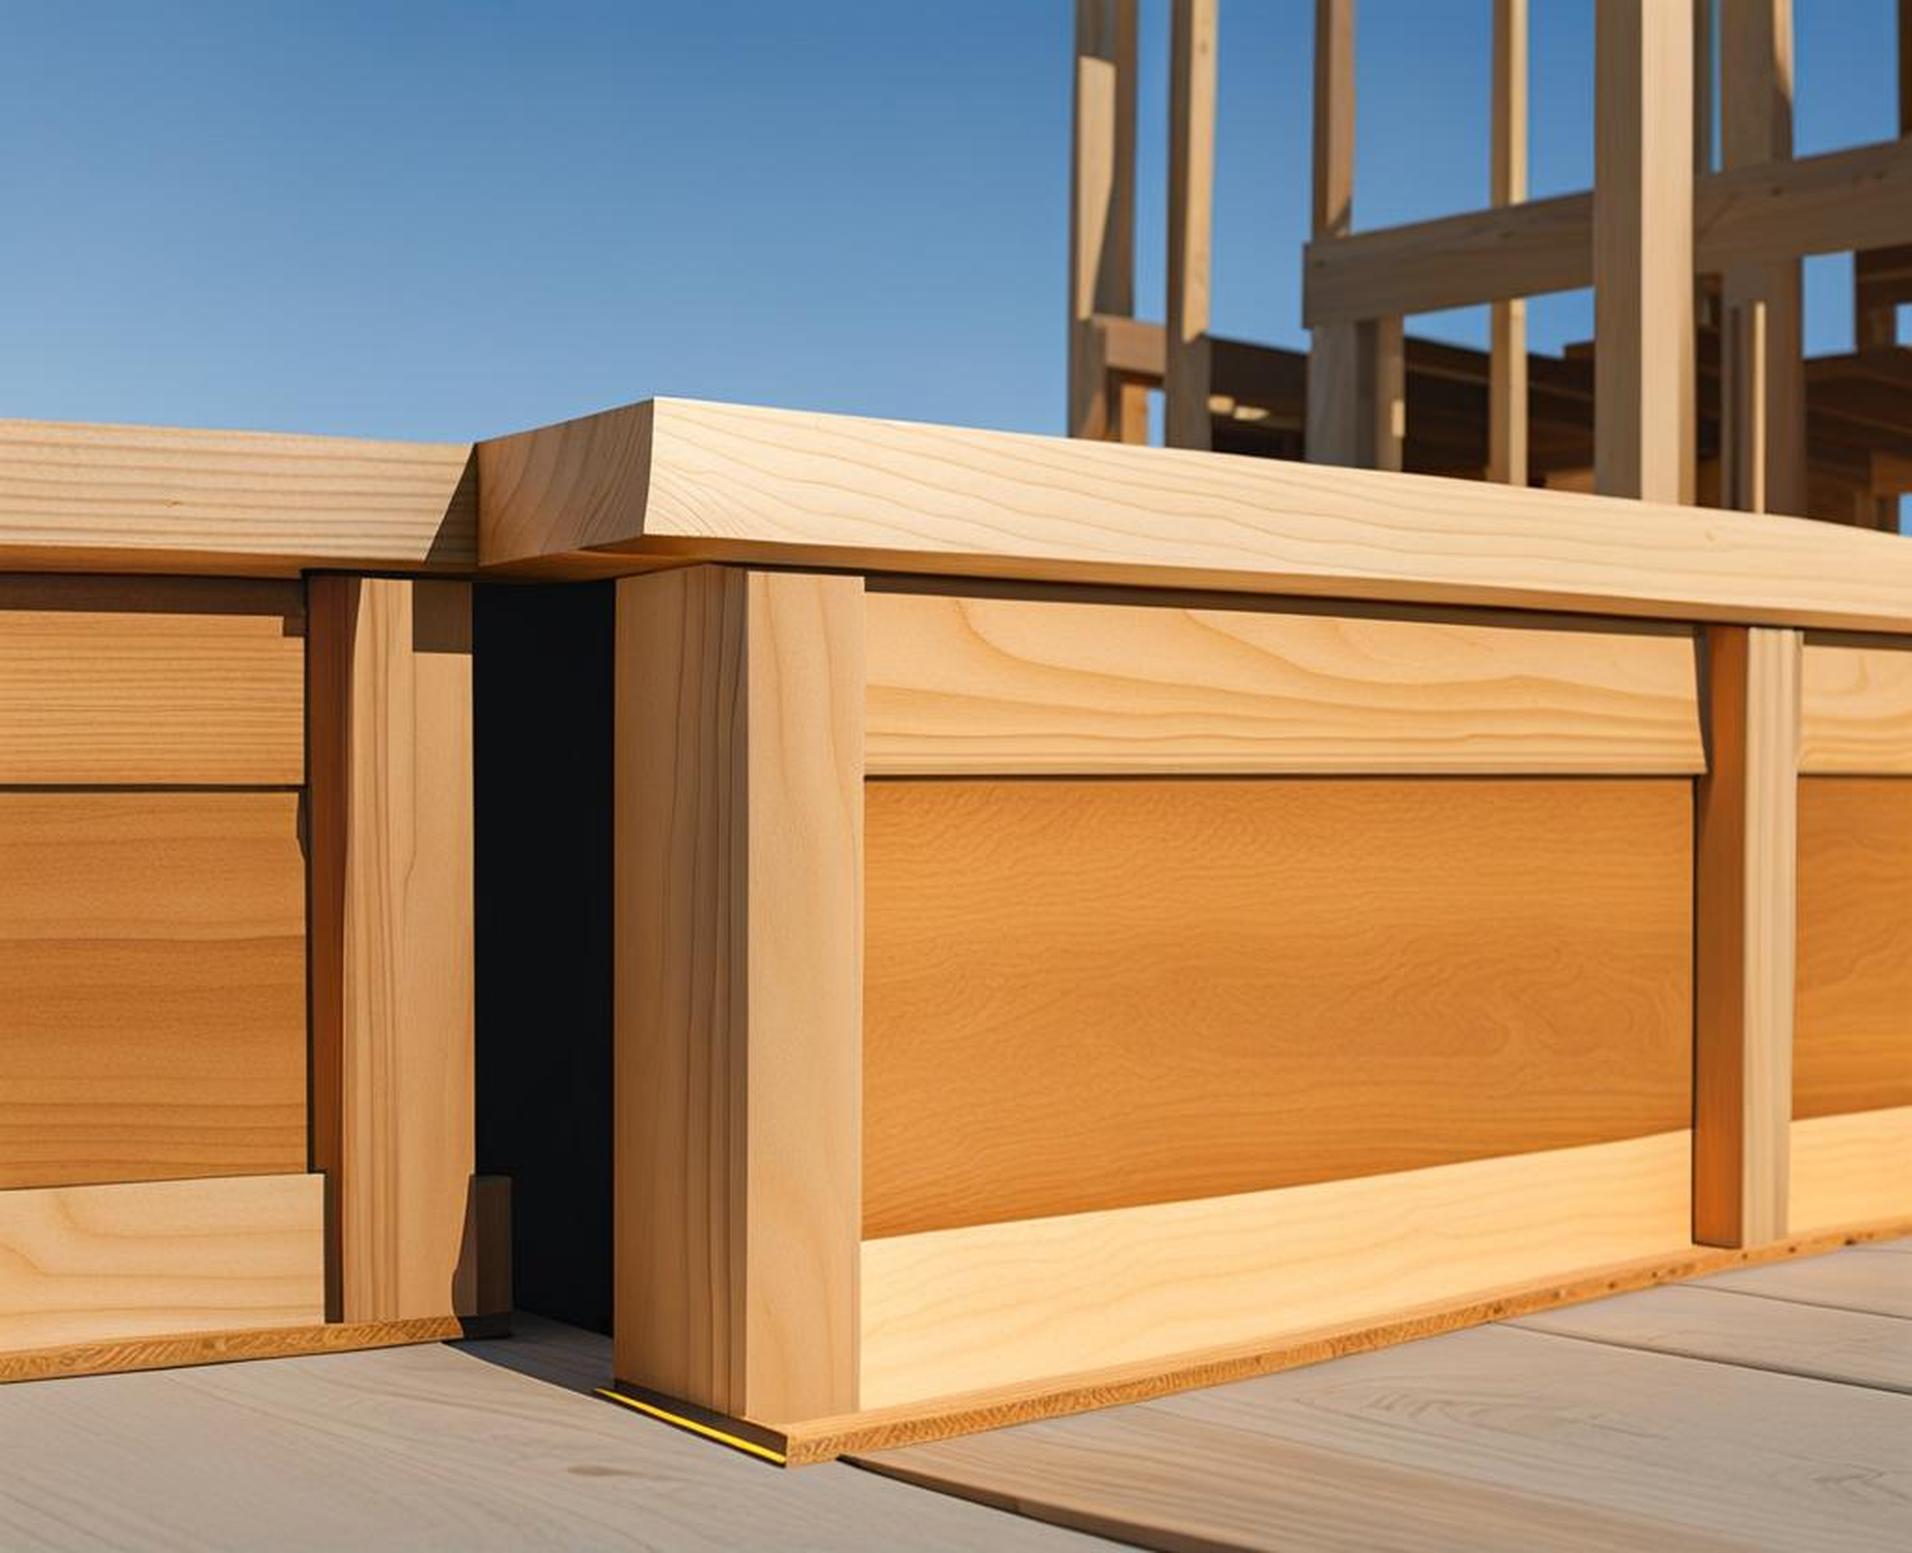
Pier and beam foundations have been around for over a century, valued for their durability and ability to adapt to shifting soil. While the open crawl space underneath provides ventilation, it also leaves a home vulnerable to pests, moisture, and energy loss. Adding skirting is one solution, enclosing the perimeter to protect a home’s foundation.
Installing skirting on a pier and beam house involves careful planning and step-by-step installation. But the reward is a more comfortable, energy-efficient home protected from the elements.
Planning Your Skirting Project
The first step is deciding if skirting is right for your home. Climate is one consideration. In temperate regions, skirting prevents cold drafts and provides insulation. In hot, humid areas, adequate ventilation beneath the home is a priority.
Also weigh factors like pest control and aesthetics. Then determine the best skirting material for your needs. Options include:
- Vinyl – Budget-friendly and easy to install but less durable than other materials
- Concrete – Provides excellent protection though more expensive and requires heavy installation
- Metal – Lightweight yet strong if prone to condensation without additional insulation
- Wood – Requires treatment to prevent rotting but provides a classic appearance
Once you decide on a material, take precise measurements along the home’s perimeter. Having these accurate dimensions will ensure a proper fit for your custom skirting panels. If installing skirting over an existing foundation, inspect for any repairs needed beforehand.
Most homeowners hire a professional skirting installer for the best results. Be sure to get multiple quotes and verify licenses, insurance, and reviews.
Step-by-Step Skirting Installation Process
When the preparations are complete, the skirting installation process typically follows these key steps:
- Clear any vegetation or debris from around the foundation within the area to be skirted.
- Install a bottom track securely around the perimeter, fastened to the beams.
- Fit custom cut skirting panels into the bottom track, caulking seams.
- Leave access openings for crawl space ventilation.
- Make any penetrations through the skirting for utilities, then re-seal.
- Seal the edges with an exterior caulk to prevent moisture intrusion.
The bottom track provides a secure base to mount the panels. After fitting the pieces together like a puzzle, the caulk seals gaps, preventing air infiltration. Some skirting attaches directly to the foundation beams while a bottom track aids installation. In either case, it must withstand wind, moisture, and other elements over the long-term.
Should I Insulate the Skirting?
Insulating skirting improves temperature regulation in the crawl space and conditioned areas of the home. Common insulating options include:
- Foam board – Rigid foam sheets provide excellent insulation against temperature transfer and moisture.
- Fiberglass batts – Traditional batt insulation stuffed between framing or laid over skirting panels.
Before insulating, ensure any moisture or standing water issues are addressed. Then determine the optimal R-value for your climate zone. Vapor barriers on warm interior side of insulation and exterior house wraps prevent condensation.
Allowing Proper Ventilation
Enclosing the perimeter with skirting can trap moisture under a house. Ensure adequate airflow to prevent humidity, mold growth, and structural damage.
Use foundation vents along the skirting above ground level. Gap ventilation grilles between skirting panels help air circulate. Keep soil clearance between the ground and skirting for drainage. Landscaping and gravel backfilling facilitates drainage away from the foundation.
Waterproofing Measures
Effective skirting keeps out both pests and precipitation. To prevent water damage:
- Install downspout extensions to prevent rain runoff pooling near the foundation.
- Apply waterproof, vapor-permeable coatings to the foundation.
- Caulk all seams, joints, cracks, and penetrations thoroughly.
Adequate slope away from the house prevents water pooling. Gravel backfill encourages drainage. Keep gutters clean and direct rainfall away with downspout extensions. Improve drainage with French drains or sump pumps if needed.
Completing the Project
Once the skirting panels secure snugly into place, you can complete the installation. Paint or stain provides protection while enhancing aesthetics. Avoid wood-to-ground contact if using wood skirting. The optimal clearance is 6-12 inches between the skirting and soil.
Strategically placed landscaping can complement the newly skirted foundation. Evergreen shrubs hiding the crawl space while flowers brighten the area. Finally, ensure easy access to the crawl space for any needed inspections or repairs down the road.
When properly installed, skirting delivers valuable benefits:
- Added insulation from cold drafts
- Pest deterrence keeping rodents and termites out
- Enhanced aesthetic curb appeal
- Moisture management improving indoor air quality
- Protection from wind, debris, and runoff
Skirting installation does require an investment of both time and money. But the lengthy returns – protection, energy savings, and improved comfort – make it well worth the effort for many pier and beam homeowners.
