If your concrete patio has seen better days, a fresh coat of paint can give it an instant facelift. Painting concrete is an affordable way to update the look of tired, stained concrete without the need for full replacement. With proper preparation and application, even novice DIYers can achieve professional-quality results. This complete guide covers everything you need to know, from selecting the right paints and colors to properly maintaining your finished patio.
An Overview of Painting Concrete Patios
Concrete patio painting allows you to customize the appearance of lackluster concrete and protect it from further damage caused by exposure, freezing temperatures, de-icing salts and regular foot traffic. Unlike other exterior paint projects, painting outdoor concrete requires specialized paints and sealers for maximum adhesion and durability.
The primary benefit is completely transforming the look of old concrete without the high cost of tearing out and re-pouring a new slab. With the right prep work, painted concrete can last upwards of 5 years before needing touch-ups, while also making the space more inviting and complementary to your home’s exterior.
Key Considerations Before Starting
While painting concrete is very doable, proper planning is crucial before beginning:
- Allow adequate drying time for surfaces to cure based on weather conditions
- Repair any cracks, pits or imperfections using patching compounds
- Select quality paints and primers made for exterior concrete use
- Factor in 24-48 hours for the painted patio to fully cure before using
Preparing Your Concrete Surface
Achieving long-lasting paint adhesion requires thorough surface prep before the first coat. The concrete must be fully clean and dry to allow optimal penetration.
Cleaning and Degreasing
Use a pressure washer on the highest setting to remove all loose debris, dirt and oily residues. Pay extra attention to stained areas and create texture by exposing the bare concrete beneath.
Repairing Cracks and Damage
Fill any cracks, holes and deteriorated spots using a concrete patch compound. Allow patches to dry fully before continuing. The patched areas create a porous surface profile for the primer and paint to grip.
Testing for Moisture
Use a moisture meter to detect any excess moisture left behind, especially between pavers. The surface needs to register completely dry before painting.
Achieving Proper Surface Profile
For bare concrete, etch the surface using an etching solution or sander to create an abrasive area for paints to adhere properly. Rinse thoroughly after etching.
Priming Bare Concrete
Uncoated concrete should be primed first using a latex or oil-based variety. Not only does primer improve paint adhesion, but it seals the surface to prevent bubbles or peeling.
Types of Concrete Paint
For exterior use, epoxy and acrylic paints provide the best durability and protection against moisture penetration, fading and everyday wear.
Epoxy Paint
Epoxy paints offer superior adhesion and a high-gloss, reflective finish. They’re more expensive yet extremely long-lasting for outdoor use. Most epoxy paints require separate base coats and finish coats.
Acrylic Masonry Paint
Water-based 100% acrylic paint works well for concrete painting. Although acrylic paint doesn’t last quite as long as epoxy overall, it still provides good protection at a more affordable price point for larger areas.
Comparing Paint Options
- Epoxy paints are more heavy-duty while acrylics offer plenty of durability too
- Epoxy costs more initially but delivers extended longevity
- Acrylic masonry paint is easier to apply than two-part epoxy formulas
- Both paints require sealing for optimum weather protection
Tips for Painting Concrete
With the right tools and techniques, applying concrete paint is a smooth process:
Setting Up Properly
Cover surrounding walls and landscaping using canvas drop cloths. Apply painter’s tape along the patio edges. Have all necessary rollers, brushes and trays ready.
Cutting In the Edges
Use an angled brush to cut in around borders and corners with precision leaving clean lines.
Rolling On Paint
Use the roller method to easily apply primer and paint coats to the main concrete surface area. Add slightly more pressure than with drywall to allow proper absorption.
Applying Multiple Coats
Additional coats of color provide extra protection and make the shade more opaque. Two to three coats are standard.
Drying Time and Curing
Allow each coat to dry 24 hours before adding more paint. Avoid heavy traffic for 48 hours during curing.
Choosing Colors for Your Patio
The right concrete paint colors and finishes set the tone for an entire space:
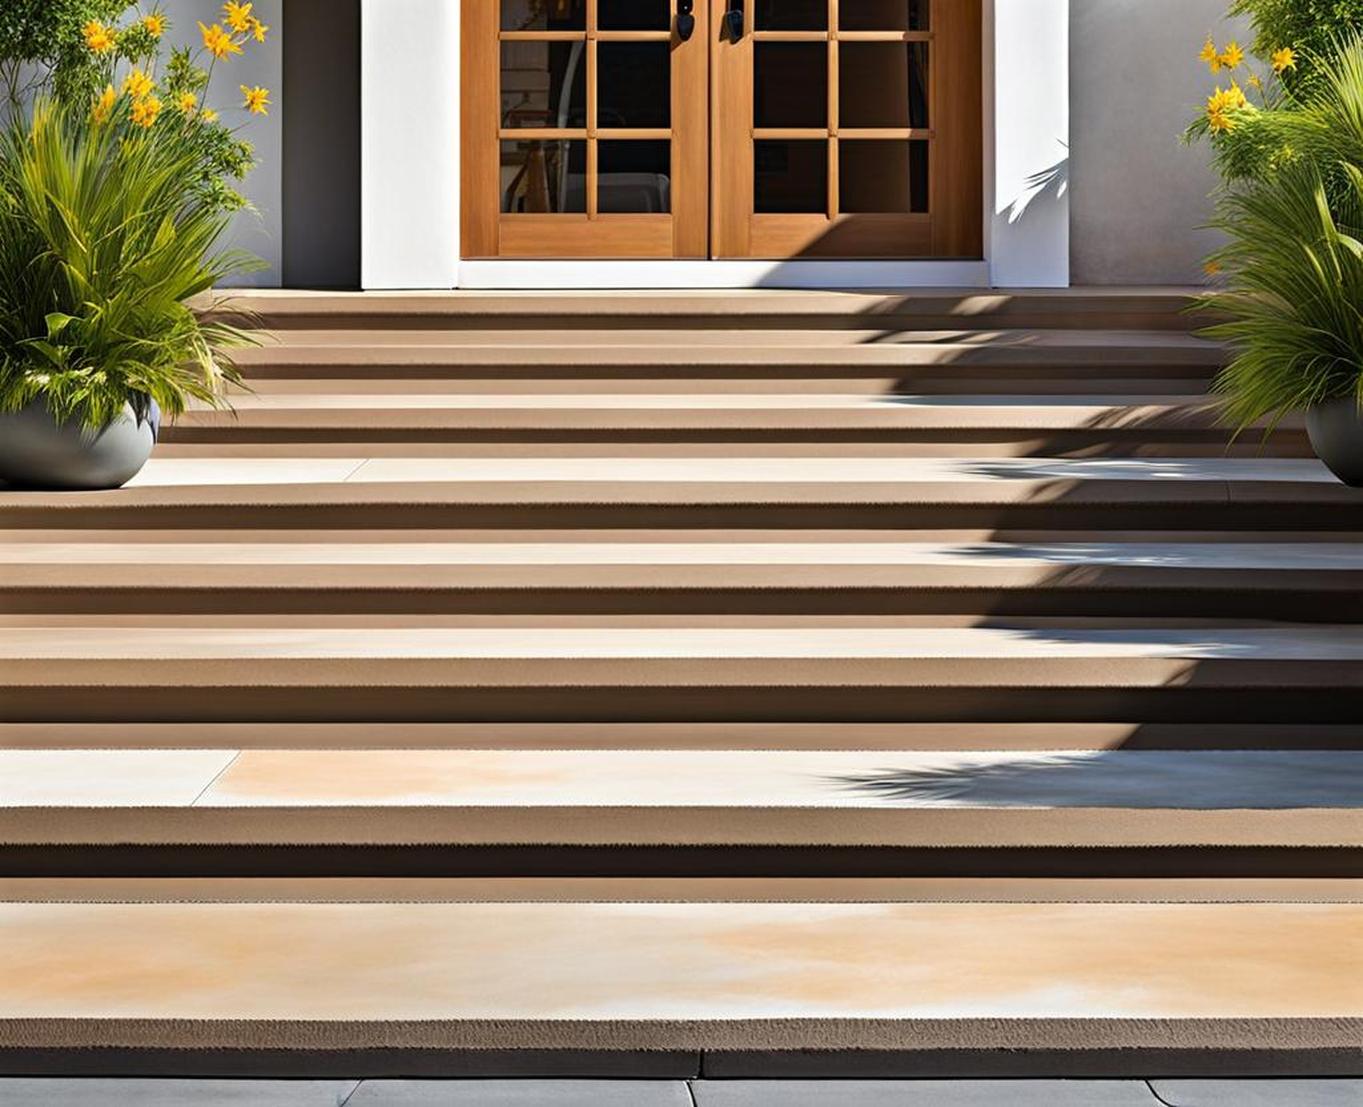
Light Earth Tone Palette
Soft beiges, warm grays and subdued taupes work beautifully forconcrete painting. The natural look complements gardens and landscaping.
Avoiding Dark Colors
Deep hues like black, navy blue or maroon tend to show flaws and feel enclosing. Plus, dark concrete absorbs heat and shows more dirt over time.
Visual Tricks with Color
Lighter concrete paint colors help reflect light, opening up smaller spaces. Gloss and satin finishes also lend brightness while hiding imperfections.
Protecting the Finish
Without protection, painted concrete quickly shows signs of wear, staining and fading. Concrete sealers prevent damage and extend the life of painted patios.
Importance of Concrete Sealers
Sealers provide a protective barrier against rain, snow and sunlight while allowing vapors to escape. Acrylic and epoxy-based sealers work well for concrete.
Types of Sealers for Patios
Solvent-based or water-based sealers both properly shield concrete. Silicone sealers offer the longest-lasting weather protection.
Application Tips and Drying Time
Use a pump sprayer or roller to apply 2-3 thin, even coats of sealer. Allow each coat to dry 24 hours before adding more.
Common Problems and Solutions
Should issues arise with your concrete paint job, there are ways to troubleshoot:
Issue: Flaking or Peeling
Causes include not properly cleaning/prepping the surface, painting over sealers or applying paint too thick. Gently scrape and sand affected areas before repainting.
Issue: Bubbling Paint
Bubbles happen when moisture gets trapped as the paint dries. Allow extra drying time between coats and consider using a concrete sealer first.
Issue: Yellowing Over Time
Certain paint pigments fade faster than others with sun exposure. Plan to re-coat within 5 years or consider a tinted sealer for protection.
Maintaining Your Painted Patio
With routine care, a painted concrete patio brings enjoyment for years:
Cleaning Methods
Gently wash sealed concrete with mild soap and water using a stiff push broom as needed. Avoid abrasive brush bristles or cleaners.
When to Reapply Sealers
Plan to reapply concrete sealers every 2-3 years depending on wear. Touch up paint as needed when resealing.
Refreshing Painted Surfaces
Clean thoroughly before adding fresh paint when the color starts looking faded or worn. Spot paint bubbles/peels as they occur.
Updating a lackluster concrete patio offers big rewards when done properly. With the right paints, colors and routine sealing, you can completely transform ordinary concrete into an inviting backyard focal point with just a few tools and some elbow grease!
Focus on proper prep, moisture testing and drying times between coats for success. And don’t forget to have fun getting creative with colors and designs that complement your landscape and personality!
