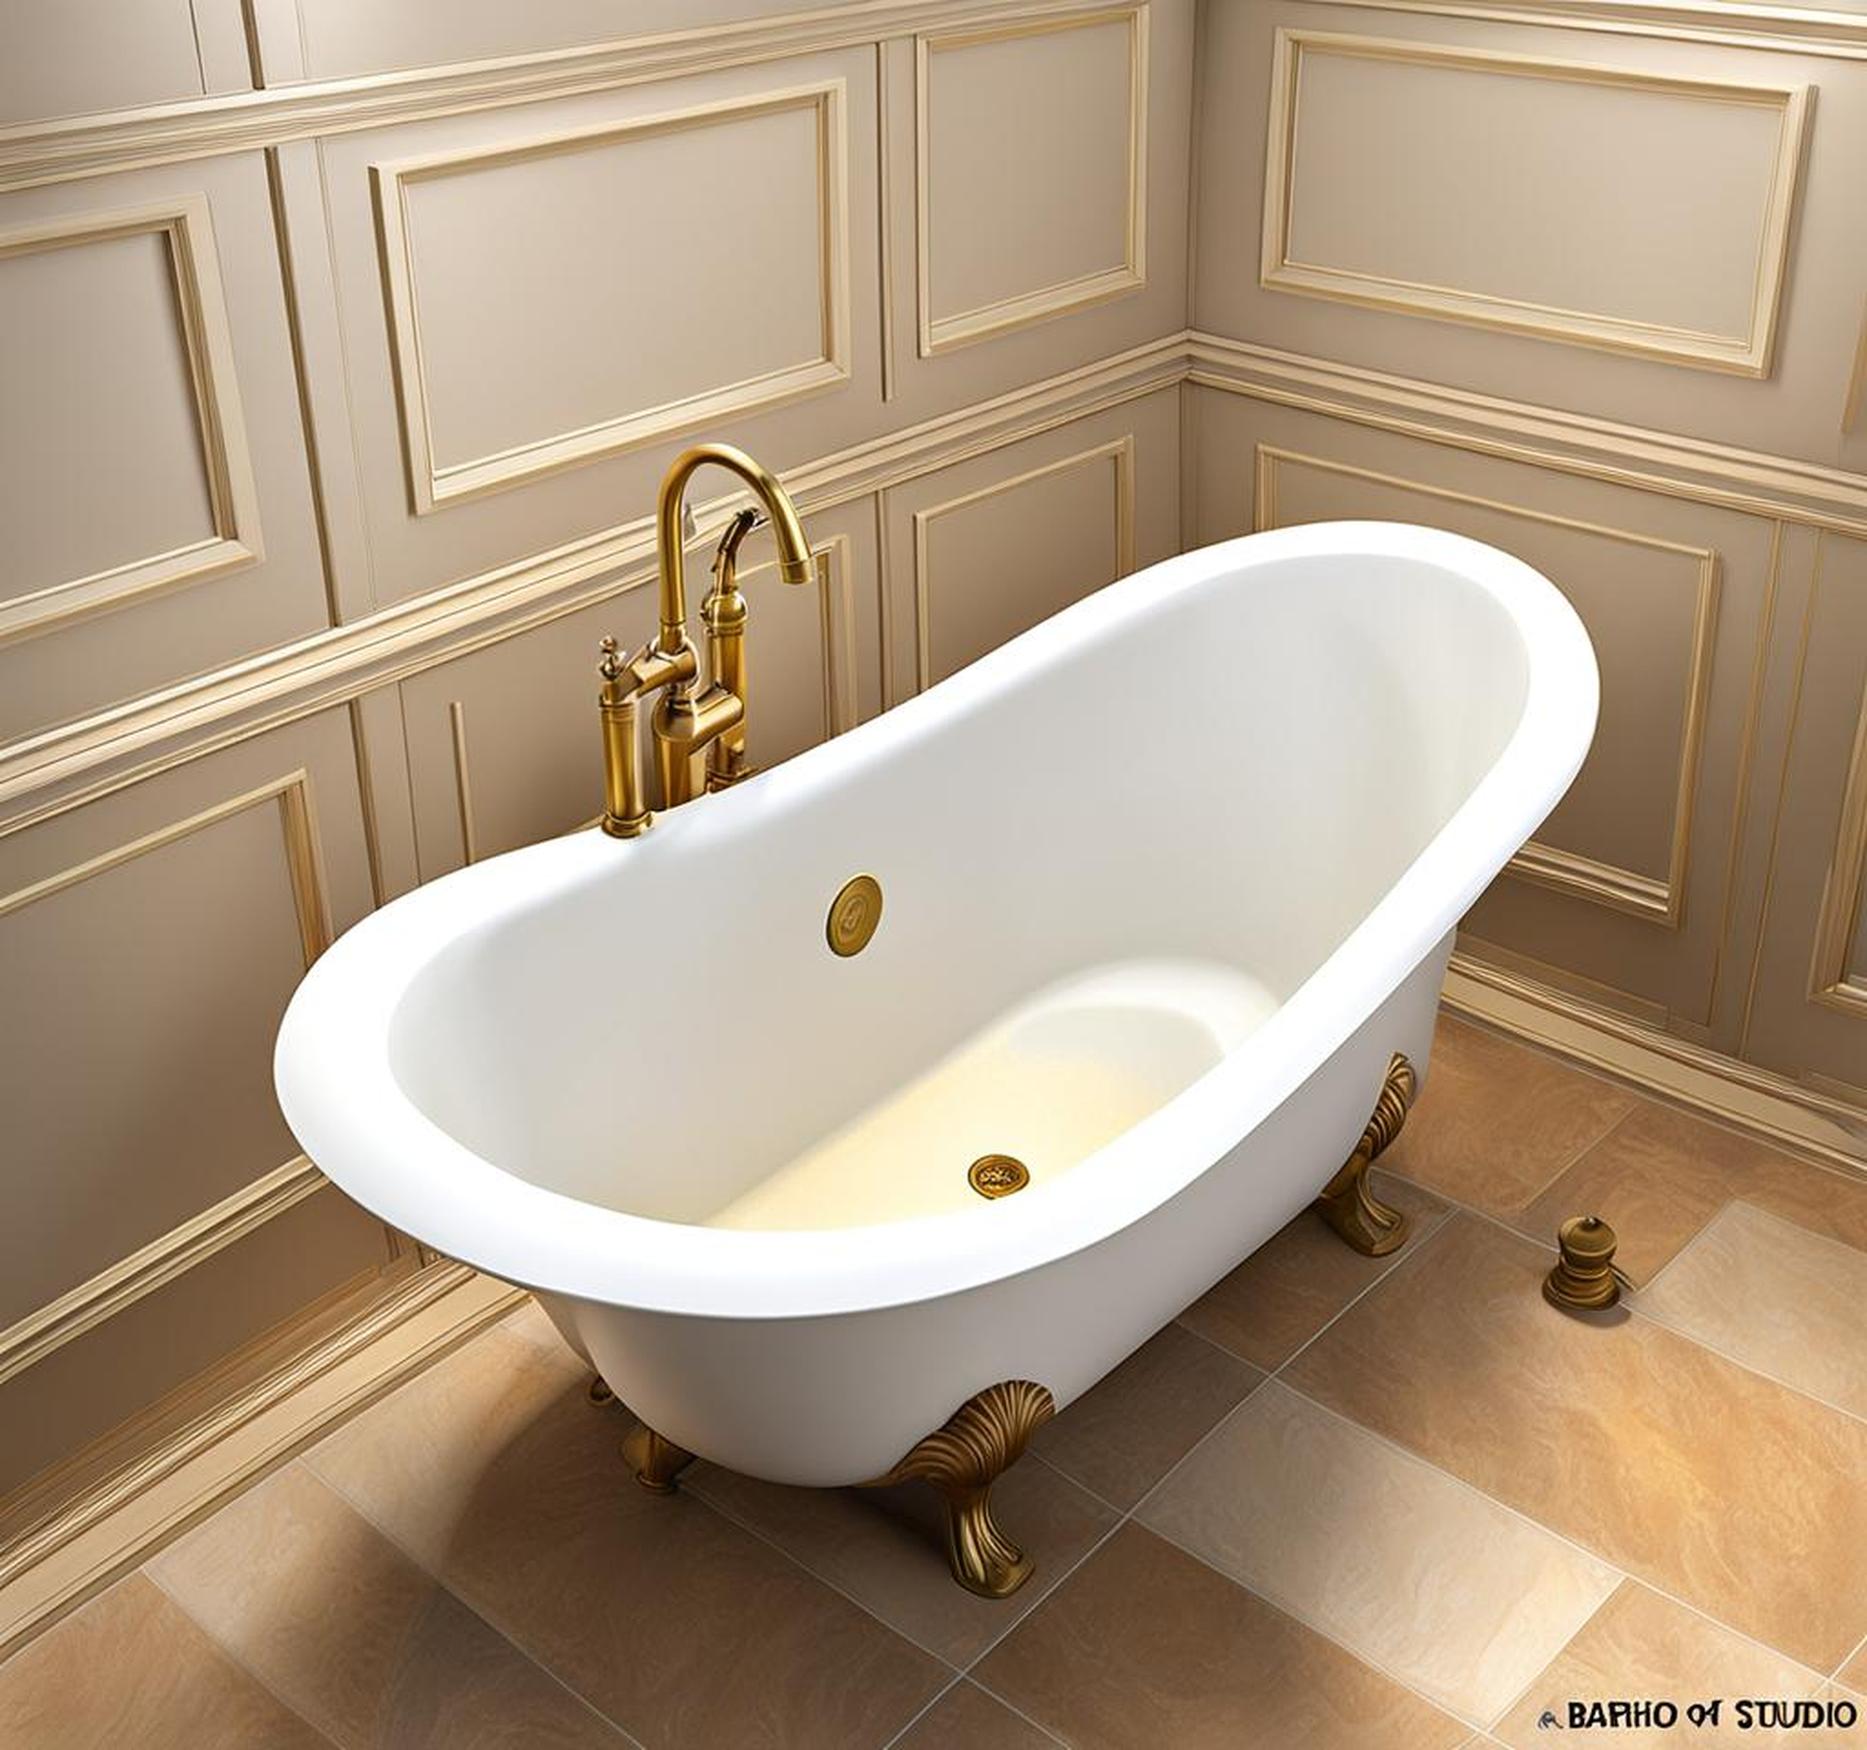
Is your bathtub drain leaking water or letting odors escape into your bathroom? A properly sealed drain is essential for preventing water damage, mold growth, and foul smells. While you can call a plumber, sealing a bathtub drain is an easy DIY project that you can tackle in less than an hour.
We’ll cover the supplies you need, prepping the area, applying new sealant, using drain stoppers, and maintenance tips. With these steps, you can create a watertight, leak-free seal that keeps water where it belongs – in your bathtub.
Reasons to Seal Your Bathtub Drain
Sealing your bathtub drain provides several important benefits:
- Prevents water leaks onto ceiling below
- Stops water from running down drain when tub is in use
- Reduces mold and mildew growth
- Minimizes foul odors from escaping
- Improves appearance around drain
- Extends lifespan of drain
Even minor leaks around a drain can lead to water damage and mold growth in surrounding areas. Resealing the drain creates a watertight barrier that keeps water in the tub.
Types of Bathtub Drains
There are several common types of bathtub drains:

Pop-Up Drain
A pop-up drain has a stopper that seals the drain closed when lifted up. Most modern bathtubs have this type.
Toe-Tap Drain
A lever actuates the stopper on a toe-tap drain. Step on the lever to open or close the drain.
Flip-It Drain
A flip-it drain has a horizontal lever that seals the drain when flipped down.
Vintage Drain
Older bathtubs often have vintage drains with a simple exposed hole and no integrated stopper.
What You’ll Need
Gather these supplies before starting:
| – Caulk/Sealant | – Caulk Gun |
| – Utility Knife | – Cleaning Supplies |
| – Safety Gear | – Drain Stopper (optional) |
Use a specialized bathtub caulk that resists mold/mildew growth. Safety gear like gloves and eye protection is also recommended.
Prep Work
Proper prep ensures the new sealant bonds well:
Remove Old Caulk
Scrape away old caulk or sealant with a utility knife. Be sure to remove all traces of old sealant for best results.
Clean the Area
Scrub the drain and surrounding area with a bathroom cleaner or bleach solution to remove soap scum and grime.
Dry Thoroughly
Wipe the area dry with a cloth. Any moisture will prevent the new caulk from properly bonding.
Applying New Sealant
Follow these steps to apply fresh caulk:
- Load caulk into caulk gun.
- Press nozzle to drain opening and apply steady pressure on trigger.
- Smooth caulk with finger or tool to create a continuous seal.
- Wipe away any excess caulk with a damp cloth.
- Allow caulk to fully cure for 24-48 hours.
Be sure to fill the entire gap between the drain and tub. Smooth caulk insures an airtight seal.
Using a Drain Stopper
For extra protection from leaks, use a drain stopper:
Types
Choose a rubber stopper sized for your drain. Popular options are mushroom, tulip, or ball style stoppers.
Insertion
Press the stopper into the drain opening after applying caulk. Follow package instructions.
Maintenance
Periodically remove stopper to clean hair/debris and keep the seal tight.
Ensuring Proper Drainage
To prevent future problems:
Check for Leaks
Examine the caulk seal closely after bathing to look for any water leaks or gaps.
Address Continued Issues
If leaking persists despite resealing, the cause may be a clogged vent pipe or issues below the tub.
Call a Plumber
For stubborn drainage problems or complex leaks, calling a plumber is recommended.
Preventing Future Leaks
With proper care, your bathtub drain seal should last 1-5 years:
Inspect Caulk Regularly
Check for any gaps or cracks in the caulk needing resealing.
Re-seal As Needed
Don’t wait for leaks to reseal the drain. Replace worn sealant regularly.
Invest in caulks designed for wet, humid environments for longer protection.
By following these steps, you can seal your bathtub drain like a pro. Prevent costly damages from leaks and enjoy leak-free baths for years to come. Let us know if you have any other questions – we’re happy to help.
