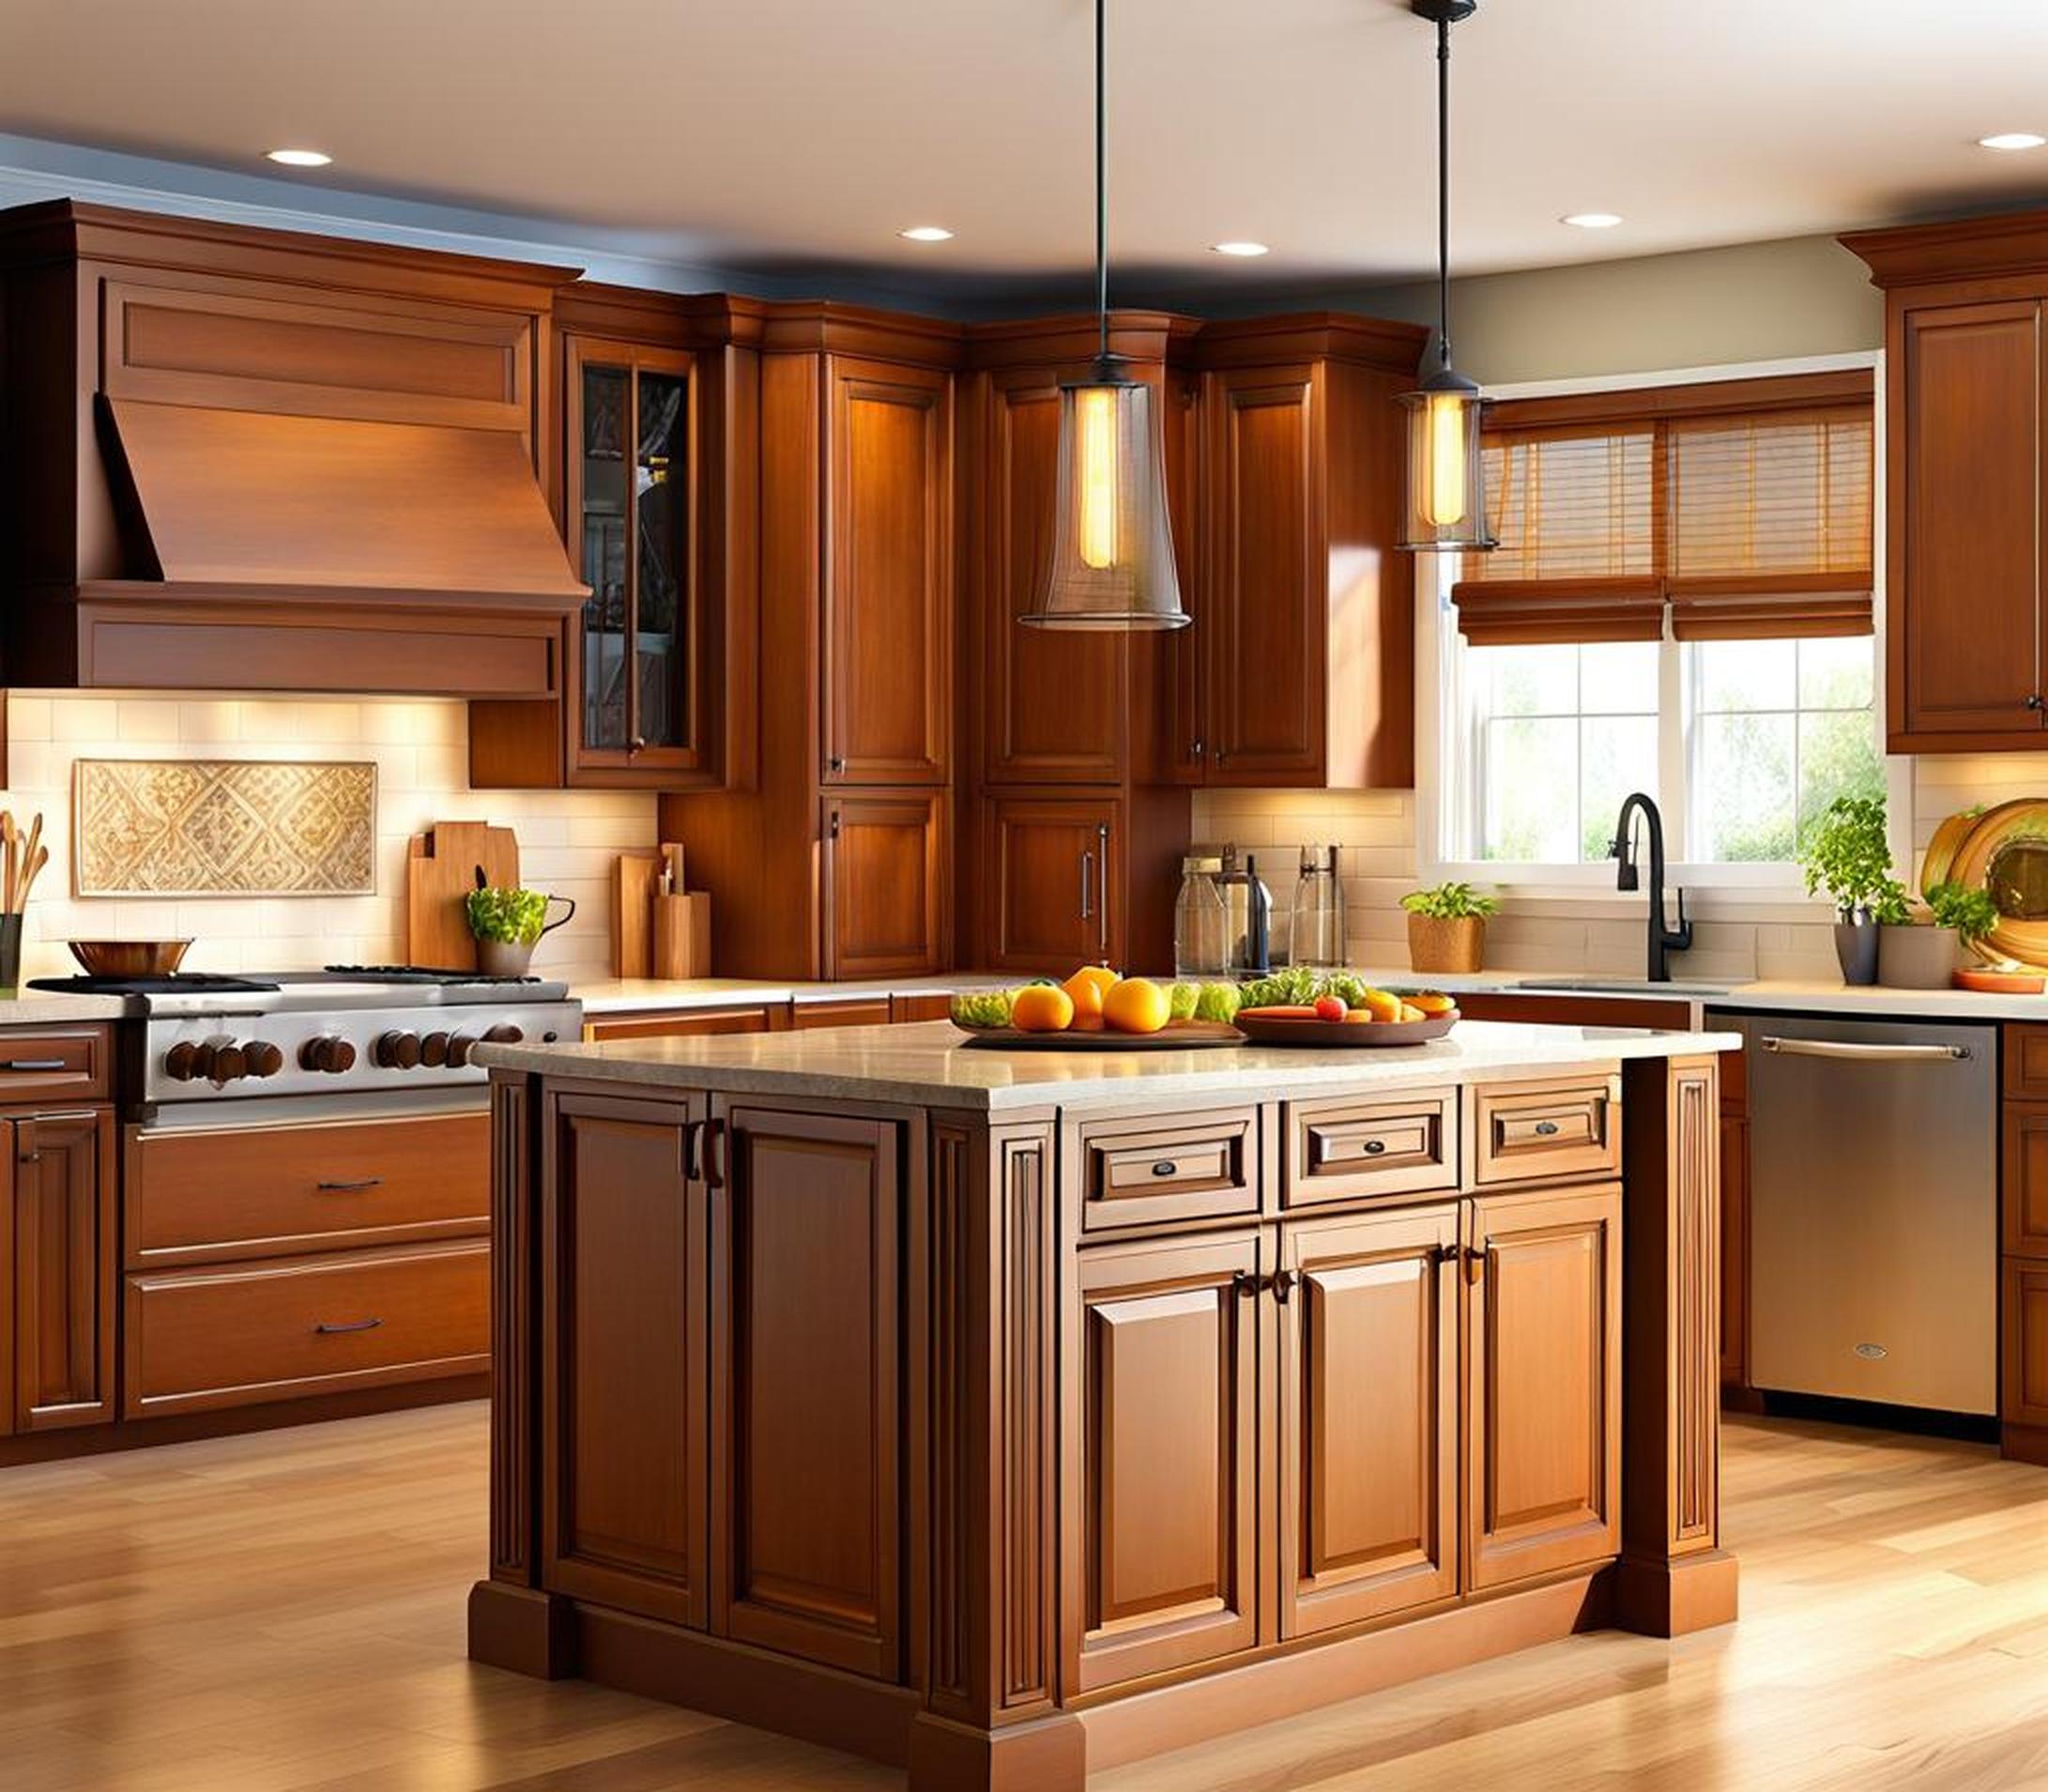
A kitchen island can completely transform your cooking space, adding valuable counter space, storage, and an inviting hub for meal preparation. But major renovation projects can be daunting, with huge costs and weeks of construction mess. Fortunately, there’s an easier and more affordable route to a custom island: building it yourself!
In this DIY guide, we’ll walk through the entire process of creating your own kitchen island, from choosing the right ready-made cabinets to designing a layout that fits your lifestyle. With a mix of basic carpentry skills and creativity, you can build the island of your dreams and take your kitchen to the next level–all without professional help.
Choosing the Right Cabinets
The base cabinets you select will form the foundation of your DIY kitchen island, so choose wisely! Here are the key factors to consider when picking out your island cabinets:
Cabinet Types
For DIY convenience, opt for ready-to-assemble (RTA) or stock cabinets from home improvement stores. These come with all the parts and hardware needed for assembly. RTA cabinets are flat-packed for transport while stock cabinets are already constructed but sized for easy adjustments. Both offer quality materials like plywood boxes and solid doors/drawers without the custom cabinet price tag.
Key Measurements
First, measure your existing kitchen layout and check that you have the recommended 48 inches of clearance on all sides for an island. Then, choose standard-sized base or floor cabinets around 36 inches high to create your island framework. Optimal depth is 25-30 inches for comfortable seating. Layout flexibility is a key benefit of RTA and stock cabinets.

Style Considerations
Choose a door style and finish that matches or complements your current kitchen cabinets. Think about built-in storage details as well – drawers, rollout trays, and other smart additions make an island highly functional. Go for a cohesive aesthetic but don’t be afraid to mix and match configurations until you find your perfect island look.
Designing and Planning Your Layout
Once you’ve selected cabinets, it’s time to map out your kitchen island design. Placement, proportions and functional elements are all key components of planning:
Placement Guidelines
Be sure to allow enough space for traffic flow around the island. Leave at least 42 inches for circulation, more if it will accommodate seating. Check that your chosen spot has access to electrical outlets and plumbing if needed.
Multi-Functional Uses
Consider how you’ll interact with your new island. Will it be used mainly for extra counter space and storage, or do you want seating for casual dining and entertaining? Make sure to accommodate any stools or chairs within your measurements.
Customizing Your Design
Within the limitations of your cabinet selection and space, customize to your heart’s content! Mix and match cabinet sizes, add drawers and shelves for storage, pick decorative trim and hardware to complement your style. The wonderful thing about DIY is that you can tailor every inch!
Assembly and Installation
Now for the fun part – bringing your dream island to life! With the right techniques and DIY diligence, you can complete this build without advanced carpentry skills.
Putting Together the Cabinets
Assemble your RTA or stock cabinets using the included manufacturer instructions and hardware. Have an electric drill ready with the appropriate drill and driver bits. Take your time to ensure cabinets are level, plumb, and squared for proper alignment.
Countertop Installation
Choose your countertop material – butcher block, laminate, quartz, tile, etc. Measure the dimensions of your cabinet boxes, allowing for appropriate overhang. Carefully place and secure the countertop according to material-specific guidelines. Finish edges with trim, caulk, or specialized routing.
Extras and Finishes
Add final touches like paint, stain, or distressing to personalize the island aesthetic. Install hardware like drawer glides, pulls, and knobs. For stability, anchor your freestanding island securely to the floor using brackets or an L-bracket.
Transforming Your Kitchen
Like a dream coming to life, watching your DIY kitchen island come together board by board, door by door is incredibly rewarding. And there’s no better feeling than seeing your custom creation complete – storage maximized, design personalized, and functionality multiplied.
Your kitchen island oasis awaits! With the right approach and our step-by-step guidance, building your own island is totally achievable. Soon your family and friends will be gathered around, enjoying the upgraded heart of your home. So go ahead – saw, drill, paint, and create your way to the perfect custom island.
Customizable Storage Solutions
When building a DIY kitchen island from base cabinets, there are endless possibilities for customizing storage solutions to fit your specific needs. Consider adding pull-out drawers, spice rack organizers, or wine bottle holders to maximize functionality.
Adding a Backsplash
A backsplash not only adds visual interest to your kitchen island, but it also provides a practical solution for protecting the wall behind the island from splatters and spills. You can choose from various materials such as tiles, glass, or quartz for the backsplash.
Incorporating a Charging Station
With the rise of technology, a charging station is a convenient addition to a kitchen island. You can install outlets and USB ports on the island to charge your devices while you cook or eat.
Utilizing Vertical Space
If you have a smaller kitchen, consider utilizing vertical space by adding a pot rack or a hanging wine glass rack above the island. This not only saves counter space but also adds an aesthetic touch to your kitchen.
Open shelves are a great way to display decorative items or frequently used cooking ingredients while keeping them within arm’s reach. Just be sure to include a lip or guard rail to prevent items from sliding off the shelves.
