If your kitchen tiles are looking tired but you don’t have the budget for a full renovation, painting them is an affordable and transformative solution. With some tile paint, a few supplies, and a weekend of work, you can give your kitchen a fresh new look that appears like you installed brand new tile.
Follow our complete step-by-step instructions for stunning budget-friendly outcomes!
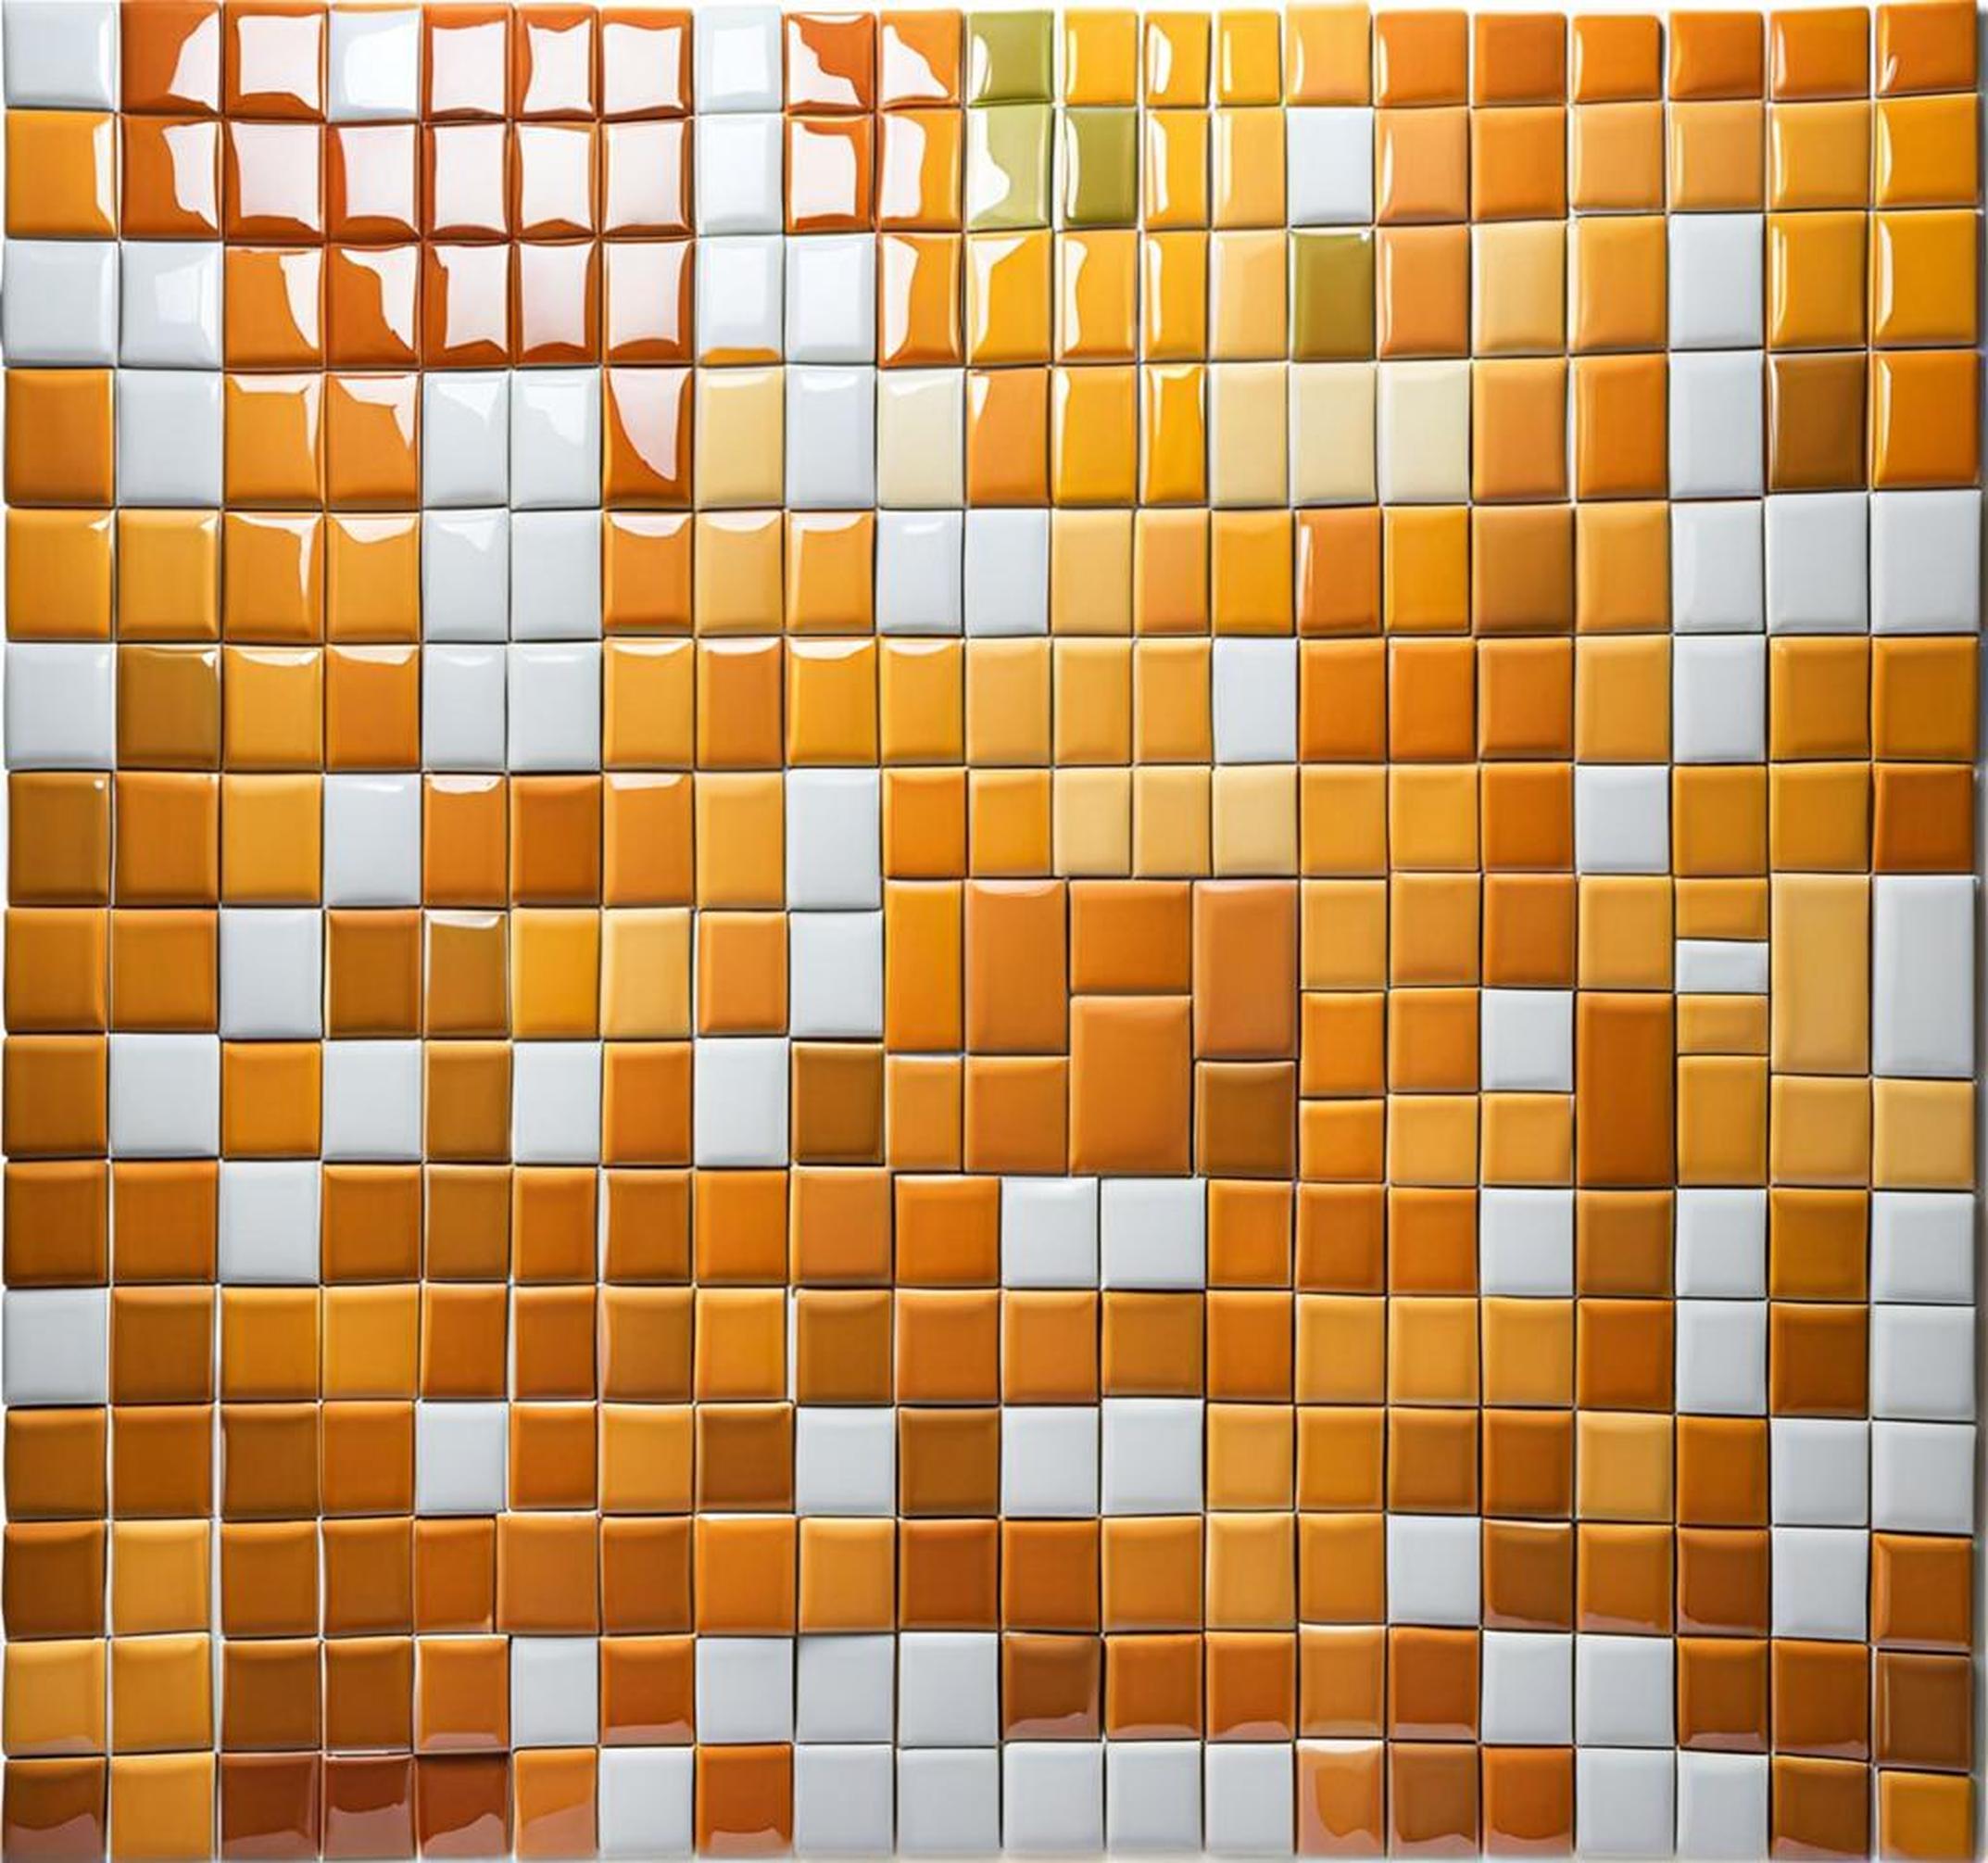
Choose the Right Tile Paint
With heavy usage, spills, heat, moisture and grime, kitchen tiles endure a lot of wear. Using actual ceramic, porcelain and grout tile paint ensures the finish resists cracking, chipping or peeling over time.
Look for bonding primers claiming “kitchen and bath” on the label at hardware stores. Top coats should specifically state for tile surfaces, high-humidity and high-traffic areas.
Types of Paint for Kitchen Tiles
- Epoxy paint – extremely durable and stain resistant
- Acrylic paints – thicker, easy application with built-in primers
- Latex paint – affordable, susceptible to stains over time
- 2-part kits – require mixing activator and basecoat
We recommend Behr Premium Plus or Rust-Oleum Tile Transformations paint kits rated for backsplashes and countertops. Reviews show they apply easily with good hide and maximum adhesion power.
Prep Steps Before Painting Your Tiles
Preparing your tiles thoroughly before painting ensures the paint bonds tightly for long-lasting results.
Clean the Tiles Thoroughly
Kitchen tiles accumulate layers of dirt, food splatters, oils and greases over time. If not fully removed, paint won’t properly adhere and start chipping or peeling quickly after application.
Mix an all-purpose cleaner or degreaser with warm water in a bucket. Scrub tiles vigorously with a stiff bristle brush and rinse until water runs clear. Let tiles dry completely for at least 24 hours before painting.
Sand Glossy Tile Surfaces
The smooth surfaces of glossy ceramic, marble or granite tiles prevents paint from bonding correctly. For proper adhesion, lightly scuff sand the finish using 400 grit sandpaper. Vacuum and wipe down thoroughly after sanding.
Apply Primer to the Tiles
Quality tile paint primers work to “tooth” the surface so the topcoat finish sticks like glue. Apply an even primer coat using a paint pad, brush or small foam roller. Let the primer cure fully per manufacturer’s directions before painting.
Set Up Your Painting Area
Cover nearby countertops, floors, appliances and other surfaces with plastic drop cloths to protect from drips and splatters.
Arrange all painting supplies in the workspace – paint trays, angled brushes, rollers, rags, etc. Open windows and set up fans for ventilation, controlling kids and pets during the painting process.
Application: Painting Your Tiles
With proper products and tools, painting tiles is similar to painting walls. Carefully follow manufacturer’s instructions for best results.
Use Quality Paint Supplies
Investing a few extra dollars in quality brushes and microfiber rollers minimizes visible brush strokes for smoother finishes.
Look for angled sash brushes to cut-in corners and hard to reach edges. Choose rollers with smooth edges that won’t leave stippling marks on the tiles.
Painting Technique and Process
Stir the paint thoroughly before starting and pour some into tray wells. Dip the roller or brush 1/4 way into paint, then roll or tap off excess against tray edge so it’s not dripping.
Use the angled brush to carefully “cut-in” along grout lines and corners first. Then quickly roll the main field areas using a smooth ‘M’ or ‘W’ motion before paint dries.
Avoid pressing too hard or overbrushing which can pull up paint that’s already applied. Overlap strokes as you go back into wet edges to prevent lap marks or visible roller textures.
Apply Multiple Coats
While some paints boast “one coat coverage”, two to three thin even coats allow paint to cure evenly and develop full hiding power and adhesion.
Let each coat dry completely according to manufacturer directions before adding another (typically 1-3 hours). Sand lightly if necessary to smooth raised nap or debris between coats.
Curing, Cleanup and Next Steps
Allow freshly painted tiles at least one week of drying time before regular use of kitchen. Prevent dragging objects directly against painted surfaces and limit water exposure the first month while paint fully cures. Thoroughly clean brushes, trays, rollers and other painting tools shortly after finishing with soap and warm water.
Going forward, regularly wipe down painted tiles using cleaners and techniques recommended by the paint manufacturer to enhance durability.
Tile Painting Cost Breakdown
| Tile Paint Kit (covers 35 sq. ft.) | $34.98 |
| Angled Brush | $9.25 |
| Paint Roller Kit | $12.99 |
| Sandpaper, drop cloths, etc. | $10.50 |
| Total Project Investment | $67.72 |
A few gallons of tile paint and supplies runs $70-80 on average and covers roughly 35 sq. ft. Depending on your kitchen’s size, you’ll recoup costs quickly compared to hiring an installer for tile replacements.
Follow these simple steps for stunning painted tiles with our detailed instructions:
- Clean tiles thoroughly and sand glossy tiles
- Apply compatible primer before painting
- Use short nap rollers and angled brushes
- Allow proper drying times between paint coats
- Let cure one week before regular kitchen use
You can upgrade your kitchen tiles on a budget. Roll up those sleeves and get to painting!
