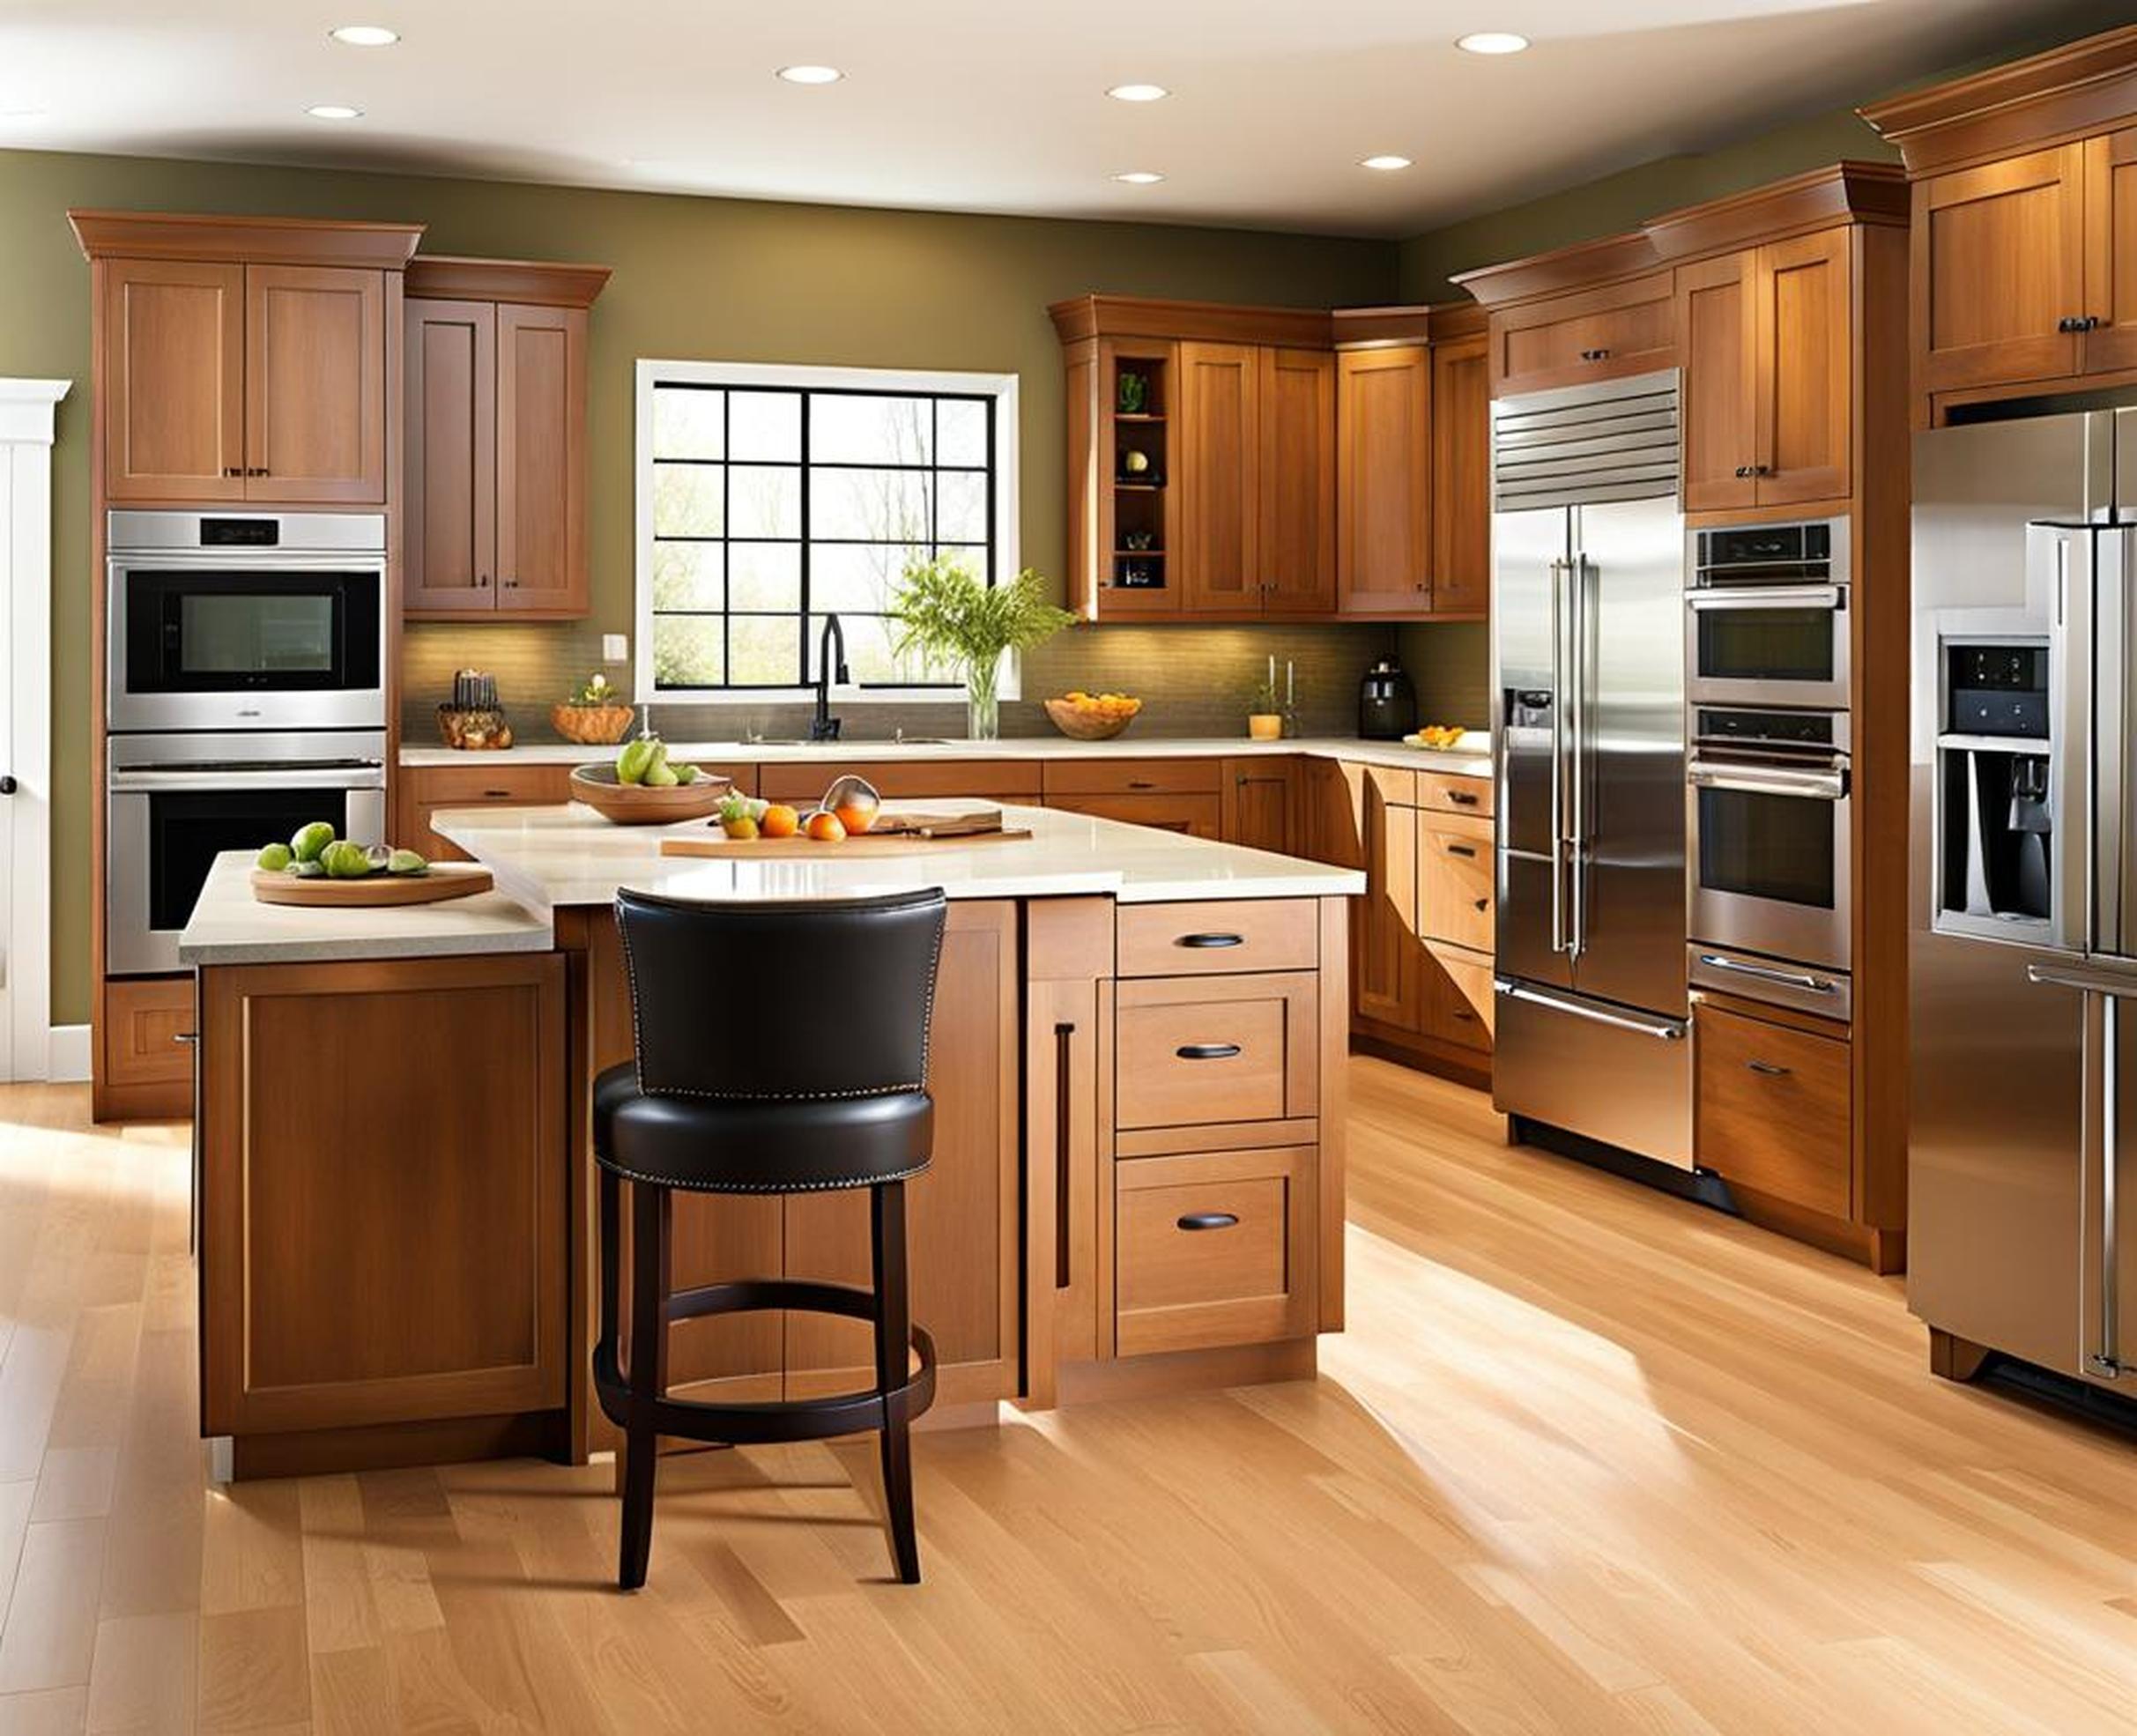
A kitchen island can be the focal point and crowning jewel of your culinary space. But what does it take to design an island that perfectly suits your needs for cooking, entertaining and storage? This comprehensive guide provides the complete blueprint for creating your ideal kitchen island with built-in seating.
Why Add an Island to Your Kitchen Layout
Islands provide valuable counter space and storage in a compact footprint. Unlike peninsula counters attached to walls, islands are accessible from all sides. This 360-degree accessibility allows multiple people to work simultaneously. It also enables easy traffic flow around the perimeter.
Seating at a kitchen island creates a social hub for casual dining and interacting with guests. Stools tucked under the counter can be pulled out as needed for extra seating during gatherings. Integrated seating also provides a comfortable spot for enjoying a quick breakfast or chatting with the cook.
For small kitchens, an island can maximize functionality in limited floor space. Islands are also ideal for breaking up long spans of countertops and cabinets. Their presence in the center of the room creates a natural visual divider between separate work zones.
Determining the Optimal Island Size
When deciding on island dimensions, focus first on the usable floor area. As a general rule, the island should occupy no more than 10% of total kitchen square footage. This prevents the island from feeling too imposing or obstructing workflow.
The island should be large enough to serve its intended purpose, whether prep space, dining area or combination. Allow ample elbow room for tasks like rolling dough or chopping vegetables. For dining, gauge the needed seating capacity. Each stool or chair requires about 2 feet of clearance.
Standard island depths range from 30-42 inches. Shallower depths around 30 inches work well for prep islands, while deeper islands around 42 inches accommodate dining. Width depends on available room, but islands under 3 feet wide sacrifice function. Ideal widths are commonly 4-6 feet.
Allowing Proper Clearance
Islands need adequate clearance on all sides. NFPA guidelines recommend at least 36 inches of open floor space around islands. This enables multiple cooks to navigate comfortably.
For islands with dining space, allow a 12-inch minimum clearance between stool seats. This prevents diners from bumping elbows during meals. It also enables easy access to the seats.
Accommodating Seated Diners
If your island will double as a breakfast bar or dining area, factor in correct spacing per seat:
- At a 30-inch standard counter height, allot 30 inches wide by 19 inches deep per diner.
- At a 36-inch counter height, plan for a 24-inch wide by 15-inch deep seating area for each diner.
Make sure to allow knee space of at least 21-24 inches for seated guests. This enables comfortable foot placement on a stool rung or footrest.
Incorporating Seating into Your Island
Choosing comfortable, functional seating is key to maximizing the enjoyment of your kitchen island. Consider counter height, seat width, and clearance needs.
Height Considerations
Standard kitchen counters measure 36 inches tall. For an island that doubles as a work surface, this height ensures adequate clearance below for legs and knees.
If incorporating bar-height seating, a counter height of 29-33 inches is typical. This enables comfortable tucking of legs and feet on a stool rung or rail while working or dining.
Selecting Stools vs. Chairs
Stools are commonly used for island seating given their small footprint. Opt for stool widths of at least 18 inches to allow diners to sit comfortably without feeling squeezed. Include backs and armrests for enhanced comfort.
Chairs require more space but offer greater support. Allow around 24 inches width per chair. Choose armless chairs that can be tucked compactly under the island ledge when not in use.
Movable vs. Fixed Seating
Movable stools or chairs maximize seating flexibility. These can be pulled out or tucked away as needed. Look for lightweight stools that are easy to reposition.
Fixed seating like a built-in banquette saves space but limits reconfiguring. This can be ideal for small kitchens where a set number of seats is needed.
Incorporating Seating into Smaller Kitchens
For petite kitchens, consider fold-down stools or seats. These can be discreetly folded against the island sides when not in use. Just be sure they allow adequate knee clearance when occupied.
Using counter overhangs on a portion of the island also adds informal seating space. Perch stools in the overhang area for temporary seating.
Maximizing Island Storage Solutions
One benefit of kitchen islands is their ability to offer expanded storage space. Take advantage by incorporating cabinets, drawers, racks and shelves.
Closed Storage
Opt for cabinet-fronted storage to conceal small appliances, cookware and table linens. Install cabinets on the island’s perimeter or as its base. Consider including:
- Enclosed cabinets for discreetly storing serving platters, mixer, blender and other bulky items.
- Roll-out trays in base cabinets for pots, pans and lids.
- Spice drawer organizers.
- Deep drawers for utensils and cutlery.
Open Shelving
Incorporate open shelving for displaying pretty dishware, cookbooks or barware. This enables grabbing items easily. For safety, avoid locating open shelving along high-traffic routes.
Towel Bars and Racks
Install hooks, bars and racks for hanging towels, utensils and frequently used hand tools. Position near the island perimeter within easy reach.
Maximizing Corner Storage
Take advantage of corner cabinet space to store small appliances or spice racks. Install lazy susans or pull-out shelves to access items in deep corner units.
Optimizing the Island’s Workflow
Proper island placement should support an efficient kitchen workflow. Consider proximity to the sink, fridge, oven and other workstations.
The Sink-Refrigerator-Range Work Triangle
Maintain a handy triangle workflow connecting the three primary appliance zones. The island should not disrupt foot traffic between these areas.
Landing Zone for Unloading Groceries
Position the island close to the kitchen’s entry point for unloading groceries. This allows you to place bags on the island before putting items away.
Food Prep Station
Situate the island near complementary prep spaces like sinks, stoves or secondary counters. This facilitates easy transport of ingredients from station to station.
Serving and Cleanup Area
During gatherings, the island can act as a buffet station for setting out appetizers or for bussing empty plates and glasses. Ensure proximity to the dishwasher or sink for easy cleanup.
Incorporating Functional Elements
Islands can house appliances and other functional elements like lighting fixtures and outlets. Plan their strategic placement.
Sinks and Dishwashers
Installing a sink or dishwasher maximizes the island’s utility. For resale value, dual-bowl sinks are desirable. Position the fixture for convenient use by multiple cooks.
Cooktops and Ranges
Island cooktops or ranges create a second full cooking station. Ventilation is key – ensure adequate hood capacity and ducting.
Electrical Outlets
Per code, islands require outlets to power appliances. Allow one outlet per nine square feet. Position outlets at least 24 inches above counter edges.
Pendant Lighting
Install overhead lighting to illuminate tasks. Multi-pendant fixtures add style. For hardwired lights, feed wiring up through the island core.
Selecting the Right Island Materials
Islands can integrate various countertop materials, cabinetry finishes and hardware styles.
Countertops
Durable options like granite, quartz and solid surface work well for islands. Decorative materials like marble or butcher block are also options. Just avoid porous, stain-prone surfaces.
Cabinetry
Opt for sturdy cabinet construction to withstand heavy island use. Plywood boxes are recommended over particleboard. Choose finishes like stained wood or painted lacquer.
Hardware
Brushed nickel or oil-rubbed bronze hardware suits traditional kitchens, while matte black suits contemporary styles. Avoid ornate hardware that competes with other finishes.
Achieving the Right Island Shape and Placement
Creatively shaping and positioning your island maximizes function and aesthetics.
Rectangle Islands
Rectangle islands are most common given their simple construction. They can anchor kitchen spaces efficiently while maximizing usable area.
Custom Shapes
Consider tapered or rounded island shapes to soften boxy kitchen layouts. Size and place uniquely shaped islands to avoid blocking routes.
Peninsula-Style Islands
Attaching one end of the island to a wall or bank of cabinets frees up floor space. This peninsula approach can work well for tight kitchens.
Angled Designs
Islands placed on diagonals create visual interest. Ensure adequate route clearance if opting for a dramatically angled island.
Multiple Islands
Incorporating two smaller islands provides more usable counter space than one oversized island. Allow at least 42 inches between separate islands.
Island Separation from Perimeter Counters
Separate the island from other counter areas by at least 42-48 inches. This defines it as its own distinct zone.
Finishing Touches for Beauty and Function
Thoughtful details like seating, lighting and decor make an island truly shine.
Seat Selection
Choose comfortable, durable seats in a style fitting your decor. Stools with backs support longer lingering. Opt for stain-resistant fabrics.
Statement Lighting
Make the island a focal point with striking pendant lights. Multi-globe fixtures provide ample task lighting.
Accent Tiles
Use a tile backsplash to add visual punch. Contrast island and perimeter backsplashes for distinct zones.
StylishHardware
Update plain cabinetry with eye-catching knobs and pulls. Opt for brushed metals or glass knobs to add sheen.
Warming Drawer
Include a warming drawer to keep cooked food at serving temperature until ready to eat.
Undercabinet Accessories
Mount functional extras like paper towel holders, cutting board hooks and utensil racks.
Creating your ideal kitchen island requires weighing style, functionality and workflow. Start by determining your needs for prep space, storage and seating. Select dimensions that suit your room layout, leaving ample clearance on all sides.
Choose seating and counters suited to your height. Seek durable, low-maintenance materials that can withstand heavy use. Strategically incorporate appliances, lighting and organizational extras based on how you cook and entertain. Maximize storage solutions to keep items handy but out of sight.
Finally, finish with attractive accents like stylish hardware, statement lighting and decorative tilework. With mindful planning and design, your kitchen island will become a social hub and functional centerpiece that meets your needs beautifully for years to come.
