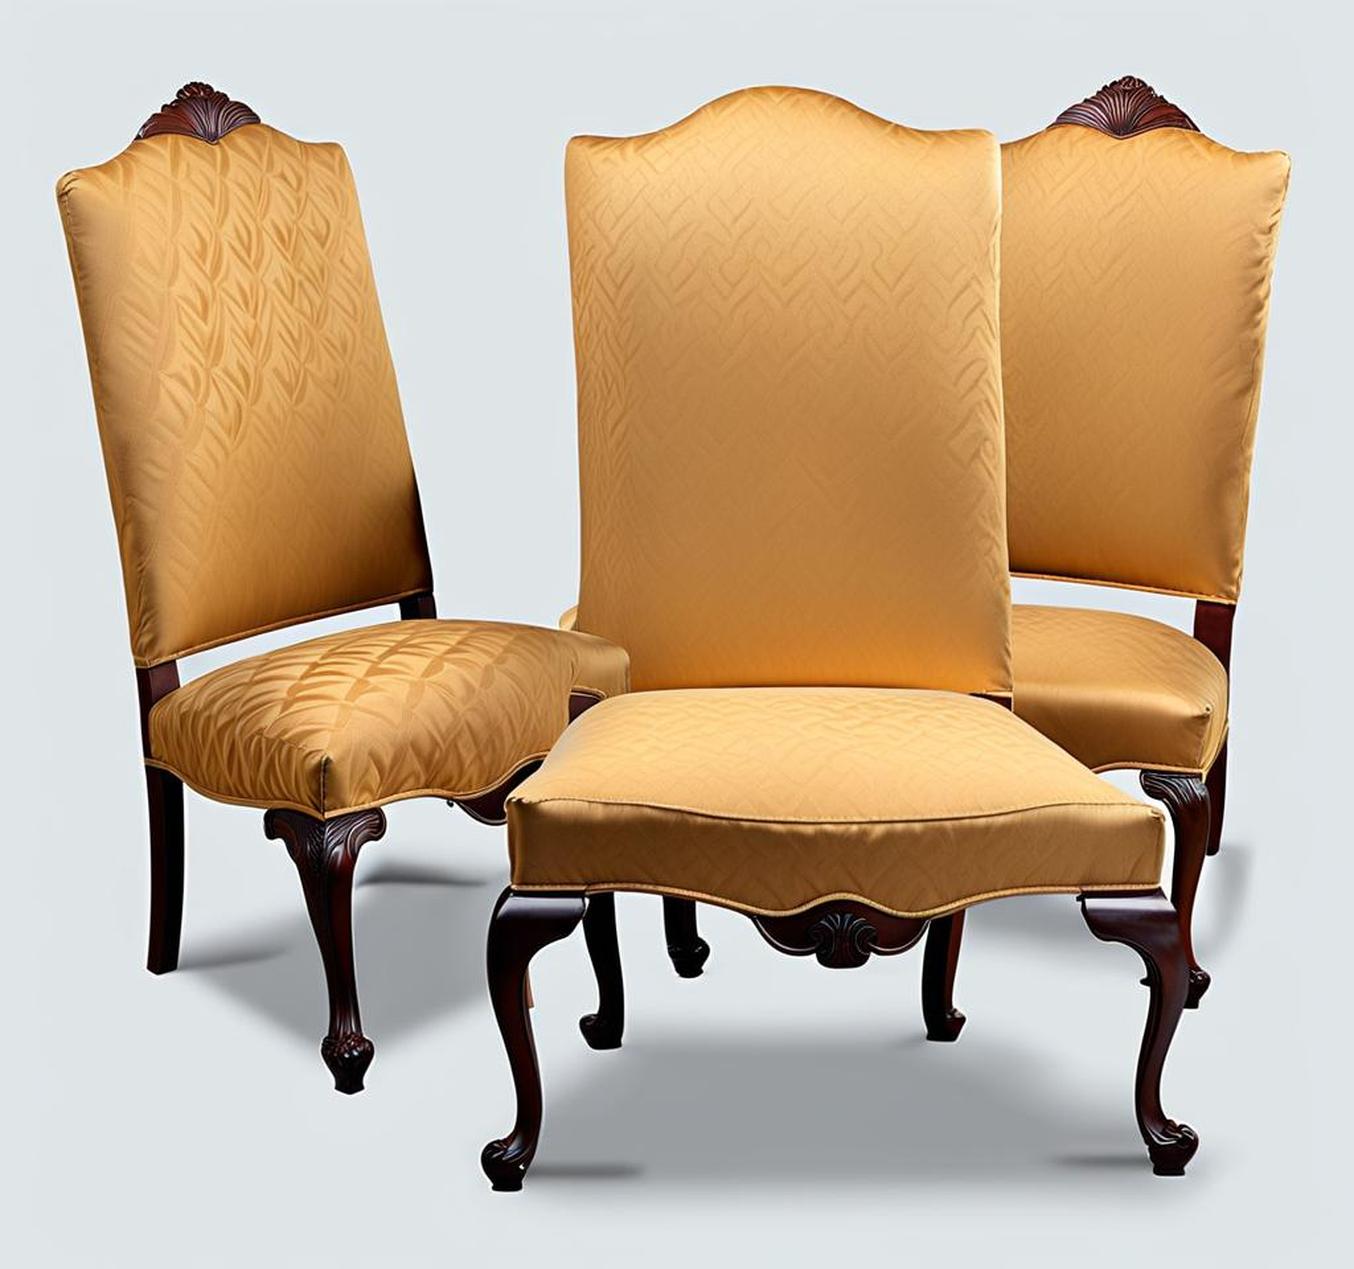
Queen Anne style dining chairs have curved legs and carved splats. While beautiful, the delicate wood frames and fragile woven seat cushions that define these antique chairs can make them impractical for everyday use in a busy household.
Slipcovering Queen Anne chairs is an easy and affordable way to protect them from wear while updating their look. But the unique shape and ornate details pose some specific challenges that call for special techniques. In this post, we’ll share pro tips for creating custom slipcovers that perfectly suit these classic beauties.
Selecting the Right Fabrics for Durability and Fit
Achieving a close fit is crucial for slipcovers to look tailored and not baggy. It prevents slipping and keeps the fabric taut. Since Queen Anne chairs have intricate carved details like cabriole legs and interlocking splats, lightweight fabrics won’t smoothly conform to the frame.
Medium to heavy weight cottons like duck, twill, and canvas have the body to mold to the chair’s curves. Linens and denims also drape nicely. Always line the slipcover with a matching lightweight fabric to help it retain shape. Muslin or even an old bedsheet works well.
The slipcover fabric should be durable and able to withstand daily use. Abrasion-resistant upholstery-weight fabrics provide lasting protection.
Tips for Fabrics
- Opt for medium to heavy weight tightly woven fabrics
- Smooth linens, cotton duck, twill and canvas are good choices
- Use lining fabric like muslin to help slipcover keep its shape
- Upholstery grade fabrics are very durable options
Take Precise Measurements for a Custom Fit
Achieving an impeccable fit starts with meticulous measuring. Use a flexible tape measure to carefully gauge the width, depth and height of the chair seat, arms, legs and back. For best results, measure directly on the chair frame rather than the cushion.
Be sure to measure the width of the chair’s back splat and side posts too. On Queen Anne chairs, the splat is the decorative carved vertical piece in the center of the chair back. The posts are the slim vertical slats on either side.
Add 1/4 inch seam allowances to all measurements before cutting to ensure the slipcover hugs the chair tightly. Any looseness will look sloppy and rumpled.
Measuring Tips
- Measure directly on chair frame not seat cushion
- Record back splat and post widths precisely
- Add 1/4″ to measurements for seam allowances
- Take height, width and depth measurements
Cutting Out the Slipcover Fabric Pieces
Using your measurements as a guide, cut out the main fabric panel that will cover the seat, front and sides of the chair. Be sure to cut the front corners on an angle so the slipcover neatly follows the curve of the cabriole legs.
Next, cut rectangular pieces that will wrap around the back splat and posts. Clip the upper corners to allow the rectangles to spread when slipped over the curved chair back.
Cut corresponding pieces from the lining fabric as well, 1/2 inch smaller all around to prevent peeking out.
Cutting Tips
- Cut front seat corners on angle for cabriole legs
- Cut rectangular pieces for back splat and posts
- Clip upper corners of back rectangles
- Cut lining fabric 1/2″ smaller than main
Sewing the Slipcover Pieces Together
With right sides facing, sew the side seams of the main fabric panel pieces using a 1/2 inch seam allowance. Pivot at the corners and sew darts to create a custom fit around indented areas of the chair frame.
Next, pin the corresponding lining pieces with right sides together and sew together in the same manner. Leave an opening for turning right side out.
Place the lining over the main fabric, right sides together, matching the seams. Sew around the perimeter, leaving an opening for turning. Clip curves and corners to reduce bulk.
Assembly Tips
- Sew main panel side seams first
- Attach lining to main piece, right sides together
- Clip tight curves and corners
- Leave opening for turning slipcover
Attaching the Back Splat and Post Pieces
Pin the rectangular back splat and post pieces to the main slipcover, aligning the raw edges. The wider splat rectangle will be centered, with the narrow post pieces on either side.
Sew these pieces together along the upper seam and down each side where they meet the main back panel. Use plenty of clips to coax the fabric around the curved frame areas.
Reinforce stress points like the lower corners of the splat with extra stitching for added strength and a crisp silhouette.
Back Panel Tips
- Align splat/post pieces with main back panel
- Sew together along top seam and sides
- Use clips for tight fit around curves
- Reinforce stress points with extra stitching
Finishing Off the Slipcover Construction
Turn the assembled slipcover right side out through the opening, gently pushing out the corners with a blunt tool. Press seams flat and topstitch for a professional finish.
Sew Velcro tabs or ties at the underside chair openings to allow the slipcover to wrap around the legs. Position them so closures won’t be visible from the front.
For extra longevity, apply fabric sealant spray to the corners and seams to prevent fraying with use over time.
Final Touches
- Turn slipcover right side out
- Press seams and topstitch edges
- Attach Velcro or ties at underside
- Apply sealant spray to seams/corners
Putting on the Tailored Queen Anne Slipcover
Drape the slipcover over the chair seat and gently fit it into place, smoothing out any wrinkles in the fabric. Pull the back panel around the rear of the chair and secure the Velcro tabs or ties underneath.
Attach the splat and post Velcro as well to keep the back panel taut. Stand back and admire your beautifully revived antique Queen Anne dining chair!
With proper care, a custom slipcover will protect chairs for years of family meals and special occasions. Periodically steam press or clean covers as needed to keep them looking fresh and new.
Adjusting for Curved Queen Anne Backs
The swept back design that defines the Queen Anne style poses some unique challenges for properly fitting slipcovers. Adding small darts or inverted box pleats along the back panel helps create fullness to accommodate the curves.
Pleats placed at the top of the panel near the splat provide give where it’s most needed. Discreet ties secure the loose fabric neatly at the underside.
The ornamental details of Queen Anne furniture offer the perfect opportunity to highlight decorative trims that enhance a slipcover’s style. Contrasting welting sewn into the seams lends definition and visual interest.
Tassels, fringe or braided trims trailing along the front base add a classic touch of elegance. Ribbons piercing the back splat seam soften the straight lines.
