If you’re looking to upgrade your kitchen, installing a stand alone island can take the space from drab to fab. With extra prep space, storage, and style, islands are a smart way to instantly enhance form and function.
Continue reading to discover how a stand alone island can optimize your kitchen layout, organize your belongings, and add a stylish focal point suited to your needs.
Enhance Your Kitchen’s Form and Function
The number one reason homeowners opt for a stand alone island is to gain more usable space in their kitchen. Islands provide generous extra counter area for meal prep tasks like chopping, kneading, and rolling out dough. The additional workspace makes it easier to cook multi-course meals or bake up a storm.
Islands are also great for open floor plans where the kitchen flows into living areas. A standalone island defines the cooking zone while still allowing conversations with family and guests. Islands keep the chef involved in the action.
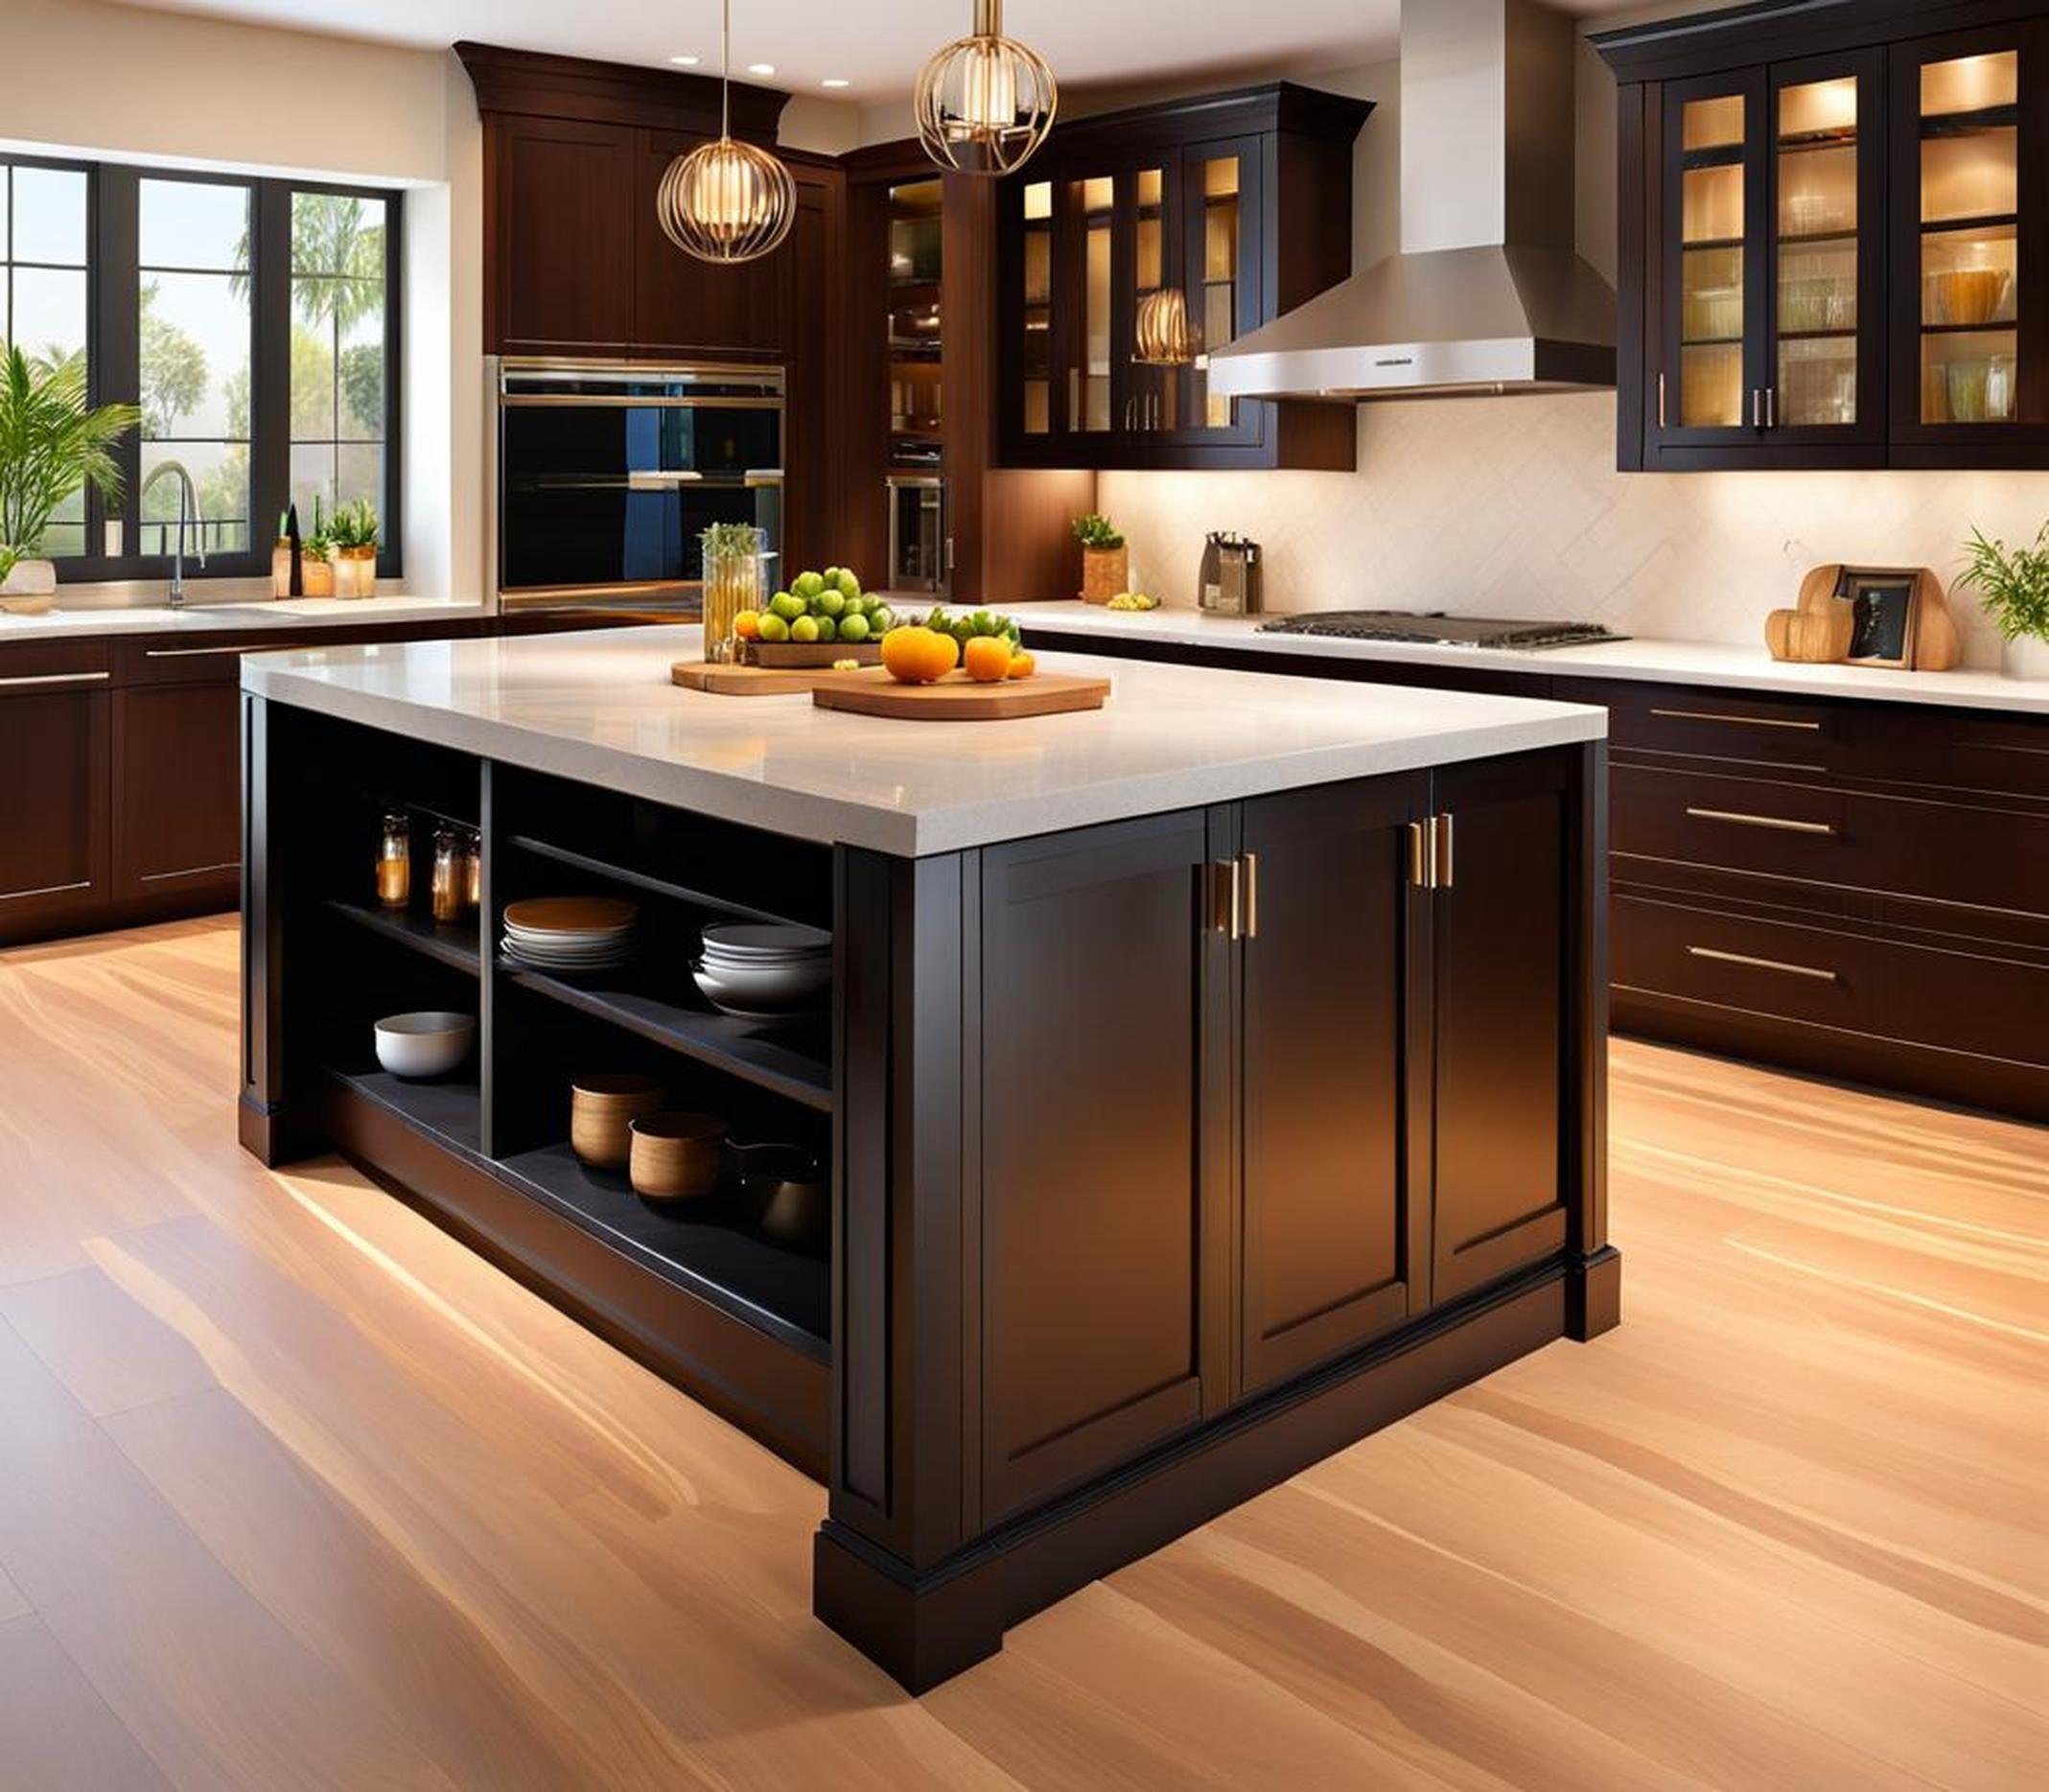
In addition to expanded counter space, islands provide storage for kitchen equipment and pantry items. Enclosed cabinets and pull-out drawers give you spots to tuck away small appliances, cookware, utensils, and more. Stylish racks underneath the island counter hold pots and pans within arm’s reach.
Islands aren’t just for cooking – they become multifunctional centers for dining, homework, paying bills, and entertaining. Add bar stools on one side for casual breakfasts or snacks. Or make it a designated spot for kids to do crafts and homework while you cook dinner nearby. The possibilities are endless.
Customize Size, Shape and Style
The versatility of stand alone islands allows you to customize the size, shape and style based on your needs. First decide if you need maximal workspace, storage, or seating. Then choose an island shape and size to suit.
For smaller kitchens, a mobile cart-style island provides extra workspace without eating up valuable floorspace. Larger L-shaped islands maximize surface area while defining the kitchen into multiple work zones.
You can also customize the island to perfectly fit your existing layout. Opt for a rounded or curved island for a unique focal point. Add corners or notches to fit in an awkward angled kitchen. The options are limitless.
Stand Alone Island Styles and Materials
Stand alone islands come in a wide array of materials, colors, and finishes to match any design aesthetic. Consider the pros and cons of each option:
- Wood: Warm and inviting for a traditional cottage look. Requires sealing to prevent stains.
- Laminate: Affordable and low-maintenance. Easy to clean and extremely durable.
- Granite: Elegant and long-lasting but requires yearly sealing. Stain and heat-resistant.
- Marble: Gorgeous natural veining. Can stain easily so needs vigilant sealing.
- Stainless Steel: Sleek, modern look. Easy to disinfect but prone to smudging.
Match or Compliment your Existing Cabinets
Should your island match your existing cabinetry or be a stand out piece? It’s up to you!
Matching finishes create a cohesive, pulled-together look. For example, paint the island the same crisp white as your Shaker cabinets for a seamless aesthetic.
Or make the island a contrasting showstopper. Pair black marble counters with pale cabinetry for bold style. Use a rich wood island to add warmth to a contemporary glossy kitchen.
Just be sure to pick up on complimentary colors and finishes so the island enhances the overall kitchen design.
Design Considerations for Your Kitchen Layout
Thinking through your current kitchen layout is key to picking the perfect island fit. Measure carefully to allow enough space for traffic flow and doorways. Islands should be placed at least 42 inches from other surfaces.
Proximity to the sink, appliances, and existing cabinets is also important for workflow. You’ll use the island most for food prep, so situate it close to the refrigerator, stove, and dishwasher.
Island Shape
The island shape should jibe with your kitchen layout:
- Rectangular: Maximizes usable counter space.
- L-shaped: Offers ample workspace while defining zones.
- Curved: Provides an ergonomic shape and standout style.
Also consider the kitchen’s traffic flow and measurements when choosing the footprint. Larger surfaces require more room to navigate comfortably.
Get Organized with Built-In Storage
One major perk of kitchen islands is integrated storage space for organization. Enclosed cabinets, shelves, drawers and racks keep items tidy while adding style.
Maximize Vertical Storage
Take storage up to the ceiling with extra tall cabinets for small appliances, serving and glassware. Deep drawers store pots, pans and lids vertically for easy access. Open shelves or racks display pretty dishware.
For wine lovers, add a special temperature-controlled wine and beverage cooler. Store everyday glasses and mugs on open floating shelves above.
Configured creatively, islands provide storage solutions specific to your needs and style.
Conceal Clutter
Stand alone islands allow you to hide mess in enclosed cabinets fitted with shelves. Store clutter like small appliances, plastic containers, or other unattractive kitchen gear out of sight. This keeps prep zones tidy and visually serene.
For a sleek, uncluttered look, opt for drawer storage over open shelving. Items stored in drawers stay hidden from view so counters look clean.
Seating and Dining Options
Another way to extend an island’s functionality is to add seating for dining. Barstool seating transforms an island into a casual place to sip coffee, enjoy a quick breakfast, or monitor kids doing homework as you cook.
Built-In Banquette Seating
For a space-saving option, install a L-shaped banquette along one side of the island. This built-in seating is great for small kitchens. The comfy cushions and back support make it cozy for lingering meals.
Informal Dining Spot
Pull up stylish barstools to one side of the island for impromptu family meals or entertaining. The small-scale dining area helps differentiate kitchen zones without eating up space.
Opt for backless stools that tuck under the island lip when not in use. This frees up valuable floorspace in compact kitchens.
Additional Customizations and Upgrades
Today’s stand alone islands allow for all sorts of optional upgrades to enhance functionality.
Specialized Cooking Surfaces
Upgrade your island top to facilitate specialized cooking tasks:
- Butcher block – Ideal for chopping, carving and food prep
- Stainless steel – Easy to disinfect with a commercial kitchen look
- Tile or stone – Long lasting and stain resistant surface
Electrical and Plumbing
Outfit your island for full utility hookups to operate a sink, instant hot tap, appliances, lighting, and more. Convenient outlets around the legs also let you plug in electric devices.
Mobility and Portability
Add wheels or casters to make a bulky island easy to roll wherever it’s needed. This allows you to reposition the island based on the task at hand or number of cooks.
Style Your Island for an Eye-Catching Focal Point
A stand alone island instantly becomes a focal point of the kitchen. Use it to make a stylish statement.
Contrasting Finishes
Differentiate the island from existing cabinetry by choosing contrasting finishes. For example, pair subtly glazed cabinets with a rich ebony-stained island. Or combine sleek lacquered cabinets with a natural butcher block island.
Bold Painted Color
Make the island pop with vibrant, saturated color. A sapphire blue or emerald green island injects life into a neutral kitchen. Punchy color transforms the island into an invigorating accent piece.
Distinctive Design Details
Details like decorative corbels, feet, and trim lend standout charm. Flaunt your style with cabriole legs, beadboard panels, or x-framed supports. Mixing wood tones and detailing brings visual interest.
For a personal touch, incorporate meaningful materials like cedar or pine reclaimed from a family home. This adds nostalgic character and a conversation piece.
Transforming Small Kitchen Spaces
For diminutive kitchens, a stand alone island can make the most of square footage. It opens up tight spaces, improves traffic flow, and defines separate work zones. But petite kitchens come with special planning considerations.
Open Up Tight Spaces
Even in a small kitchen, an island can maximize openness. Floating islands with legs open sightlines, making rooms feel more spacious. Keep counters and stools low-profile.
Improve Traffic Flow
Beware of “bottleneck islands” that clog circulation. Allow ample room around islands – at least 42 inches clearance. Measure carefully and map routes to prevent congestion.
Create Separate Work Zones
Use an island to delineate cooking, cleaning, and dining zones in an efficient small kitchen. Make zones visible but still connected. This gives the illusion of greater square footage.
For example, put the range on one wall with a prep island nearby. Position the cleanup zone across from the cook zone. Add bar seating to designate the dining area.
Avoid Blocking Windows and Doors
Take care not to position an island where it blocks windows, doorways, or sightlines. This can make a petite kitchen feel closed off and even smaller.
A stand alone island unlocks valuable extra counter and storage space in your kitchen. Tailor the size, shape and storage to best suit your needs. Then style it to match or make a design statement.
With some thoughtful planning, you can install an island that both optimizes your layout and acts as a stylish focal point. Your kitchen will gain function and good looks!
Turn your dream kitchen into a reality. Take your layout to the next level with the addition of a stand alone island customized just for you.
