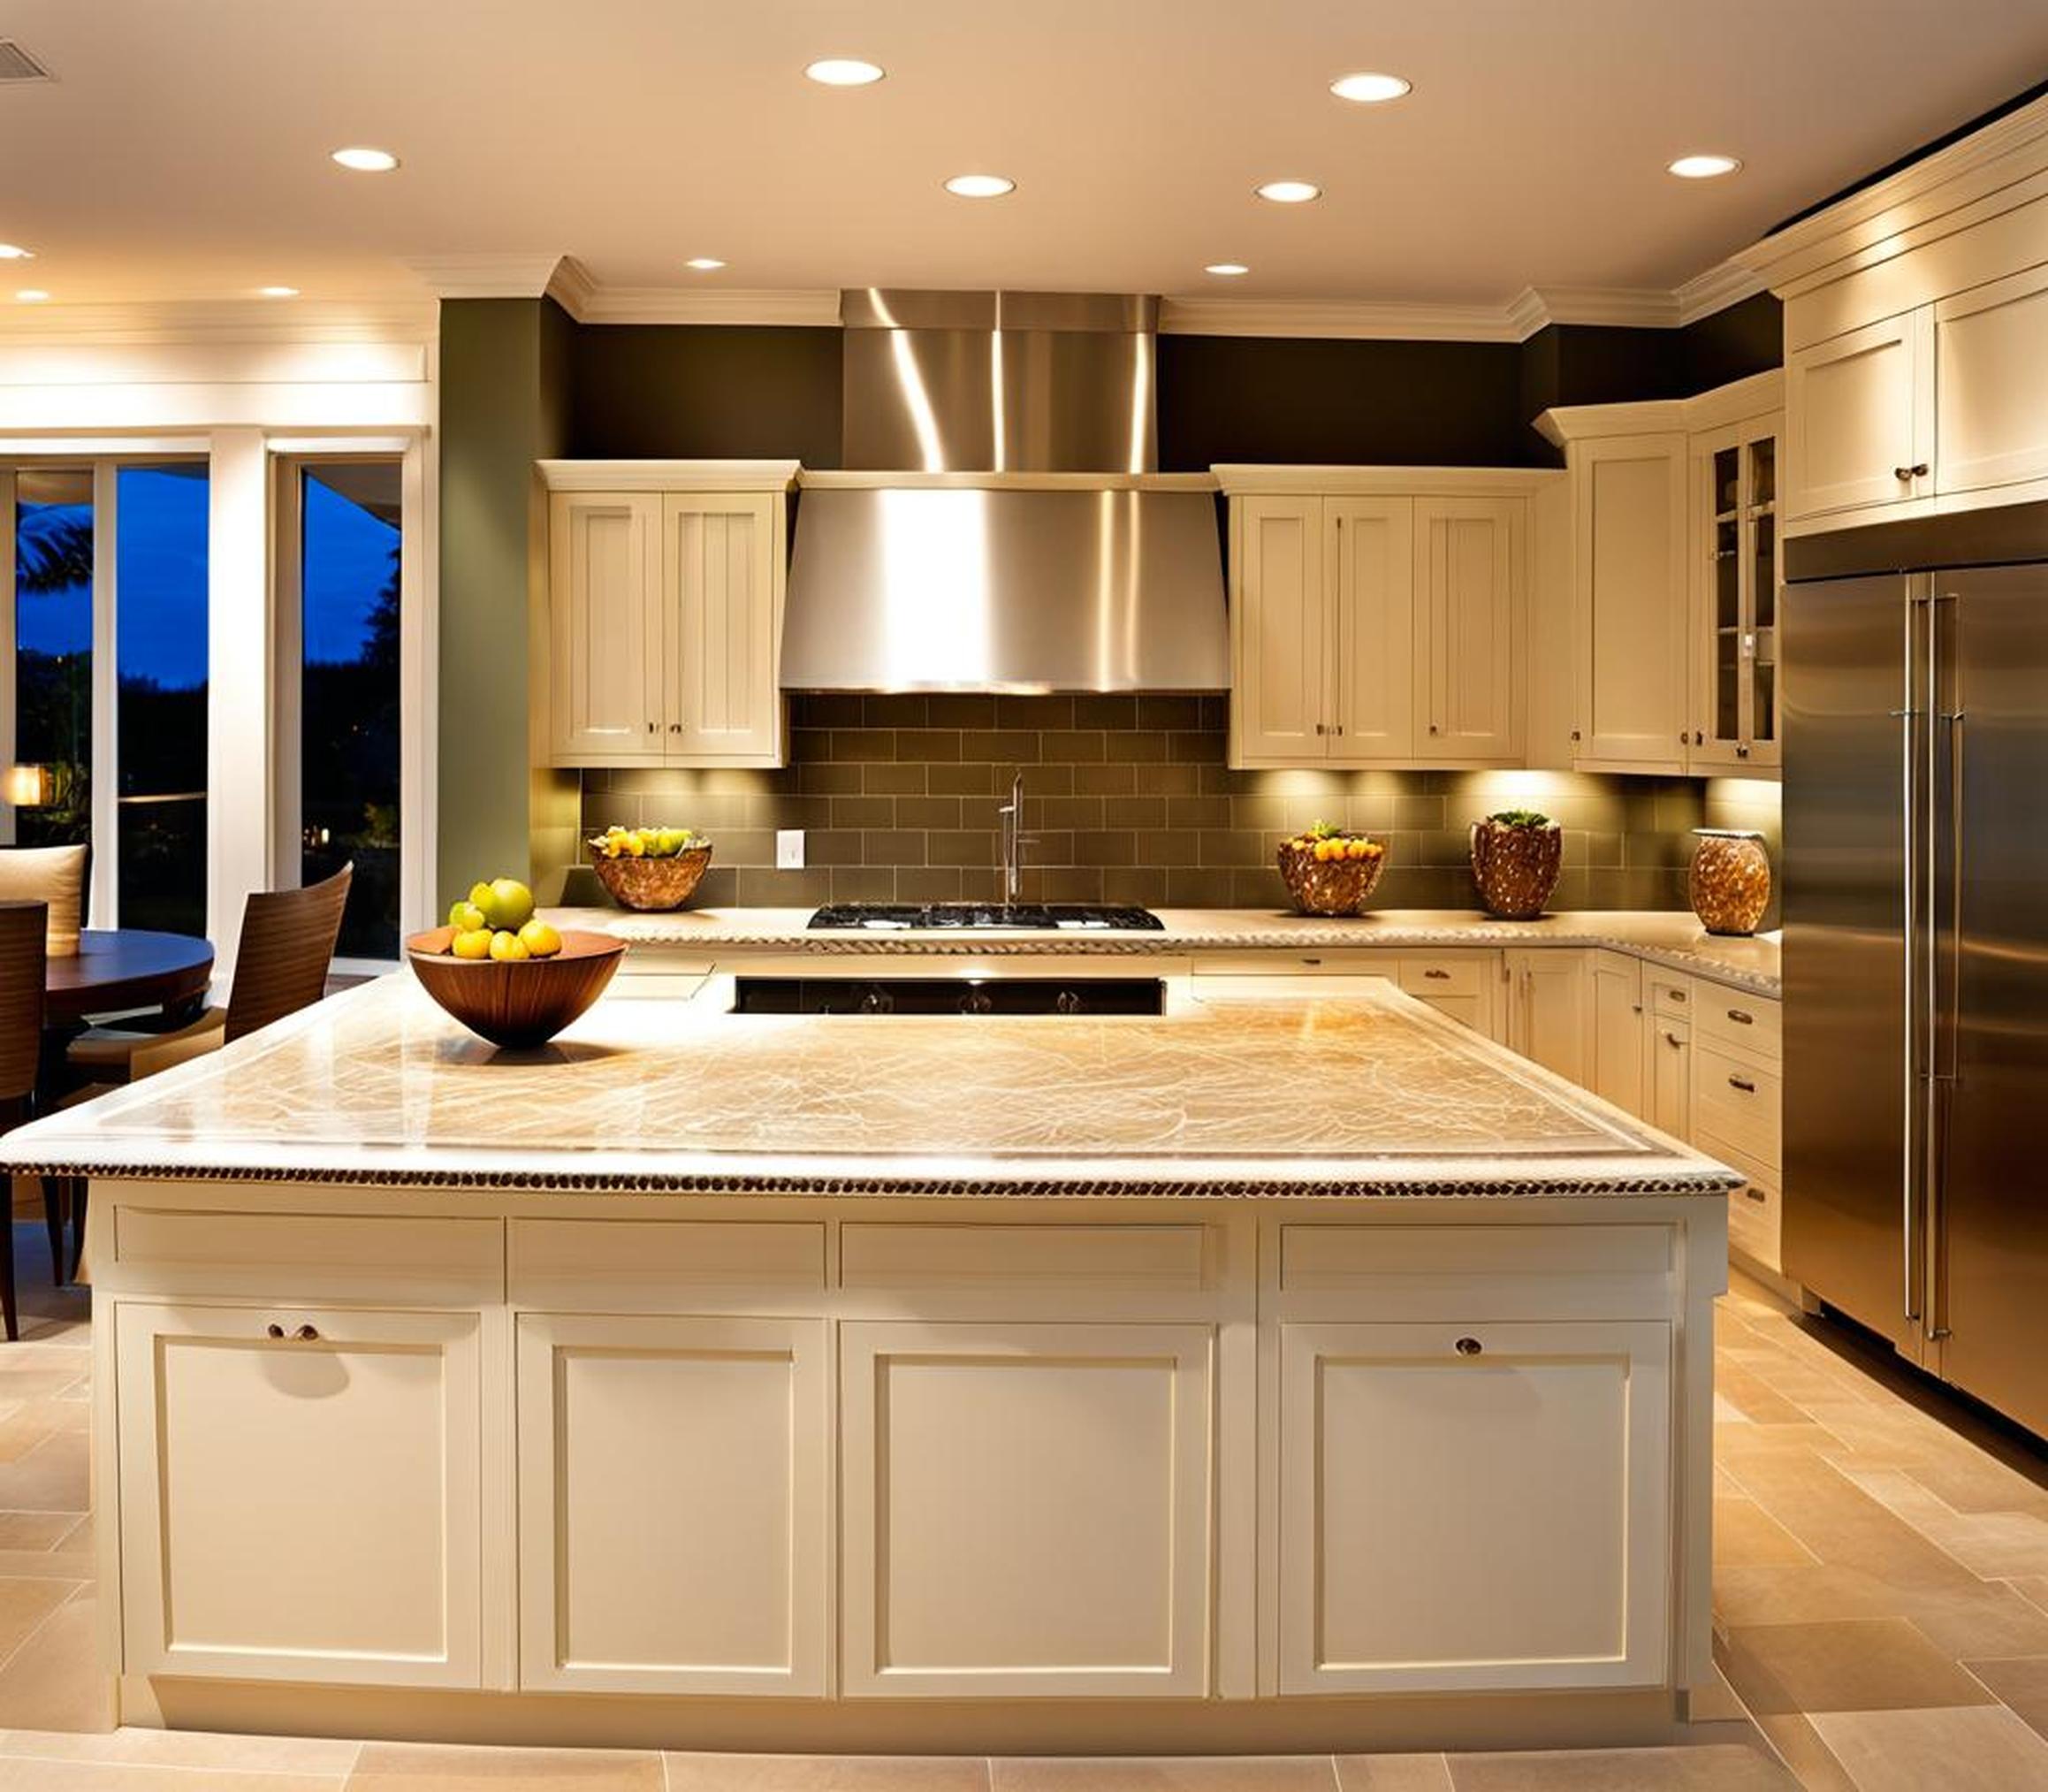
If you’re looking to upgrade your kitchen island from drab to fab, installing tile can take the design to new heights. With so many options for materials, patterns, and layouts, tile offers a versatile and stylish way to transform this focal point of the kitchen.
Tiling your kitchen island kicks things up a notch, adding visual interest, texture, and character that sets it apart. Beyond just looking fabulous, tile boasts practical perks too. It’s durable, easy to clean, and adds valuable counter space or storage options.
Selecting the Perfect Tiles for a Kitchen Island
With the vast range of tile materials and designs available today, choosing the right ones can feel overwhelming initially. Keep these tips in mind when evaluating tiles for your kitchen island installation:
- Consider durability and ease of maintenance. Porcelain and ceramic tiles resist stains, are easy to clean, and hold up well to heavy use.
- Determine the look you want to achieve. From natural stone and marble to mosaics and bold patterns, tile provides endless design possibilities.
- Bring home samples to visualize how colors and patterns will appear in your space.
- Coordinate with existing kitchen backsplash tiles for a cohesive look.
While ceramic and porcelain lead in kitchen island tile popularity, don’t shy away from making a statement. Go for an eye-catching accent pattern or texture. Contrasting grout lines can also amp up the visual flair.

Porcelain Tiles
Glazed porcelain tiles are a top choice for kitchen islands thanks to their durable, ultra-low porosity surface. Liquids don’t penetrate the tile, making maintenance easy breezy. The color and pattern go all the way through, so chips and scratches are less noticeable. Opt for larger format tiles to minimize grout lines.
Ceramic Tiles
From classic subway tile to vivid patterned options, ceramic offers budget-friendly versatility. The color is applied to the surface, so inspect for quality in glossiness and color consistency. Unglazed varieties hold up best for heavy-use islands. Match your grout color closely to the tile hue.
Marble and Natural Stone
For a high-end look, marble, granite, and other natural stones create an elegant island statement. However, they require diligent sealing to prevent stains and etching. Hone these materials to a satiny finish for a more subtle surface sheen.
Prepping and Planning for a Seamless Finish
Taking time to properly prep the island surface prevents headaches down the road. Ensure the area is clean, smooth, and appropriately sealed. Apply a primer if needed. Use leveling compounds or filler to fix any divots or uneven spots for a flat tiling surface.
Plan your tile layout to take full advantage of the space while avoiding a choppy look. Dry laying the tiles first allows you to experiment until you nail the perfect arrangement. Account for accent tiles and any planned cutouts when plotting the design.
Backsplash Only or Full Island Tiling?
Tiling just an island backsplash is the most popular route, adding wow factor without the work of tiling the entire surface. For a splash of color, try a mosaic backsplash. Or pick up the kitchen’s wall tile pattern for a seamless transition.
Fully tiling the countertop creates a high-end, seamless look when large format tiles are used. Opt for durable porcelain or ceramic tiles to handle daily wear and tear. Add texture with grout color and finish.
Incorporate Storage and Shelving
Make the most of your island real estate by incorporating storage or open shelving. For a breakfast bar effect, try extended countertop space on one side. Built-in shelving flanking the legs boosts storage while complementing the tiled design.
Installing Tile on Your Kitchen Island
Once you’ve prepped the surface and plotted the tile layout, it’s time to stick those suckers on! Have these supplies on hand for a smooth installation:
- Tile adhesive or thinset mortar
- Grout and grout float
- Tape measure
- Tile cutter and nippers
- Trowel
- Spacers
- Sealant
Apply a thin layer of mortar, using a notched trowel for even coverage. Place the tiles against your planned layout, using spacers between. Let it cure fully before applying grout. Buff off excess once dry. Lastly, seal the grout and tiles.
DIY or Call in a Pro?
Installing an island backsplash tile project is doable for DIYers with basic tiling experience. But for larger format tiles or a full island countertop, having a professional tile installer handle the work is advised. They have the skills to achieve a flawless finish.
Caring for Your New Island Tiles
Apply a penetrating sealant to protect the grout and tiles from stains. Reseal annually. Use a pH neutral cleaner and microfiber cloths when washing. Harsh chemicals can etched delicate surfaces over time.
Ensure any loose debris or liquids don’t sit on the tiles. Promptly wipe up spills to prevent staining. Place hot pots and pans on trivets to avoid thermal shock cracking or chipping.
When to Re-Grout
Inspect the grout lines occasionally for signs of wear, cracking, or discoloration. Re-grouting just the problem areas can refresh the look. For a complete overhaul, re-grouting the entire installation every 5-10 years helps keep things looking tip-top.
Need a spark for your kitchen island tiling project? These stunning designs offer visual fuel:
- Bold black and white checkerboard tile
- Moroccan fish scale tiles in vivid blue hue
- Sleek staggered porcelain plank tiles
- White subway tiles with navy grout lines
- Natural stone tiles paired with open shelving
Let the island be your showstopper. Tiling is a simple yet dramatic way to transform the look, feel, and functionality of this essential kitchen space. With the right prep, materials, and designs, you can take your kitchen island from drab to fab in no time.
